Sluggish performance and declining fuel economy frequently plague aging vehicles. Drivers often misdiagnose these symptoms as catastrophic mechanical failures. In reality, the culprit might simply be a layer of baked-on soot choking the intake tract.
This article aims to clarify the mechanical realities of this issue. We will explore exactly how to clean carbon build up in engine assemblies using proven, accessible methods. Carbon deposits naturally form over time because internal combustion is rarely a perfectly clean process.
Unburned fuel and recirculated oil vapors tend to leave a residue on hot metal surfaces. While taking apart intake components sounds intimidating, the procedure is entirely manageable for the average driveway mechanic. A systematic approach to chemical cleaning often restores lost power and smooths out a rough idle.
Understanding Carbon Buildup and Its Effects
Carbon accumulation happens precisely because engines operate under extreme heat and pressure. Unburned hydrocarbons from the combustion chamber sometimes travel back up into the intake manifold. These vapors settle onto the intake valves and slowly bake into a hard, restrictive glaze.
This buildup physically blocks the flow of incoming air. An engine is essentially a giant air pump, so any restriction in the intake path forces the system to work much harder. Over time, this thick coating may alter the air-to-fuel ratio enough to cause noticeable drivability issues.
Common Symptoms of Carbon Deposits
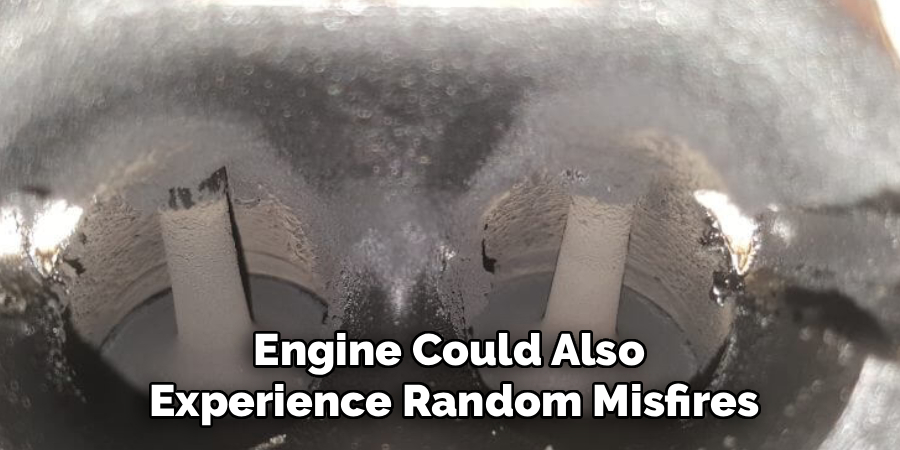
A vehicle suffering from severe buildup typically exhibits a few distinct physical signs. You might notice a rough, stumbling idle when sitting at a traffic light. The engine could also experience random misfires during cold starts.
Decreased acceleration frequently accompanies these idle issues. Because the intake valves cannot breathe properly, the engine struggles to pull in enough oxygen under heavy throttle. Consequently, you will likely see a sudden drop in overall fuel efficiency as the engine computer dumps extra gas into the cylinders to compensate for the poor airflow.
Why Modern Direct Injection Engines Are Vulnerable
Automakers largely shifted from port fuel injection to gasoline direct injection (GDI) over the last two decades. Port injection systems spray fuel directly onto the back of the intake valves before the mixture enters the combustion chamber. Gasoline acts as an excellent solvent.
This constant shower of raw fuel naturally washes the valves clean while you drive. GDI engines, however, bypass the valves entirely by spraying fuel straight into the cylinder. Because the intake valves in a GDI engine only ever see dry air and oily crankcase vapors, they lack that natural chemical wash. This architectural change makes manual cleaning an absolute necessity for modern vehicles.
Step-by-Step Guide on How to Clean Carbon Build Up in Engine
Tackling this maintenance task at home requires patience and a methodical approach. The chemical cleaning process dissolves the soft upper layers of soot and loosens the hardened base layers. You must proceed carefully to avoid damaging sensitive electronic sensors.
Step 1: Gather the Necessary Tools and Cleaners
Preparation dictates the success of this entire operation. You should purchase a high-quality aerosol intake valve cleaner specifically formulated to break down heavy petroleum deposits. Standard carburetor cleaner evaporates too quickly to be effective here.
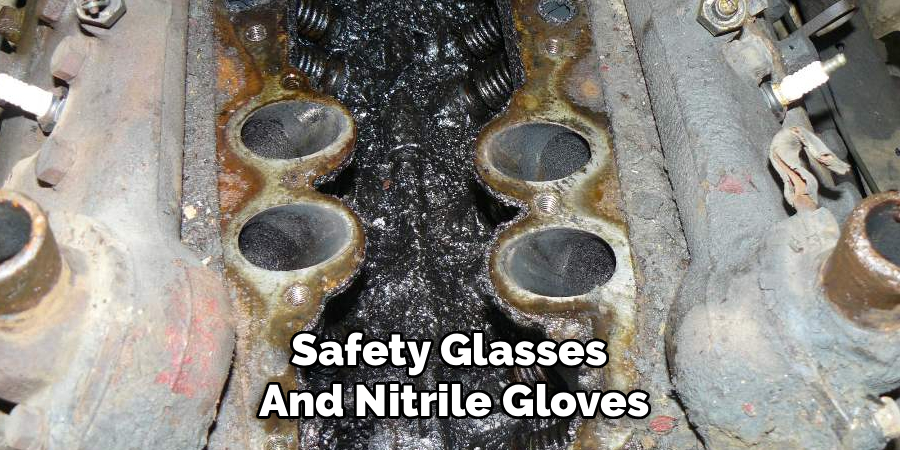
Alongside the chemical solvent, gather a basic metric socket set, pliers, and a flathead screwdriver. Safety glasses and nitrile gloves are absolutely mandatory. These chemical solvents are highly caustic and can cause severe skin irritation upon contact.
Step 2: Prepare Your Vehicle for Service
Park your vehicle on a flat, well-ventilated concrete surface. Most aerosol intake cleaners actually require the engine to be at normal operating temperature before application. You should start the car and let it idle until the temperature gauge reaches the middle of the dial.
Once the engine is warm, locate the throttle body or the main intake manifold vacuum line. Consult your specific vehicle repair manual to identify the easiest access point. Working in a well-lit area will help you track the various vacuum hoses and wire harnesses you need to move.
Step 3: Access the Intake System
Carefully loosen the hose clamp securing the thick rubber air intake boot to the throttle body. You might need to gently wiggle the boot back and forth to break the rubber’s grip on the metal housing. Push the intake tube off to the side so you have a clear, unobstructed view of the throttle plate.
Take special care when working around the mass airflow sensor located further up the intake tube. These sensors are incredibly fragile and expensive to replace. Avoid pulling on any wires, and tuck the intake tube securely out of the way so it does not interfere with the spinning engine belts.
Step 4: Apply the Carbon Cleaner Solution
You will likely need an assistant for this phase of the job. Have your helper sit in the driver’s seat and hold the engine speed steady at around two thousand revolutions per minute. The engine will naturally want to stumble and stall once you introduce a foreign liquid into the air stream.

Spray the chemical cleaner directly past the throttle plate in short, one-second bursts. Wait a few seconds between each spray to allow the engine to recover its idle. Spraying too much liquid at once could potentially cause hydro-locking, a catastrophic condition where the engine tries to compress a liquid instead of a gas.
Step 5: Perform the Heat Soak
Continue this careful spraying process until the entire aerosol can is empty. The moment the can runs dry, signal your helper to immediately turn off the ignition. This introduces the heat soak phase, which is arguably the most important part of the procedure.
The engine must sit completely undisturbed for at least fifteen to twenty minutes. The foaming chemical cleaner needs time to rest on the hot valves. This prolonged exposure breaks down the molecular bonds of the baked-on carbon, turning the hard crust into a soft, gelatinous sludge.
Step 6: Reassemble and Perform a Test Drive
After the heat soak period concludes, slide the rubber intake boot back onto the throttle body. Tighten the hose clamp securely and double-check that no vacuum lines were accidentally knocked loose. Start the engine.
It will likely crank for a few extra seconds and emit a cloud of thick white smoke from the tailpipe. This smoke is simply the dissolved carbon and chemical solvent burning off in the combustion chamber. Take the car for a spirited test drive, accelerating firmly to blow the remaining loosened debris safely out through the exhaust system.
Using Chemical Additives as a Preventive Measure
Manual aerosol cleaning handles severe buildup, but pour-in fuel additives offer a simpler preventative approach. These liquid treatments mix directly with the gasoline in your tank. They operate quite differently from the aerosol sprays used directly in the intake manifold.
Choosing the Right Fuel System Cleaner
Walk down any automotive aisle, and you will see dozens of brightly colored bottles promising impossible horsepower gains. You should ignore the marketing hype and look directly at the chemical composition. An effective additive must contain polyether amine, commonly abbreviated as PEA.
PEA is a powerful, heat-resistant detergent scientifically proven to survive the combustion process. It physically scrubs the top of the pistons and the fuel injector nozzles as the engine runs. Cheap octane boosters and generic cleaners lack this specific chemical compound and generally fail to deliver measurable results.
Application Frequency and Best Practices
Timing your additive application correctly maximizes its effectiveness. You should pour a full bottle of PEA-based cleaner into an empty gas tank right before filling up at the pump. This ensures the chemical mixes thoroughly with the incoming fuel.
Running a bottle through the system every three to five thousand miles appears to keep the combustion chamber relatively clean. Many mechanics recommend timing this treatment so that it finishes roughly one tank before your scheduled oil change. Some of the harsh detergents can occasionally blow past the piston rings and slightly degrade the engine oil.
The Italian Tune-Up: Fact or Fiction?
Automotive folklore frequently references the “Italian Tune-Up” as a cure for a sluggish motor. This concept involves driving the car incredibly hard, pushing the tachometer near the redline to literally burn the carbon out of the engine. While it sounds like a myth, there is some actual science backing this aggressive strategy.
How Heat and RPMs Affect Carbon
Carbon deposits require incredibly high temperatures to incinerate. Gentle city driving rarely generates enough exhaust heat to initiate this self-cleaning process. When you hold an engine at higher revolutions per minute under a heavy load, the internal temperatures skyrocket.
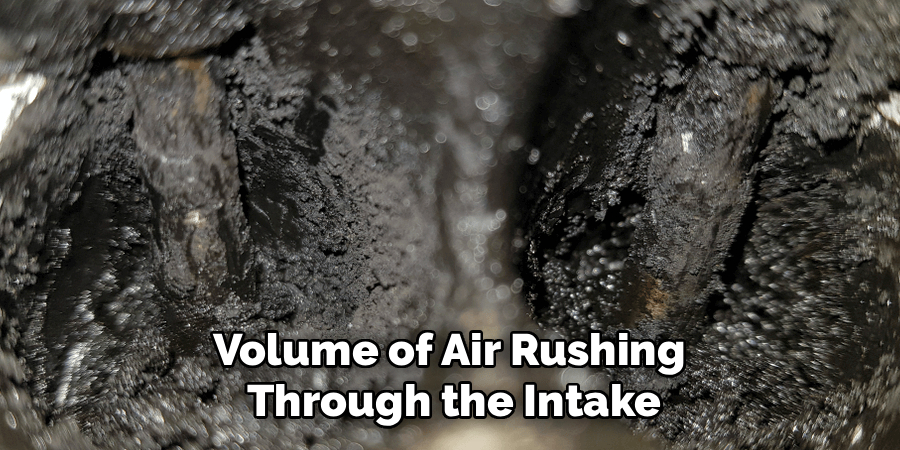
This extreme heat, combined with the massive volume of air rushing through the intake, can effectively chip away light, flaky soot. However, this method will not cure a severely neglected engine. Hardened, multi-layer deposits simply will not burn off, no matter how hard you press the accelerator pedal.
Safety Precautions to Keep in Mind
Pushing an older vehicle to its absolute mechanical limits carries inherent risks. You must verify that your engine is mechanically sound before attempting prolonged high-RPM driving. Check your oil level, ensure the coolant is fresh, and inspect the condition of your serpentine belt.
A poorly maintained engine could easily throw a connecting rod or blow a head gasket under this kind of stress. If your temperature gauge begins to climb, lift off the throttle immediately. The goal is to generate safe internal heat, not to destroy the valvetrain.
Professional Walnut Blasting Services
Chemical sprays eventually reach a point of diminishing returns. When the deposits grow thick enough to completely block the valve ports, DIY methods will no longer suffice. At this stage, professional mechanical intervention becomes the only viable path forward.
What is Walnut Blasting?
Walnut blasting is a highly specialized procedure that physically strips the carbon from the engine block. A technician removes the intake manifold entirely to expose the cylinder head. They then use compressed air to shoot finely crushed walnut shells directly at the dirty valves.
The walnut media acts as a gentle abrasive. It is hard enough to shatter the baked-on carbon but soft enough that it will not scratch or pit the aluminum cylinder head. A specialized vacuum attachment sucks up the debris simultaneously, ensuring no shells fall into the combustion chamber.
When to Opt for Professional Help
You should consider this service when your engine triggers severe, persistent misfire codes that chemical treatments cannot resolve. A massive drop in fuel economy or a failure to pass a state emissions test also strongly suggests that the valves are hopelessly clogged.
Mechanics can often snake a tiny borescope camera down the intake tract to visually inspect the valves. If the camera reveals a thick, tar-like sludge completely coating the metal stems, stop wasting money on chemical sprays. Physical scraping or blasting is the only way to restore the airflow.
Expected Costs and Downtime
Professional walnut blasting requires significant labor. The mechanic must drain the coolant, remove complex fuel lines, and carefully extract the intake manifold. Depending on the make and model of your vehicle, this service typically costs between four hundred and eight hundred dollars.
You should expect the vehicle to be out of commission for at least one full day. While the price seems steep, the restoration of lost horsepower and fuel efficiency often makes the investment worthwhile. It acts as a complete reset for the engine’s respiratory system.
Maintaining a Clean Engine Long-Term
Once you have removed the suffocating deposits, your focus should shift to keeping them from returning. Your daily driving habits and fuel choices dictate how quickly the soot accumulates. A few simple adjustments can significantly delay the need for another major cleaning.
Upgrading Fuel Quality and Octane
Gasoline quality varies wildly between different filling stations. You should actively seek out stations that sell Top Tier certified gasoline. This specific fuel standard requires significantly higher levels of cleaning detergents than the minimum mandated by the government.
These extra detergents constantly scrub the fuel injectors and combustion chamber walls. Furthermore, you should never run a lower octane fuel than your owner’s manual specifies. Lower octane gas detonates improperly in high-compression engines, generating excess soot and unburned hydrocarbons.
Installing an Oil Catch Can
Direct injection engines suffer primarily because oil vapors from the crankcase ventilation system coat the dry intake valves. You can interrupt this cycle by installing an aftermarket oil catch can. This simple metal cylinder plugs directly into the PCV hose routing.
As the hot, oily air travels toward the intake manifold, it passes through a series of baffles inside the catch can. The oil droplets condense and fall to the bottom of the canister, allowing only clean, dry air to reach the engine. You simply unscrew the canister and empty the trapped oil every few thousand miles.
Regular Oil Change Intervals
Dirty, degraded engine oil vaporizes much faster than fresh oil. If you routinely stretch your oil changes past the manufacturer’s recommendation, you are actively increasing the amount of volatile compounds entering your intake system. Sticking to a strict maintenance schedule remains your best defense.
Always use a high-quality, full synthetic oil formulated for modern engines. These premium oils resist thermal breakdown and generate far fewer vapors under extreme heat. Consistently clean oil translates directly to a cleaner intake manifold.
Conclusion
Understanding how to clean carbon build up in engine assemblies empowers you to take control of your vehicle’s performance. You do not always need to rush to the dealership at the first sign of a rough idle or a sluggish throttle response. By applying the correct chemical solvents and utilizing a thorough heat soak, you can dissolve years of stubborn deposits right in your own driveway.
Ignoring this gradual buildup ultimately starves your engine of oxygen, hurting your fuel economy and stressing internal components. Take the time to evaluate your vehicle’s current symptoms and driving habits. Whether you choose a preventative fuel additive, an aerosol intake wash, or professional walnut blasting, prioritizing a clean intake system will undoubtedly extend the life and vitality of your motor.
About
Ora Hayes is a distinguished figure in the world of DIY Thecarfixes, with over a decade of expertise in automotive diagnostics and high-performance maintenance. Her professional focus lies in merging mechanical precision with modern digital tools, fostering repair solutions that are both cost-effective and highly reliable. As the author of Thecarfixes, Ora Hayes delves into the art and science of automotive restoration, inspiring car owners and hobbyist mechanics alike.
Education
RMIT University (Melbourne, Australia) Associate Degree in Automotive Engineering — Focus on vehicle dynamics, industry-driven repair protocols, and advanced diagnostics. Gained hands-on experience with traditional mechanical tools and modern ECU remapping software.
Nottingham Trent University (United Kingdom) Bachelor’s in Mechanical Design and Automotive Engineering (Honors) — Specialized in automotive systems with a focus on blending technical engineering with everyday usability. Participated in industry projects, working with leading automotive manufacturers to gain real-world insights into vehicle longevity.
Publications and Impact
In Thecarfixes, Ora Hayes shares her insights on troubleshooting complex engine issues, material durability, and strategies for efficient garage setups. Her writing bridges the gap between professional mechanic knowledge and the home enthusiast’s needs, making it a must-read for both everyday drivers and seasoned gearheads.