Windshield wipers serve as your primary defense against harsh weather conditions on the road. When heavy rain, snow, or sleet starts falling, you rely entirely on these small strips of rubber to maintain a clear line of sight.
Over time, constant exposure to sunlight, varying temperatures, and environmental debris causes the rubber to degrade. Learning how to fix a wiper blade is a simple yet crucial skill for every vehicle owner. This straightforward maintenance task requires very little mechanical knowledge and takes only a few minutes to complete.

By taking charge of this routine upkeep, you ensure your driving experience remains safe and comfortable, regardless of what the weather throws your way.
What are the Benefits?
Maintaining your wiper blades offers several distinct advantages. First and foremost, fresh wiper blades provide optimal visibility during adverse weather, significantly reducing your risk of accidents. You will no longer have to squint through dangerous streaks or smeared water. Secondly, replacing worn blades promptly protects your windshield. When the rubber degrades entirely, the hard metal or plastic frame of the wiper can scrape directly against the glass, causing deep scratches that require expensive professional repair or complete windshield replacement. Finally, handling this task yourself saves you money. Dealerships and mechanic shops often charge a premium for the labor involved in swapping out blades, whereas buying the parts and doing it at home costs a fraction of the price.
What Will You Need?
Before you begin, gather a few basic items to make the process smooth and safe:
- A set of new windshield wiper blades (matched to your vehicle’s specifications)
- A thick towel or soft rag
- A tape measure (if you need to verify blade lengths)
- Glass cleaner
- A microfiber cloth
10 Easy Steps on How to Fix a Wiper Blade
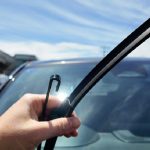
Step 1: Measure Your Existing Wiper Blades
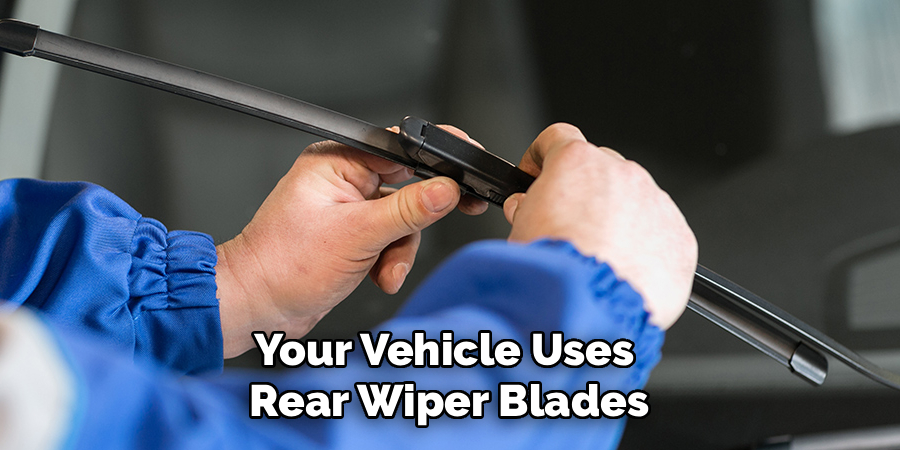
Accurately measuring your wiper blades is the foundation for a successful replacement. Start by gently lifting each wiper arm away from the windshield and measuring the rubber blade from end to end using a tape measure. Note that the driver’s- and passenger-side blades often differ in length; record both measurements. Double-check your owner’s manual or consult your vehicle manufacturer’s website for precise specifications. If your vehicle uses rear wiper blades, measure those as well—they may be shorter and require specific replacements.
Step 2: Purchase the Correct Replacement Blades
Armed with your measurements, head to an auto parts store or browse reputable online retailers. Replacement blades come in various designs: traditional frame, flat beam, or hybrid types. Select blades designed for your driving environment; for example, beam blades offer improved performance in snowy or icy conditions. Use the store’s reference guide or a digital lookup tool to match your vehicle’s year, make, and model to the correct blade type. If in doubt, ask a staff member for assistance. When in store or upon receiving your online order, compare the new blades against your old ones to confirm you have the right size and connector.
Step 3: Prepare the Vehicle and Windshield
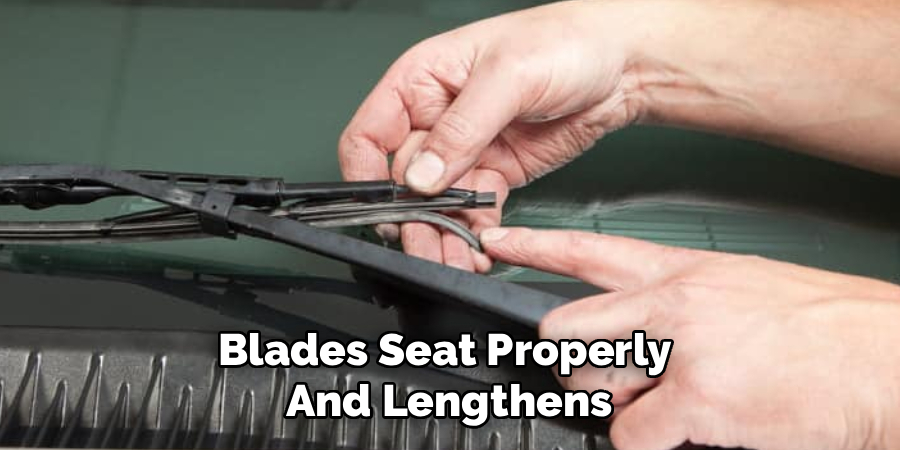
Find a safe, level place to park your car—ideally, away from traffic and with the engine off. Ensure ample lighting so you can clearly see both wiper arms. Before installing new blades, clean the windshield thoroughly using a glass cleaner and a microfiber cloth. Removing grime and residue helps your new blades seat properly and lengthens their lifespan. Wipe the wiper arms as well, particularly where the blade attaches; buildup here can interfere with smooth operation.
Step 4: Lift the Wiper Arm Safely
Carefully grasp the wiper arm near its base and pull it upward, allowing it to lock in place away from the windshield. Some vehicles have spring-loaded arms that snap up and stay put, while others may need gentle support. If your wipers are concealed under the hood when off, switch the ignition on, briefly activate the wipers, and switch off the ignition when the blades move into an accessible position. Always be gentle, as excessive force can damage the wiper mechanism.
Step 5: Protect Your Windshield Glass
While the wiper arm is lifted, place a thick towel or folded blanket on the windshield directly beneath the arm. The wiper arm is under tension and, if it slips out of your grasp while the blade is removed, can snap down and hit the glass with considerable force. This impact can chip or crack your windshield. The protective towel acts as a cushion, potentially saving you from an expensive glass repair.
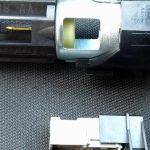
Step 6: Locate the Release Mechanism
Examine the connection point between the wiper blade and the arm. Most modern vehicles use a J-hook mechanism, but others employ side pin, bayonet, or top-lock configurations. Locate the release tab on your assembly, typically a small plastic button or latch on the underside of the blade connector. Take a moment to understand how the mechanism operates—consult your vehicle’s manual or the instructions that come with the new blades if needed. Familiarity with the release system minimizes frustration and reduces the risk of breakage.

Step 7: Remove the Old Wiper Blade
With one hand supporting the wiper arm, press and hold down the release tab. Use your other hand to slide the wiper blade down towards the base of the arm, disengaging it from the J-hook or other connector. The blade may require a gentle wiggle to free it; do not force it, as that can bend the arm or damage the mounting pin. Once detached, carefully set the old blade aside. Some blades accumulate grime—avoid contact with your clothes or the windshield.
Step 8: Position the New Wiper Blade
Take your new wiper blade out of its package and match it to the appropriate arm. Align the connector so that it’s oriented exactly as the old blade was. If the blade includes various connector adapters, choose the one that matches your arm’s style. Make sure the open end of the new blade’s connector points towards the hook or mounting point, and that the blade curves to fit the contour of your windshield for optimal contact and wiping efficiency.
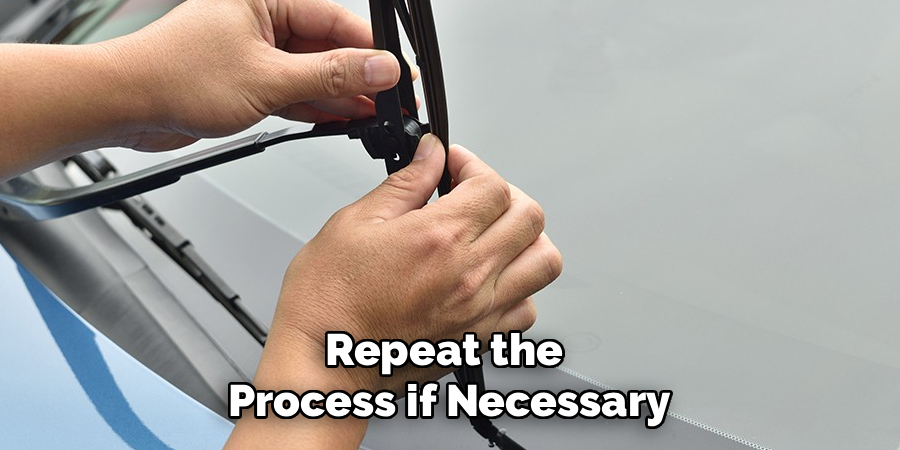
Step 9: Lock the New Blade into Place
Carefully slide the new wiper blade onto the steel arm, fitting the connector into the J-hook or mounting mechanism. Pull it upward until you hear or feel a distinct click, signaling that the lock has engaged. Gently tug on the blade to confirm it’s securely attached—if it feels loose, double-check the connection and repeat the process if necessary. A properly secured blade is crucial for safe driving, as a loose blade can detach and create visibility hazards.
Step 10: Test Your Newly Installed Wiper Blades
Lower the wiper arm gently onto the windshield, removing the towel or pad beneath as you do. Move to the other side and repeat the entire process for the passenger (and rear) wiper(s). Once complete, start your car and activate the wipers, preferably spraying windshield washer fluid first. Watch for smooth, quiet motion and a clear wipe. Listen for any abnormal noises, and check for missed spots or streaks. If everything looks good, you’re done; if not, recheck your steps to ensure the blades are seated and installed correctly. Regular testing helps maintain top performance in all weather conditions.
5 Things You Should Avoid
- Do Not Let the Bare Metal ARM Snap Back: Always use a towel to protect the glass, as a bare metal arm snapping against the windshield will cause a costly crack.
- Avoid Buying the Cheapest Options: Extremely cheap rubber degrades much faster, forcing you to replace it more often and costing you more in the long run.
- Do Not Force the Connection: If the new blade does not slide in and click easily, you might have the wrong adapter; forcing it will break the plastic locking mechanism.
- Avoid Operating Wipers on Dry Glass: Testing your new blades on a completely dry windshield causes unnecessary friction that degrades the fresh rubber immediately.
- Do Not Ignore the Rear Wiper: If your vehicle has a rear wiper, it faces the same environmental degradation as the front wipers and requires equal attention.
Frequently Asked Questions
How Often Should I Replace My Wiper Blades?
You need to replace your wiper blades every six to twelve months for the best results. The exact timeline depends heavily on the climate you live in and where you park. Extreme heat, freezing temperatures, and constant sun exposure dry out the rubber very quickly. You should also replace them immediately if you notice consistent smearing, skipping, or squeaking noises. Regular visual inspections help you catch degraded rubber before it fails you in a heavy storm.
Can I Just Replace the Rubber Insert Instead of the Whole Blade?
You can technically buy just the rubber refill strips for certain types of wiper blades. However, this process requires much more tedious work and fine motor skills. The metal or plastic frames that hold the rubber also warp and lose tension over time. Buying the complete blade assembly guarantees that the entire unit applies even pressure across your windshield glass. The slight price difference makes full replacement the much better option.
Why Are My Brand New Wiper Blades Leaving Streaks?
Streaking with brand-new blades usually points to a severely dirty windshield rather than a defective product. Tree sap, road grime, and car wax build up on the glass, creating an uneven surface that the new rubber cannot wipe properly. You must clean your windshield thoroughly with a dedicated glass cleaner and a microfiber towel. Sometimes, wiping the rubber edge of the new blade with rubbing alcohol removes factory protective coatings that cause smearing. Check the tension of the wiper arm if the problem persists.
Conclusion
Taking the time to fix and maintain your wiper blades keeps you firmly in control of your vehicle during severe weather. You possess the ability to handle this quick maintenance task right in your driveway, saving yourself time and money at the repair shop.
Stay proactive by checking your blades at the start of every new season. Clear vision on the road translates directly to a safer journey for you and your passengers.
Hopefully, this guide on how to fix a wiper blade has helped you understand how to properly maintain your wiper blades and troubleshoot any issues that may arise. Remember, keeping your wipers in top shape is crucial for safe driving. Happy motoring!
About
Ora Hayes is a distinguished figure in the world of DIY Thecarfixes, with over a decade of expertise in automotive diagnostics and high-performance maintenance. Her professional focus lies in merging mechanical precision with modern digital tools, fostering repair solutions that are both cost-effective and highly reliable. As the author of Thecarfixes, Ora Hayes delves into the art and science of automotive restoration, inspiring car owners and hobbyist mechanics alike.
Education
RMIT University (Melbourne, Australia) Associate Degree in Automotive Engineering — Focus on vehicle dynamics, industry-driven repair protocols, and advanced diagnostics. Gained hands-on experience with traditional mechanical tools and modern ECU remapping software.
Nottingham Trent University (United Kingdom) Bachelor’s in Mechanical Design and Automotive Engineering (Honors) — Specialized in automotive systems with a focus on blending technical engineering with everyday usability. Participated in industry projects, working with leading automotive manufacturers to gain real-world insights into vehicle longevity.
Publications and Impact
In Thecarfixes, Ora Hayes shares her insights on troubleshooting complex engine issues, material durability, and strategies for efficient garage setups. Her writing bridges the gap between professional mechanic knowledge and the home enthusiast’s needs, making it a must-read for both everyday drivers and seasoned gearheads.