

Ceramic coating can give your vehicle a glossy, easier-to-clean surface when it is applied the right way. It bonds to the paint and creates a protective layer that helps resist dirt, water spots, light chemical stains, and UV exposure. Still, it is not magic. The final result depends heavily on preparation, patience, and following the product’s instructions.
If you are learning how to apply ceramic coating to car paint for the first time, the process may seem intimidating. The good news is that careful beginners can get strong results by working slowly and using the right steps. This guide explains the full process, from washing and paint decontamination to leveling, curing, and aftercare, so you can protect your vehicle with more confidence.
Why Ceramic Coating Application Matters
Ceramic coating application matters because the product locks in the condition of the surface beneath it. If the paint has dirt, water spots, oxidation, wax, or polishing oils on it, the coating may bond poorly or highlight imperfections.
A proper application can improve gloss, make washing easier, and help protect the paint from everyday exposure. It can also reduce how often dirt and road film stick to the surface.
The main benefit comes from preparation. A clean, smooth, corrected surface allows the coating to bond evenly. When you take your time before applying the coating, you improve durability, appearance, and long-term performance.
Step-By-Step Guide To How To Apply Ceramic Coating To Car
Step 1: Choose The Right Coating And Workspace
Start by choosing a ceramic coating that matches your skill level. Some products are made for professionals and flash quickly, while others are more forgiving for beginners. Read the label before opening the bottle so you know the working time, curing time, and recommended temperature range.
Your workspace matters just as much as the product. Work indoors if possible, away from direct sun, wind, dust, and rain. A garage with good lighting is ideal. Make sure the panels are cool to the touch. Heat can make the coating flash too fast, which may leave streaks or high spots.
Step 2: Wash The Vehicle Thoroughly
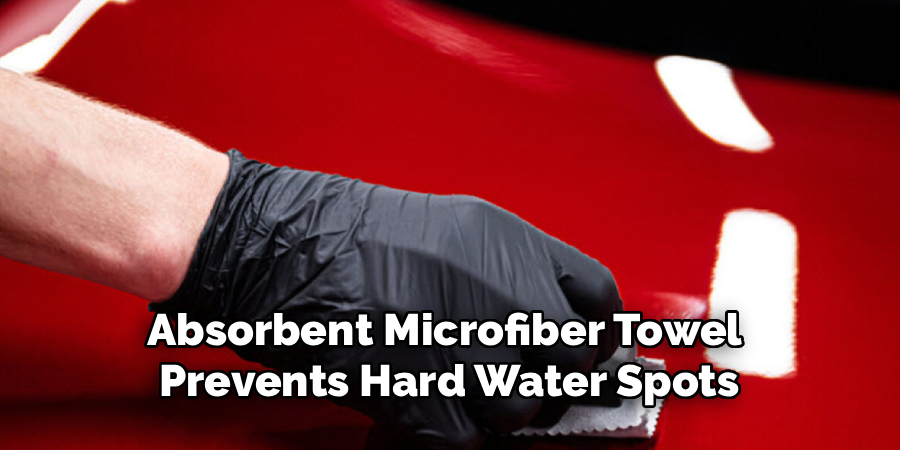
Begin with a careful wash to remove loose dirt, dust, and road film. Use a quality car shampoo, clean wash mitt, and separate rinse water if you use the two-bucket method. Work from the top down because lower panels usually carry the most grime.
Rinse often and avoid scrubbing hard. The goal is to clean the surface without adding new scratches. Pay attention to areas around badges, mirrors, trim, door handles, and lower rocker panels. After washing, rinse the car fully and dry it with a clean microfiber drying towel or blower.
Step 3: Decontaminate The Paint Surface
Washing alone will not remove every contaminant. Paint can hold bonded particles such as iron fallout, tar, sap, and industrial dust. These particles can stop the coating from bonding evenly, so decontamination is an important step.
Use an iron remover according to its instructions, then rinse it off fully. If the paint still feels rough, use a clay bar or synthetic clay towel with proper lubrication. Move gently across the surface and avoid heavy pressure. Once the paint feels smooth, rinse and dry the vehicle again before moving forward.
Step 4: Inspect And Correct The Paint
Before coating, inspect the paint under bright lighting. Look for swirl marks, light scratches, oxidation, water spots, or dull areas. Ceramic coating does not hide these defects well. In many cases, it can make them easier to see because it increases gloss and clarity.
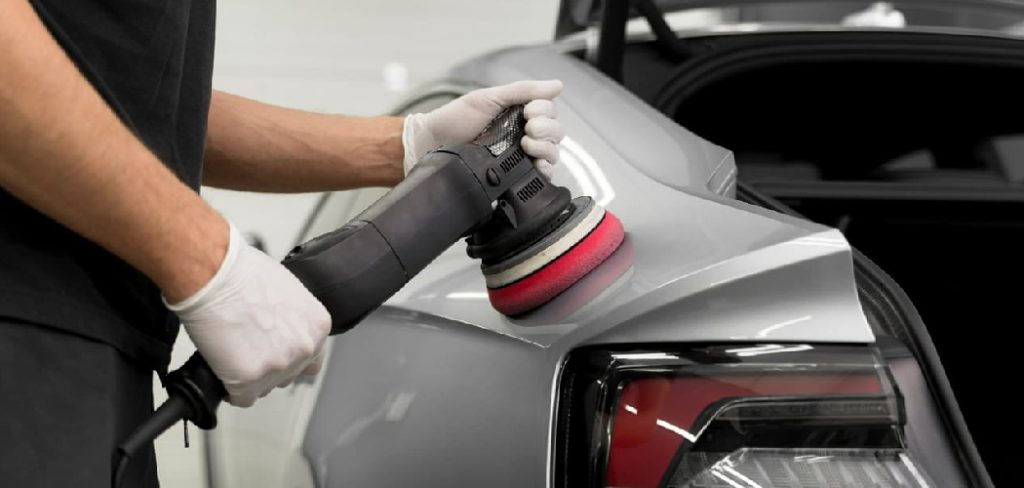
If the paint needs correction, polish it before coating. Beginners can use a mild polish and a dual-action polisher for safer results. When researching how to apply ceramic coating to car paint, remember that correction is not always required, but it often improves the final look. The better the finish before coating, the better the coated surface will appear.
Step 5: Perform A Final Panel Prep
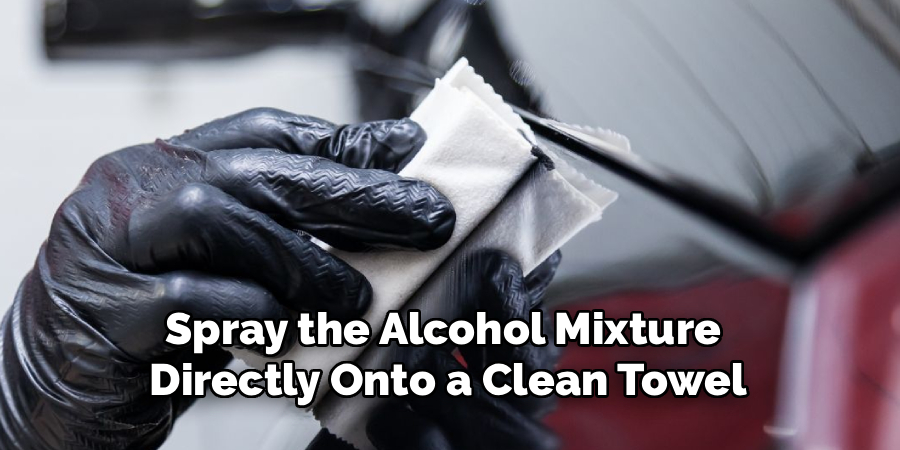
After polishing, the paint may have oils or residue that can weaken the coating bond. Use a panel prep spray, paint prep solution, or isopropyl alcohol blend recommended by the coating maker. Spray it onto a microfiber towel rather than directly soaking the panel.
Wipe one small section at a time, then follow with a second clean towel to remove any remaining residue. Use light pressure and turn the towel often. The surface should feel clean and bare. Do not apply wax, glaze, sealant, or quick detailer before ceramic coating, as these products can block proper bonding.
Step 6: Apply The Coating In Small Sections
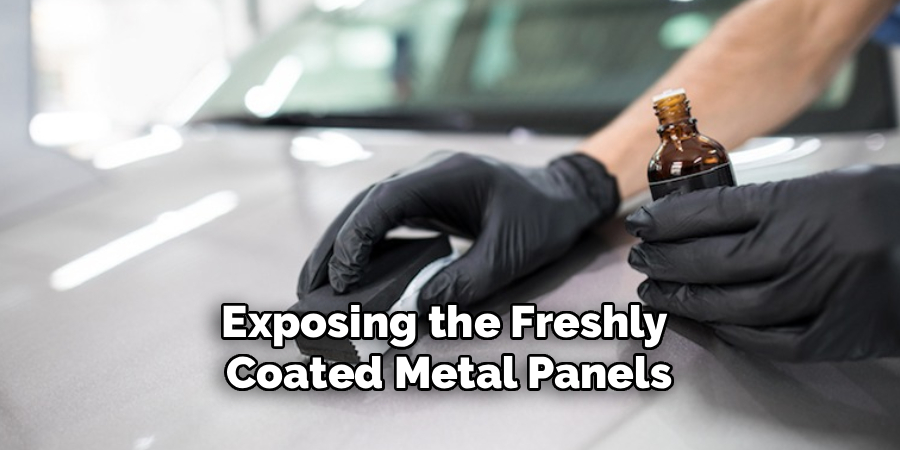
Wrap the applicator with the suede cloth or use the applicator supplied with the coating. Add the recommended number of drops to the applicator. More product does not always mean better protection. Too much coating can make leveling harder and increase the risk of streaks.
Work in small sections, such as half a door or one quarter of the hood. Apply the coating in overlapping lines, moving side to side and then up and down for even coverage. Many beginners studying how to apply ceramic coating to car panels make the mistake of coating too large an area at once. Smaller sections give you better control.
Step 7: Watch For Flashing And Level The Surface
After application, the coating will begin to flash. Flashing may look like a rainbow effect, slight sweating, or a change in surface texture. The timing depends on the product, temperature, humidity, and panel size. Always follow the instructions for your specific coating.
When it is ready, gently level the area with a clean microfiber towel. Then use a second towel to buff the panel until it looks clear and even. Check the surface from different angles under good lighting. If you see a dark streak or oily patch, level it right away before it hardens.
Step 8: Let The Coating Cure And Protect It
Curing is the period when the coating strengthens and bonds fully. During this time, the surface needs protection from water, dust, fingerprints, bird droppings, and harsh chemicals. Many coatings need at least 12 to 24 hours indoors before exposure to moisture, but some require longer.
Avoid washing the vehicle during the first week unless the product instructions say otherwise. If the car gets wet too soon, gently dry it with a soft towel to reduce water spotting. Good curing habits help the coating last longer and perform better over time.
Frequently Asked Questions
Can A Beginner Apply Ceramic Coating At Home?
Yes, a beginner can apply ceramic coating at home if the product is designed for consumer use and the instructions are followed carefully. The key is preparation, not speed. Wash, decontaminate, polish if needed, and wipe the paint clean before coating. Work in small sections, use good lighting, and level the product before it becomes difficult to remove.
How Long Does Ceramic Coating Take To Apply?
The coating step itself may take one to three hours, depending on vehicle size and product type. The full process can take much longer because washing, decontamination, polishing, and panel prep require careful work. For a beginner, setting aside a full day is smart. If paint correction is needed, the project may take a weekend.
Do I Need To Polish Before Applying Ceramic Coating?
Polishing is not always required, but it is often recommended. Ceramic coating bonds to the surface as it is, so scratches, swirl marks, and oxidation can remain visible under the coating. If the paint is already in excellent condition, a simple panel prep may be enough. If defects are noticeable, polishing first will create a cleaner, glossier result.
What Happens If I Leave High Spots?
High spots are areas where excess coating was not leveled properly. They can appear as dark patches, rainbow streaks, or oily marks. If caught quickly, you can usually buff them with a microfiber towel. If they harden, you may need light polishing to remove them. Good lighting and small work sections help prevent this problem.
How Should I Maintain A Ceramic Coated Car?
Wash the car with a pH-neutral shampoo and soft microfiber tools. Avoid harsh degreasers, abrasive cleaners, and automatic brushes that can reduce gloss or damage the surface. Dry the vehicle after washing to limit water spots. You can use a ceramic-safe maintenance spray if the coating maker recommends it. Regular gentle care helps preserve slickness and shine.
Conclusion
Ceramic coating can be a great way to protect your vehicle and make routine cleaning easier, but the outcome depends on careful preparation and correct application. Start with a clean surface, remove bonded contaminants, correct the paint if needed, use a proper panel prep, apply the coating in small areas, level it on time, and allow it to cure.
If you follow the product instructions and work patiently, learning how to apply ceramic coating to car paint becomes much more manageable. Take your time, protect the vehicle during curing, and maintain it with gentle washing habits for the best long-term results.

About
Ora Hayes is a distinguished figure in the world of DIY Thecarfixes, with over a decade of expertise in automotive diagnostics and high-performance maintenance. Her professional focus lies in merging mechanical precision with modern digital tools, fostering repair solutions that are both cost-effective and highly reliable. As the author of Thecarfixes, Ora Hayes delves into the art and science of automotive restoration, inspiring car owners and hobbyist mechanics alike.
Education
RMIT University (Melbourne, Australia) Associate Degree in Automotive Engineering — Focus on vehicle dynamics, industry-driven repair protocols, and advanced diagnostics. Gained hands-on experience with traditional mechanical tools and modern ECU remapping software.
Nottingham Trent University (United Kingdom) Bachelor’s in Mechanical Design and Automotive Engineering (Honors) — Specialized in automotive systems with a focus on blending technical engineering with everyday usability. Participated in industry projects, working with leading automotive manufacturers to gain real-world insights into vehicle longevity.
Publications and Impact
In Thecarfixes, Ora Hayes shares her insights on troubleshooting complex engine issues, material durability, and strategies for efficient garage setups. Her writing bridges the gap between professional mechanic knowledge and the home enthusiast’s needs, making it a must-read for both everyday drivers and seasoned gearheads.




