

Welcome, fellow home gardeners and DIY beginners! We spend countless hours maintaining our rotary tillers, sharpening our lawnmower blades, and keeping our trusty trucks running smoothly to haul heavy bags of spring mulch. Just like a delicate greenhouse needs careful, precise climate monitoring to protect fragile seedlings, your vehicle relies heavily on a tiny thermal switch to prevent catastrophic engine overheating. When this small brass component eventually fails, your interior dashboard dial might act wildly erratic, or your heavy truck might struggle to start on cold mornings.
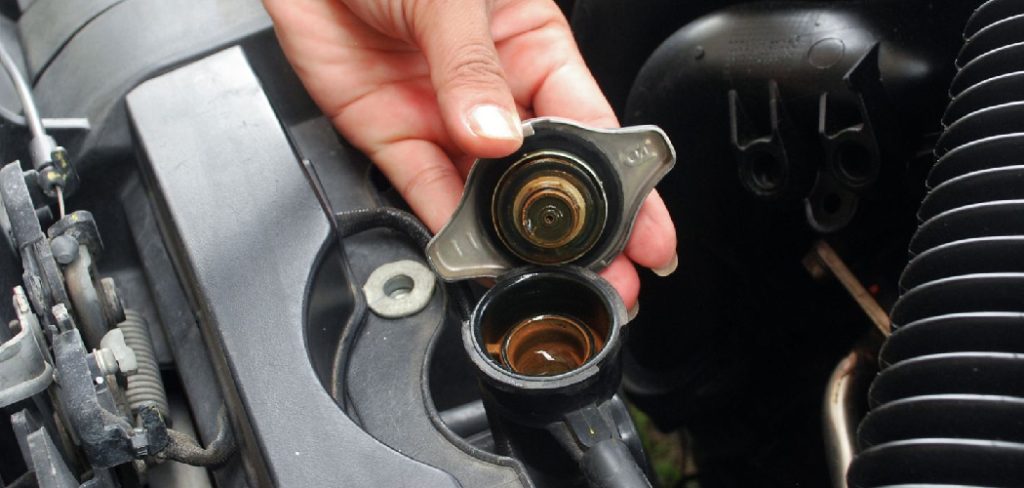
If you are wondering how to remove coolant temperature sensor, you have found the absolute perfect beginner-friendly resource. You absolutely do not need years of professional mechanical experience or a garage full of expensive pneumatic tools to swap out this basic automotive part. We will guide you methodically through the entire physical process, utilizing simple hand tools that you likely already own in your backyard work shed. Let us grab some heavy-duty work gloves, open the hood, and get your favorite garden-hauling vehicle running perfectly again today!
Step-by-Step Guide: How to Remove Coolant Temperature Sensor
Step 1: Park Your Vehicle and Cool the Engine
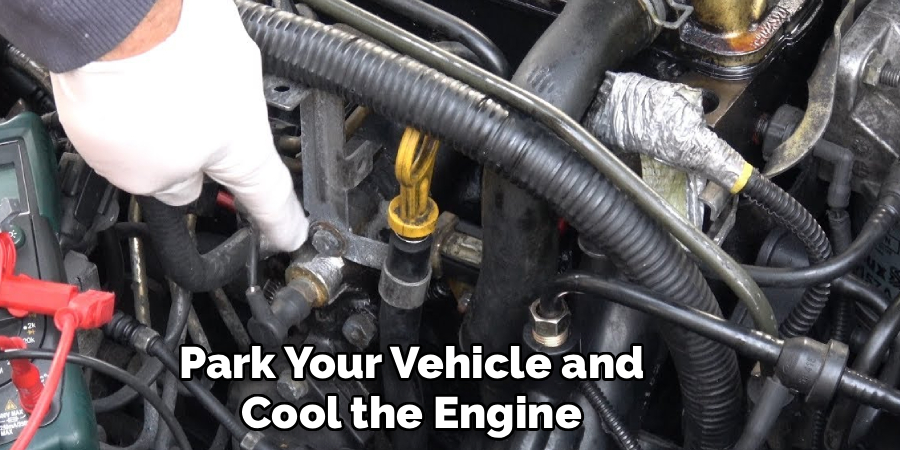
Working on a hot metal engine block poses a severe physical safety hazard for any beginner home mechanic. You must first park your reliable truck or daily commuter car on a completely flat, even surface like a paved concrete driveway. Turn the vehicle ignition completely off and remove your metal keys from the interior dashboard. Pop the heavy front hood open to allow fresh ambient air to circulate rapidly around the baking hot metal components. You absolutely must wait at least two full hours before touching any internal rubber hoses or metallic parts. The pressurized antifreeze running inside the cooling system operates at boiling temperatures and can cause severe skin burns if you rush this essential, non-negotiable cooling phase.
Step 2: Locate the Defective Brass Switch
Once the massive metal engine block feels completely cool to your bare touch, you need to physically locate the faulty thermal switch. Grab a remarkably bright LED flashlight to properly illuminate the dark, greasy corners of your engine bay. You will typically find this small brass component threaded directly into the thick metallic intake manifold or resting near the upper rubber radiator hose housing. It generally looks exactly like a small brass plumbing plug featuring a brightly colored plastic electrical connector protruding from the very top. If you struggle to locate it among the dense rubber hoses, consult your vehicle repair manual, which acts much like a highly specialized botanical encyclopedia for your specific automotive make.
Step 3: Disconnect the Negative Battery Cable
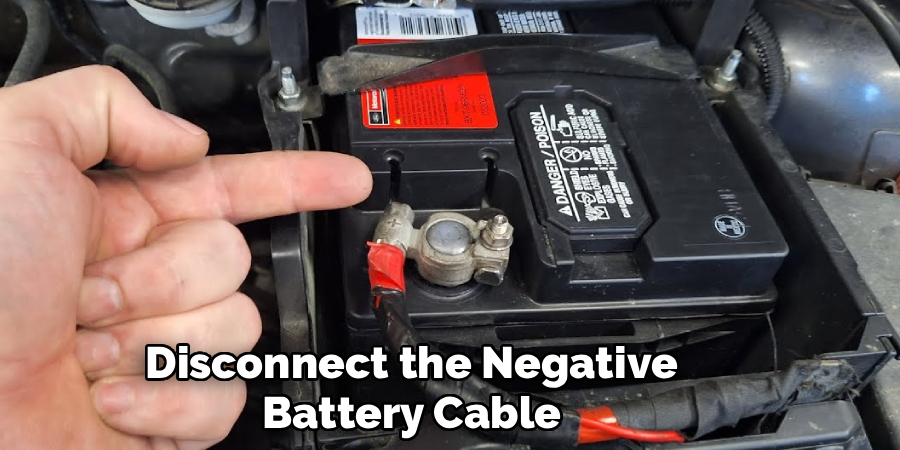
Before you introduce any heavy metal hand tools into the crowded, delicate engine bay, you must completely secure the automotive electrical system. Grab a standard wrench from your toolbox and walk directly over to your primary vehicle battery. You need to carefully loosen the small retaining nut holding the thick black negative cable tightly against the soft lead terminal. Gently wiggle the black cable completely loose and push it safely aside, ensuring it cannot accidentally spring back and touch the bare metal terminal while you work. Disconnecting this primary power source prevents accidental electrical sparks and protects your sensitive, highly expensive automotive computer from dangerous voltage spikes during your delicate repair project.
Step 4: Drain a Small Amount of Antifreeze
Mastering how to remove coolant temperature sensor safely involves carefully managing the brightly colored liquid antifreeze resting directly behind the brass plug. You do not need to empty your entire metal radiator completely, but you should drain a small amount to actively lower the internal fluid level. Slide a completely clean plastic catch pan directly underneath the front radiator drain valve. Turn the small plastic petcock slowly to release approximately one gallon of the slippery antifreeze. Lowering this internal liquid level guarantees that a massive, messy waterfall of sticky fluid will not pour out over your clean engine block when you finally unscrew the faulty switch.
Step 5: Unplug the Electrical Wiring Harness
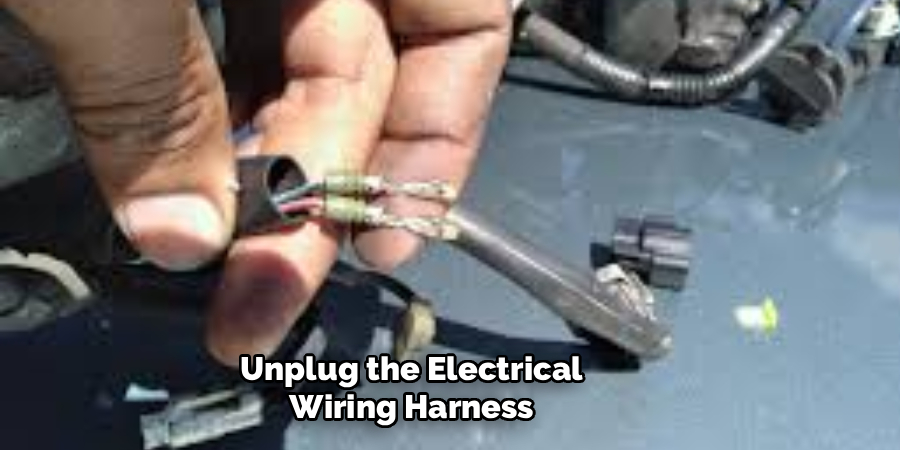
With the internal liquid level safely lowered and secured, you can now address the delicate plastic wiring harness connected to your faulty part. The electrical connector features a small plastic locking tab that holds it firmly against intense engine vibrations. Press this tiny plastic tab down firmly with your thumb and gently wiggle the entire plastic connector straight upward. You must never pull aggressively on the thin colored wires, as they can easily break deep inside the fragile plastic housing. If the connector feels stubbornly stuck from years of accumulated road grime, use a gentle electrical contact cleaner spray to dissolve the sticky dirt before attempting to pull it free again.
Step 6: Loosen the Old Brass Component
Now you can finally extract the defective brass component directly from the thick metal engine block. Select a deep well socket that perfectly matches the hexagonal metallic base of your specific thermal switch. Slide the metal socket carefully over the plastic tip until it grips the solid brass base tightly. Attach your heavy metal ratchet handle and turn it slowly in a counter-clockwise direction to break the tight, heat-cycled factory seal. Once you loosen those initial tight threads, you can usually unthread the remainder of the switch easily using your bare fingers. Pull the old unit out carefully, inspecting it for physical damage, and set it aside safely on your wooden workbench.
Step 7: Clean the Engine Block Port
Extracting the old unit frequently leaves behind crusty white mineral deposits or torn pieces of old yellow thread-sealing tape. You must clean the empty circular metallic port meticulously before attempting to install your brand new replacement switch. Take a small, lint-free microfiber cloth and carefully wipe away any visible oily sludge resting near the open hole. You can use a soft nylon brush to gently scrub the internal metal threads, but you must ensure no loose dirt debris falls directly into the open fluid passageway. Creating a pristine, perfectly clean metallic surface guarantees your new brass component will form a watertight, highly secure physical seal.
Step 8: Install the Fresh Replacement Part
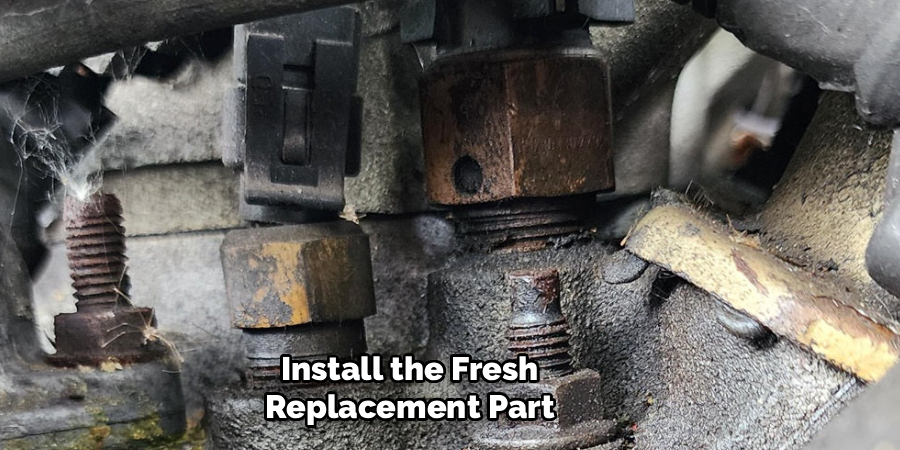
The final rewarding step involves installing your fresh, highly accurate replacement part to restore proper engine communication. Wrap the brass threads of your new unit with a single thin layer of specialized automotive thread sealant tape to actively prevent future liquid leaks. Thread the new sensor into the perfectly clean engine port carefully using your bare fingers to avoid destructive, expensive cross-threading. Once it feels adequately hand-tight, attach your deep well socket and gently snug it down until it feels firmly secure without overtightening. Push the plastic electrical connector back onto the top until you hear a satisfying click, then slowly refill your radiator with the saved antifreeze mixture.
Frequently Asked Question
What Happens If I Ignore A Bad Thermal Switch?
- Ignoring a failing unit severely impacts your daily fuel economy and overall vehicle performance.
- Your engine computer relies heavily on this vital temperature data to calculate the perfect air-to-fuel ratio.
- Running a faulty unit causes the engine to burn excessive gasoline, often producing thick black exhaust smoke.
- Eventually, poor temperature regulation can lead to catastrophic, highly expensive engine overheating.
Do I Need Special Tools For This Project?
- You absolutely do not need expensive, professional-grade pneumatic tools to complete this weekend project.
- A basic home tool kit containing a standard metric socket set and a reliable ratchet handles the job perfectly.
- You will also need a clean plastic bucket to catch any drained antifreeze and a small flashlight.
- Gathering these simple tools beforehand makes the entire replacement process incredibly smooth and entirely frustration-free.
Can I Reuse The Old Liquid Antifreeze?
- If the brightly colored fluid you drained looks completely clear and free of floating rust particles, you can reuse it safely.
- Simply pour the captured liquid from your clean plastic drain pan back into the top radiator opening.
- However, if the fluid appears muddy, brown, or smells heavily burnt, you must dispose of it properly at a recycling center.
- Always purchase a fresh, prediluted mixture to keep your internal cooling system functioning flawlessly if the old fluid looks degraded.
How Long Does This Repair Usually Take?
- For an absolute beginner attempting this task for the very first time, the entire physical process takes roughly one hour.
- This timeframe includes lowering the fluid levels, extracting the old unit, and carefully cleaning the metallic threads.
- You must also firmly factor in the mandatory two-hour waiting period to ensure the engine cools completely.
- Working methodically and safely always matters significantly more than rushing to finish quickly.
Why Is My Dashboard Gauge Still Reading Hot?
- If you successfully install a new brass unit but your interior gauge still reads dangerously hot, you likely have trapped air.
- Draining the liquid often introduces small, stubborn air bubbles into the pressurized cooling passages.
- You must bleed the system by leaving the radiator cap off and letting the engine idle until the bubbles escape.
- If the problem persists, your main thermostat valve might be stuck closed, requiring a separate replacement procedure entirely.
Conclusion
Successfully repairing your own vehicle provides an immense sense of personal accomplishment, feeling remarkably similar to harvesting your very first batch of ripe summer tomatoes. By patiently letting your massive engine cool down, carefully managing your liquid antifreeze levels, and utilizing basic household hand tools, you can easily restore your vehicle’s optimal performance. You no longer have to pay notoriously expensive professional labor rates for a simple, straightforward part swap that you can handle entirely safely in your own paved driveway.
Now that you fully understand how to remove coolant temperature sensor, you possess the incredible confidence needed to tackle basic automotive maintenance tasks independently. This essential repair ensures your trusty truck remains highly reliable for all those heavy, demanding trips to the local garden center every spring. Wipe down your metal sockets, dispose of your old brass components responsibly at a recycling facility, and enjoy your perfectly running, temperature-regulated engine today!

About
Ora Hayes is a distinguished figure in the world of DIY Thecarfixes, with over a decade of expertise in automotive diagnostics and high-performance maintenance. Her professional focus lies in merging mechanical precision with modern digital tools, fostering repair solutions that are both cost-effective and highly reliable. As the author of Thecarfixes, Ora Hayes delves into the art and science of automotive restoration, inspiring car owners and hobbyist mechanics alike.
Education
RMIT University (Melbourne, Australia) Associate Degree in Automotive Engineering — Focus on vehicle dynamics, industry-driven repair protocols, and advanced diagnostics. Gained hands-on experience with traditional mechanical tools and modern ECU remapping software.
Nottingham Trent University (United Kingdom) Bachelor’s in Mechanical Design and Automotive Engineering (Honors) — Specialized in automotive systems with a focus on blending technical engineering with everyday usability. Participated in industry projects, working with leading automotive manufacturers to gain real-world insights into vehicle longevity.
Publications and Impact
In Thecarfixes, Ora Hayes shares her insights on troubleshooting complex engine issues, material durability, and strategies for efficient garage setups. Her writing bridges the gap between professional mechanic knowledge and the home enthusiast’s needs, making it a must-read for both everyday drivers and seasoned gearheads.




