

If you’ve ever had your car’s engine stubbornly refuse to turn over, you know the helpless dread that creeps in—usually at the worst possible time. Most batteries give off warning signs before failing altogether, though these signals are easy to miss or dismiss as something else. Does it really matter? Well, ignoring your battery’s health invites breakdowns and possibly an expensive tow truck bill at midnight. Taking charge, at least when it comes to your battery, helps you plan your routine maintenance and sidestep those sudden disasters.
Let’s be honest—testing your car’s battery is not rocket science. You don’t need a badge from a mechanic’s guild, nor a garage lined with toolboxes. As long as you have a reasonably steady hand and some patience, the job is manageable. Follow along here: the process is broken into clear steps on how to use battery tester on car, each one low on drama, but essential if you actually want your battery to outlast your ambitions.
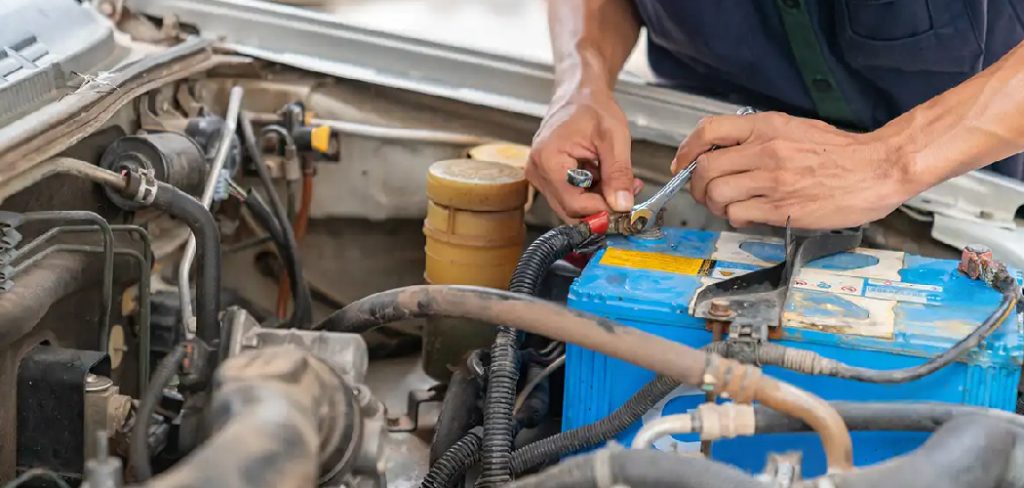
What Is a Car Battery Tester?
Strictly speaking, a car battery tester is a device made for one task— judging the state of your vehicle’s battery. Not to be mistaken for a multimeter, which just spits out the voltage number, a decent tester tries to mimic real-world conditions by gauging whether your battery can deliver the punch needed to start a car on a frosty morning. Most modern versions spit out numbers like cold cranking amps (CCA), internal resistance, and, occasionally, a percentage bar, though some skepticism is healthy regarding the latter.
They don’t all look or behave the same: you might find a chunky analog gadget with a twitchy needle, or a neat digital box that spits out data on a pixelated screen. When you clamp one onto your battery, the tester essentially mimics the stress your battery feels when cranking up the engine—giving you a snapshot of its true capacity, or lack thereof. Whether this snapshot is perfect is debatable, but it’s usually enough to warn you if your battery is clinging to life by a thread.
Tools and Materials You’ll Need
To test your car battery, you will need a battery tester, also known as a voltage or load tester. These can be found at most automotive supply stores and online. Some common types of battery testers include:
- Analog Battery Tester
- Digital Battery Tester
- Multimeter
- Battery Load Tester
Additionally, you will need to have safety equipment such as gloves and eye protection to protect yourself while handling the battery. You may also want to have a pair of pliers or a wrench handy in case you need to remove any terminals from the battery.
Safety Precautions Before Testing
Even a seemingly innocent car battery is more dangerous than it looks. Inside: sulfuric acid, which can burn skin, and enough stored energy to make sparks fly. So, gloves and goggles on, always—and do this before you even pop the hood.
Work outside or in a breezy space, never in a sealed garage. You may not smell hydrogen gas as it drifts up during charging or discharging, but the risk is real. Any flame, cigarette, or spark is a disaster recipe. Metal tools? Careful. Lay a wrench across the terminals and—you get the idea. The resulting shower of sparks or, worse, the explosion is not a theoretical warning; it’s happened to plenty before you.
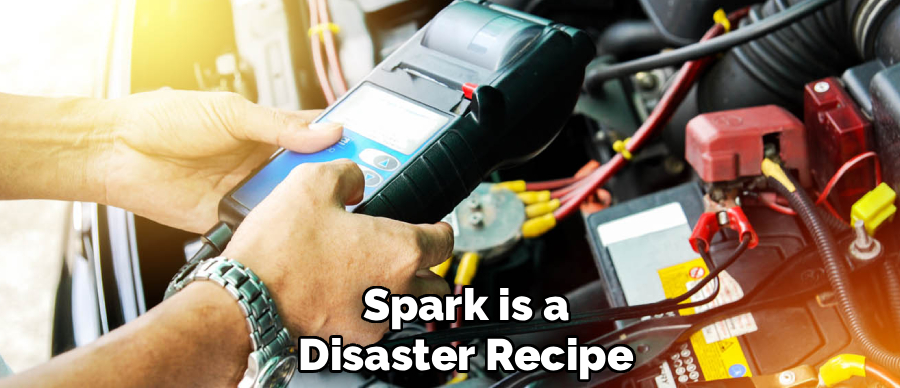
7 Simple Step-by-step Guidelines on How to Use Battery Tester on Car
Step 1: Locate the Battery and Terminals
Make sure the engine’s off, keys are out—the kind of obvious step people skip, until something shorts. Prop the hood open and scan the corners of the engine bay for the battery. Some cars, especially Euro models or smaller compacts, hide the battery in the trunk or under a back seat, presumably to keep us guessing. When in doubt, check your owner’s manual. Saves time.
Now, identify the posts. The positive usually wears a plus sign and often comes with a red cable or cover. Negative means a minus sign and a black wire, typically bolted to the car chassis. Don’t mix them up. Reverse the clamps, and if you’re lucky, you’ll only fry the tester.
Step 2: Clean the Battery Terminals
You want a solid connection. That powdery blue or white crust around the posts? Corrosion. It torpedoes accurate readings and can trick you into thinking a good battery is dead. Give both posts a good scrub with your wire brush until shiny metal surfaces again. If the corrosion is stubborn, dust some baking soda onto the affected area and drip a little water; it’ll fizz and neutralize residual acid. Wipe everything dry with your rag. Now you’re ready.
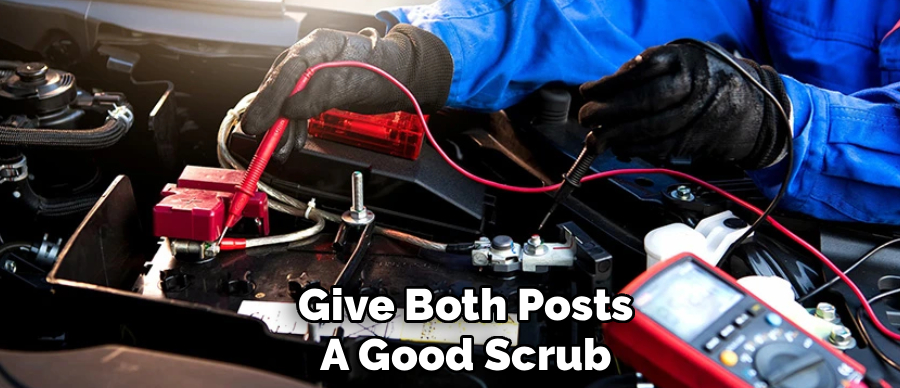
Step 3: Connect the Tester Cables
Start with the red clamp on the positive terminal. Make sure the jaws bite down on bare metal—wiggle if needed. Then clamp black onto the negative. This order matters: it’s the safest sequence to avoid surprise sparks. Secure both clamps, and if you’re using a digital tester, it will probably flicker to life, ready for the next step.
Step 4: Set the Tester Parameters
The device wants details. Battery type first—could be standard flooded, AGM, or gel cell. Check the sticker on your battery if you aren’t sure; it’s usually there, tucked in small print. Next, the factory-rated CCA. That’s the “cold cranking amps,” the battery’s design promise for power delivery. Ranges differ, usually 400 to 800 CCA on most cars. Punch the numbers in exactly; a mismatch here heavily skews your results.
Step 5: Run the Battery Test
Once you’ve fed the tester the correct data, it’ll get to work. Expect a few seconds of simulated stress—basically, the tester asks the battery to deliver as if you’re cranking the ignition. Don’t touch the clamps or fiddle under the hood during the test. A poor connection or a sudden movement can cause spikes, sparks, or a false reading. Wait for the beep or message indicating the test is finished.
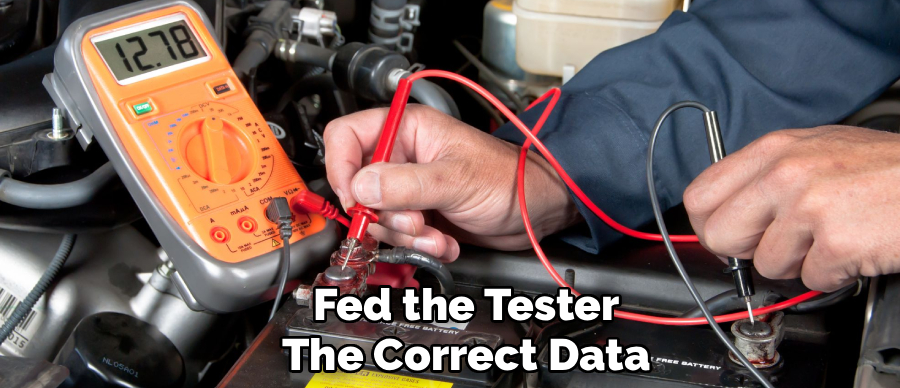
Step 6: Read and Interpret the Results
When it’s over, the tester spits out its findings: measured CCA compared to the rated CCA, as well as voltage. Healthy batteries should hover close to 12.6 volts when fully rested. If your measured CCA is considerably lower than the rating, your battery may be living on borrowed time. Most digital testers helpfully translate the numbers with a recommendation: “Good,” “Recharge,” “Replace,” or sometimes “Bad Cell.” A “Recharge/Retest” result just means the battery’s voltage dipped too low for a fair test—charge it fully and try again. “Replace”—well, it’s generally not wrong, but do some basic troubleshooting before condemning the battery outright.
Step 7: Disconnect and Secure the Area
With the results recorded, unclip everything in the reverse order: black clamp first, then red. Lower the hood securely. Wipe down your test cables—acid residue is sneaky—and coil them neatly. Stash your tester somewhere dry. Treating your tools with a bit of care saves trouble next time you’re out in the cold with a sluggish starter.
Following these steps on how to use battery tester on car will not only help you diagnose the battery health but also ensure safety while handling any electrical equipment. Remember to always disconnect the negative terminal first and secure the area before starting any work.
Common Mistakes to Avoid
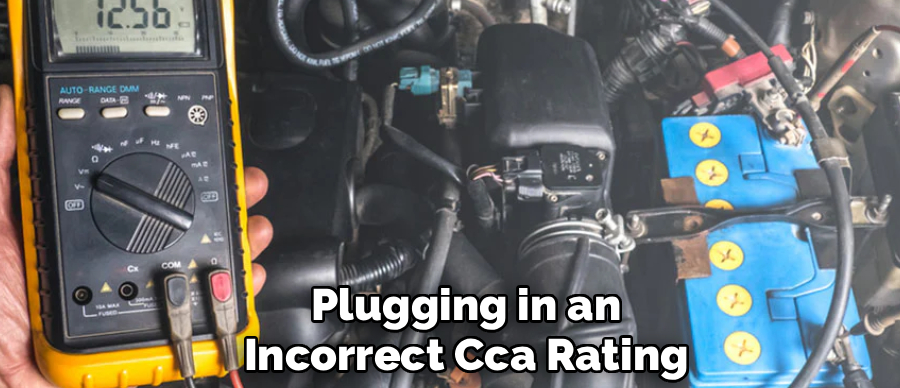
Many people skip cleaning the terminals. Don’t. Another common error: plugging in an incorrect CCA rating, which guarantees misleading results. Testing the battery fresh after a drive is also unwise—let the car rest for an hour so the voltage stabilizes and you don’t get duped by a temporary “surface charge.” These little oversights can trip up even the well-intentioned.
When to Replace the Battery?
The basic rule? If your tester suggests health has dropped below half the original CCA, you’re on borrowed time. Watch for hard starts on cold mornings or dimming headlights when you use the windows. Batteries don’t last forever—three to five years for most. After that, signs of failure grow more common. Consistent weak readings? You’re safer replacing it before you get stranded far from anyone willing to hand over jumper cables.
Maintenance Tips to Extend Battery Life
Keep the battery snug in its tray; excessive jiggling is notorious for damaging the internal plates. Take a quick look at the terminals and clean off any corrosion every few months. If you rarely drive, consider using a trickle charger to keep things topped up—a dead battery left in a discharged state tends to stay that way permanently.
Frequently Asked Questions
Q1: Can I Use a Multimeter Instead of a Battery Tester?
Technically, yes, but don’t expect a full picture. A multimeter can tell you if a battery is charged, but it won’t predict whether it can deliver under load, or identify hidden weaknesses in the internal plates. For real diagnostics, a purpose-built tester is still best.
Q2: How Often Should I Test My Car Battery?
Aim for twice a year. Right before winter, when low temperatures play havoc with batteries, and again in late spring, once the heat starts ramping up. A schedule like that helps you catch waning performance before it leaves you stranded.
Q3: Why Does My Tester Say “Charge and Retest”?
Usually, it means your battery is simply too drained to assess under load. Not necessarily faulty—maybe you left the lights on a bit too long, or the car hasn’t seen real use lately. Give it a proper charge, then run the test again.
Keeping Your Vehicle Reliable on the Road
Spending a few minutes every couple of months on these checks is not just about avoiding breakdowns; it’s about taking agency over your own car’s reliability. A little diligence—cleaning, testing, and some basic maintenance—almost always pays you back in peace of mind. The next time your car starts without hesitation, you’ll know it wasn’t luck.
Grab your tools, follow these steps on how to use battery tester on car, and you’ll easily outsmart one of the leading causes of unexpected roadside misery.

About
Ora Hayes is a distinguished figure in the world of DIY Thecarfixes, with over a decade of expertise in automotive diagnostics and high-performance maintenance. Her professional focus lies in merging mechanical precision with modern digital tools, fostering repair solutions that are both cost-effective and highly reliable. As the author of Thecarfixes, Ora Hayes delves into the art and science of automotive restoration, inspiring car owners and hobbyist mechanics alike.
Education
RMIT University (Melbourne, Australia) Associate Degree in Automotive Engineering — Focus on vehicle dynamics, industry-driven repair protocols, and advanced diagnostics. Gained hands-on experience with traditional mechanical tools and modern ECU remapping software.
Nottingham Trent University (United Kingdom) Bachelor’s in Mechanical Design and Automotive Engineering (Honors) — Specialized in automotive systems with a focus on blending technical engineering with everyday usability. Participated in industry projects, working with leading automotive manufacturers to gain real-world insights into vehicle longevity.
Publications and Impact
In Thecarfixes, Ora Hayes shares her insights on troubleshooting complex engine issues, material durability, and strategies for efficient garage setups. Her writing bridges the gap between professional mechanic knowledge and the home enthusiast’s needs, making it a must-read for both everyday drivers and seasoned gearheads.




