

You spend hundreds of hours inside your vehicle every year. While a shiny exterior turns heads on the street, the interior provides your actual driving experience. Dust, coffee spills, pet hair, and road dirt inevitably find their way into your cabin. Over time, these messes accumulate and break down the materials inside your vehicle.
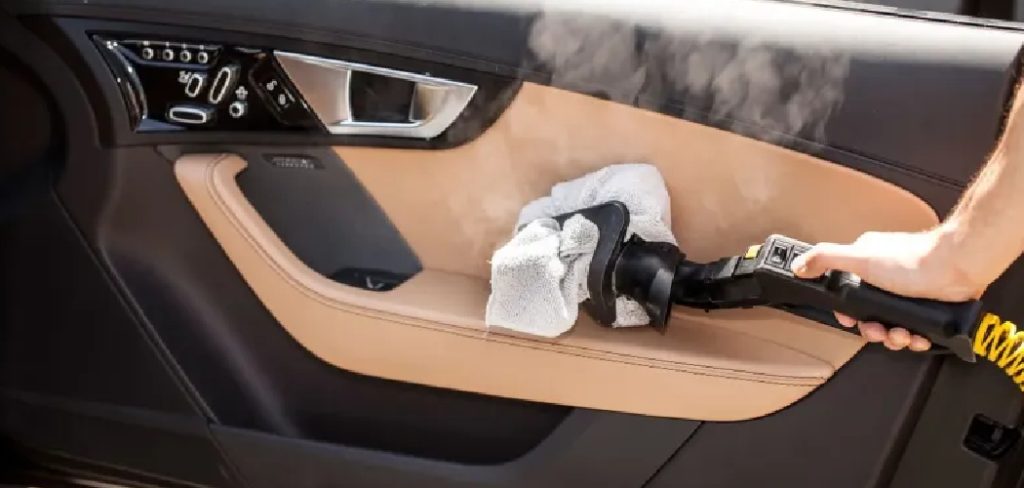
Many drivers feel overwhelmed by the prospect of detailing their own cabin. The spaces are tight, the materials vary from glass to leather, and getting into every crevice feels impossible.
This comprehensive guide on how to wash interior of car breaks down the exact process professionals use to restore vehicles.
What Will You Need?
Before you start cleaning, gather all your supplies in one place. Having the right tools within reach speeds up the process and prevents frustration. You do not need expensive commercial equipment, but you do need products designed specifically for automotive use.
Essential Tools and Supplies:
- A Strong Vacuum Cleaner: Use a shop vacuum or a powerful household vacuum with a hose. You will need a crevice attachment and a brush attachment.
- Microfiber Towels: Buy a large pack of high-quality microfiber towels. They trap dirt without scratching delicate plastics or leaving lint behind.
- Detailing Brushes: Soft-bristle detailing brushes help you pull dust out of air vents and tight corners. A clean, soft paintbrush works well as a substitute.
- All-purpose Interior Cleaner: Choose a dedicated automotive interior cleaner safe for plastics, vinyl, and rubber.
- Glass Cleaner: Select an automotive glass cleaner that does not contain ammonia. Ammonia damages window tint and dries out rubber seals.
- Carpet and Upholstery Cleaner: Find a foaming fabric cleaner for cloth seats and floor carpets.
- Leather Cleaner and Conditioner: If you have leather seats, purchase a pH-balanced leather cleaner and a separate nourishing conditioner.
- Stiff-bristle Scrub Brush: You need this to agitate stains on your floor mats and carpets.
- Trash Bags: Keep a few large bags handy for throwing away accumulated garbage.
10 Easy Steps on How to Wash Interior of Car
Achieving professional results requires following a specific sequence. We move from top to bottom and from dry to wet. This prevents you from pushing dirt onto areas you just finished cleaning. Follow these 10 detailed steps to transform your vehicle’s cabin.
Step 1: Declutter and Remove All Trash
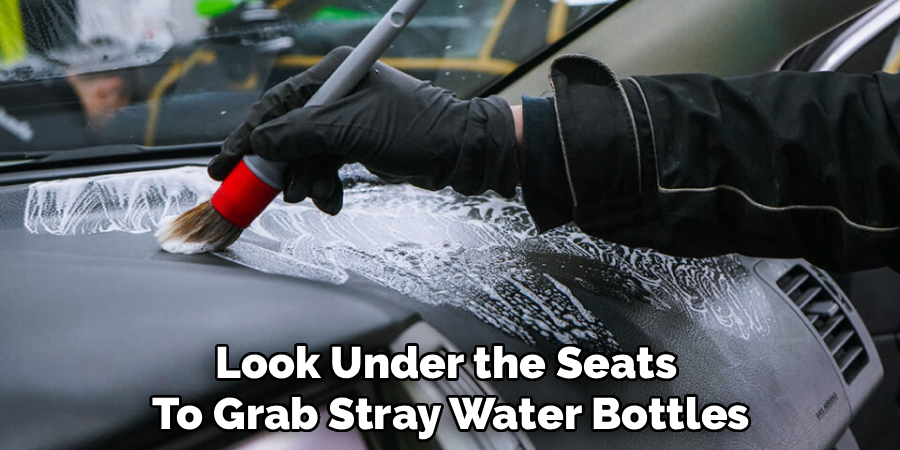
You cannot clean a car filled with empty coffee cups, old receipts, and gym bags. Start your detailing process by grabbing a large garbage bag and removing every piece of trash. Check the door pockets, the center console, and the glovebox. Look under the seats to grab stray water bottles or old food wrappers.
Next, remove all personal items that belong in the house. Take out jackets, sunglasses, charging cables, and children’s toys. If you have child car seats installed in the back, unbuckle them and remove them entirely. Child seats trap an astonishing amount of crumbs and spills beneath them. Taking everything out gives you a blank canvas. You can finally see the true condition of your carpets and seats, allowing you to identify the heaviest stains.
Step 2: Remove and Clean the Floor Mats
Floor mats take the brunt of the dirt, mud, and moisture entering your vehicle. Pull all the mats out of the car and place them on a clean patch of driveway or sidewalk. Vigorously shake each mat to release loose stones and loose dirt.
If you have rubber or all-weather floor mats, spray them down with your garden hose. Apply an all-purpose cleaner and scrub the deep grooves with a stiff brush to lift embedded mud. Rinse them thoroughly and leave them in the sun to air dry completely. If you have carpet mats, vacuum them thoroughly. Spray a carpet cleaner onto any heavy stains and agitate the fibers with your scrub brush. Wipe away the lifted dirt with a microfiber towel. Leave the carpet mats outside to dry while you clean the rest of the car.
Step 3: Vacuum the Entire Interior Thoroughly
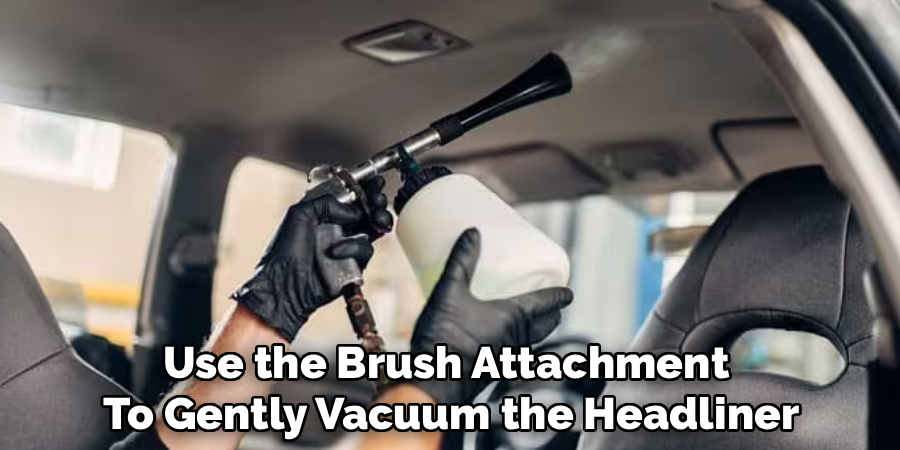
Vacuuming is arguably the most critical step in the entire process. Start at the top of the vehicle and work your way down to the floorboards. Use the brush attachment to gently vacuum the headliner, dashboard, and seats. The brush dislodges dust without scratching the plastics or tearing the fabric.
Switch to the thin crevice tool to clean between the seats and the center console. Use your hands to pull the seat bolsters apart to vacuum deep into the seams where crumbs gather. Slide the front seats completely forward to vacuum the rear floorboards, then slide them completely backward to access the front floorboards. Use a repetitive, overlapping motion on the carpets to pull up stubborn sand and pet hair. Do not rush this step; removing dry dirt prevents you from creating mud when you introduce liquid cleaners later.
Step 4: Dust and Wipe Down the Dashboard
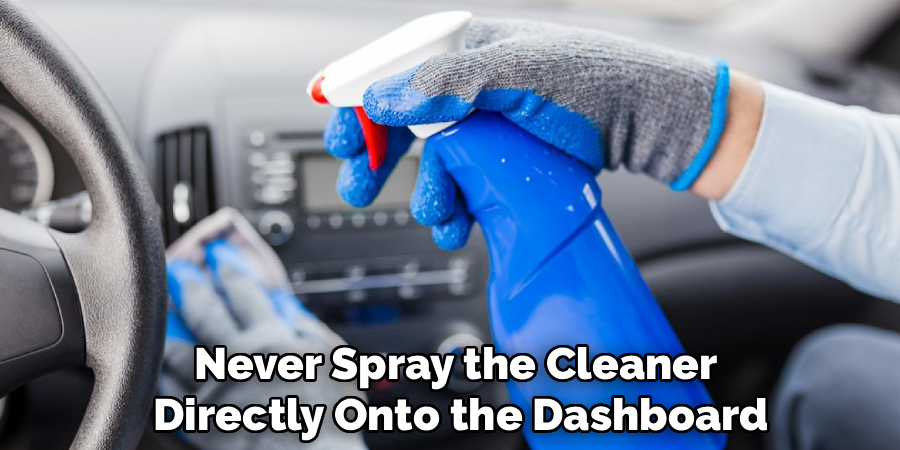
The dashboard commands your attention every time you drive. It also collects heavy dust and bakes in the direct sunlight. Spray your all-purpose interior cleaner directly onto a clean microfiber towel. Never spray the cleaner directly onto the dashboard, as the overspray will hit your windshield and leave streaks.
Wipe the entire upper dashboard using long, sweeping motions. Pay close attention to the gauge cluster cover. Use extremely light pressure here, as clear plastic scratches very easily. Wipe down the steering wheel, steering column, and the areas around your ignition. Turn the towel to a clean, dry side and buff the surfaces to remove any remaining cleaning residue. This leaves the dashboard looking matte, fresh, and perfectly clean.
Step 5: Detail the Vents and Small Crevices
Large microfiber towels cannot reach into the tight spaces where dust loves to hide. Grab your soft-bristle detailing brush or a clean makeup brush. Gently brush inside the air conditioning vents to pull out the thick layer of dust clinging to the slats. Hold your vacuum nozzle right next to the vent to catch the dust as you brush it out.
Use this same brush technique on the radio buttons, climate control knobs, and door panel switches. The brush bristles easily reach into the tiny gaps surrounding the buttons. You can also use detailing swabs or cotton swabs lightly dampened with interior cleaner to lift grime out of the cup holders and the crevices around the gear shifter. This micro-detailing step makes the biggest difference in achieving a professional-looking result.
Step 6: Deep Clean the Seats
The method for cleaning your seats depends entirely on the material. For cloth seats, spray a foaming upholstery cleaner over the fabric. Let the foam sit for a minute to break down the dirt. Scrub the seat gently with a soft brush, then firmly wipe the fabric with a dry microfiber towel to absorb the moisture and lift grime.
For leather seats, apply a dedicated leather cleaner to a microfiber applicator pad. Work the cleaner into the leather using small circular motions. Pay special attention to the steering wheel and the driver’s seat, as these areas collect body oils and sweat. Wipe the dirty cleaner away with a fresh towel. Once the leather is dry, apply a high-quality leather conditioner. The conditioner restores essential oils, keeps the leather soft, and prevents it from cracking under the sun’s harsh UV rays.
Step 7: Clean the Door Panels and Jambs
Door panels suffer from scuff marks from shoes and greasy fingerprints from constant handling. Spray your interior cleaner onto a microfiber towel. Vigorously wipe down the armrests, door handles, and the bottom plastic portions of the doors. If you encounter a stubborn shoe scuff on the plastic, lightly agitate it with your detailing brush until it disappears.
Next, open the doors fully and look at the door jambs. This is the painted metal area where the door meets the car body. Jams collect grease, road dirt, and leaves. Spray an all-purpose cleaner onto an old microfiber towel and wipe the metal surfaces clean. Removing this hidden dirt prevents you from ruining your clothes when brushing against the car while getting inside.
Step 8: Tackle Stains on the Floor Carpet
With the dry dirt removed by the vacuum, you can now focus on the discolored spots and heavy stains on the floor carpet. Identify the problem areas, such as salt stains near the pedals or coffee spills in the rear. Spray an automotive carpet cleaner directly onto the stain and let it dwell for two to three minutes.
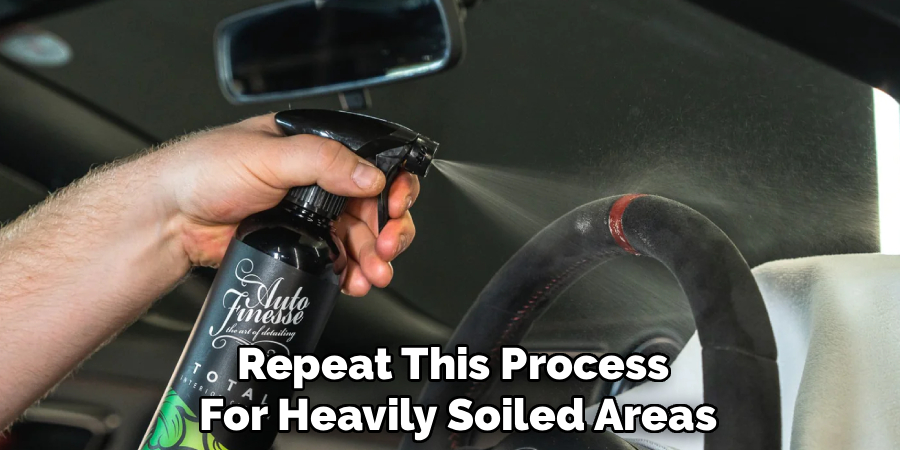
Take a stiff-bristle scrub brush and agitate the spot vigorously. Move the brush in multiple directions to work the cleaner deep into the carpet fibers. Take a clean, dry microfiber towel and firmly blot the wet area. Apply heavy pressure to soak up the liquid and pull the stain out of the carpet. Repeat this process for heavily soiled areas. Leave the car doors open afterward to allow the carpets to completely air dry.
Step 9: Wash the Interior Windows and Mirrors
Cleaning the glass should always be your second-to-last step. Doing this earlier risks getting chemical overspray from your interior cleaners onto your freshly polished windows. Grab a clean microfiber towel and a specialized automotive glass cleaner. Spray the cleaner onto the towel to avoid misting the dashboard.
Wipe the inside of the windshield, the side windows, the rear window, and the rearview mirror. To avoid streaks, use a specific technique: wipe the interior glass using horizontal strokes. When you clean the exterior glass later, use vertical strokes. If you see a streak, you will instantly know whether it is on the inside or the outside based on the direction of the line. Use a dry secondary towel to buff the glass clear.
Step 10: Apply Protectant and Deodorize the Cabin
The final step seals in your hard work and leaves the car smelling great. Apply an interior UV protectant to a microfiber applicator pad. Wipe the protectant over the dashboard, door panels, and center console. This product acts like sunscreen for your car, preventing the plastics from fading and cracking. Avoid using greasy, high-shine products that create a dangerous glare on your windshield.
Conclusion
How to wash interior of car is an incredibly rewarding process. By gathering the proper supplies and following this systematic 10-step method, you can easily replicate professional detailing results in your own driveway. Taking the time to vacuum the crevices, wipe away sticky residues, and condition your seats dramatically improves your daily commute.
Do not wait for stains to set permanently or for the dashboard to crack. Take action this weekend to protect your vehicle’s value and elevate your driving experience.
Grab your vacuum, gather your microfiber towels, and transform your messy cabin back into a pristine, comfortable environment.

About
Ora Hayes is a distinguished figure in the world of DIY Thecarfixes, with over a decade of expertise in automotive diagnostics and high-performance maintenance. Her professional focus lies in merging mechanical precision with modern digital tools, fostering repair solutions that are both cost-effective and highly reliable. As the author of Thecarfixes, Ora Hayes delves into the art and science of automotive restoration, inspiring car owners and hobbyist mechanics alike.
Education
RMIT University (Melbourne, Australia) Associate Degree in Automotive Engineering — Focus on vehicle dynamics, industry-driven repair protocols, and advanced diagnostics. Gained hands-on experience with traditional mechanical tools and modern ECU remapping software.
Nottingham Trent University (United Kingdom) Bachelor’s in Mechanical Design and Automotive Engineering (Honors) — Specialized in automotive systems with a focus on blending technical engineering with everyday usability. Participated in industry projects, working with leading automotive manufacturers to gain real-world insights into vehicle longevity.
Publications and Impact
In Thecarfixes, Ora Hayes shares her insights on troubleshooting complex engine issues, material durability, and strategies for efficient garage setups. Her writing bridges the gap between professional mechanic knowledge and the home enthusiast’s needs, making it a must-read for both everyday drivers and seasoned gearheads.




