

Listening to your favorite music, podcasts, or audiobooks makes any drive infinitely better. While many modern vehicles come equipped with advanced wireless connectivity, the classic auxiliary (AUX) connection remains a highly reliable, straightforward way to route audio from your device to your car’s stereo system. An AUX connection provides a direct, uncompressed analog audio signal. This means you get immediate sound without pairing delays, dropped connections, or complex menu navigation.
If you want to bypass the frustrations of wireless pairing or simply have an older vehicle without Bluetooth, the trusty 3.5mm audio cable is your best friend.
This guide on how to use an auxiliary cable in a car will walk you through exactly how to set up and optimize your car’s auxiliary connection for the best possible audio experience.
What are the Benefits?
Using an auxiliary cable offers several distinct advantages over wireless alternatives. First, it provides a stable, zero-latency connection. Because the audio signal travels through a physical wire, you will never experience audio lag or sudden disconnections due to wireless interference.
Second, an AUX connection delivers uncompressed audio quality. Bluetooth compresses audio files to send them through the air, which can strip away subtle details in your music. A wired analog connection preserves the original sound quality, giving you richer bass and clearer treble.
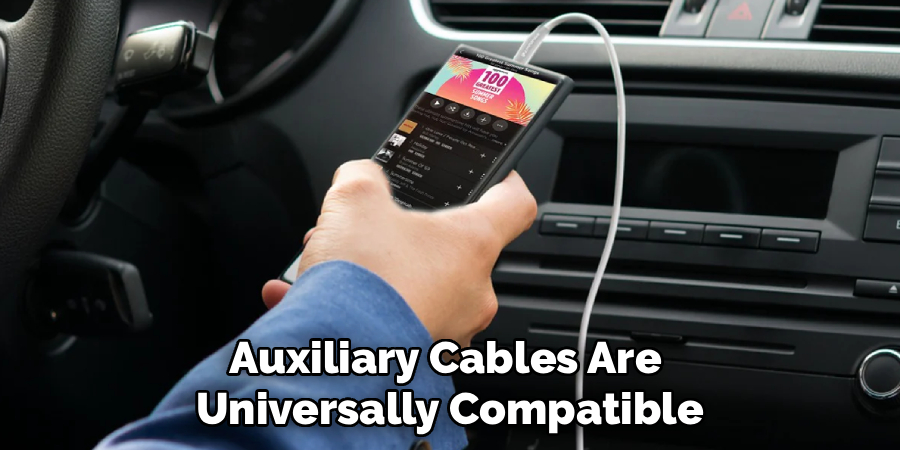
Additionally, auxiliary cables are universally compatible. Any device with a headphone jack or a compatible adapter can connect to your car, making it easy for passengers to take turns playing DJ. Finally, using a wired connection saves your smartphone’s battery life. Pushing audio through a physical cable requires far less power from your phone than constantly broadcasting a Bluetooth signal.
What Will You Need?
Before you begin, gather a few basic items to ensure a smooth setup process. You will need:
- A Smartphone or Audio Player: Any device capable of playing music, such as a phone, tablet, or dedicated MP3 player.
- A 3.5mm Auxiliary Cable: A standard audio cable with a 3.5mm male plug on both ends. Look for one with adequate length to reach from the dashboard to your resting device.
- An Audio Adapter (If Necessary): Many newer smartphones no longer feature a built-in headphone jack. If you use a modern Apple or Android device, you will need a Lightning-to-3.5mm or USB-C-to-3.5mm adapter (often called a dongle).
- A Vehicle with an AUX Input: Your car must have a 3.5mm input port, typically labeled “AUX” or “Line In.”
10 Easy Steps on How to Use an Auxiliary Cable in a Car
Step 1: Locate the AUX Port in Your Vehicle
The first thing you must do is find the auxiliary input port inside your car. Automakers place these ports in varying locations depending on the make and model of the vehicle. Start by checking the front face of your car stereo or infotainment system. If it is not there, open the center console between the driver and passenger seats, as many manufacturers hide the port inside to keep cables out of sight. Other common locations include the lower dashboard area near the cigarette lighter or USB ports, inside the glove compartment, or occasionally on the rear of the center console for backseat passengers.
Step 2: Choose the Right Auxiliary Cable
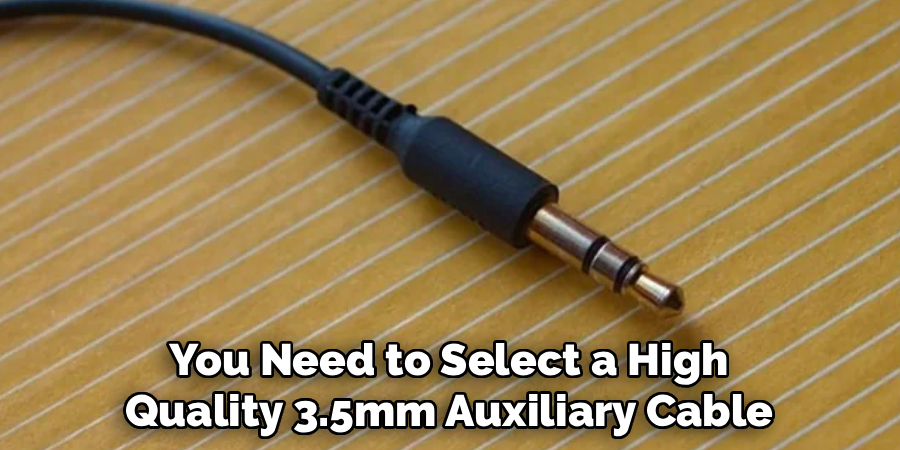
Not all audio cables deliver the same performance. You need to select a high-quality 3.5mm auxiliary cable that suits your specific interior environment. Measure the distance from your car’s AUX port to where you typically mount or rest your phone. Buy a cable that gives you some slack but is not so long that it tangles around the gear shifter. For optimal sound quality, choose a cable with gold-plated connectors, which resist corrosion and provide a cleaner audio signal. Cables with braided nylon exteriors also offer better durability and resist fraying better than standard rubber-coated wires.
Step 3: Check Your Smartphone for Compatibility
Take a close look at your smartphone or audio player. If you are using an older device or a dedicated MP3 player, it likely has a standard 3.5mm headphone jack. However, most modern smartphones have eliminated this port in favor of a single charging port. If you have a newer iPhone, you will need a Lightning-to-3.5mm adapter. If you have a newer Android device, you will need a USB-C-to-3.5mm adapter. Ensure you have the correct adapter and attach it securely to your smartphone’s charging port before attempting to connect the main auxiliary cable.
Step 4: Connect the Cable to Your Car
Take one end of your 3.5mm auxiliary cable and insert it into the car’s AUX port. Push the connector straight into the port until you feel a distinct click. This click indicates that the plug has bypassed the internal locking mechanism and made full contact with the metal audio terminals inside the port. Do not force the cable at an angle, as this can bend the plug or damage the delicate internal contacts of your car’s stereo system. A secure, flush connection prevents audio dropouts and minimizes static noise while the vehicle is in motion.
Step 5: Plug the Other End Into Your Device
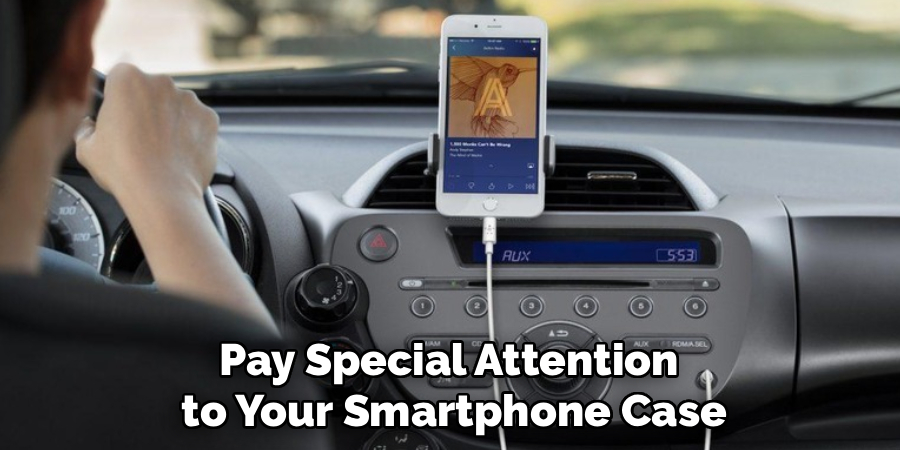
Take the remaining end of the auxiliary cable and insert it into your smartphone’s headphone jack or your connected adapter. Just like with the car port, push the plug in firmly until you feel it click into place. Pay special attention to your smartphone case. Many heavy-duty phone cases have small port cutouts that prevent standard audio cables from plugging in all the way. If the plug feels loose or the metal shaft remains visible, you may need to briefly remove your phone case to achieve a proper connection, or purchase a cable with a slimmer plug housing.
Step 6: Turn on Your Car Stereo System
With the physical connections established, it is time to power up your car’s audio system. Insert your key into the ignition and turn it to the “Accessory” position, or press your push-to-start button once without pressing the brake pedal. This activates the vehicle’s electrical system without starting the engine. Turn on the stereo receiver by pressing the main power button or volume knob. Check the display screen to verify that the system is fully powered on and functioning. Keeping the engine off during this step allows you to listen carefully for any audio static or interference.
Step 7: Switch the Car Audio Source to AUX
Your car stereo defaults to the last source used, such as FM radio or a CD player. You need to manually instruct the stereo to pull audio from the auxiliary port. Look for a physical button on your dashboard labeled “AUX,” “Source,” “Media,” or “Input.” Press this button repeatedly until the stereo display reads “AUX” or “Line In.” If you have a modern touchscreen infotainment system, navigate to the main audio or media menu and tap the auxiliary icon. Once selected, the stereo is actively listening for an incoming audio signal from your connected cable.
Step 8: Adjust the Volume on Your Device
When using an auxiliary connection, you have two volume controls to manage: your phone and your car stereo. A common mistake is leaving the phone volume too low, which forces the car amplifier to work harder and introduces background hiss. Unlock your smartphone and turn its media volume up to roughly 70 or 80 percent of its maximum capacity. Avoid turning it all the way up to 100 percent, as a maximum output signal from a phone can overdrive the car’s stereo inputs, resulting in heavily distorted, crunchy-sounding audio.

Step 9: Fine-Tune Your Car Stereo Volume
Now that your phone is outputting a strong, clear signal, you will use your car stereo to control the actual listening volume. Start by turning the car stereo volume knob all the way down to zero. Press play on your smartphone’s music app, podcast, or audiobook. Slowly turn the car stereo volume knob clockwise to raise the sound to a comfortable listening level. By using the car’s amplifier to do the heavy lifting, you preserve the dynamic range of the music while keeping the audio completely free of distortion and background electrical noise.
Step 10: Test the Audio and Enjoy the Ride
Your auxiliary system is now fully functional. Play a familiar song with a good mix of bass and vocals to test the audio balance. Listen closely to ensure sound is coming evenly from both the left and right speakers. If the audio sounds muffled or is only playing from one side of the car, gently twist the cable plug inside the port to clear any dust, or ensure both ends are pushed in entirely. Once the audio sounds crisp and balanced, place your device in a secure cup holder or phone mount, and enjoy your drive with high-quality, uninterrupted sound.
Conclusion
Using an auxiliary cable remains one of the smartest, most reliable ways to route audio through your car’s stereo system.
By understanding where your ports are located, selecting the right high-quality cables, and managing your volume levels correctly, you can achieve crystal-clear audio with minimal effort. Remember to check your device compatibility and safely secure your phone before putting your car in gear.
Hopefully, this guide on how to use an auxiliary cable in a car has helped show you the benefits of using an auxiliary cable and how to use it effectively. So, next time you hit the road, don’t forget to bring your trusty auxiliary cable along for the ride. Happy listening!

About
Ora Hayes is a distinguished figure in the world of DIY Thecarfixes, with over a decade of expertise in automotive diagnostics and high-performance maintenance. Her professional focus lies in merging mechanical precision with modern digital tools, fostering repair solutions that are both cost-effective and highly reliable. As the author of Thecarfixes, Ora Hayes delves into the art and science of automotive restoration, inspiring car owners and hobbyist mechanics alike.
Education
RMIT University (Melbourne, Australia) Associate Degree in Automotive Engineering — Focus on vehicle dynamics, industry-driven repair protocols, and advanced diagnostics. Gained hands-on experience with traditional mechanical tools and modern ECU remapping software.
Nottingham Trent University (United Kingdom) Bachelor’s in Mechanical Design and Automotive Engineering (Honors) — Specialized in automotive systems with a focus on blending technical engineering with everyday usability. Participated in industry projects, working with leading automotive manufacturers to gain real-world insights into vehicle longevity.
Publications and Impact
In Thecarfixes, Ora Hayes shares her insights on troubleshooting complex engine issues, material durability, and strategies for efficient garage setups. Her writing bridges the gap between professional mechanic knowledge and the home enthusiast’s needs, making it a must-read for both everyday drivers and seasoned gearheads.




