

There’s something oddly satisfying—perhaps even a little old-fashioned—about driving home with a freshly cut evergreen strapped to the roof. Still, that slice of holiday tradition sometimes turns into stress before you ever grab the first ornament. The reality? A tree balanced atop your car isn’t exactly aerodynamic, and without any precautions, what begins as a cheerful errand may end with scratches, lost branches, or, in some extreme cases, your future holiday memories tumbling down the highway.
It’s worth learning a method that actually works. Done right, hauling your tree can be more routine than nerve-wracking. This guide on how to tie christmas tree to car? It isn’t just about knots—it’s about making sure your tree and your car both arrive at home unscathed (and that you avoid any mortifying mishaps in the lot parking area).
Choosing the Right Tree & Preparing It
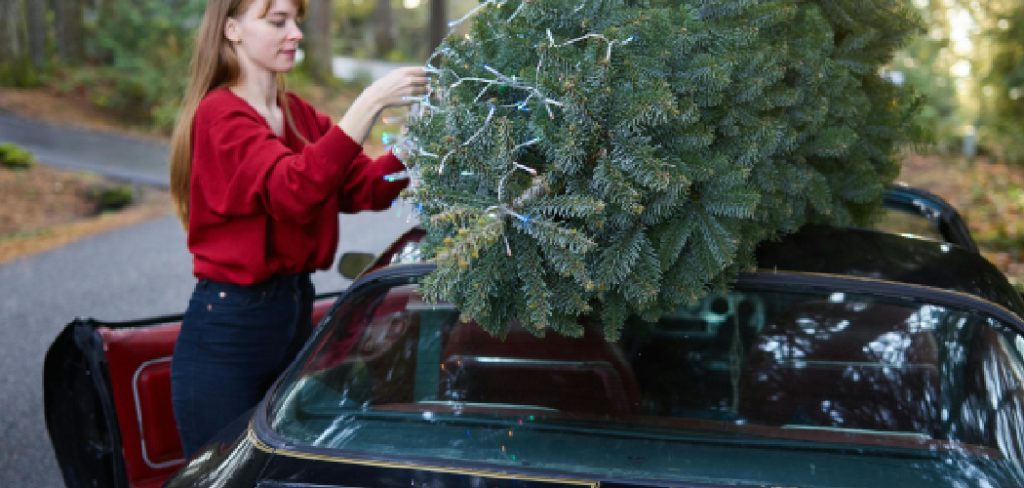
Insisting on an eight-foot spruce for your tiny hatchback might be tempting, but it’s better to be realistic. Consider your car’s actual roof space, not what you wish would fit, and compare that with the options at the farm or lot. That noble-looking fir could look like a green Goliath versus your sedan. A tape measure is your friend here, or at least a quick estimation before you point and commit.
Once you’ve found a tree somewhere between “just right” and “I can actually get this home,” ask the staff to net it up for you. Even if it feels a bit indulgent, that mesh sleeve shrinks the branches so—assuming all goes well—you won’t need a team of helpers or a degree in physics to load it up. If tree-shaking is offered, don’t skip it. All the extra needles and debris are better off on the lot than on your car’s upholstery. Finally, a quick, clean cut at the trunk helps later when you want the tree to stay healthy indoors.
Tools and Materials You’ll Need
- Measuring tape or ruler
- Tree stand
- Saw (if cutting your own tree)
- Netting (optional)
- Twine or rope (for securing the tree to your car)
7 Step Survival Guide on How to Tie Christmas Tree to Car
Step 1: Lay Down a Protective Barrier
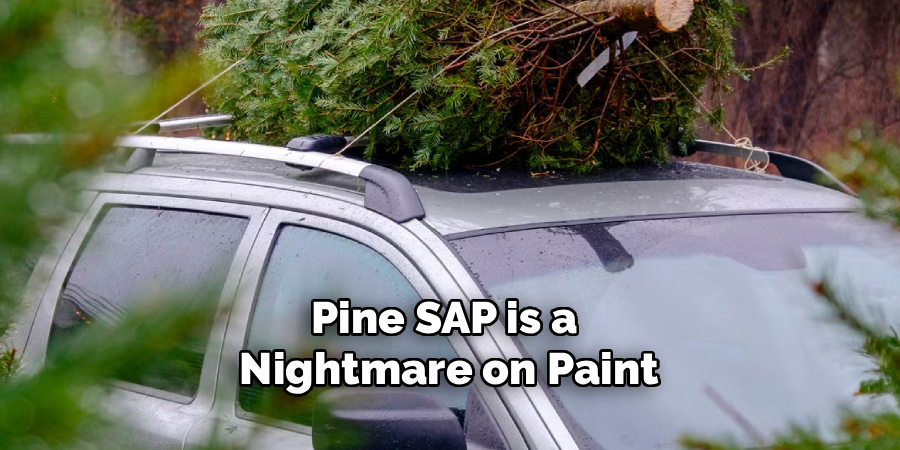
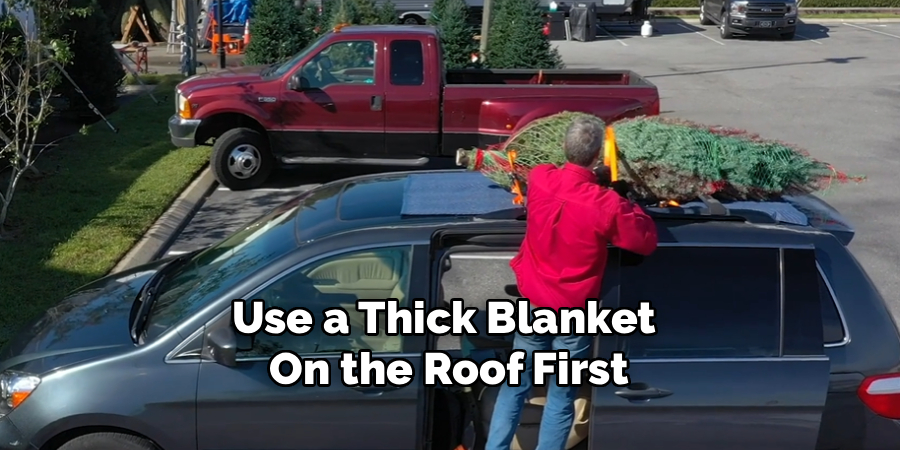
There’s no nice way to say it—pine sap is a nightmare on paint. Before you begin lifting, spread your blanket or tarp as wide as you can on the rooftop, especially at the points of contact for both trunk and tip. Corners or edges should be secured (wind has a mischievous streak), either tucked under roof rack bars or weighed down, perhaps with a spare mitten or two. This is one of those preventative chores that takes minutes and can prevent days of regret later.
Step 2: Lift and Position the Tree Carefully
A word to the wise: don’t try lifting a full-sized tree solo unless your chiropractor is offering holiday specials. Teamwork—whether from a friend or tree lot staff—makes the process smoother and far less hazardous. Stand on either side, talk through your plan, then use your legs to lift. When the tree is off the ground, gently guide it so it settles in the center atop your padding. Watch for rolling—some trees are sneakily lopsided, and an unbalanced load means trouble down the road.
Step 3: Always Point the Stump Forward
Physics hasn’t taken the holidays off. Your tree should ride with the thick, cut trunk facing the front of the car, branches tucked back like a windswept hairstyle. Reversing the direction might seem harmless, but exposed branches catch air like sails, straining your ropes and risking both tree and car. Stump-first routes the wind more smoothly, helping keep everything where it belongs.
Step 4: Open the Car Doors, Not the Windows
It’s easy to get this one wrong. If you loop the rope through the open windows, you’ll trap yourself inside and will be forced to cut your way out. Instead, open all doors wide, then run the straps or ropes through the actual frame of the vehicle. The slight extra effort pays off: you’ll be able to climb in and out as needed without a tangle. Also, by routing above the tree and through the cabin, you avoid having anything pressing down on your head or pinching your windows.
Step 5: Secure the Trunk with the First Tie-Down
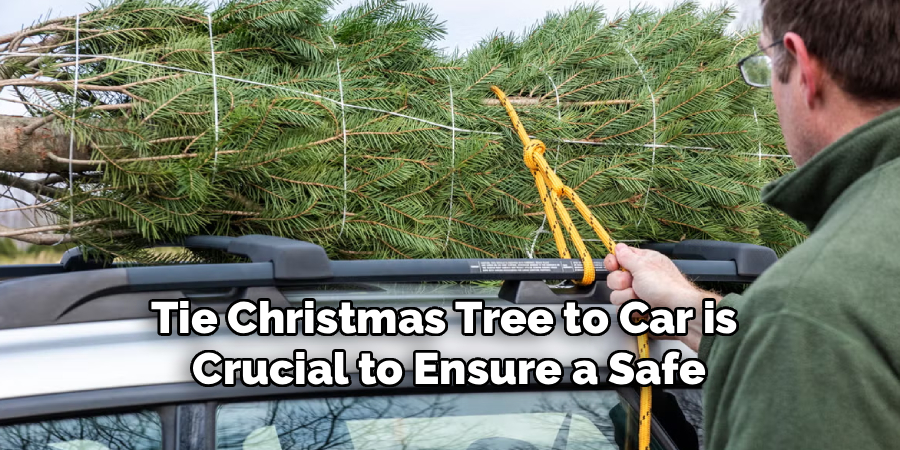
Every tree has a “trouble spot”—it’s the base, where most of the heft lies. This is where your first strap or rope needs to go, about a foot above the sawed-off end. A bowline or another reliable knot is wise if you’ve gone with rope. Feed the ends through the doors (not the windows!), then cinch it down so the tree settles snug against the roof. Not tight enough? The trunk will shift every time you tap the brakes. Keep tension high, but not so much that you risk snapping your tie-down material.
Step 6: Anchor the Middle and Top Sections
A single strap never does the trick unless you happen to be moving a shrub. After the trunk is secured, most trees need at least one more anchor point across the middle. Tall trees, or especially wiry ones, probably need a third tie—just below the tip. Be a bit gentler with this upper area since the branches are weaker; you want to minimize bouncing without crushing the top.
Step 7: Perform a Thorough Final Tug Test
This deserves extra emphasis. Circle your car. Give the tree a series of hard shoves and pulls from every angle you can manage. If it rocks or creeps at all, you have more tightening to do. Go back, adjust, and repeat until the tree barely budges (ideally, you’ll feel the car shift, not the tree). Only once you’re genuinely satisfied should you start your engine.
Following these steps on how to tie christmas tree to car is crucial to ensure a safe and successful holiday season. Remember, the last thing you want is for your tree to fall off while driving on the road!
Alternatives to DIY Transport
Maybe strapping a tree to your roof just sounds exhausting, or you’re pressed for time. There’s absolutely no shame in asking the lot or nursery to deliver.
Sometimes, spending a little extra for a truck or cargo van rental is wise, too, especially if your usual vehicle is more go-kart than minivan.
Common Mistakes to Avoid
Bungee cords? Absolutely not—stretchiness is your enemy here, leading to loads that bounce, slip, or even vanish at speed. Don’t lay a tree directly on a bare roof unless you want a collection of sticky patches and permanent scratches to remember it by.
And, needless to say, hanging onto a tree by hand out the car window isn’t just risky, it’s actually dangerous (and illegal in many places).
After Transport: Cleanup Tips
Even with the best preparation, sap and needles find their way everywhere. The sooner you clean up, the easier it is. For sap on paint, rubbing alcohol or a dedicated cleaner works best.
A solid shop vac makes short work of the inevitable needles hidden in seat seams and floor mats. And when in doubt, just give the whole car a proper wash within a few days.
Frequently Asked Questions
Q1: Can I Tie A Tree To A Car Without A Roof Rack?
Yes, it’s possible. Protection is non-negotiable: use a thick blanket on the roof first. Feed ropes or straps through the door frames and use extra tension since you don’t have the protection of crossbars.
Q2: How Fast Can I Drive With A Tree On My Roof?
Slower is safer—aim for under 40 mph. Go with the back-road route and leave the highway to those not hauling forestry supplies. The faster you drive, the more likely you’ll face issues with shifting or damaged ropes.
Q3: What Is The Best Rope For Tying A Tree?
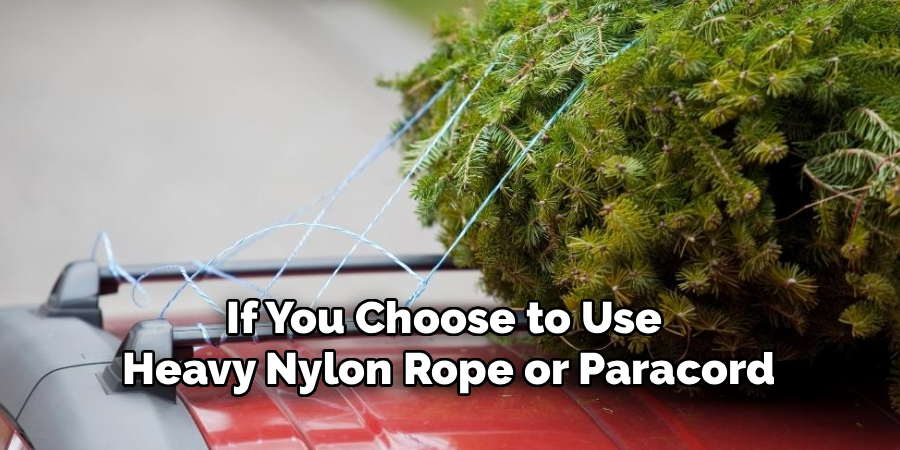
If you have a choice, ratcheting tie-down straps are the way to go—quick, secure, and adjustable. Heavy nylon rope or reliable paracord is good, too, just be sure you actually know how to tie a knot that won’t slip under tension.
Q4: How Can I Ensure My Tree Is Safely Secured During Transport?
To ensure your tree is safely secured during transport, it’s important to choose the right type of rope and tie it properly. As mentioned earlier, ratcheting tie-down straps are the best option for securing a tree. They are quick, secure, and adjustable, making them easy to use even for those who are not experienced with tying knots.
However, if you choose to use heavy nylon rope or paracord, make sure to properly tie a knot that won’t slip under tension. It’s also important to drive at a safe speed and take back roads instead of highways to avoid any issues with shifting or damaged ropes.
Conclusion
All told, bringing home a fresh Christmas tree can be a pleasure—or a frustrating ordeal—depending on how you go about it. Give yourself the best shot at a stress-free experience: gather real supplies, load your tree with patience, and double-check every tie.
With the tough part out of the way, you’re free to enjoy the ritual of untangling lights, sipping cocoa, and arguing over whether the top should get a star or an angel. Thanks for reading this guide on how to tie christmas tree to car.

About
Ora Hayes is a distinguished figure in the world of DIY Thecarfixes, with over a decade of expertise in automotive diagnostics and high-performance maintenance. Her professional focus lies in merging mechanical precision with modern digital tools, fostering repair solutions that are both cost-effective and highly reliable. As the author of Thecarfixes, Ora Hayes delves into the art and science of automotive restoration, inspiring car owners and hobbyist mechanics alike.
Education
RMIT University (Melbourne, Australia) Associate Degree in Automotive Engineering — Focus on vehicle dynamics, industry-driven repair protocols, and advanced diagnostics. Gained hands-on experience with traditional mechanical tools and modern ECU remapping software.
Nottingham Trent University (United Kingdom) Bachelor’s in Mechanical Design and Automotive Engineering (Honors) — Specialized in automotive systems with a focus on blending technical engineering with everyday usability. Participated in industry projects, working with leading automotive manufacturers to gain real-world insights into vehicle longevity.
Publications and Impact
In Thecarfixes, Ora Hayes shares her insights on troubleshooting complex engine issues, material durability, and strategies for efficient garage setups. Her writing bridges the gap between professional mechanic knowledge and the home enthusiast’s needs, making it a must-read for both everyday drivers and seasoned gearheads.




