Seeing a dashboard needle suddenly pin itself to the red zone usually induces immediate, icy panic. Drivers naturally assume their engine is moments away from a catastrophic meltdown. Often, this reaction is entirely justified.
Yet, occasionally, the vehicle is not actually overheating at all. It might simply be lying to you. A glitching instrument cluster can mimic the visual symptoms of a dying engine with alarming accuracy.
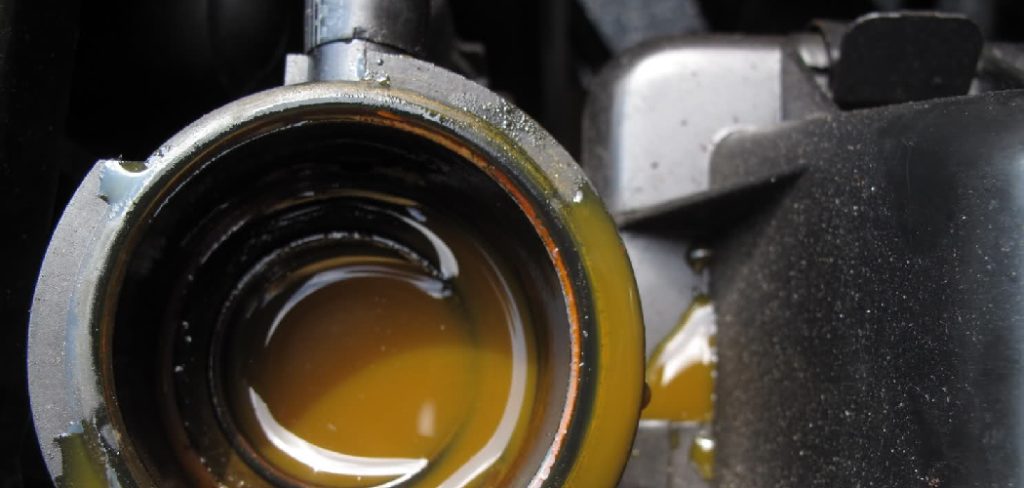
When the physical signs of extreme heat are absent, you might be dealing with a localized electrical fault. This article explores how to reset temperature gauge in car dashboards without resorting to expensive, unnecessary mechanical teardowns. It appears that recalibrating the onboard computers often clears the error completely.
We will look at the underlying electrical pathways and discuss methods for forcing a system reboot. Attempting this relatively painless procedure could potentially save you a highly uncomfortable conversation with a service advisor.
Understanding the Temperature Gauge System
How the Temperature Gauge Communicates
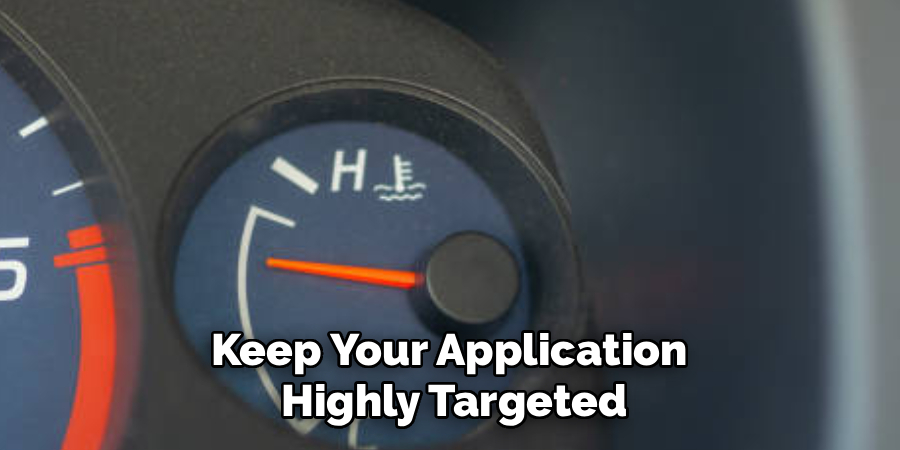
Before disconnecting any wires, it’s essential to understand how the dashboard communicates with the engine block. The system relies on a delicate chain of electronic signals. It all begins with the engine coolant temperature (ECT) sensor, a small brass component threaded directly into the engine’s water jacket.
This sensor measures the physical heat of the circulating antifreeze and sends a variable voltage signal to the engine control unit (ECU). The ECU processes the data and issues a corresponding command to the instrument cluster. Finally, a tiny stepper motor behind the dashboard moves the plastic needle, displaying the temperature.
Common Issues with the Pathway
If any component in this communication chain encounters a brief voltage drop or disruption, the gauge needle might freeze in place. This interruption is often the result of a software miscommunication rather than a hardware failure.
Since this system is so reliant on precise data exchange, a stuck gauge is frequently resolved by addressing the software rather than replacing costly hardware components. Understanding this process can empower drivers to troubleshoot effectively without resorting to unnecessary repairs.
Common Reasons for a Stuck Temperature Gauge
Electrical Surges During Jump-Starts
Electrical anomalies rarely occur without a triggering event. One of the most common instigators is a jump-start for a dead battery. When jumper cables are connected, a large surge of unregulated electricity floods the system. This sudden spike can overwhelm the microprocessors in the dashboard, causing them to freeze as a protective measure. The resulting disruption may leave the temperature gauge stuck until the system is reset or recalibrated.
Voltage Fluctuations from Alternator Issues
A dying alternator or an aging battery can also contribute to a stuck temperature gauge. These issues lead to erratic voltage levels, which can confuse the stepper motors within the gauge. Stepper motors depend on steady electrical inputs to determine their proper calibration, including the “zero” point. When this calibration is disrupted, the needle may lock in place, necessitating corrective measures to restore normal function.
Diagnosing Mechanical vs. Electrical Issues
When attempting to address a stuck temperature gauge, it is crucial to determine whether the engine is genuinely overheating before focusing on electronic resets or repairs. Ignoring real symptoms of overheating can lead to catastrophic engine damage, including the destruction of a cylinder head.
Recognizing Genuine Overheating Symptoms
Physical observation is often the quickest and most effective way to confirm if the engine is overheating. Begin by carefully popping the hood and paying close attention to the engine bay. A severely overheating engine typically exhibits clear and alarming signs.
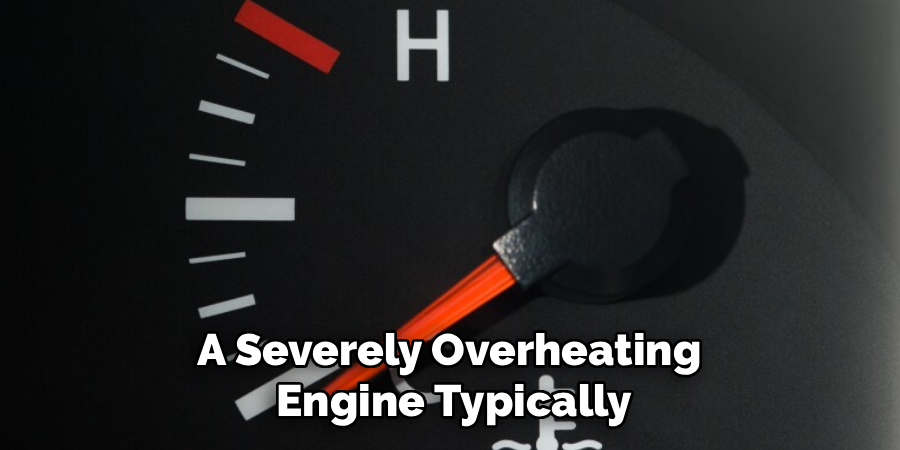
You might hear violent bubbling or boiling sounds from the coolant inside the overflow tank. This is often accompanied by the sweet, heavy smell of antifreeze vaporizing. Additionally, steam visibly billowing from radiator hoses undoubtedly signals a significant issue. These signs demand immediate attention to prevent further damage.
Identifying False Readings
On the other hand, if the engine bay is quiet, there is no unusual smell, and the radiator hoses feel only moderately warm to the touch, the engine is likely operating normally. Under these calm conditions, a temperature gauge needle pegged on “hot” is almost certainly a symptom of a malfunctioning gauge or a digital miscommunication. This situation typically points to electrical or calibration issues, requiring inspection of the sensor, wiring, or control module to resolve the problem.
Step-by-Step Guide on How to Reset Temperature Gauge in Car
Approaching an electrical reset requires a methodical, cautious attitude. You are essentially forcing the vehicle’s network to shut down and reboot from scratch. Follow this sequence to drain the errant voltage safely.
Step 1: Park Safely and Turn Off the Engine
Maneuver your vehicle onto a flat, dry surface away from moving traffic. Turn the ignition completely off and pull the key out of the cylinder.
Modern cars need a moment to “go to sleep.” Leave the doors closed and wait about five minutes. This pause allows the various control modules to power down, preventing data corruption when you eventually sever the power supply.
Step 2: Locate and Disconnect the Battery
Open the hood and find your car battery. You will need a basic metric wrench to loosen the terminal clamps. Always target the negative battery terminal first.
The negative cable is typically black and marked with a minus sign. Loosening the negative side first breaks the grounding circuit safely. Pull the clamp off the lead post and tuck it away so it cannot accidentally spring back into contact.
Step 3: Drain Residual Electrical Power
Simply removing the battery cable does not instantly kill the vehicle’s memory. Dozens of small capacitors hidden throughout the wiring harness retain a localized electrical charge for quite some time. You must drain this residual energy to force a hard reset.
Climb back into the driver’s seat and press the horn on the steering wheel, or turn the headlight switch to the “on” position. Since the battery is disconnected, nothing will happen. However, this action attempts to draw power, effectively draining those stubborn capacitors. Let the car sit in this state for roughly twenty minutes.
Step 4: Reconnect the Battery Terminals
Once the waiting period concludes, return to the engine bay. Ensure the headlight switch is turned back off before proceeding.
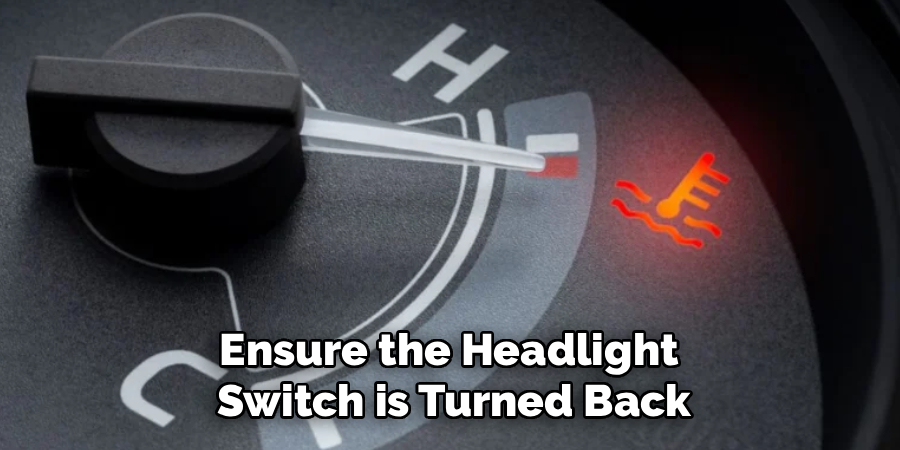
Slide the negative clamp back over the negative battery post. You might see a tiny, harmless spark as the metal makes contact. Tighten the retaining nut firmly, as a loose ground wire could easily cause the exact gauge glitch you are trying to fix.
Step 5: Perform an Instrument Cluster Self-Test
Many automakers program a hidden diagnostic mode into their dashboards. This sequence forces the stepper motors to sweep across their entire range of motion, recalibrating their limits.
The procedure varies slightly by manufacturer. Typically, you press and hold the trip odometer reset button while simultaneously turning the ignition key to the “On” position (without starting the engine). If successful, all the dashboard needles will suddenly sweep all the way up and fall back down in unison.
Step 6: Verify the Gauge Operation
With the hard reset and cluster sweep completed, it is time for a functional test. Start the engine normally and let it idle.
Watch the temperature needle closely. On a cold engine, it should rest firmly at the bottom of the dial. Over the next ten minutes of idling, it should climb slowly and steadily, eventually parking itself perfectly in the middle of the gauge.
Using an OBD-II Scanner for Resetting Codes
Sometimes, draining the battery fails to clear a particularly stubborn error logic. The engine control unit (ECU) might retain a hard-coded fault that requires a more advanced approach. This is where a digital diagnostic tool, such as an OBD-II scanner, becomes essential.
Connecting the OBD-II Scanner
To start, plug a standard OBD-II scanner into the diagnostic port located beneath the driver’s side dashboard. Turn the vehicle’s ignition to accessory power mode, but do not start the engine. This step powers on the scanner and allows it to communicate with the engine modules.
Clearing Stubborn Error Codes
Using the scanner, instruct it to read the engine modules and identify any stored fault codes, especially those related to the coolant temperature circuit. If relevant codes are detected, use the device to command the system to clear them. This forces the ECU to reassess the input from the sensors. Frequently, this simple electronic command resolves the issue and prompts the dashboard needle to begin functioning correctly once again.
Checking and Replacing the Coolant Temperature Sensor
When Resetting and Clearing Codes Fails
If a hard reset and the code-clearing procedure fail, it might indicate a defective component. A non-functioning gauge often suggests a physical malfunction within the engine coolant temperature sensor.
Exposed to extreme conditions, these sensors endure constant thermal expansion and contraction in the engine’s boiling antifreeze. Over time, this harsh environment can fracture the sensor’s internal thermistor, leading to failure. Once the sensor stops working, it ceases to send any voltage signal to the ECU, disrupting the monitoring system entirely.
Replacing the Coolant Temperature Sensor
Replacing a faulty coolant temperature sensor is typically a straightforward task. The sensor is threaded into the engine block, much like a spark plug. Carefully removing the old sensor and installing a new one restores the essential communication between the sensor and the ECU.
With a properly functioning sensor, the ECU can once again relay accurate temperature readings to your dashboard gauge, ensuring the system operates correctly. Always ensure the engine is cool before attempting replacement to prevent burns or damage.
When to Seek Professional Repair
Not every electrical issue can be resolved with simple driveway diagnostics. If resetting the battery and replacing the sensor fail to solve the problem, the issue may stem from a more complex internal fault.
Common Instrument Cluster Failures
Instrument clusters are particularly susceptible to internal hardware failures. One common culprit is the tiny solder joints that connect the stepper motors to the printed circuit board. Over time, vibrations within the cabin can cause these solder joints to crack, rendering the gauge physically incapable of movement. Without proper functionality, the driver loses access to critical information, such as engine temperature readings.
Seeking Professional Assistance
Repairing a cracked circuit board requires specialized tools, such as micro-soldering equipment, which are beyond the scope of most home mechanics. For this reason, consulting an automotive electrician or purchasing a refurbished instrument cluster often provides the most practical solution. These professionals possess the necessary skills and equipment to address such intricate repairs, ensuring the system is fully restored and reliable.
Preventative Maintenance for Your Cooling System
Electrical Connection Maintenance
Repairing a cracked circuit board requires specialized tools, such as micro-soldering equipment, which are often beyond the capabilities of most home mechanics. Therefore, consulting an automotive electrician or purchasing a refurbished instrument cluster is typically the most practical solution. These professionals are equipped with the skills and tools necessary to handle intricate repairs, ensuring the system is fully restored and dependable.
Preventative Electrical Care
Maintaining a healthy electrical environment can prevent many frustrating issues from occurring. Your dashboard relies on steady, clean voltage for proper operation. Inspect your battery terminals frequently for any signs of acidic, powdery corrosion. A dirty or corroded connection can restrict the flow of electricity and lead to voltage drops, confusing the dashboard’s microprocessors. Additionally, examine the wiring harness near the thermostat housing. Over time, engine heat can degrade the surrounding plastic wire loom, causing it to crumble. Exposed wires may short against the metal engine block, which can immediately disrupt crucial readings such as temperature. Proactive monitoring of these elements can save you from potential malfunctions and costly repairs.
Conclusion
A pinned temperature needle does not always signal the end of your engine’s lifespan. By remaining calm and observing the physical state of the vehicle, you can usually determine if the gauge is simply malfunctioning.
Understanding how to reset temperature gauge in car systems empowers you to resolve these software hiccups independently. A simple battery disconnect and capacitor drain often work wonders for a confused instrument cluster. Take your time, follow the reset procedure carefully, and you might find that your dashboard returns to normal without a single trip to the mechanic.

About
Ora Hayes is a distinguished figure in the world of DIY Thecarfixes, with over a decade of expertise in automotive diagnostics and high-performance maintenance. Her professional focus lies in merging mechanical precision with modern digital tools, fostering repair solutions that are both cost-effective and highly reliable. As the author of Thecarfixes, Ora Hayes delves into the art and science of automotive restoration, inspiring car owners and hobbyist mechanics alike.
Education
RMIT University (Melbourne, Australia) Associate Degree in Automotive Engineering — Focus on vehicle dynamics, industry-driven repair protocols, and advanced diagnostics. Gained hands-on experience with traditional mechanical tools and modern ECU remapping software.
Nottingham Trent University (United Kingdom) Bachelor’s in Mechanical Design and Automotive Engineering (Honors) — Specialized in automotive systems with a focus on blending technical engineering with everyday usability. Participated in industry projects, working with leading automotive manufacturers to gain real-world insights into vehicle longevity.
Publications and Impact
In Thecarfixes, Ora Hayes shares her insights on troubleshooting complex engine issues, material durability, and strategies for efficient garage setups. Her writing bridges the gap between professional mechanic knowledge and the home enthusiast’s needs, making it a must-read for both everyday drivers and seasoned gearheads.