Replacing your brake pads at home is one of the most rewarding maintenance tasks you can perform on your vehicle. When you remove worn, thin brake pads to install thick, new ones, you will notice that the new pads do not fit over the rotor. This happens because the brake caliper piston extends outward as your pads wear down over time.
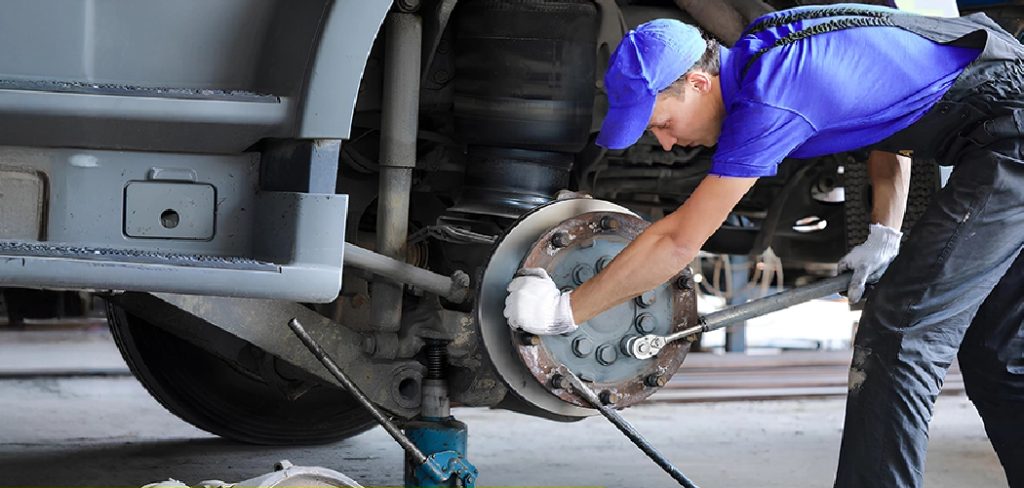
To make room for the fresh pads, you must push that piston back into its original position. Compressing a brake piston might sound like a complex mechanical job, but it involves a straightforward process that anyone can master with patience and the right approach.
This guide on how to compress a brake piston will walk you through the entire process from start to finish.
What are the Benefits?
Taking care of your own brake maintenance offers several distinct advantages. First, you save a significant amount of money on labor costs that dealerships and repair shops typically charge. Second, working on your brakes builds a strong understanding of how your vehicle operates, giving you confidence to handle future repairs. You also control the quality of the parts going into your car. Finally, completing this task yourself ensures you know the job was done carefully, without rushed shortcuts.
What Will You Need?
Before you begin, gather these essential tools and supplies to ensure a smooth workflow:
- A reliable floor jack and sturdy jack stands
- A lug wrench or impact driver
- A socket set and wrenches (sizes vary by vehicle)
- A large C-clamp or a specialized brake caliper compression tool
- One of your old brake pads
- A piece of wire, a bungee cord, or zip ties
- A wire brush for cleaning
- A clean rag
- Protective safety glasses and mechanic’s gloves
10 Easy Steps on How to Compress a Brake Piston
Step 1: Prepare the Vehicle
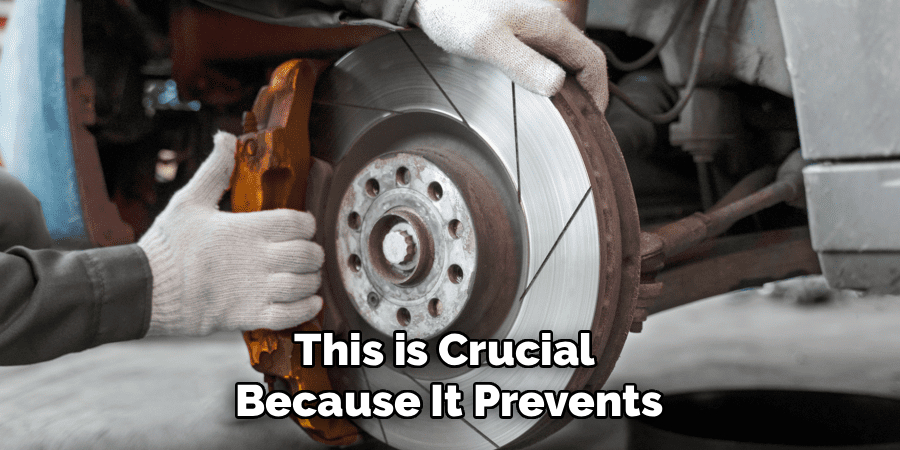
Start by making safety your top priority. Park your car on a firm, level surface and make sure the vehicle is in “Park” (for automatics) or in gear (for manuals). Engage the parking brake securely. Place heavy-duty wheel chocks behind the tires that will remain on the ground. Before jacking up the car, take your lug wrench and gently break loose each lug nut—turning each one about a quarter-turn—on the wheel you will be working on. This is crucial because it prevents the wheel from spinning when off the ground, making it much easier to remove later.
Step 2: Open the Brake Fluid Reservoir
Pop the vehicle’s hood and locate the brake fluid reservoir, usually positioned near the back of the engine bay on the driver’s side. Remove the reservoir cap completely and set it somewhere safe. This step relieves the system pressure and makes it easier for fluid to travel back into the reservoir as the piston is pushed in. Place a clean rag under the reservoir to absorb any brake fluid that may overflow—brake fluid can damage paint, so be cautious.
Step 3: Lift and Secure the Car
Using your floor jack, find the correct lift point under your car—usually specified in your owner’s manual or indicated by a notch on the frame. Slowly jack up the vehicle until there’s enough clearance for the wheel to spin freely. Then, slide the jack stands beneath the frame or specific support points and gently lower the vehicle onto the stands, ensuring it’s stable. As an added safety measure, give the car a light shake to confirm it’s secure before continuing.
Step 4: Remove the Wheel
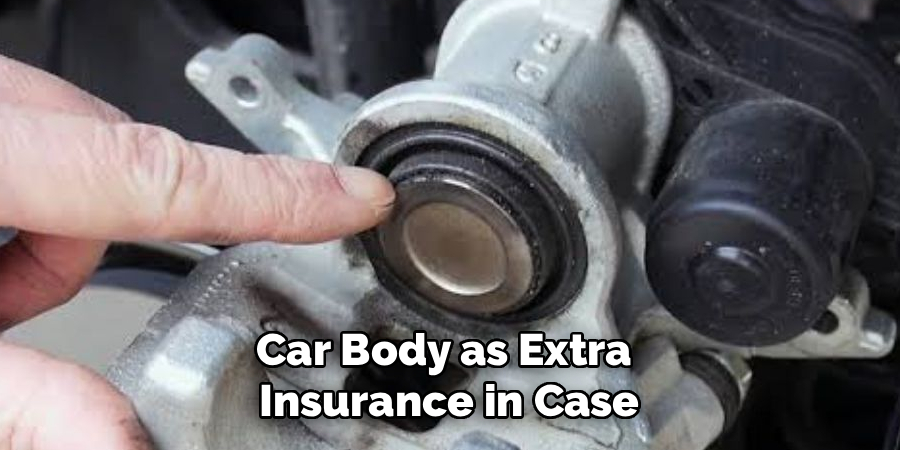
After confirming the vehicle is safely supported, use the lug wrench to fully unscrew and remove each lug nut. Pull the wheel off the hub and set it aside, preferably under the car body as extra insurance in case of jack stand failure. With the wheel off, you now have unimpeded access to the brake caliper, rotor, and caliper bracket.
Step 5: Unbolt the Brake Caliper
Locate the two caliper mounting bolts or slider bolts usually found at the rear of the brake caliper. Use your socket set or appropriate wrench to remove them—sometimes the bolts are tight or corroded, so apply slow, steady force. On some vehicles, the caliper bolt may turn with the guide pin; if so, use a second wrench to stabilize the pin while unscrewing the bolt. Store these bolts somewhere safe—they will be reused during reassembly.
Step 6: Secure the Loose Caliper
Carefully slide the caliper off the rotor. It might require gentle wiggling if it’s stuck or there is accumulated debris. Once removed, never allow it to dangle from the rubber brake hose, as the hose could stretch or tear under the caliper’s weight. Secure the caliper with a strong wire or bungee cord, attaching it to an upper suspension component like a coil spring, ensuring no stress is placed on the hose.
Step 7: Remove the Old Pads and Clean
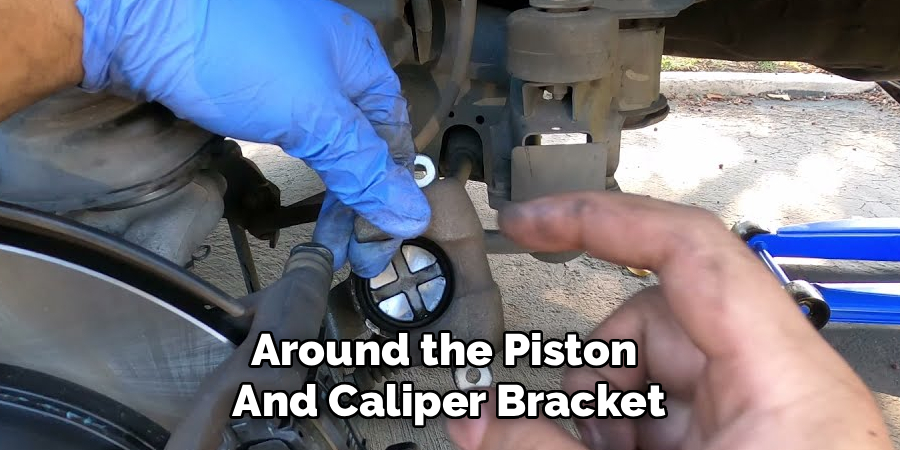
Slide the used brake pads out from their slots in the caliper bracket. Take this opportunity to closely inspect both the pads and the surrounding area for any excessive wear, uneven friction, or contamination. With your wire brush, meticulously remove dirt, rust, and old brake dust from the areas around the piston and caliper bracket. This not only keeps your new pads functioning optimally, but also protects the caliper piston’s dust boot and hydraulic seals.
Step 8: Position the Compression Tool
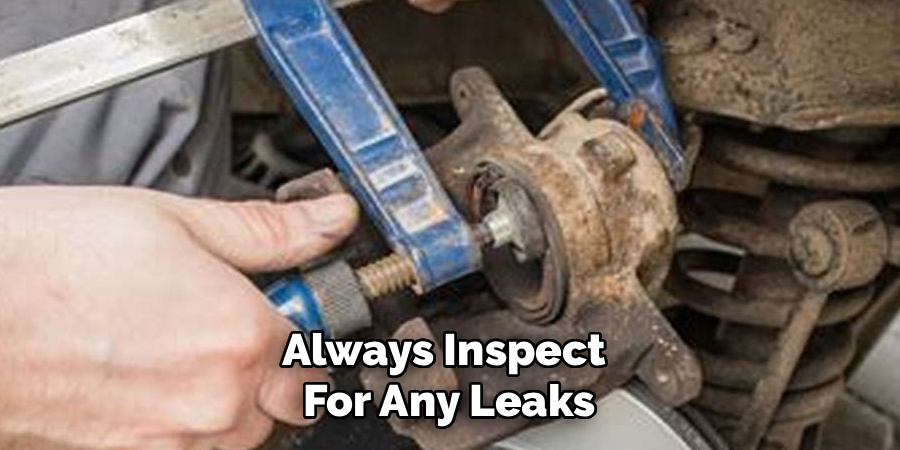
Take one of your old brake pads and lay it flush against the face of the extended piston inside the caliper. This provides an even surface for compressing the piston and prevents damage. Set the back frame or stationary side of a large C-clamp (or a dedicated brake caliper tool) against the rear of the caliper body. Align the screw part of the clamp so it pushes directly onto the center of the old brake pad. This allows uniform pressure to retract the piston squarely.
Step 9: Compress the Piston Slowly
Begin tightening the C-clamp or turning the compression tool handle clockwise. The pressure exerted through the old pad will cause the piston to retract into its bore. Do this gradually—if you go too quickly, you risk damaging internal seals or causing brake fluid to overflow violently from the reservoir. Observe the piston as it moves; it should retract smoothly and evenly. If you encounter excessive resistance, stop and verify there are no obstructions or internal issues. Once the piston is flush with the caliper body, you’re finished with this step.
Step 10: Reassemble the Brake Components
Release and remove the compression tool and old pad from the caliper. Slide your new, thick brake pads into the caliper bracket—they should click or fit securely in place. Align the retracted caliper over the rotor and pads, then insert and hand-tighten the caliper slider bolts. Use your wrench or socket to tighten these bolts firmly to the recommended torque specifications.
Reinstall the wheel by hand-threading the lug nuts, lower the car off the jack stands, and then fully tighten the lugs in a crisscross pattern. Finally, recap the brake fluid reservoir and gently pump the brake pedal several times—this seats the new pads and ensures the pedal feels firm before you drive. Always inspect for any leaks or odd noises before taking the car on the road.
5 Things You Should Avoid
- Rushing the Compression: Forcing the piston back too quickly can damage the internal seals or cause brake fluid to violently overflow from the master cylinder.
- Pinching the Dust Boot: Watch the rubber boot surrounding the piston closely as it compresses. If it twists or binds, stop and adjust your tool to prevent tearing it.
- Using Pliers Directly on the Piston: Never use channel locks or pliers directly on the metal piston face. This will scratch the smooth surface, leading to permanent fluid leaks.
- Hanging the Caliper by the Hose: Always secure the caliper with a cord or wire. A ruptured brake hose will cause complete brake failure.
- Forgetting to Pump the Brakes: Always pump your brake pedal several times after finishing the job until it feels firm. If you attempt to drive without doing this, you will not have any braking power at the first stop sign.
Frequently Asked Questions
- Do I Need to Open the Brake Fluid Reservoir Before Compressing?
Yes, opening the reservoir is a critical step before compressing the piston.
When you push the piston back, the fluid inside the caliper travels backward.
Removing the cap prevents trapped air pressure from fighting against you.
It also allows you to monitor the fluid level as it rises.
Placing a rag around the opening stops corrosive fluid from damaging your engine bay paint. - Can I Push the Piston Back by Hand?
In almost all automotive applications, you cannot push it back by hand.
The hydraulic pressure and tight mechanical seals require significant mechanical leverage.
Even a healthy, well-lubricated caliper demands more force than a person can generate.
Using a proper C-clamp or specialized compression tool applies the necessary even pressure.
Attempting to force it by hand will only cause frustration and potential injury. - What if the Piston Will Not Compress at All?
If the piston refuses to move under steady tool pressure, it might be seized.
Rust or internal corrosion often causes calipers to lock up completely.
You should never use extreme, brute force to overcome a heavily stuck piston.
Some rear brake calipers also require a special tool that twists the piston as it pushes.
If it is truly seized, you will need to replace the entire caliper assembly.
Conclusion
How to compress a brake piston is a fundamental skill that empowers you to handle your own brake maintenance safely and effectively.
By gathering the proper tools, following a methodical process, and avoiding common mistakes, you can complete this task just like a professional mechanic. Always prioritize safety by securing your vehicle properly and taking your time as you guide the piston back into its housing.
With practice, this process becomes second nature, keeping your vehicle safe on the road while saving you money in the garage.

About
Ora Hayes is a distinguished figure in the world of DIY Thecarfixes, with over a decade of expertise in automotive diagnostics and high-performance maintenance. Her professional focus lies in merging mechanical precision with modern digital tools, fostering repair solutions that are both cost-effective and highly reliable. As the author of Thecarfixes, Ora Hayes delves into the art and science of automotive restoration, inspiring car owners and hobbyist mechanics alike.
Education
RMIT University (Melbourne, Australia) Associate Degree in Automotive Engineering — Focus on vehicle dynamics, industry-driven repair protocols, and advanced diagnostics. Gained hands-on experience with traditional mechanical tools and modern ECU remapping software.
Nottingham Trent University (United Kingdom) Bachelor’s in Mechanical Design and Automotive Engineering (Honors) — Specialized in automotive systems with a focus on blending technical engineering with everyday usability. Participated in industry projects, working with leading automotive manufacturers to gain real-world insights into vehicle longevity.
Publications and Impact
In Thecarfixes, Ora Hayes shares her insights on troubleshooting complex engine issues, material durability, and strategies for efficient garage setups. Her writing bridges the gap between professional mechanic knowledge and the home enthusiast’s needs, making it a must-read for both everyday drivers and seasoned gearheads.