

If there’s one bit of car maintenance most drivers endlessly procrastinate, it’s replacing the brake fluid. Admittedly, this job feels oddly delicate, a little daunting, and easy to ignore—until one day the brake pedal suddenly sinks deeper than usual or the reservoir is hiding a kind of mysterious, inky soup. Still, putting it off invites risk; brakes are all that stand between a safe stop and a collision.
Most manufacturers say their braking systems are pretty robust, yet over time, the fluid itself can quietly sabotage safety because it pulls in water straight from the air. The result? Lower boiling points and, at best, spongy stopping; at worst, outright failure. Even spotting the warning signs isn’t always foolproof: sometimes it’s an oddly soft pedal, sometimes the color in the reservoir is closer to iced coffee than anything you’d want in a mechanical system. Unfortunately, these changes aren’t as obvious as a flat tire or a check engine light flashing an angry red. But taking action early keeps things simple.
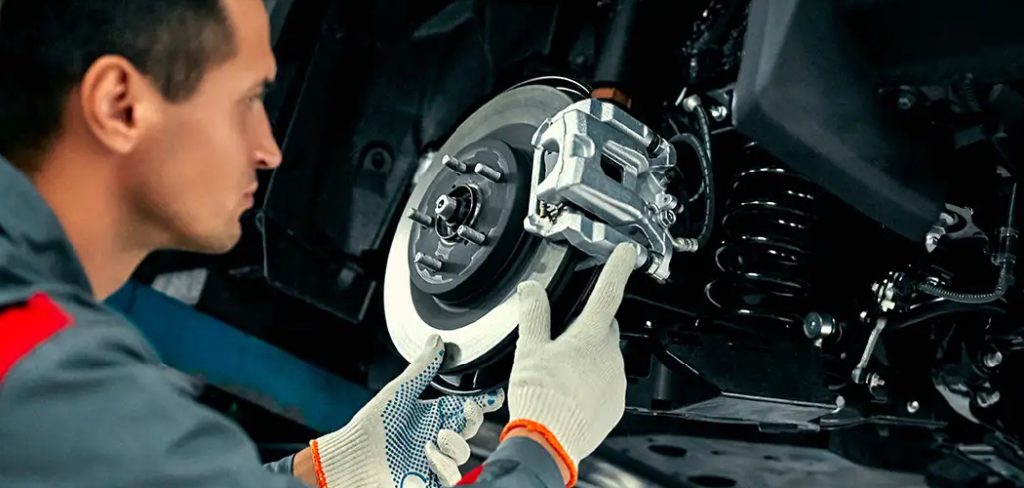
So, is it possible for someone without a full shop to tackle brake fluid replacement and not completely botch it? Absolutely. With a short shopping list, a chunk of free time, and some caution, most people can manage this job at home. If you already know which pedal is the brake, you can probably handle the rest. And, if you’re someone who likes to save a few bucks and see how things work, this is a pretty good starting point. In this guide on how to replace brake fluid by yourself, we’ll cover the basics of what brake fluid does and how to change it in a few simple steps.
Tools and Materials You’ll Need
To complete the brake fluid replacement, you’ll need a few items. These include:
- Brake Fluid (DOT 3 or DOT 4)
- Wrench Set
- Turkey Baster or Brake Bleeder Kit
- Jack and Jack Stands (if your car doesn’t have a leveling system)
- Rags or Paper Towels
- Safety Glasses
- Gloves (optional)
Before getting started, make sure you have all these items ready to avoid any interruptions during the process.
7 Step-By-Step Guidelines on How to Replace Brake Fluid by Yourself
Step 1: Prepare Your Vehicle and Workspace
Safety, not speed, is the core of this project. Park on solid, level ground—not the neighbor’s slanted driveway. Set the parking brake firmly, and chock the rear wheels, unless you enjoy surprises. Lug nuts often loosen more easily with weight still on the wheels; a quarter turn is usually enough.

Now, for the lift: work only at the marked jacking points—guesswork here can get costly or dangerous. Once the jack’s in place, go up until there’s room to breathe beneath the car, then slip the jack stands under the frame and lower the weight onto them fully. Never count on the hydraulic jack alone; leaks happen, sometimes when you least expect them. Finally, finish removing the wheels and slide them out of the way—there’s no honor in tripping.
Step 2: Remove the Old Fluid from the Master Cylinder
Pop the hood. Hunt down the master cylinder reservoir—typically a smallish, semi-translucent plastic tank, often lurking against the firewall near the driver. Resist the urge to unscrew the cap immediately. Dust and grit collect in odd places, and you absolutely do not want that going into your hydraulic system. Give the surrounding area a quick wipe with a clean rag.
Crack the cap, set it aside somewhere clean, and reach for the turkey baster or syringe. Steadily, draw out the old brake fluid, dumping it directly into the waste bottle—take your time, as yanking out every last drop isn’t necessary (or even wise). If you fully drain the reservoir, you invite air into the system, and bleeding that out is tedious. Just leave enough fluid to keep the intake holes covered.
Step 3: Add the New Brake Fluid
With most of the old liquid gone, it’s time to refill. Double-check that the new brake fluid matches exactly what the manual demands—DOT numbers exist for a reason. Pour slowly, aiming for the ‘MAX’ mark and not a drop higher, to reduce the risk of overflow or creating tiny bubbles.
Take a moment to breathe. This step, while simple, sets the tone for the rest of the process. Air in the system is the enemy now. Tempting as it might be to screw the cap on, just rest it loosely. The reservoir needs to vent as fluid cycles in and out later.
Step 4: Locate and Prepare the Bleeder Valves
Start with the wheel farthest from the master cylinder (usually the rear passenger-side). This sequence reduces the chance of air pockets migrating as you flush the lines. Find the brake caliper, look for a stubby metal nozzle—this is your bleeder valve. Most have a little rubber cap which can be coaxed off with a fingernail.
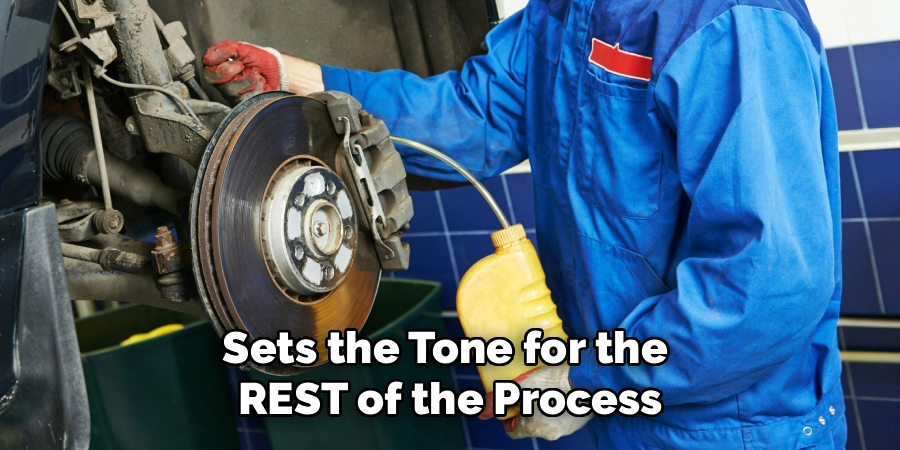
Check the valve for rust or seized threads; an occasional squirt of penetrating oil, followed by a short pause, can save you from tears and snapped bolts. Seat the box-end wrench over the valve head, then attach your tubing for a tight fit, feeding the other end to the waiting catch bottle.
Step 5: Bleed the Brake Lines
You’ll want your assistant on standby for this bit. Instruct them to slowly pump the brake pedal until it stiffens—patience here helps. With the pedal pressed and held, crack the bleeder valve (just a partial turn). Watch for old, murky fluid and a parade of tiny bubbles as they’re pushed out. The pedal will sink; as soon as it hits the floor, snug up the valve before your assistant releases the pedal. Repeat this “pump, hold, open, close, release” sequence.
This dance continues until the fluid running through the tubing arrives clean and clear, free of the fussing bubbles. Keep an eye on the master cylinder; if you let it run empty, you’ll undo all your progress almost instantly.
Step 6: Top Off the Master Cylinder
Consistency matters now. Stop every so often, check the reservoir, and top up as needed. Don’t let the system dry out. When you finish at one wheel, make sure the valve is tightened and the cap returned, then move through the other corners of the car in the order prescribed by your manual—usually rear left, front right, then front left.
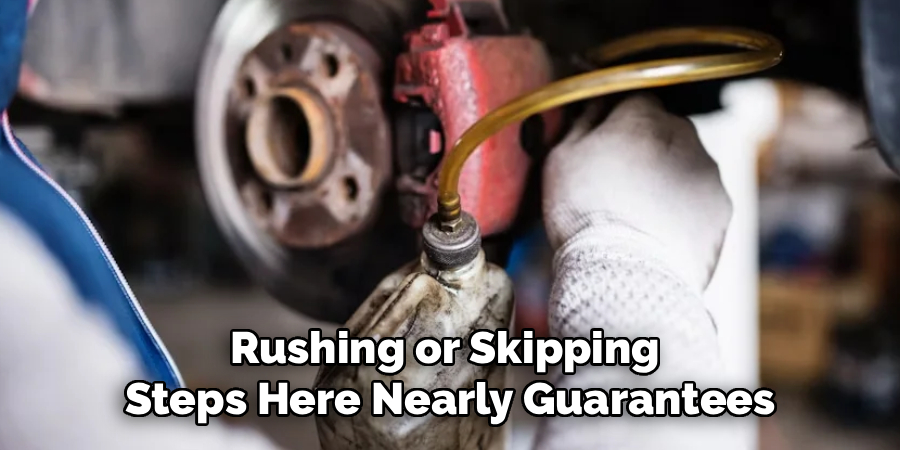
Rushing or skipping steps here nearly guarantees headaches later. You’d be surprised how easy it is to forget a bleeder valve open or run the reservoir dry when distracted.
Step 7: Test the Brakes and Clean Up
With all four lines flushed and valves secured, refill the master cylinder for the final time, seal it, and then test the pedal with your assistant’s help. If the brakes feel rock-solid and predictable, pat yourself on the back. If not—if there’s any squishiness—there’s still air trapped somewhere. At that point, it’s back for another round.
Circle the car and check for leaks near each valve. Assuming all’s well, replace the wheels, thread the lugs by hand, and lower the car gently. Only when the wheels are kissing the ground should you use a torque wrench to finish tightening. Put away your tools, clean up the area (brake fluid stains linger), and transfer the waste fluid to a sealed container for proper recycling. Skipping the last step turns a successful afternoon into a hazardous one.
Following these steps on how to replace brake fluid by yourself can save you time and money, but it is also important to know when it’s best to take your car to a professional mechanic.
Common Mistakes to Avoid
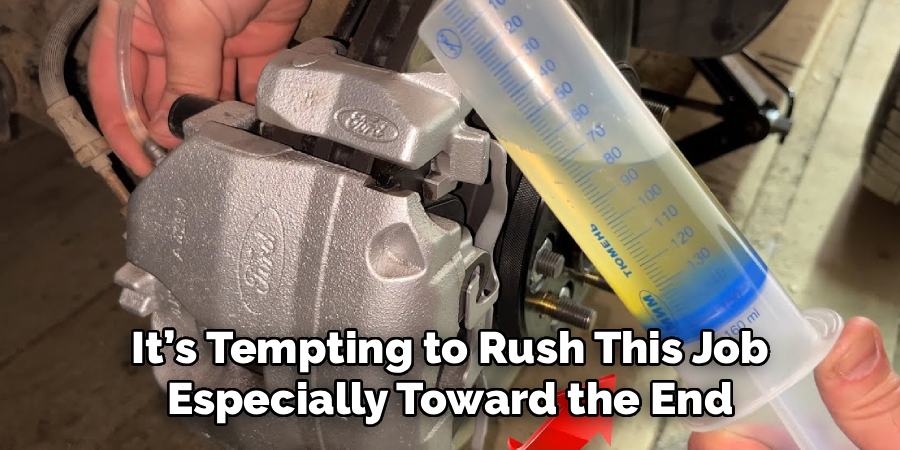
It’s tempting to rush this job, especially toward the end, but that’s where most errors creep in. Don’t ever shake brake fluid before pouring—it’s one science experiment you’d rather avoid. Air bubbles, once in the lines, stubbornly refuse to leave.
And always — always — keep the master cylinder above empty. Drawing in air makes bleeding nearly impossible for the average DIYer. Paint is another casualty here; spills left unattended will strip it away, so make sure rags are close by and ready.
How Much Will It Cost?
A shop will lighten your wallet by $100–$200 for a flush, though the price can swing higher for luxury models. Doing it yourself? The numbers fall fast. A fresh bottle of brake fluid is about $10–$20. A turkey baster and some tubing cost a few dollars each—maybe $5 for the tubing, $10 if you don’t already have the right wrench or syringe.
Add in the cost of jack stands or a quality jack only if you’re starting from scratch; most home garages already have them. For most, expect the outlay to stay between $20 and $35 for the whole job, not counting your time or the satisfaction of a job well done.
Frequently Asked Questions
Q1: How Often Should I Replace My Brake Fluid?
Most carmakers suggest swapping out brake fluid every two years or 30,000 miles, though the real answer might depend on how and where you drive. Because the fluid pulls in moisture, its chemistry gradually changes—too much water in the system spells disaster during high-heat stops. Safety here isn’t just about fresh fluid; it’s about keeping rust and corrosion at bay.
Q2: Can I Mix Different Types of Brake Fluid?
Generally speaking, mixing fluids is a mistake unless the owner’s manual gives a rare exception. DOT 3, DOT 4, and DOT 5.1 all share a glycol base, making them somewhat compatible on paper, but you lose the individual qualities—like boiling points—that matter most. DOT 5, on the other hand, is silicone-based and can wreak havoc if used with glycol types, attacking your brake system’s seals. Double-check the cap or your manual, and when in doubt, drain it all and start fresh.
Q3: What Happens If I Spill Brake Fluid On My Car Paint?
Bad news: brake fluid’s a potent paint stripper. If it makes contact with your paintwork, do not rub it out with a dry towel—it’ll only get worse. Instead, rinse the area right away with plenty of soapy water to wash away any traces. Keep shop towels and water bottles close when working near the fenders; the seconds you save will spare hours of regret later.
Ready to Hit the Road with Confidence
While this task may appear a bit intimidating at first glance, by tackling brake fluid replacement yourself, you take a small but meaningful step towards understanding and caring for your own vehicle. Sure, it takes time and attention, but the feeling of a firm, responsive brake pedal is worth the effort.
With the lines bled and everything back together, you can drive off with the comfort of knowing you invested in your safety (and maybe saved enough for an extra coffee along the way). Dispose of all waste fluid responsibly, and jot down somewhere when your next flush should be—memory is a fickle thing, but your brakes will always remind you when it’s overdue. Thanks for reading this guide on how to replace brake fluid by yourself.

About
Ora Hayes is a distinguished figure in the world of DIY Thecarfixes, with over a decade of expertise in automotive diagnostics and high-performance maintenance. Her professional focus lies in merging mechanical precision with modern digital tools, fostering repair solutions that are both cost-effective and highly reliable. As the author of Thecarfixes, Ora Hayes delves into the art and science of automotive restoration, inspiring car owners and hobbyist mechanics alike.
Education
RMIT University (Melbourne, Australia) Associate Degree in Automotive Engineering — Focus on vehicle dynamics, industry-driven repair protocols, and advanced diagnostics. Gained hands-on experience with traditional mechanical tools and modern ECU remapping software.
Nottingham Trent University (United Kingdom) Bachelor’s in Mechanical Design and Automotive Engineering (Honors) — Specialized in automotive systems with a focus on blending technical engineering with everyday usability. Participated in industry projects, working with leading automotive manufacturers to gain real-world insights into vehicle longevity.
Publications and Impact
In Thecarfixes, Ora Hayes shares her insights on troubleshooting complex engine issues, material durability, and strategies for efficient garage setups. Her writing bridges the gap between professional mechanic knowledge and the home enthusiast’s needs, making it a must-read for both everyday drivers and seasoned gearheads.




