Some car parts go completely unnoticed—until they don’t work. The coolant temperature sensor is one of those unsung bits, quietly measuring the engine’s temperature and ensuring it neither broils itself nor shivers in the cold. When it starts to fail (and this happens far more often than many drivers realize), expect a mile-long list of headaches: rough idling, inexplicably poor gas mileage, sometimes an engine light that just refuses to quit. The root cause? Bad data. The car’s computer gets muddled readings and, with nothing certain to go on, its guesses can do more harm than good.
Should you run straight to the shop? Not necessarily. Replacing a sensor like this, while it sounds intimidating, mostly requires a touch of patience and a willingness to get your hands a bit grimy. In truth, there’s every chance you’ll save not just cash, but time and frustration—not to mention the satisfaction of seeing the engine purr along just as it should.
Let’s work through how to replace a coolant sensor together. Here’s a down-to-earth, stepwise guide, the kind I wish I’d had the first time I took a wrench to a sensor like this.
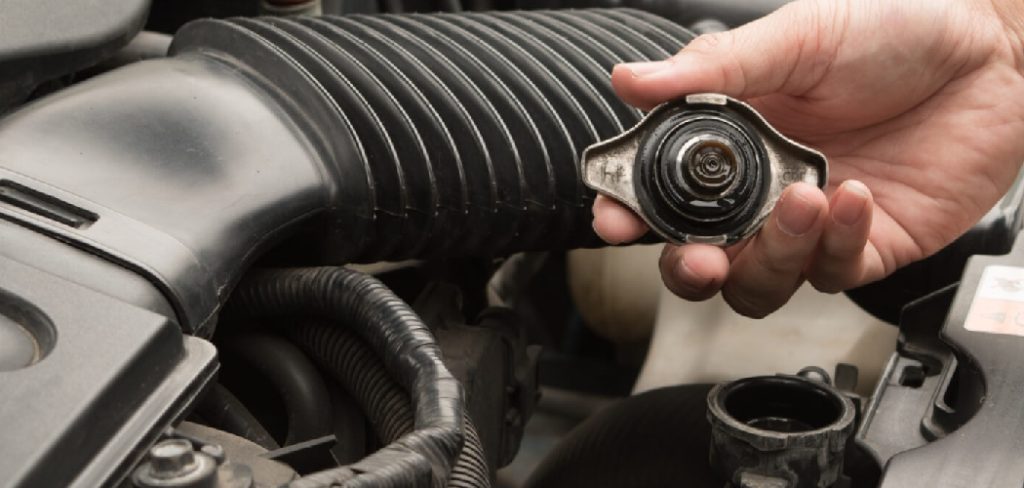
Tools and Materials You’ll Need
There’s a special sort of disappointment in discovering you’re missing something essential halfway through a job. Before you pull the first bolt, it’s worth gathering each piece:
- The right coolant temperature sensor—double-check the model for your vehicle; a close-enough fit isn’t enough.
- A socket set (deep sockets are your friend here) or a matching wrench.
- A generously sized drain pan—antifreeze rarely stays where you want it.
- Pre-mixed coolant for topping off afterward.
- A microfiber rag to catch spills and clean up.
- Safety glasses—hot antifreeze and debris wait for no one.
Bring everything to the workspace ahead of time. It takes a little extra effort, but you’ll curse less later.
7 Simple Step-by-step Guidelines on How to Replace a Coolant Sensor
Step 1: Locate the Coolant Temperature Sensor
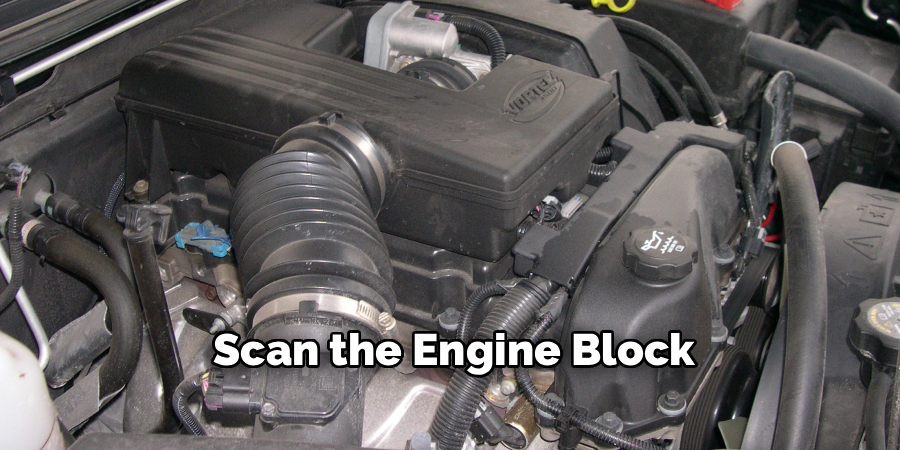
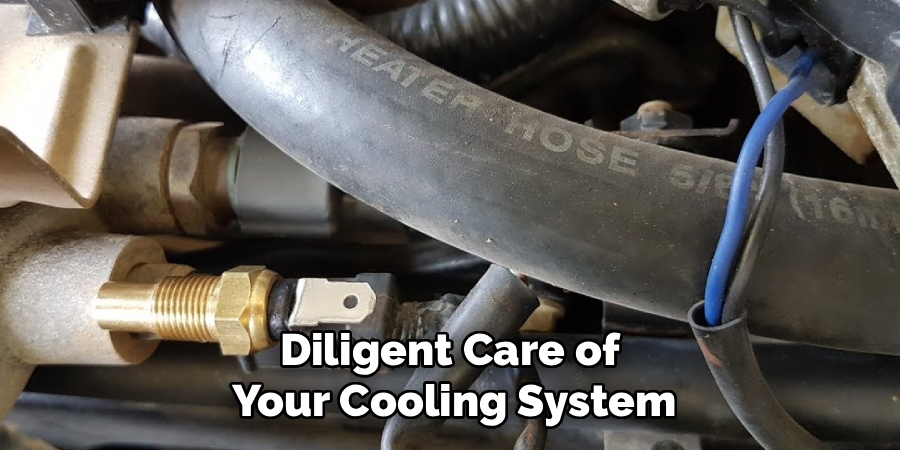
Before anything else, you have to find the little blighter. For many cars, you’ll want to peer near the thermostat housing or scan the engine block itself. Look for a brass-colored plug with a connector clipped to its top. Yet, I’ll caution you—manufacturers seem to delight in hiding these sensors in the most inconvenient places. If nothing turns up immediately, grab your old-fashioned repair manual. Don’t trust guesswork here.
Once you think you’ve found the sensor, pause. Have a look at the area around it. Years of driving can cake grime, oil, and who-knows-what else into every corner. It’s worth cleaning with a gentle rag and some friendly degreaser, if only to keep debris from falling right into the cooling system. And for the love of all things unburned, let the engine cool—pressurized coolant can scald faster than you’d believe.
Step 2: Disconnect the Battery and Prepare the Area
Nobody starts a job thinking about electrical shorts, but they do happen—and the damage they cause can be far greater than some spilled coolant. Find the negative battery terminal. Use your wrench to loosen the nut, then move the cable safely aside. This basic step keeps you (and your vehicle’s electronics) clear of trouble.
Now, get that drain pan and slide it under the engine’s nose. Even if you’re not planning on draining the whole system, what little fluid spills out will be plenty to stain your driveway if you’re not ready. Have a few towels close at hand for the inevitable. Mess is easier to contain than to erase.
Step 3: Unplug the Electrical Connector
The sensor stays in constant conversation with your engine’s computer via a small harness. You’ll need to unclip it. Scan for—sometimes squint at—the little plastic locking tab atop the connector. Press and pull it. Go gently; heat and age make these plastics turn brittle, and too much force will leave you hating life with a broken clip.
If it won’t budge, take a breath. Never yank by the wires—they’ll pull away before the connector gives in, leaving you a soldering job you didn’t ask for. Instead, try a cautious wiggle, side to side, while keeping pressure on the tab. A slim flathead screwdriver can help, but don’t get aggressive. Sometimes, patience matters more than muscle.
Step 4: Remove the Old Coolant Sensor
With the wiring free, you’re ready for extraction. Choose a socket or wrench that fits the hex base snugly; anything loose can chew up the brass. Turn counterclockwise, just as you would with a stubborn jar, leaning on even pressure rather than brute strength. The threads can be surprisingly soft.
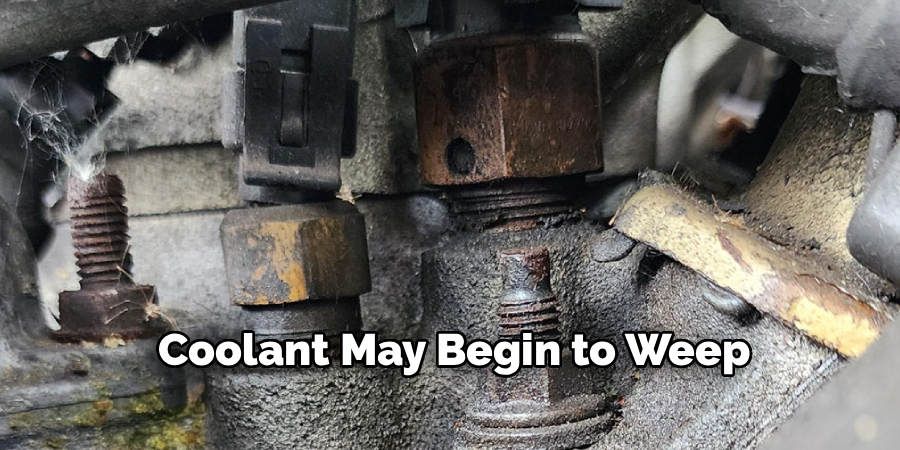
As soon as the sensor comes loose, coolant may begin to weep—or pour—straight from the opening. Don’t lose your cool. Plug the hole briefly with a rag if you’re scrambling for the replacement. Before you toss the old part aside, check it for missing bits. Metal fragments left behind can do no good trapped in the engine.
Step 5: Prepare and Install the New Sensor
Grab your new sensor and compare—carefully—to the old one. Are the connectors identical? Threads matching in length and pitch? If there’s a mismatch, best to stop now and seek the correct piece.
Many modern replacements arrive with a dab of thread sealant. If yours does not, wrap a single loop of Teflon tape around the threads. It’s not glamorous work, but it beats discovering a slow leak weeks later.
With the rag removed, thread the sensor in by hand at first—cross-threading can make a small job suddenly expensive. Once hand-tight, use your wrench to snug it down, but don’t bear down as though you’re securing a bridge cable. Brass is unforgiving if you overdo it.
Step 6: Reconnect the Wiring and the Battery
Sensor mounted, you’re almost out of the woods. Grab the harness you freed earlier, double-check for moisture or corrosion, and push it straight onto the new sensor until it clicks. That sound, faint as it is, should be enough. If it feels loose, stop and check; the connection shouldn’t be in doubt.
Head back to the battery. Reconnect the negative cable, tightening the nut with confidence but not excess. Scan your workspace. Left any rogue tools or rags under the hood? Now’s the time to clear them out.
Step 7: Refill the Coolant and Test the System
With the physical labor complete, attention shifts to fluids. You’ve lost some coolant. Refill at the radiator cap or reservoir (whichever your car prefers) with a 50/50 blend of antifreeze and distilled water. Pour slowly and don’t overshoot the mark.
Engine still off, leave the cap loose for the moment. Start the car. Let it idle and watch for bubbles—that’s trapped air finding its escape. Eyes on the new sensor: look for any sign of oozing coolant, and keep an ear and eye on the dash. The temperature gauge should tick steadily upward, settle, and hold. Only when satisfied should you close the cap and drop the hood.
Following these steps on how to replace a coolant sensor in your car can save you time and money, while also ensuring the proper functioning of your vehicle. It is important to regularly check and replace coolant sensors whenever necessary to avoid any potential issues with your car’s cooling system.
Common Mistakes to Avoid
Certain errors crop up again and again, and they can make this straightforward job much more fraught than necessary. Removing a sensor from a hot engine? That’s a surefire path to burns and regret. Forgetting the drain pan encourages spectacular messes and—in the worst case—loss of an eco-friendly conscience. Some folks rush the threads with a wrench, inevitably cross-threading the fresh sensor.
And trapped air in the system, left unbled, can cause the engine to overheat all over again. Not least, skipping the check on connections, fluid levels, or leftover tools risks everything from minor leaks to major faults when you’re back on the road.
Do You Need To Use Professionals?
It’s fair to wonder—should you tackle this job yourself? For most, it’s manageable, even educational. You don’t need specialized tools or advanced diagnostics, just a methodical approach and sensible pacing. Still, there are caveats. If the sensor is hidden behind other hardware—or deep in a bay clearly designed by someone with far smaller hands—calling in a pro may be wise.
A handful of modern cars demand online recalibrations after sensor swaps, too. The general rule: know your comfort zone, and if anxiety runs high, a trusted mechanic is only a phone call away.
How Much Will It Cost?
This is where doing it yourself pays off. The sensor itself usually costs under fifty dollars—sometimes a bit more for rare models, but never astronomical. Antifreeze may run a few extra bucks, perhaps fifteen or so. However, a shop’s labor will hit your wallet the hardest, quickly multiplying the total into the hundreds.
That wide gap in price makes for a persuasive case to invest a little time on a Saturday rather than parting with hard-earned money for labor alone.
Frequently Asked Questions
Q1: What Are The Symptoms Of A Bad Coolant Sensor?
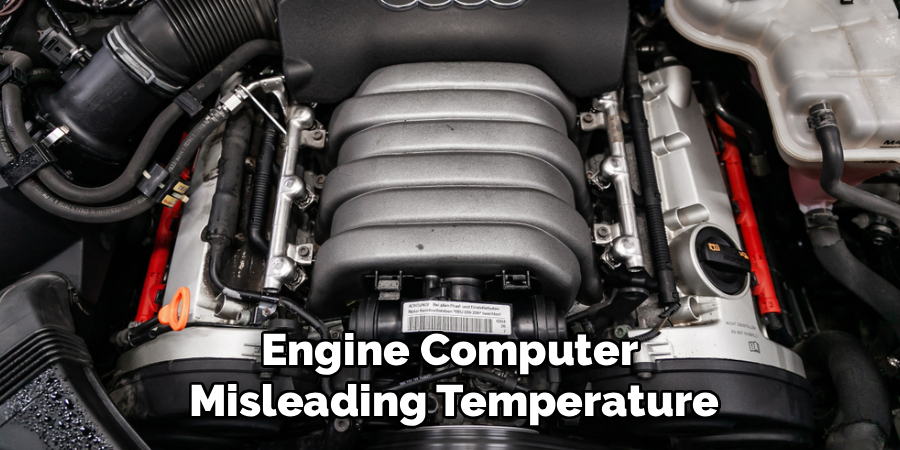
Most commonly, a faulty sensor will feed the engine computer misleading temperature data. And this triggers all sorts of problems: fuel mixture goes awry, gas mileage nosedives, dark smoke might escape the exhaust, or you could find your idle rougher than you remember. Sometimes the dashboard temperature gauge will behave like it’s possessed, swinging between extremes. At some point, the check engine light will turn on and stay there. Disregarding all this usually shortens engine life, though a few lucky drivers get away with it for a while.
Q2: Can I Drive My Car With A Faulty Temperature Sensor?
Can you? Perhaps. Should you? Absolutely not. The computer counts on those readings to manage the cooling fans, and once the data grows unreliable, risk climbs quickly—especially if sitting in heavy traffic. Engines left unchecked in these conditions overheat, sometimes fatally, leading to warped cylinder heads or failed gaskets. Repairs for those exceed sensor replacement costs by — well, a painful margin. Park up, fix the problem first, and you’ll save yourself heartache and money in the long run.
Q3: Do I Need To Drain All The Antifreeze Before Starting?
Usually, no. Total system drainage is unnecessary for this job. However, some coolant will escape as soon as you pull the sensor, so having that drain pan in position is more crucial than you might think. If you encounter old, rusty coolant or realize it’s been years since the last flush, this might be a convenient excuse to do some overdue maintenance. Still, for the sensor alone, keep draining to a minimum.
Conclusion
Diligent care of your cooling system keeps your car not just on the road, but healthy for the long run. Taking on repairs like this one yourself doesn’t require bravado—just sensible steps and respect for the machine.
A willingness to learn goes a long way. When you turn the engine over and see the system working as it should, it’s hard not to feel a little surge of pride. Always dispose of old fluids responsibly, and never risk burns on a hot engine. Sometimes, a quiet afternoon in the driveway offers the greatest return on investment. Thanks for reading this guide on how to replace a coolant sensor.

About
Ora Hayes is a distinguished figure in the world of DIY Thecarfixes, with over a decade of expertise in automotive diagnostics and high-performance maintenance. Her professional focus lies in merging mechanical precision with modern digital tools, fostering repair solutions that are both cost-effective and highly reliable. As the author of Thecarfixes, Ora Hayes delves into the art and science of automotive restoration, inspiring car owners and hobbyist mechanics alike.
Education
RMIT University (Melbourne, Australia) Associate Degree in Automotive Engineering — Focus on vehicle dynamics, industry-driven repair protocols, and advanced diagnostics. Gained hands-on experience with traditional mechanical tools and modern ECU remapping software.
Nottingham Trent University (United Kingdom) Bachelor’s in Mechanical Design and Automotive Engineering (Honors) — Specialized in automotive systems with a focus on blending technical engineering with everyday usability. Participated in industry projects, working with leading automotive manufacturers to gain real-world insights into vehicle longevity.
Publications and Impact
In Thecarfixes, Ora Hayes shares her insights on troubleshooting complex engine issues, material durability, and strategies for efficient garage setups. Her writing bridges the gap between professional mechanic knowledge and the home enthusiast’s needs, making it a must-read for both everyday drivers and seasoned gearheads.