

Tackling transmission work often appears intimidating to the uninitiated. It might seem like a task reserved exclusively for veteran mechanics with decades of experience. Yet, learning how to remove torque converter assemblies is entirely achievable in a home garage.
You simply need patience, a methodical mindset, and the right approach. This guide aims to demystify the mechanical process of separating the transmission from the engine block. We will outline a clear, highly systematic sequence for accessing and extracting this heavy component safely.
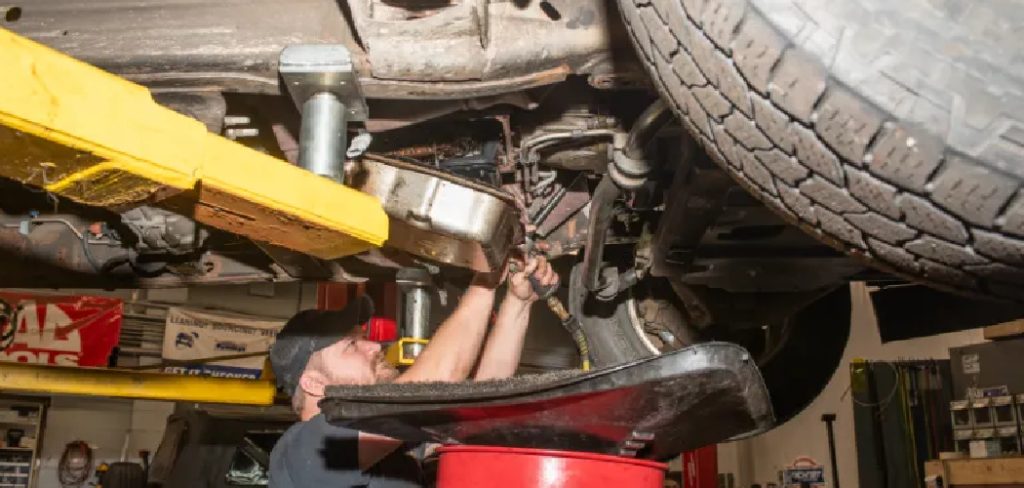
Understanding the underlying mechanics tends to reduce the anxiety associated with heavy automotive repairs. We will explore the necessary safety protocols, the specific tools required, and the exact steps to follow. By the end of this reading, you should feel equipped to handle the teardown with reasonable confidence.
Understanding the Torque Converter and Its Function
Before removing any bolts, it helps to understand what this component actually does. A torque converter operates primarily as a fluid coupling, transferring rotational power from the engine’s crankshaft to the transmission input shaft. This ingenious system allows your vehicle to idle smoothly at a stoplight without stalling the engine.
Internal Components of the Torque Converter
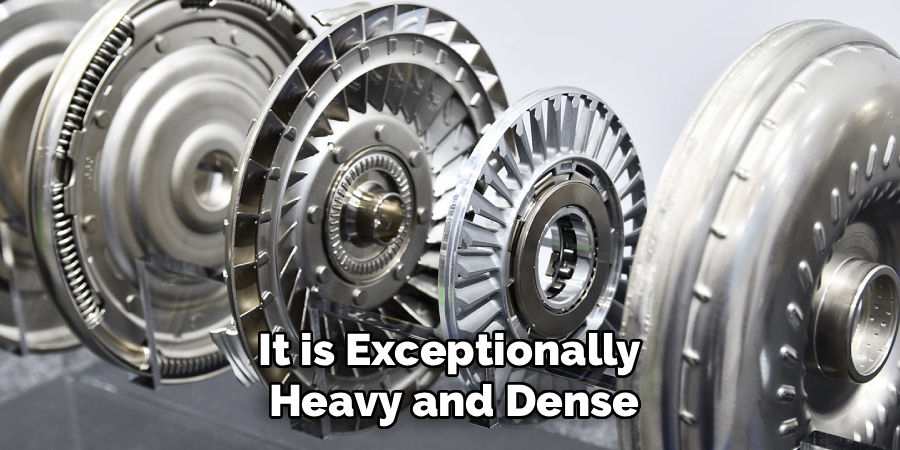
Inside the heavy metal housing, the torque converter contains an impeller, a turbine, and a stator. These components work together to manipulate hydraulic fluid efficiently, multiplying torque during initial acceleration. The interplay of these parts is critical to the smooth operation of your vehicle.
The Importance of Careful Handling
Because the torque converter is filled with transmission fluid, it is exceptionally heavy and dense. This significant weight, combined with its awkward shape, necessitates careful and deliberate handling. Understanding its fragility and weight underscores the need for slow and precise movements during removal to avoid injury or damage to the component.
Necessary Tools and Safety Precautions for the Job
Heavy-duty mechanical work demands specific equipment to prevent accidents. You cannot rush the preparation phase. Gathering the correct tools beforehand tends to eliminate dangerous improvisation halfway through the job.
A high-quality transmission jack is practically mandatory. Relying on a standard floor jack to balance a heavy, oddly shaped transmission could easily result in disaster. You also need heavy-duty jack stands, a reliable socket set, and several long socket extensions to reach recessed bolts.
Raising and Supporting the Vehicle
Working underneath a suspended vehicle introduces inherent physical risks. You must operate on a perfectly flat, level concrete surface. Asphalt or dirt driveways might allow jack stands to sink, which destabilizes the entire vehicle.
Always use appropriately rated jack stands to support the frame. A hydraulic jack relies on fluid pressure, which could fail without warning. Resting the vehicle’s weight entirely on solid steel stands provides the mechanical security required for safe underneath labor.

Personal Protective Equipment
Transmission fluid is remarkably slippery and tends to coat everything it touches. Wearing heavy-duty mechanic gloves provides the necessary grip while protecting your knuckles from sharp metal edges. Eye protection is perhaps even more vital.
As you loosen rusty bolts, dirt, debris, and fluid will inevitably fall downward. Safety glasses ensure your vision remains unobstructed and protected. This might appear overly cautious, but professional mechanics rarely skip this basic layer of defense.
Step-by-Step Guide: How to Remove Torque Converter
This section details the core mechanical sequence. Approaching the teardown chronologically prevents missed steps and minimizes frustration. Focus entirely on precision and safety as you navigate these mechanical connections.
Step 1: Prep the Vehicle and Disconnect the Battery
Electrical safety acts as the foundation of any major automotive teardown. You must locate the vehicle’s battery and disconnect the negative terminal before lifting a wrench. This simple action prevents accidental electrical shorts when you eventually remove the starter motor.
Once the battery is disconnected, raise the vehicle using your floor jack. Secure it firmly on all four jack stands, ensuring you have enough clearance to comfortably maneuver the transmission jack underneath. Give the vehicle a firm shake to verify its stability before crawling under the chassis.
Step 2: Drain the Transmission Fluid
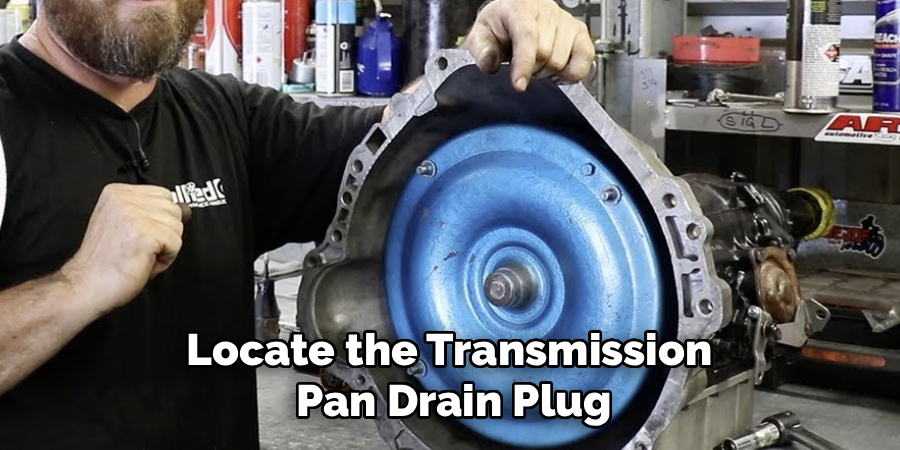
A fully loaded transmission and torque converter hold a significant volume of hydraulic fluid. Draining this fluid early in the process makes the transmission lighter and easier to balance. Locate the transmission pan drain plug, if your vehicle is equipped with one.
Place a large, wide catch pan directly underneath the plug. Loosen the bolt slowly, allowing the red fluid to drain completely until it slows to a steady drip. Keep the catch pan nearby, as the converter itself will likely leak residual fluid when it finally separates from the engine.
Step 3: Remove the Driveshaft and Crossmember
The driveshaft links the transmission to the rear differential. You must unbolt the rear universal joint flanges to free the shaft. Once the rear bolts are removed, the front of the driveshaft usually slides smoothly out of the transmission tail housing.
Next, you need to address the transmission crossmember, which supports the rear weight of the unit. Position your transmission jack under the transmission pan and apply light upward pressure. With the weight supported, unbolt the crossmember from the vehicle frame and set it completely aside.
Step 4: Disconnect Wiring, Lines, and the Starter
Modern transmissions rely on a network of electrical connectors and cooling lines. Carefully unplug every wiring harness attached to the transmission body, noting their original locations. Disconnect the shift linkage, which connects your interior gear selector to the transmission valve body.
You must also remove the metal transmission cooler lines running to the radiator. Finally, unbolt the starter motor from the engine block. Removing the starter exposes the flexplate, which is necessary for accessing the hidden converter bolts in the next phase.
Step 5: Unbolt the Torque Converter from the Flexplate
The torque converter is bolted directly to the engine’s flexplate. You access these fasteners through the small inspection cover opening or the pocket left by the removed starter. This step requires turning the engine manually to bring each bolt into view.
Use a large breaker bar and a socket on the front crankshaft pulley bolt to rotate the engine clockwise. As a converter bolt appears in the access window, remove it carefully. Repeat this rotation process until all three or four bolts connecting the converter to the flexplate are completely removed.
Step 6: Separate the Transmission from the Engine Block
The transmission bellhousing bolts firmly to the back of the engine block. Use long socket extensions and swivel joints to reach the highest bolts resting near the transmission tunnel. Once all the bellhousing bolts are extracted, the transmission is technically free.
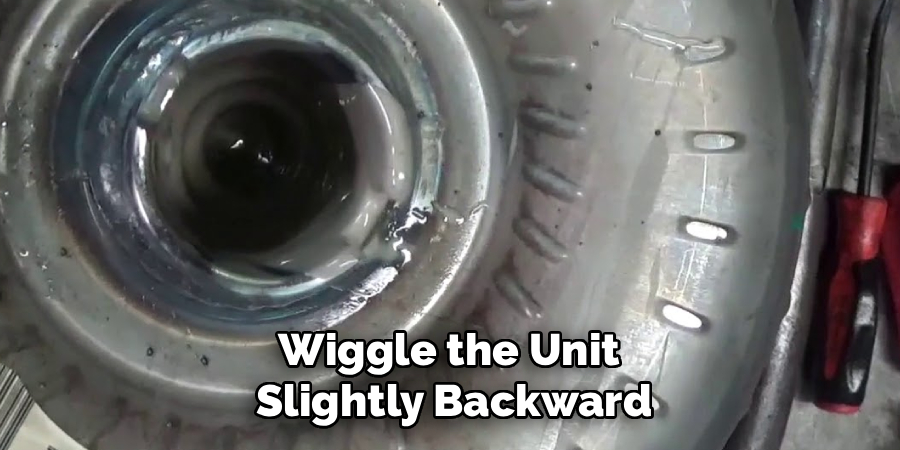
Double-check that your transmission jack is perfectly balanced and strapped to the transmission casing. Gently pry the bellhousing away from the engine block. You may need to wiggle the unit slightly backward to clear the metal alignment dowel pins.
Step 7: Carefully Slide the Torque Converter Out
As you roll the transmission backward on the jack, the torque converter should stay resting on the transmission input shaft. It is no longer attached to the engine. Once the transmission is completely clear of the vehicle, you can address the converter itself.
Grasp the heavy converter firmly with both hands. Pull it straight forward, keeping it perfectly level to avoid dragging the heavy hub across the delicate transmission pump seal. Set the unit upright on a drain pan to prevent the remaining internal fluid from spilling across your workspace.
Common Mistakes to Avoid During Removal
DIY mechanics frequently encounter avoidable pitfalls during this teardown. Anticipating these common errors tends to save hours of unnecessary struggle. Paying attention to hidden fasteners and alignment issues is paramount.
Forgetting Hidden Bellhousing Bolts
Automakers often place the top two bellhousing bolts in incredibly tight locations. It is quite easy to overlook them in a dark transmission tunnel. Attempting to pry the transmission away while a bolt remains attached could easily crack the fragile aluminum bellhousing.
Always feel around the top edge of the housing with your hands to confirm every fastener is removed. Using three feet of socket extensions combined with a universal swivel joint usually provides the necessary angle to reach these stubborn bolts.
Letting the Torque Converter Bind
If the converter does not separate cleanly from the flexplate, it might bind against the transmission input shaft. Letting this heavy component hang at a downward angle puts immense pressure on the front pump gears. This misalignment might cause permanent damage to the internal transmission mechanisms.
Ensure the converter is fully unbolted from the engine before sliding the transmission back. If the converter seems stuck to the flexplate, use a small pry bar to gently separate them before moving the transmission jack.
Inspecting the Torque Converter and Flexplate for Damage
With the components successfully removed, visual inspection becomes your primary diagnostic tool. Analyzing the wear patterns on these metal parts might suggest why your vehicle was experiencing drivetrain issues.
Checking the Flexplate for Cracks
The flexplate transfers immense rotational force from the crankshaft. Inspect the thin metal webbing closely, looking for hairline cracks forming around the center crankshaft bolt holes. A cracked flexplate often produces a loud, rhythmic knocking sound while the engine idles.
You should also examine the outer ring gear teeth. If the starter motor has been grinding, the teeth might appear chewed or broken. Any visible damage here indicates that the flexplate requires immediate replacement.
Examining the Converter Snout
The machined snout of the torque converter rides directly inside the transmission’s front pump seal. Run your fingernail over this polished metal surface. It should feel perfectly smooth, resembling glass.
If you detect deep grooves, scoring, or a rough texture, the pump seal has likely failed. A damaged snout will immediately ruin a brand-new seal, which could lead to massive fluid leaks upon reassembly. This condition tends to indicate that the converter itself needs to be replaced or professionally rebuilt.
Dealing with Stuck or Seized Converter Bolts
Causes of Stuck Converter Bolts
Constant exposure to intense heat cycles can result in converter bolts seizing tightly within the flexplate. Over time, the expansion and contraction caused by these heat cycles make bolts more difficult to remove. This issue often becomes more pronounced in older or heavily used transmissions.
Solutions for Stuck Converter Bolts
Breaking these bolts loose requires a methodical approach, patience, and the correct tools. Rushing the process may lead to rounded bolt heads, transforming a minor annoyance into a time-consuming extraction project. To begin, generously apply penetrating oil to the affected threads and allow several minutes for it to soak and penetrate the seized areas.
Next, ensure the crankshaft is securely locked in place with a specialized holding tool to prevent engine rotation while you apply torque to the bolt. For the best results and to minimize the risk of stripping, use a high-quality, six-point socket. This method ensures the proper application of force without damaging the fastener.
Proper Fluid Management and Disposal
Draining the Torque Converter
When removing a torque converter, it is important to remember that it still holds several quarts of old transmission fluid within its internal fins. Disposing of this component improperly can harm the environment. To handle this responsibly, start by tipping the converter upside down over a large drain pan. Allow it to rest in this position for several hours to ensure the fluid drains out completely through the center hub opening.
Proper Disposal of Transmission Fluid
Once the fluid has been thoroughly drained from the converter, carefully transfer it into sealed plastic containers. Avoid spilling or exposing the fluid to open areas. Take the containers to a nearby auto parts store or a municipal recycling facility that accepts waste oil for proper recycling or disposal. This ensures compliance with environmental safety protocols while contributing to sustainable practices.
Conclusion
Mechanics of all skill levels frequently view transmission removal as a monumental hurdle. However, breaking the process down into logical, manageable steps reveals a highly structured mechanical sequence. Learning exactly how to remove torque converter assemblies simply requires careful preparation, the right lifting equipment, and a respect for automotive weight dynamics.
By taking your time and verifying every electrical and mechanical disconnection, you avoid the common pitfalls that cause component damage. The diagnostic insights gained by physically inspecting the flexplate and converter snout offer invaluable knowledge about your vehicle’s overall health. Gather your jack stands, prepare your workspace, and approach this rewarding mechanical project with patience and precision.

About
Ora Hayes is a distinguished figure in the world of DIY Thecarfixes, with over a decade of expertise in automotive diagnostics and high-performance maintenance. Her professional focus lies in merging mechanical precision with modern digital tools, fostering repair solutions that are both cost-effective and highly reliable. As the author of Thecarfixes, Ora Hayes delves into the art and science of automotive restoration, inspiring car owners and hobbyist mechanics alike.
Education
RMIT University (Melbourne, Australia) Associate Degree in Automotive Engineering — Focus on vehicle dynamics, industry-driven repair protocols, and advanced diagnostics. Gained hands-on experience with traditional mechanical tools and modern ECU remapping software.
Nottingham Trent University (United Kingdom) Bachelor’s in Mechanical Design and Automotive Engineering (Honors) — Specialized in automotive systems with a focus on blending technical engineering with everyday usability. Participated in industry projects, working with leading automotive manufacturers to gain real-world insights into vehicle longevity.
Publications and Impact
In Thecarfixes, Ora Hayes shares her insights on troubleshooting complex engine issues, material durability, and strategies for efficient garage setups. Her writing bridges the gap between professional mechanic knowledge and the home enthusiast’s needs, making it a must-read for both everyday drivers and seasoned gearheads.




