

There’s something unsettling about discovering a rusty spot on your car, especially if you take pride in keeping it in good shape. It’s easy to worry that fixing it means draining your bank account at a body shop. Yet, for small patches—those caught early and handled thoughtfully—restoring your paint at home is within reach.
If you address that first sign of corrosion, you don’t just revive your ride’s shine. More importantly, you stop that orange creep from gnawing deeper into the metal. What follows here isn’t some heroic miracle cure; it’s a practical guide—a set of steps on how to remove surface rust on a car and reflections to help you manage the job at home and maybe extend the life and looks of your vehicle.
Understanding Surface Rust vs Deep Rust
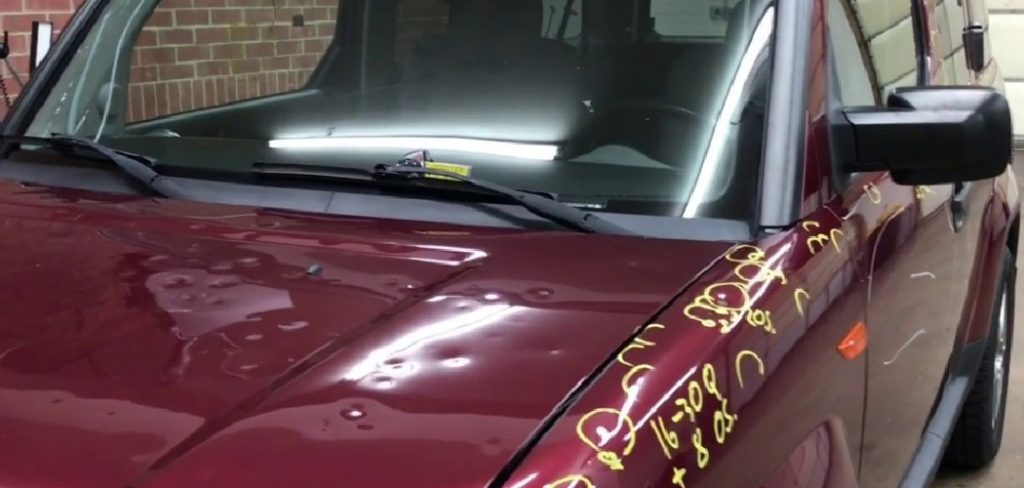
Pause before you reach for sandpaper: you need to know what you’re up against. Not all rust operates on the same timeline or poses the same threat. Surface rust, as the name implies, sits right at the top—think of it as the automotive equivalent of a sunburn rather than skin cancer. Usually, it pops up where a pebble chipped the paint or a key scraped the finish, letting in moisture and air. What you’ll see: slight orange-brown discoloration, maybe a rough patch. If pressed, the metal beneath is solid. In these cases, removing the damage is straightforward, though not entirely free of sweat and effort.
Let things slide too long, though, and you may run into deep rust. This isn’t so easily dismissed. When oxidation chews through panel after panel, what started as a tiny blemish can become a flaky crater. If a probe or screwdriver passes through or the metal crumbles at a touch, it’s no longer cosmetic. Sometimes, you’ll need to cut and patch the metal, often best left to the pros. No amount of sanding can bring disintegrating steel back from the brink.
Tools and Materials You’ll Need
- Sandpaper or sanding block
- Wire brush
- Rust converter or primer
- Paint, enamel, and clear coat (for a DIY paint job)
- Protective gear (gloves, goggles, mask)
- Replacement panels (if needed)
Safety and Preparation
Let’s not kid ourselves—most people get antsy here and leap straight to sanding. But slow down: all those sprays and powders aren’t benign. Ideally, you’ll be working outside or in a garage with the door wide open. Without good airflow, paint fumes linger in the air, and that’s an invitation for a throbbing headache at best. Eye protection is non-negotiable. Even tiny flakes from cleaning metal can do real damage, and inhaling airborne chemicals or fine dust is something to avoid. That means a proper respirator, not just a painter’s mask.
Washing the area first isn’t just about pride; dirt interferes with everything you’re about to do. Dry thoroughly—moisture is, after all, what started this rust in the first place. Use your masking tape and paper to create a protective zone. Give yourself room to maneuver, but don’t trust your hands to be steady enough to avoid a headlight or window. If in doubt, cover it.
6 Simple Step-By-Step Guidelines on How to Remove Surface Rust on a Car
Step 1: Sand Away the Rust and Old Paint
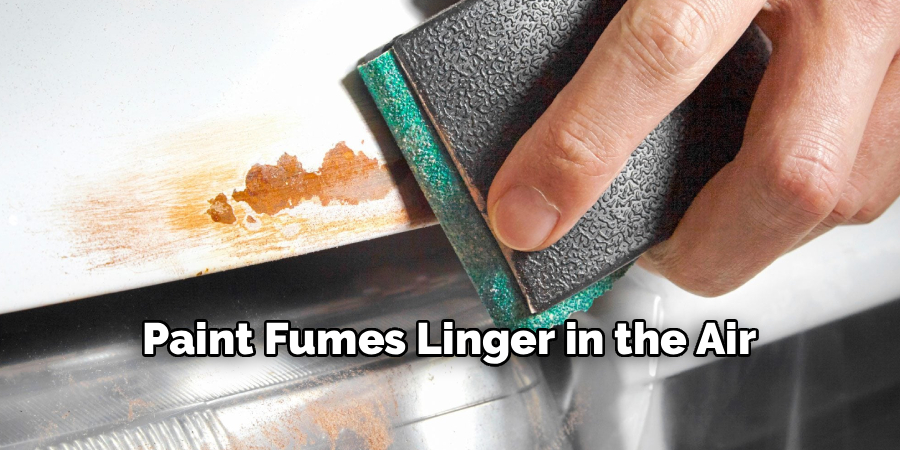
Start here: removing every speck of the visible rust—and, critically, the paint immediately around it. There’s a temptation to treat this lightly; it’s better to err on the side of zeal. That means grabbing 80-grit sandpaper, not a fine one. This is messy, and your hands will get tired. Stick to circles or gentle crosshatching, working past the rust until shiny, clean metal peeks through. If you spot the faintest bit of brown, keep going. Rust left behind is a future problem waiting to appear under your next coat of paint. Once you’re satisfied, shift to 150-grit to carefully feather the transition where bare metal meets the still-healthy paint. The aim? A gradual slope, not a wall, so your repair won’t stick out.
Step 2: Clean and Prep the Surface
At this point, the surface is a minor mess: dust, bits of old paint, more dust. Brush most of it away with a microfiber towel, but resist the urge to use your fingers—oils from your skin might compromise paint adhesion later on. Reach for a wax and grease remover, generously applied to a fresh cloth. Work over the whole exposed section, because contaminants you can’t see (oils, old wax, even fingerprints) can ruin the repair. Let it dry, then pass over everything again with a tack cloth. It’s a minor ritual, but worth every second.
Step 3: Apply the Automotive Primer
Now for the primer—the unsung hero of this operation. Shake the can far longer than you think reasonable; partial mixing is a frequent culprit in repairs gone wrong. Eight to ten inches from the surface is about right. Don’t panic if the first pass looks thin; heavy spraying is a common error and leads to sagging, drippy blobs. Several thin coats—three or four—will give you much better control and a sturdier base. Ten or fifteen minutes between coats is wise, though few people have the patience for it. Cure time depends on climate and manufacturer instructions; the back of the can is your friend.
Step 4: Sand the Primer Smooth
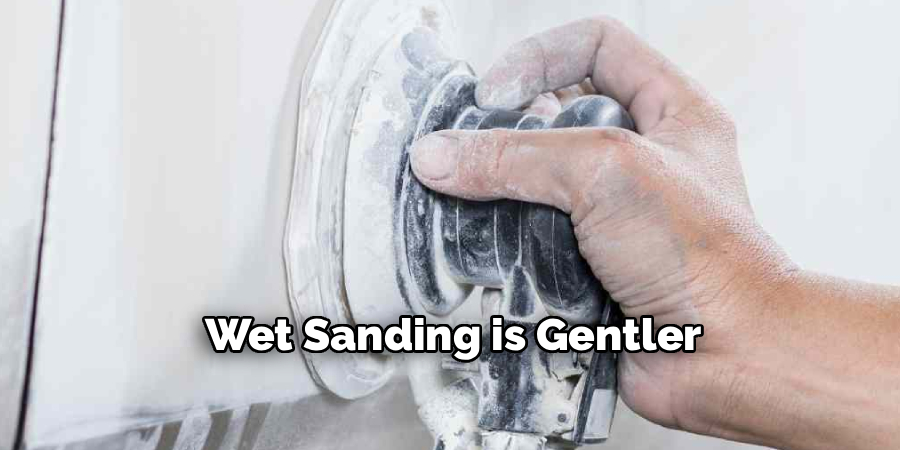
Inevitably, the primer’s texture is a little rough—even when you’re careful. Grab 400-grit sandpaper, soaking it first. Wet sanding is gentler, and a glass-smooth finish is worth the trouble. Gently rub over the area, keeping it wet and wiping away the milky slurry that forms. It’s a little strange to sand something you just sprayed, but touching the surface will guide you. Aim for a glassy feel that lines up with the old paint, not just “good enough.” Another pass with your wax and grease remover won’t hurt—honestly, it’s insurance at this stage.
Step 5: Apply the Color Base Coat
Now here’s where many panic. Color-matched paint (from a spray can, in most cases) needs to blend, not just cover. Shake well. Several light coats are better than one thick one, even if impatience gnaws at you. Extend the spray just past the primed area. Wait between coats until the paint is tacky, not soaking wet. If you lay it on too thick, the paint can pool or streak—an aggravating setback. Take your time; you’ll thank yourself later.
Step 6: Apply the Clear Coat and Polish
Clear coat, applied correctly, protects everything you’ve just done—not just the rust patch, but also the time and effort spent. Let the color dry for an hour or so, then apply three or four careful coats of clear, overlapping as you go. Drying between layers is more important than you might think; rushing here can undo the hard work of the day. When fully cured—a couple of days is prudent—remove all masking tape. To finish, buff gently with rubbing compound for a near-invisible transition, then wax the whole panel for lasting protection. It’s not magic, but a patient hand delivers surprisingly professional results.
Following these steps on how to remove surface rust on a car can save you time and money in the long run. Not only will your car look better, but it will also prevent further damage to the body and ensure its longevity.
Common Mistakes to Avoid
Several missteps crop up with disheartening regularity. Some folks rush through sanding and leave hidden rust—guaranteed trouble down the road. Others pour on thick coats of paint or primer, hoping to save time, only to discover lumpy, uneven surfaces.
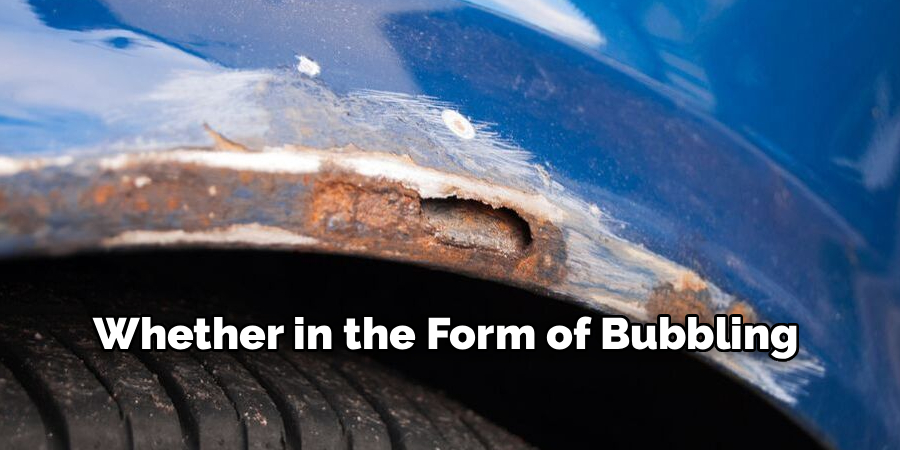
Neglecting to clean the area or skipping the clear coat? Each oversight opens the door to premature failure—whether in the form of bubbling, chipping, or a rusty return a few months later.
When to Seek Professional Help?
You can only do so much in a driveway, and sometimes you have to hand over the reins. If the rust has gone deep, leaving holes you can prod through or the metal collapses under light pressure, the job’s outgrown DIY territory.
Also, rust on tricky body curves, near critical suspension elements, or across a large swathe of roof or hood generally demands specialized techniques and equipment. No shame in that—the best repair is the one that actually works, even if it costs something extra.
How Much Will It Cost?
DIY repairs remain vastly cheaper than booking time at a professional shop. If purchased new, the supplies—sandpaper, tapes, cleaners, primers, paint, and clear—generally total between $50 and $100 at most auto parts stores.
By contrast, expect to pay $400 to $800 for a small professional fix, with color-matching and labor tipping the scale higher. Factor in your time: a half-day’s effort saves a few hundred dollars (and gives a real sense of accomplishment).
Frequently Asked Questions
Q1: Can I Paint Directly Over Surface Rust?
Not if you want the repair to last. Even tiny amounts of rust will keep corroding beneath fresh paint, resulting in bubbles and flaking. Always remove rust completely before applying primer or paint.
Q2: Does Vinegar Remove Rust From Cars?
In small doses for tiny objects, white vinegar might work—it contains acetic acid, which can dissolve minor rust. But for car panels? Not practical. It can’t soak a door, and the acid risks destroying healthy paint nearby. Sanding remains the tried-and-true approach.
Q3: How Can I Prevent Rust From Returning?
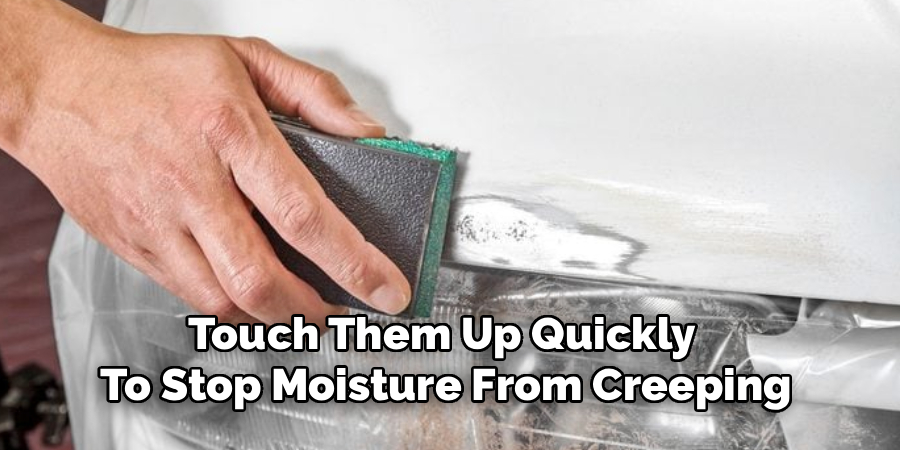
Wash your car often—especially if you live somewhere with a salted winter roadway. Wax twice a year, at the very least. Watch for chips or scratches, and touch them up quickly to stop moisture from creeping in. It’s repetitive, yes, but future-you will be grateful.
Conclusion
Addressing surface rust swiftly truly does lengthen your car’s life and preserve its good looks. The process asks for patience, not special genius. Set aside an afternoon, gather what you need, and follow a careful approach. The money you save is real, but so is the satisfaction that comes from restoring something yourself.
Let a tiny patch of rust be a nudge—not a catastrophe—to take charge of your vehicle’s health and appearance, even if it means a bit of messy, slow work. Thanks for reading this guide on how to remove surface rust on a car.

About
Ora Hayes is a distinguished figure in the world of DIY Thecarfixes, with over a decade of expertise in automotive diagnostics and high-performance maintenance. Her professional focus lies in merging mechanical precision with modern digital tools, fostering repair solutions that are both cost-effective and highly reliable. As the author of Thecarfixes, Ora Hayes delves into the art and science of automotive restoration, inspiring car owners and hobbyist mechanics alike.
Education
RMIT University (Melbourne, Australia) Associate Degree in Automotive Engineering — Focus on vehicle dynamics, industry-driven repair protocols, and advanced diagnostics. Gained hands-on experience with traditional mechanical tools and modern ECU remapping software.
Nottingham Trent University (United Kingdom) Bachelor’s in Mechanical Design and Automotive Engineering (Honors) — Specialized in automotive systems with a focus on blending technical engineering with everyday usability. Participated in industry projects, working with leading automotive manufacturers to gain real-world insights into vehicle longevity.
Publications and Impact
In Thecarfixes, Ora Hayes shares her insights on troubleshooting complex engine issues, material durability, and strategies for efficient garage setups. Her writing bridges the gap between professional mechanic knowledge and the home enthusiast’s needs, making it a must-read for both everyday drivers and seasoned gearheads.




