

You turn the ignition key, expecting the familiar hum of your engine. Instead, a hollow, rapid clicking sound echoes through the cabin. This specific auditory disappointment might suggest your electrical system has suffered a silent chemical failure under the hood.
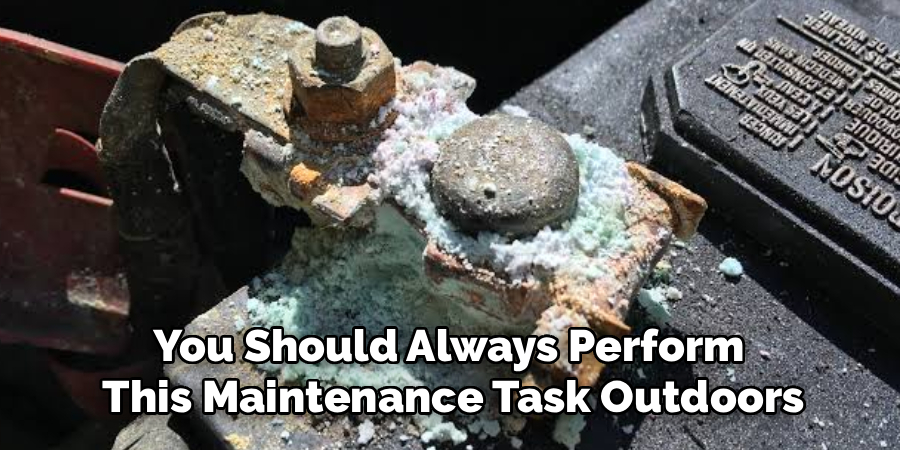
The white, crystalline crust gathering around your power terminals acts as a dense physical barrier. It actively prevents electricity from flowing from the lead plates directly to the starter motor. We must understand how to remove corroded battery acid to restore this vital conductive pathway.
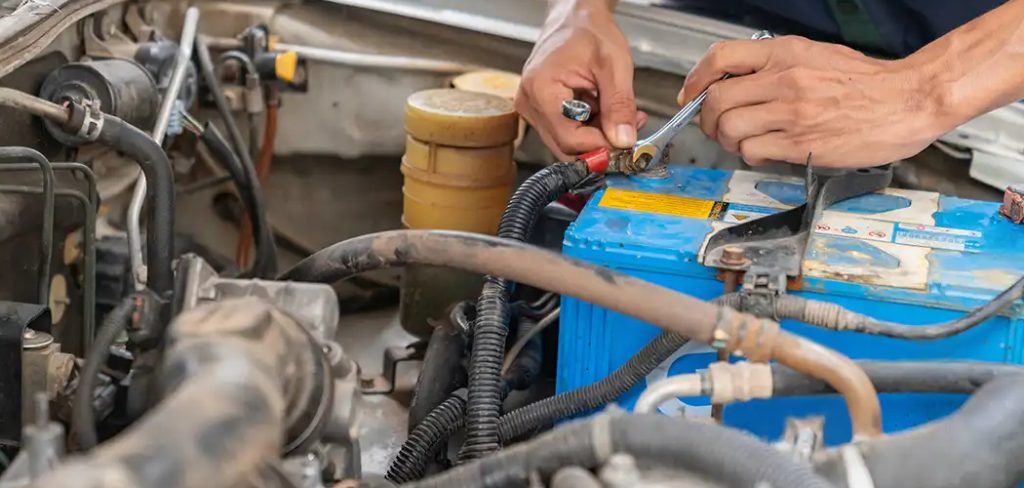
Addressing this chemical buildup safely requires a methodical approach rather than brute mechanical force. You can usually neutralize this acidic barrier using incredibly basic household items. By taking the time to address this maintenance task, you might significantly prolong the lifespan of your vehicle’s entire electrical architecture.
Essential Safety Precautions
Before attempting any physical cleaning, we must examine the specific chemical nature of the buildup. Automotive batteries rely on a liquid mixture of sulfuric acid and distilled water to hold a charge. The crusty powder on your terminals is essentially dried, highly concentrated acidic salt.
This material presents a genuine physical hazard to human skin and automotive paint. Taking a few moments to prepare your workspace appears to be the most critical phase of the entire procedure. Rushing into the engine bay without protection often leads to entirely avoidable chemical injuries.
We want to approach this acidic material with a deep sense of calculated respect. Safety protocols exist specifically to separate a successful weekend repair from a painful emergency room visit.
Wear Proper Gloves and Eye Protection
Personal protective equipment dictates your safety during this chemical neutralization process. Standard fabric work gloves or thin latex medical gloves generally provide insufficient protection against sulfuric acid. The sharp edges of the dried crystals can easily tear thin latex, exposing your skin directly to the corrosive material.
You should acquire thick nitrile or heavy-duty rubber gloves to shield your hands properly. The skin absorbs chemical burns rapidly, and battery acid might cause permanent tissue damage before you even reach a sink. Eye protection demands an even higher level of strict compliance.
You must wear wraparound safety goggles rather than standard prescription glasses. Scrubbing the metallic terminals with a brush easily flicks tiny, invisible particles of dried acid directly into the surrounding air. Getting this corrosive dust in your eyes could potentially cause immediate, severe visual impairment.
Ensure Adequate Ventilation
The environmental safety factors of your immediate workspace carry equal weight to your physical clothing. You should always perform this maintenance task outdoors or in a garage with the main bay door completely open. Lead-acid power cells naturally release highly flammable hydrogen gas during their normal operation and charging cycles.
Working in a confined, sealed space allows these invisible fumes to accumulate rapidly near the ceiling. Breathing in airborne acidic dust or trapped hydrogen gases often causes severe respiratory irritation. Furthermore, a concentrated pocket of hydrogen gas might ignite if you accidentally create a spark with your metal hand tools.
A well-ventilated area ensures any harmful fumes dissipate harmlessly into the open atmosphere while you work. Moving your vehicle into the driveway serves as the simplest, most effective environmental safety measure available.
Step-by-Step Guide: How to Remove Corroded Battery Acid
We now transition into the core instructional phase of this chemical intervention. By adhering to this exact sequence, you might safely neutralize the hazardous buildup and restore a perfect electrical connection. This primary guide on how to remove corroded battery acid focuses heavily on preventing accidental short circuits.
You must keep all metal wrenches and steel brushes far away from the positive terminal while the negative cable remains attached. An accidental bridge between the positive post and the vehicle chassis creates a massive, violent electrical arc. Patience and spatial awareness remain your most valuable diagnostic tools here.
Step 1: Disconnect the Cables Safely
Breaking the vehicle’s active electrical circuit requires a highly specific physical sequence. You must first locate the negative post, which typically features a minus sign stamped into the lead or a black protective cable cover. Use a properly sized metric wrench to slowly loosen the retaining nut on the clamp.
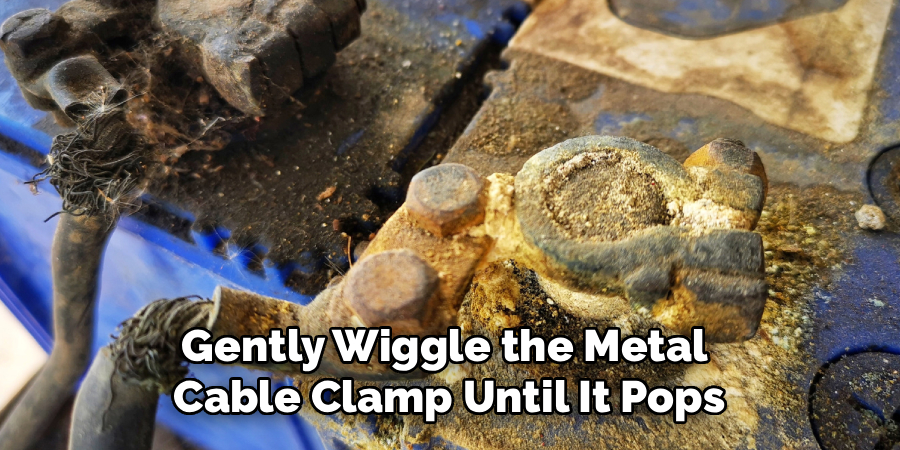
Gently wiggle the metal cable clamp until it pops free from the lead post. You must always remove the negative side first because it completely severs the grounding circuit. If your metal wrench slips while touching the negative post and hits the steel car body, absolutely nothing happens.
Tuck the black negative cable safely down into the engine bay where it cannot accidentally spring back and touch the terminal. Once the ground is isolated, you may repeat this exact loosening process for the red positive cable. Removing the cables completely exposes the raw chemical buildup hiding beneath the metal clamps.
Step 2: Apply the Baking Soda Solution
We can now begin the chemical neutralization process using incredibly common pantry items. Mix one heaping tablespoon of plain baking soda into a single cup of warm tap water. Stir the mixture continuously until the white powder dissolves entirely into the liquid.
The underlying chemistry behind this step explains its profound effectiveness. Baking soda acts as a highly alkaline agent that instantly neutralizes the hazardous sulfuric acid upon contact. Pour this warm mixture very slowly directly over the crusty terminals and the disconnected metal cable clamps.
You will immediately observe a violent, aggressive bubbling and fizzing reaction. This highly visual reaction appears to indicate that the baking soda is actively breaking down the corrosive material. Wait a minute or two until the bubbling subsides, which suggests the acid has been rendered completely safe to handle.
Step 3: Scrub the Terminals
The physical cleaning technique removes the loosened, neutralized slurry from the metal surfaces. You should use an inexpensive wire terminal brush or an old, stiff-bristled toothbrush for this phase. Scrub the bare lead posts and the inner circular walls of the metal clamps vigorously.
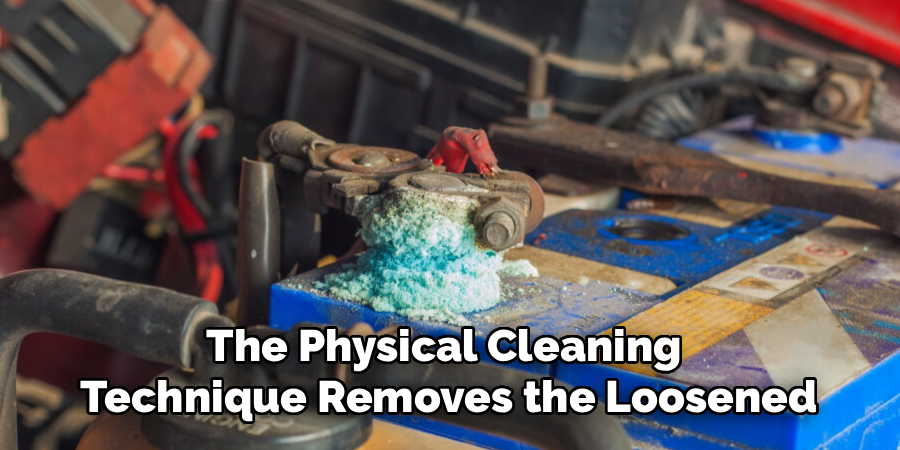
Work the plastic bristles deep into the tight mechanical crevices of the hardware to extract all remaining white powder. Applying firm, even downward pressure helps scrape away the microscopic oxidation, eventually exposing the clean, shiny metal underneath. A dull, gray terminal still harbors electrical resistance, while a shiny terminal promotes excellent conductivity.
You might need to dip your brush back into the alkaline neutralizing solution several times. This repeated dipping ensures no active acid remains hidden in the deep corners of the clamping mechanism. Continue scrubbing until the metal components look practically new.
Step 4: Rinse, Dry, and Reconnect
The final steps of the cleaning process involve removing the leftover chemical slurry. Gently rinse the treated area with a very small amount of clean water to flush away the neutralized baking soda residue. You must avoid using a high-pressure hose, which could force water directly into the battery’s internal cell vents.
Dry the terminals and the surrounding plastic casing thoroughly using a disposable paper shop towel. You should never use a high-quality fabric rag for this drying phase, as any invisible acidic residue will eventually eat through the cloth. The metal surfaces must be entirely devoid of moisture before we reintroduce electricity.
The exact reverse order dictates the mechanical reconnection process to ensure safety. Attach the red positive cable first, tighten the nut securely, and then connect the black negative cable last. Finally, applying a light coat of dielectric grease or plain petroleum jelly over the exposed metal might block future moisture and prevent the acid from returning.
Proper Battery Maintenance Tips
Cleaning the Battery Terminals
To maintain optimal performance, regularly clean your battery terminals. Begin by disconnecting the cables, starting with the negative terminal and then the positive. Use a mixture of baking soda and water to neutralize any corrosion, and scrub the terminals gently with a wire brush. Rinse with clean water and dry thoroughly before reconnecting.
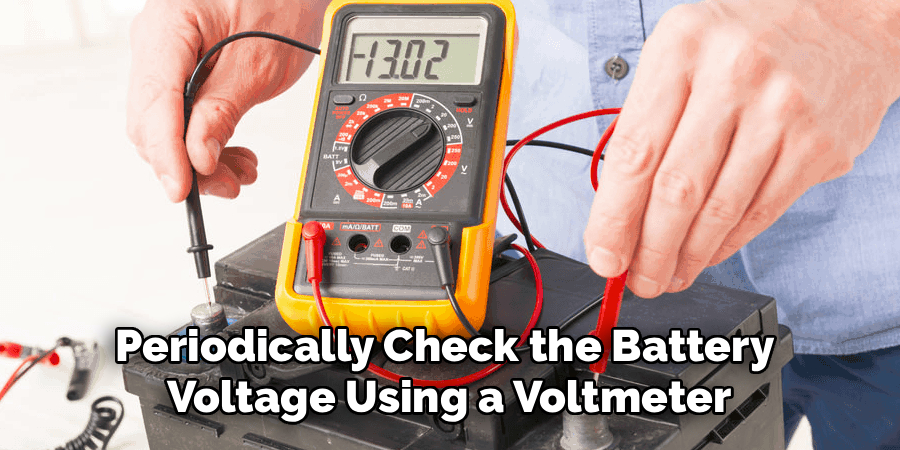
Checking the Battery Voltage
Periodically check the battery voltage using a voltmeter to ensure it operates within the recommended range. A fully charged car battery should read around 12.6 volts when the engine is off. If the reading is significantly lower, the battery may need recharging or replacement to prevent sudden breakdowns.
Frequently Asked Questions
How Often Should I Check My Car Battery?
It’s recommended to check your car battery every three to six months. Regular inspection helps ensure it’s in good condition and reduces the chances of unexpected failures.
What Are the Signs of a Failing Car Battery?
Common signs include a slow engine crank, dimming headlights, electrical issues, or a check engine light. If you notice any of these, inspect the battery immediately.
Can Extreme Weather Affect My Car Battery?
Yes, extreme heat or cold can impact battery performance. High temperatures can cause fluid evaporation, while freezing temperatures may slow chemical reactions, making it harder to start the engine.
How Long Do Car Batteries Typically Last?
On average, car batteries last between three to five years. However, this depends on driving habits, climate, and regular maintenance.
Can I Replace a Car Battery Myself?
Yes, replacing a car battery is relatively straightforward if you follow the proper safety steps. However, if you’re unsure, it’s best to seek professional help.
Conclusion
A vehicle that refuses to crank often inspires unnecessary panic and costly towing fees. Addressing this specific electrical failure rarely requires a professional mechanic or expensive diagnostic software. We have examined the chemical realities of sulfuric acid and the alkaline solutions necessary to disarm it safely.
Understanding exactly how to remove corroded battery acid empowers vehicle owners to prevent unexpected starting issues entirely. This routine maintenance task extends the functional life of your expensive electrical components by reducing mechanical strain on the alternator. You must always remember the core principles of this procedure.
Prioritize heavy eye and skin protection before opening the hood. Always disconnect the negative cable first to prevent dangerous electrical arcs against the chassis. Gather your protective gear, mix a simple neutralizing solution in your kitchen, and confidently restore your vehicle’s raw starting power today.

About
Ora Hayes is a distinguished figure in the world of DIY Thecarfixes, with over a decade of expertise in automotive diagnostics and high-performance maintenance. Her professional focus lies in merging mechanical precision with modern digital tools, fostering repair solutions that are both cost-effective and highly reliable. As the author of Thecarfixes, Ora Hayes delves into the art and science of automotive restoration, inspiring car owners and hobbyist mechanics alike.
Education
RMIT University (Melbourne, Australia) Associate Degree in Automotive Engineering — Focus on vehicle dynamics, industry-driven repair protocols, and advanced diagnostics. Gained hands-on experience with traditional mechanical tools and modern ECU remapping software.
Nottingham Trent University (United Kingdom) Bachelor’s in Mechanical Design and Automotive Engineering (Honors) — Specialized in automotive systems with a focus on blending technical engineering with everyday usability. Participated in industry projects, working with leading automotive manufacturers to gain real-world insights into vehicle longevity.
Publications and Impact
In Thecarfixes, Ora Hayes shares her insights on troubleshooting complex engine issues, material durability, and strategies for efficient garage setups. Her writing bridges the gap between professional mechanic knowledge and the home enthusiast’s needs, making it a must-read for both everyday drivers and seasoned gearheads.




