

Automotive aesthetics often change over time. A bumper sticker or dealership logo that seemed entirely acceptable five years ago might suddenly appear distinctly out of place today. Vehicle owners frequently find themselves staring at peeling vinyl graphics, wondering how to eliminate the eyesore without causing permanent damage.
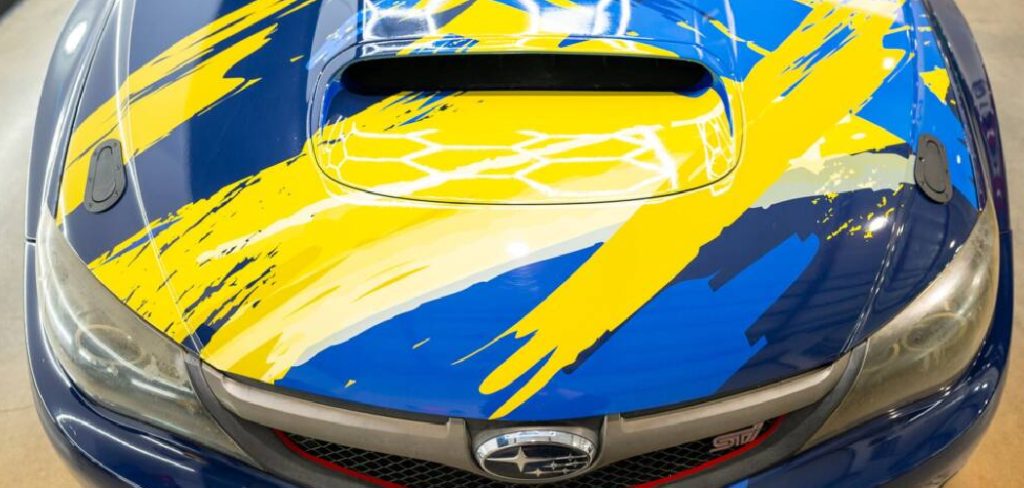
Peeling off these old materials often induces a certain level of anxiety. You want to update the car’s appearance, yet you likely fear scratching the underlying surface in the process. We must understand how to remove auto decals from paint to preserve the vehicle’s long-term visual integrity.
This guide will examine the specific mechanics of adhesive degradation and safe removal practices. Resolving this visual problem usually requires a calculated combination of gentle thermal energy, mild chemical solvents, and considerable patience. We can restore a blemish-free exterior by approaching the task methodically, entirely avoiding the need for expensive professional bodywork.
Understanding the Risks to Your Clear Coat
Modern vehicle finishes rely on a highly specific, layered chemical structure. The clear coat acts as a remarkably thin, transparent shield that seals the colored base layer beneath it. This transparent barrier measures only a few thousandths of an inch thick.
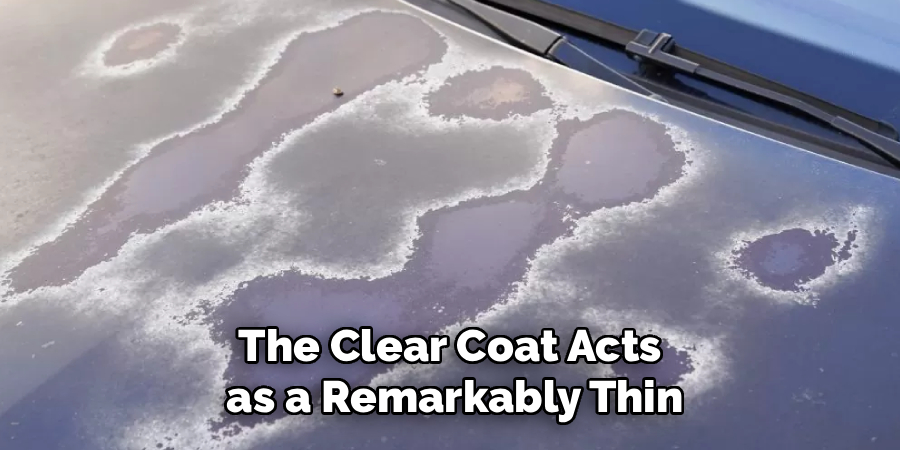
Its primary function involves blocking ultraviolet radiation and shedding environmental contaminants. Aggressive scrubbing or pulling can easily strip this fragile protective boundary away. Once you compromise the clear coat, the colored paint below oxidizes rapidly.
Body shops generally charge substantial fees to respray a damaged panel. Understanding the delicate nature of this transparent shield dictates every subsequent action we take during the removal process. We must outsmart the adhesive rather than physically overpower it.
How Age and Sun Exposure Affect Decals
Stickers undergo severe physical transformations as they sit exposed to the elements. Ultraviolet rays from the sun essentially bake the vinyl material and its underlying glue directly into the automotive finish. This continuous solar exposure causes the synthetic plastics to shrink slightly over time.
The material eventually loses its natural elasticity and becomes highly brittle. Attempting to peel a decade-old graphic usually results in the vinyl shattering into tiny, frustrating fragments. It rarely comes off in one satisfying piece.
Older graphics demand significantly more patience and chemical assistance to release their bond from metal or plastic body panels. The chemical structure of the glue hardens, forming a semi-permanent bond with the clear coat. We must reverse this hardening process before attempting any physical removal.
Why Sharp Tools Ruin Paint
Frustration frequently drives people to grab the nearest household scraping tool. You should never, under any circumstances, approach automotive paint with metal razor blades or standard putty knives. Abrasive scouring pads from the kitchen sink present an equally dangerous threat to your vehicle’s exterior.
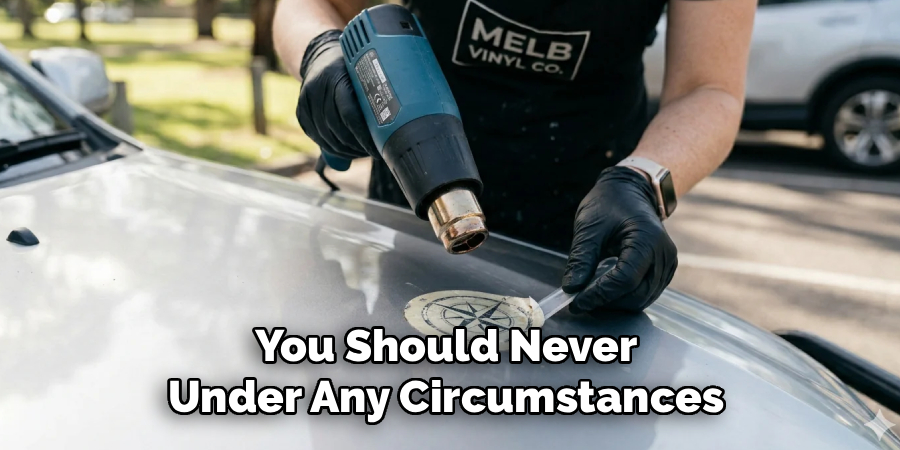
These rigid, sharp items slice through the clear coat in a fraction of a second. The physics of dragging a hard metal edge across a softer synthetic resin guarantees permanent microscopic gouging. Even if you believe your hand is entirely steady, the slightest slip creates a highly visible scratch.
We must rely on safer mechanical alternatives. Plastic razor blades or expired credit cards offer a much softer, forgiving edge. These plastic tools can gently lift stubborn vinyl edges without actively biting into the vehicle’s protective finish.
Essential Tools for Safe Sticker Removal
Gathering the correct implements before you begin prevents impulsive, damaging decisions later. You likely possess most of these required items in your garage or utility closet right now. Proper preparation seems to dictate the overall success of this cosmetic intervention.
We approach this task looking to alter the physical state of the glue. This requires specific thermal and chemical tools rather than brute mechanical force.
Choosing the Right Heat Source
Thermal energy plays the most significant role in breaking an aged adhesive bond. A standard household hair dryer often serves as the safest heat source for beginners attempting this task. The relatively low thermal output of a hair dryer gently warms the panel without posing a severe risk of melting the paint.
Professional heat guns operate at significantly higher temperatures, which introduces a considerable element of risk. If you choose to use an industrial heat gun, you must keep the nozzle moving constantly. Lingering on one specific spot for too long might cause the clear coat to boil or bubble.
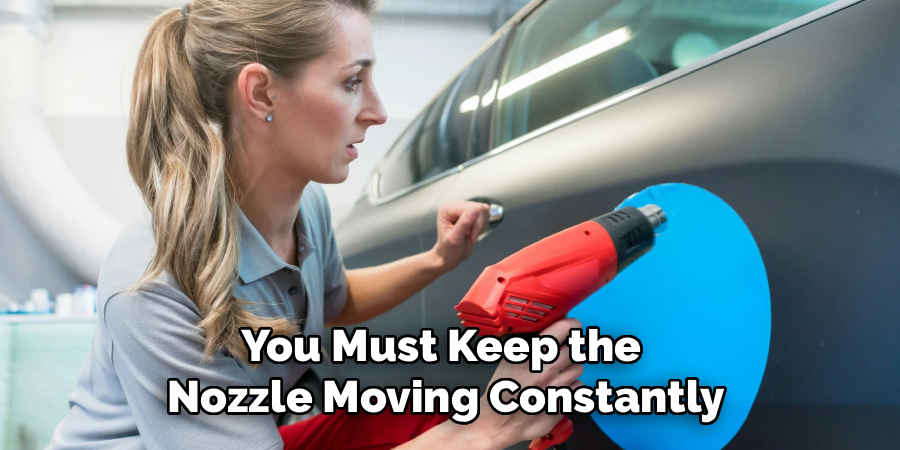
Warming the surface safely requires a slow, sweeping motion. We aim to soften the vinyl, not incinerate the underlying body panel.
Safe Adhesive Removers and Solvents
Once the vinyl lifts away, a sticky layer of hardened glue inevitably remains behind. We must utilize specific chemical solutions to dissolve this lingering residue safely. Automotive-grade adhesive removers, specialized citrus-based solvents, or high-percentage isopropyl alcohol generally yield the best results.
These targeted liquids break down the sticky chemical bonds without eating into the protective clear coat. They neutralize the glue’s grip safely and predictably. Conversely, you must strictly avoid harsh industrial solvents like acetone, lacquer thinner, or automotive brake cleaner.
These aggressive chemicals will almost instantly dissolve the clear coat itself. Applying the wrong solvent transforms a simple cleaning task into a catastrophic cosmetic failure.
How to Remove Auto Decals From Paint: Step-by-Step Guide
We now transition into the physical application of our theory. Following this precise sequence allows you to safely lift the aged vinyl and eliminate the lingering glue. Knowing exactly how to remove auto decals from paint empowers you to reverse years of sun-baked neglect.
You should always perform this work in a well-ventilated space. Working in a shaded driveway or a temperature-controlled garage prevents the chemical solvents from evaporating too rapidly.
Step 1: Wash and Prep the Area
You must clean the target surface thoroughly before applying any heat or pressure. Use warm water mixed with a pH-neutral automotive soap to wash away accumulated surface dirt. Microscopic abrasive grit often gathers around the raised edges of an old graphic.
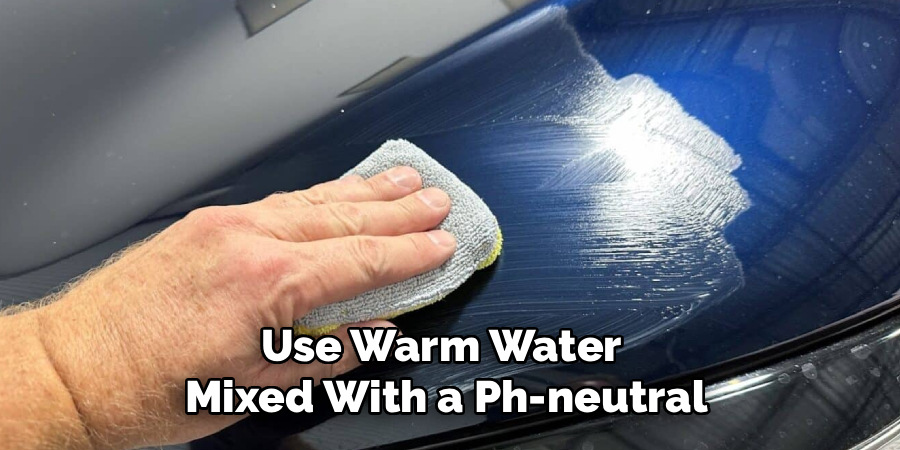
Rubbing this hidden dirt into the clear coat during the peeling process frequently causes severe swirl marks. We want to eliminate any foreign contaminants that could act as sandpaper against the paint. Dry the washed area completely using a clean microfiber towel.
The surface must remain entirely free of moisture. Lingering water drops can prevent the heat and chemical solvents from penetrating the vinyl material effectively.
Step 2: Apply Heat to Soften the Vinyl
You must now alter the physical state of the hardened sticker. Hold your hair dryer or heat gun approximately three to five inches away from the vehicle’s surface. Sweep the nozzle back and forth over the graphic in a continuous, rhythmic motion.
Continue this thermal application for roughly one to two minutes. You want the painted surface to feel noticeably warm to the touch, but never burning hot. This steady infusion of thermal energy softens the stiff vinyl layer.
More importantly, the heat penetrates the plastic and actively loosens the grip of the underlying glue. The adhesive transforms from a solid, brittle state back into a pliable, sticky substance.
Step 3: Peel the Decal Slowly
The actual physical removal requires an incredibly gentle approach. Use your fingernail or a plastic scraping tool to carefully lift one corner of the warmed sticker. Once you establish a usable flap, pinch it firmly between your fingers.
Pull the material backward at a sharp 45-degree angle, keeping your hand close to the vehicle’s surface. Pulling the vinyl straight up toward the sky dramatically increases the chance of tearing the material. An upward pull also places unnecessary vertical stress on the clear coat itself.
If the material suddenly becomes hard or snaps off in your fingers, the glue has likely cooled down. Stop pulling immediately and reapply your heat source to soften the area again.
Step 4: Dissolve the Remaining Adhesive
A successful peeling process almost always leaves a sticky, textured shadow of glue behind. You must now apply your chosen automotive adhesive remover generously over this remaining residue. Do not attempt to wipe it away immediately.
Allow the solvent to sit undisturbed on the paint for several minutes. The liquid needs adequate time to penetrate and chemically break down the hardened bonds. Once the glue appears to soften into a gel, wipe the area gently with a clean microfiber towel.
You might need to repeat this soaking and wiping process several times for particularly stubborn residues. Avoid applying heavy downward pressure; let the chemistry do the heavy lifting.
Step 5: Wash and Dry the Surface
Removing the chemical solvents from the paint represents a vital safety step. Prolonged exposure to even mild adhesive removers can eventually degrade the clear coat over time. You must wash the treated area a second time using your automotive soap and water mixture.
Scrub the panel lightly to ensure absolutely no chemical residue remains trapped in the microscopic pores of the paint. Rinse the soap away thoroughly with a steady stream of clean water. This final wash neutralizes the working area completely.
Dry the panel gently using a fresh, dry microfiber towel. The surface should now feel completely smooth to the touch, devoid of any sticky patches.
Step 6: Polish and Wax the Paint
The paint hidden underneath the old graphic will likely look vastly different than the surrounding exposed areas. It has been shielded from weather, microscopic road debris, and ultraviolet light for years. We must blend these distinct finishes.
Apply a light, non-abrasive hand polish to the entire panel using a foam applicator pad. This mild polishing action helps level the microscopic differences in the clear coat, restoring a uniform shine. Wipe the polish away cleanly once it has hazed over.
Finally, apply a durable layer of automotive wax or synthetic ceramic sealant over the newly exposed clear coat. This protective layer defends the virgin paint from immediate environmental degradation.
Dealing with Ghosting and Faded Paint
Even a mechanically perfect removal job frequently reveals a faint, frustrating outline of the old graphic. Automotive detailers commonly refer to this visual phenomenon as paint ghosting. Seeing a phantom silhouette of a dealership logo can feel incredibly disappointing after an hour of careful labor.
We must set realistic expectations regarding older vehicle finishes. This ghosting effect represents a completely normal consequence of long-term environmental exposure. It rarely indicates that you performed the removal process incorrectly.
Understanding why this phantom outline exists helps us formulate a strategy to correct it. We must address the surrounding paint rather than the area we just cleaned.
What Causes Paint Ghosting?
The science behind the phantom outline involves ultraviolet radiation and atmospheric oxidation. The specific area covered by the vinyl graphic remained perfectly protected from the sun for years. It never suffered the subtle fading that naturally occurs on exposed automotive finishes.
Furthermore, the sticker shielded the clear coat from environmental fallout, acid rain, and the micro-scratches caused by automatic car washes. The surrounding exposed paint has naturally dulled and oxidized over time. This varying exposure creates a stark visual contrast.
The paint beneath the sticker remains pristine, while the rest of the panel has aged. This sharp contrast creates an optical illusion that looks exactly like a shadow of the original sticker.
How to Blend the Finish
Erasing this phantom outline requires us to address the oxidized paint surrounding the newly exposed area. We must actively remove the dead, faded microscopic layer of clear coat from the rest of the panel. This correction process generally requires a dual-action machine polisher and a medium-cut compounding liquid.
The machine polisher gently shaves away the heavily oxidized surface material. Leveling this degraded paint effectively matches the faded sections to the pristine area you just uncovered. The sharp visual boundary line slowly begins to vanish as the surrounding paint regains its original clarity.
Blending the finish in this manner effectively erases the ghosting effect. It restores a completely uniform gloss across the entire body panel, finalizing your cosmetic restoration.
Conclusion
Rejuvenating a vehicle’s exterior by removing outdated graphics requires methodical planning rather than aggressive physical force. We have examined the delicate nature of modern clear coats and the physical changes that occur as adhesives bake in the sun. Understanding how to remove auto decals from paint safely protects both the vehicle’s resale value and its immediate aesthetic appeal.
You must remember the core mechanics of this specific cosmetic procedure. Rely heavily on gentle thermal energy to break the initial bond, utilize automotive-safe solvents for the lingering glue, and avoid sharp metal scraping tools entirely. Rushing the process almost always leads to permanent cosmetic regrets.
Gather your hair dryer, secure a plastic squeegee, and prepare your chemical solvents. You can confidently give your vehicle a much cleaner, modernized appearance by treating the paint with the calculated respect it deserves.

About
Ora Hayes is a distinguished figure in the world of DIY Thecarfixes, with over a decade of expertise in automotive diagnostics and high-performance maintenance. Her professional focus lies in merging mechanical precision with modern digital tools, fostering repair solutions that are both cost-effective and highly reliable. As the author of Thecarfixes, Ora Hayes delves into the art and science of automotive restoration, inspiring car owners and hobbyist mechanics alike.
Education
RMIT University (Melbourne, Australia) Associate Degree in Automotive Engineering — Focus on vehicle dynamics, industry-driven repair protocols, and advanced diagnostics. Gained hands-on experience with traditional mechanical tools and modern ECU remapping software.
Nottingham Trent University (United Kingdom) Bachelor’s in Mechanical Design and Automotive Engineering (Honors) — Specialized in automotive systems with a focus on blending technical engineering with everyday usability. Participated in industry projects, working with leading automotive manufacturers to gain real-world insights into vehicle longevity.
Publications and Impact
In Thecarfixes, Ora Hayes shares her insights on troubleshooting complex engine issues, material durability, and strategies for efficient garage setups. Her writing bridges the gap between professional mechanic knowledge and the home enthusiast’s needs, making it a must-read for both everyday drivers and seasoned gearheads.




