

Hitting a patch of fresh roadwork and coming home to find little black blobs clinging to your car—yes, it’s one of life’s truly unnecessary annoyances. Those tar spots, tenacious as old chewing gum on hot pavement, have a habit of appearing at precisely the wrong moment and, worse, sticking around. Is scrubbing at them worth it? What if you scratch the paint and end up regretting ever leaving the driveway?
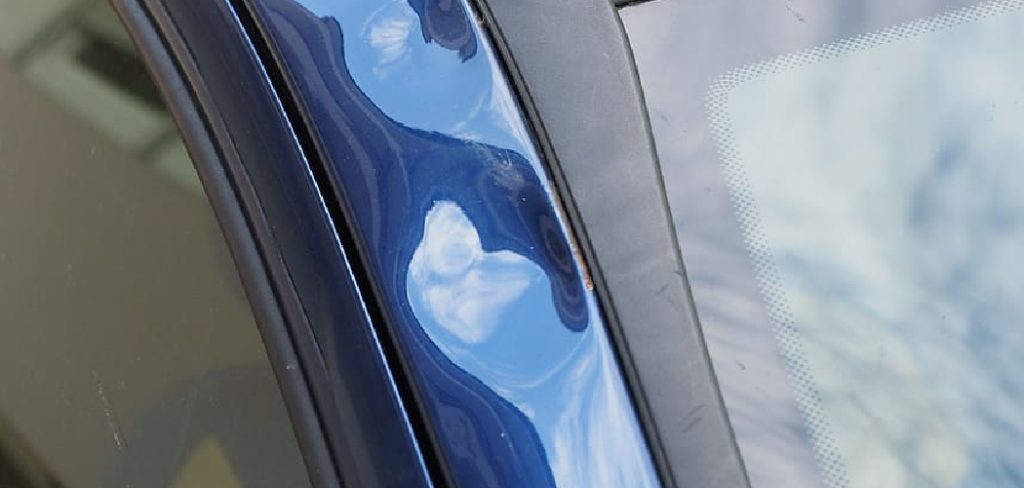
There’s no need to panic or call your local detailing shop right away. With a bit of preparation, some measured caution, and the right products, you can tackle this job yourself. No need to overcomplicate the process—but as you’ll see, a little patience does go a long way. In this guide on how to remove asphalt from car paint, we’ll show you how to do this safely and effectively.
What You Need (And Why You Want It Before You Start)?
Before you so much as think about attacking those splotches, pause. Take stock of supplies. It isn’t rocket science, but a little foresight makes for a much smoother, less nerve-wracking afternoon. Ideally, you’ll want a commercial bug and tar remover. These aren’t miracle potions, but they are designed with road grime in mind. Alternatively, some people find that WD-40 or linseed oil—yes, the same one lurking under the kitchen sink—can loosen the grip tar has on paint.
You’ll also need a bucket, filled with warm (not piping hot) water and a proper car wash soap—not dish soap, which has a nasty habit of drying paint out and undoing wax. Microfiber towels, several of them, are essential; leave your ratty old rags for less delicate work. A gentle wash mitt helps, and if you’re dealing with a horror show of stuck-on tar, a clay bar kit can make the job easier. Save a container of wax for the end—a detail many skip, to their detriment.
7 Steps (Not All Created Equal) on How to Remove Asphalt From Car Paint
Step 1. Begin with a Good Wash
Don’t rush headlong toward the tar; there’s a strong case for clearing away dirt, dust, and whatever the wind carried in first. Use your car wash soap and water. If loose grit is left untouched, you stand a real chance of grinding it into the paint—tiny, nearly invisible scratches, but scratches all the same. Work up a good lather in your bucket, use the wash mitt to coax debris away, rinse everything off, and then dry with a microfiber towel. It sounds basic, but it’s not negotiable; water left behind can cause your tar remover to underperform.
Step 2. Bring Out the (Gentle) Solvents
When the surface is dry and clean, apply your chosen tar remover or oil solvent. It might seem easier to spray the whole car at once, but resist the temptation—target one panel, or half of one if you’re worried. Spritz the spots, but don’t drench every surrounding inch.
If your product isn’t a spray, dabbing it on with a towel works. The aim is full coverage of the tar, not the clean paint. And, as much as possible, stay out of direct sunlight. Solvents tend to be fussy about heat: applied to hot metal, they may stain or simply evaporate before doing their job. A shaded driveway or a cool garage is a better bet.
Step 3. Now the Waiting Game
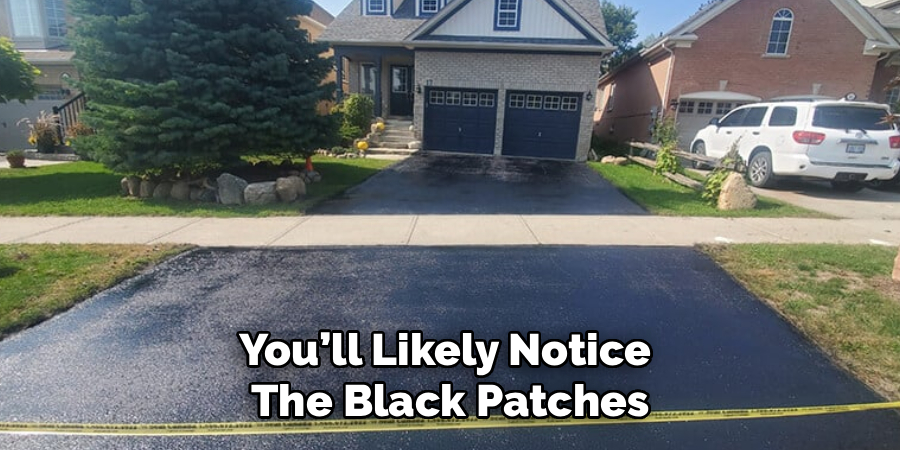
Here’s where a bit of restraint pays off: give the remover five to ten minutes. Maybe a little more, maybe less, depending on what you used and how aggressive your particular splatter appears. You’ll likely notice the black patches start to run or change color—a sure sign something is happening chemically, although just how much will depend on several things: temperature, the age of the tar, and plain old luck.
If you notice drying before the tar has loosened, add a light mist of remover. Don’t let it bake dry; that’s opening yourself up to another set of headaches.
Step 4. Cautious Wiping—No Battles Won with Brute Force
After the soak, grab a clean, folded microfiber towel. Don’t be tempted to grind away at the tar in a circular frenzy—move gently, ideally in one direction, and use as little pressure as possible. If tar lingers, try a fresh spot on the towel, or pause and reapply more solvent rather than attacking with your elbow. Patience here avoids the need for later paint correction.
Larger chunks refusing to budge? Let the solvent soak again instead of forcing the issue. You’re not going to outmuscle tar, but you might damage your paint trying.
Step 5. Wash it All Down Again
At this stage, the paint will feel greasy—residue from both the tar and the solvent. It’s tempting to call it a day, but another soapy wash with your mitt clears away chemicals and any last, tiny flecks hiding in seams or trim. Pay attention to lower panels and wheel wells, where runoff likes to collect. Once rinsed, dry everything again. Touch the paint. Does it feel smooth? Nearly there.
Step 6. When Residue Hangs On: Clay Bar
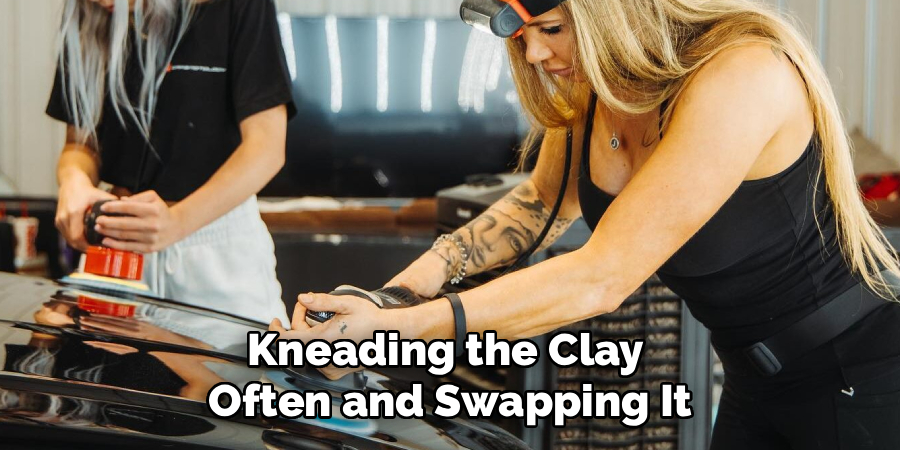
Even after chemicals and elbow grease, trace roughness can remain—tiny amounts of tar locked in the clear coat pores. At this point, a clay bar (used with plenty of lubricant) will draw those contaminants out. There’s nothing magical about clay, but it’s reassuring how quickly the surface transforms beneath your hand. Work patiently, kneading the clay often and swapping it out if it darkens. A quick wipe with a clean towel removes leftover lubricant.
Step 7. Do Not Skip the Wax
All those solvents and clay bars have left your paint as bare and vulnerable as it’s ever been. Reapply wax: a thin layer, spread with a foam pad. Let it haze, and gently buff with a plush microfiber towel. Wax offers only modest protection, but that’s much better than none at all—especially if you’re planning another encounter with summer construction.
Following these steps on how to remove asphalt from car paint will help you keep your vehicle looking pristine. It’s important to regularly wash, clay bar, and wax your car to protect it from the damaging effects of asphalt. If you notice any spots or streaks on your paint, don’t wait to remove them as they can cause permanent damage.
Missteps That Catch the Unprepared
A few words of caution. Many do-it-yourselfers reach straight for a kitchen scrubber or harsh brush. Bad idea. Even a single abrasive pass can require professional help afterward. Still others experiment with household solvents like acetone: faster, yes, but these can cloud or strip paint with shocking speed.
There’s also the temptation to work under the sun. Quickest way to dry out chemicals and leave permanent marks in awkward spots.
Should You Ever Call a Pro?
There are times, and I say this as someone who values thrift, when the job is simply too much. If a large section of your car is covered in asphalt, or if the tar has been baking for months, home remedies become less practical.
A skilled detailer owns tools and chemical agents that might not be available at your local store. Upon scratching your paint (it happens), you also might want them to polish and restore what’s left.
On What It Will Actually Cost
Handled solo, the outlay is fairly modest. Between a tar remover, a couple of new towels, fresh car soap, and wax, it’s entirely possible to spend less than thirty dollars. Professionals, however, charge what the market (and the size of the problem) will bear. Expect anywhere from fifty to one hundred and fifty dollars for external tar removal, perhaps more if the detailer has to clay bar and rewax the whole exterior. Add in a complete top-to-bottom service, and two hundred dollars suddenly isn’t unreasonable.
A Few Questions That Come Up Often
Q: Can Peanut Butter Really Dissolve TAR?
A: Odd as it sounds—yes. The oils can break down tar with time. The process is messy, necessitating an extra wash to clear away the residue, but for a handful of blobs when nothing else is available, it’s not outlandish.
Q: I Have Wd-40 in the Garage. Is It Safe for Paint?
A: Likely. Used as directed, WD-40’s oils will dissolve tar and sticky messes, but if you leave it too long, you may strip wax or harm sensitive sealants. Wash thoroughly afterward and don’t let it linger.
Q: How Long is Too Long Before TAR Causes Harm?
A: Asphalt itself doesn’t attack paint overnight, unlike bird droppings. But wait too long and it hardens, grabbing onto paint pores and making the job much trickier. So, there’s no instant deadline, but sooner is usually better.
Keeping It Clean
In the end, clearing tar is less about brute force and more about measured patience. Gather good products, allow time for chemical work, and resist the urge to rush. Scrubbing, ironically, is nearly always the least effective answer.
With a bit of preparation and a gentle hand, you’ll keep your paint looking fresh—no need for a costly lesson at the detail shop. Throw a bottle of tar remover and wax on your shelf, and next time, you’ll be ready long before frustration can set in. Thanks for reading this guide on how to remove asphalt from car paint.

About
Ora Hayes is a distinguished figure in the world of DIY Thecarfixes, with over a decade of expertise in automotive diagnostics and high-performance maintenance. Her professional focus lies in merging mechanical precision with modern digital tools, fostering repair solutions that are both cost-effective and highly reliable. As the author of Thecarfixes, Ora Hayes delves into the art and science of automotive restoration, inspiring car owners and hobbyist mechanics alike.
Education
RMIT University (Melbourne, Australia) Associate Degree in Automotive Engineering — Focus on vehicle dynamics, industry-driven repair protocols, and advanced diagnostics. Gained hands-on experience with traditional mechanical tools and modern ECU remapping software.
Nottingham Trent University (United Kingdom) Bachelor’s in Mechanical Design and Automotive Engineering (Honors) — Specialized in automotive systems with a focus on blending technical engineering with everyday usability. Participated in industry projects, working with leading automotive manufacturers to gain real-world insights into vehicle longevity.
Publications and Impact
In Thecarfixes, Ora Hayes shares her insights on troubleshooting complex engine issues, material durability, and strategies for efficient garage setups. Her writing bridges the gap between professional mechanic knowledge and the home enthusiast’s needs, making it a must-read for both everyday drivers and seasoned gearheads.




