

Every Tesla driver eventually faces a situation where they need to shift their vehicle into neutral. Whether you are navigating an automated car wash, preparing the vehicle for towing, or simply needing to move the car a few feet in your garage, knowing how to engage neutral is a fundamental skill.
Most owners rely heavily on their smartphone app for various vehicle functions, but what happens when you leave your phone inside, the app crashes, or you simply prefer using the physical vehicle controls?
This complete guide on how to put Tesla in neutral explains exactly how to put your Tesla into neutral using only the vehicle’s internal mechanisms and touchscreen interfaces.
What Will You Need?
Before attempting to shift your Tesla into neutral, ensure you have the following items and conditions met:
- Your physical key card or key fob (to authenticate yourself if the car is locked or requires a driving credential).
- Physical access to the driver’s seat.
- A functioning touchscreen (or functional backup gear selector buttons on newer models).
- Sufficient 12V or 16V low-voltage battery power to wake the car’s computers.
- A flat, secure surface to prevent unintended rolling once the vehicle is disengaged from park.
10 Easy Steps on How to Put Tesla in Neutral
The process of putting your Tesla in neutral varies slightly depending on whether you are simply using the standard gear selector, activating Car Wash Mode, or engaging Tow Mode. The following steps provide a comprehensive, detailed breakdown of how to achieve this safely and effectively across all models.
Step 1: Secure the Surrounding Environment
Before you even touch the controls, you must evaluate the area around your vehicle. Because electric vehicles lack the mechanical friction of a traditional internal combustion engine transmission, a Tesla in neutral will roll completely freely. Ensure the car is parked on a flat, level surface. If you are on an incline, you must remain in the driver’s seat with your foot ready on the brake pedal. Check your mirrors and cameras to verify that no pedestrians, pets, or objects are in the immediate vicinity. Understanding your environment is the foundation of safely operating any heavy machinery.
Step 2: Enter the Vehicle and Authenticate
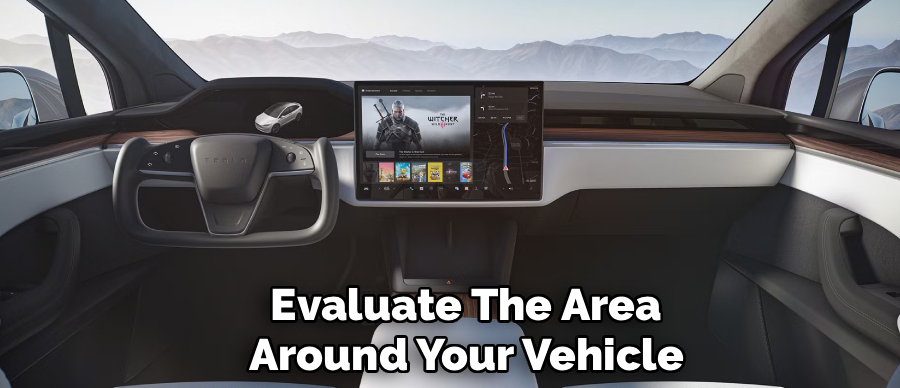
Open the driver’s side door and sit in the driver’s seat. If you do not have your phone with you, the car will require physical authentication to allow gear changes. Take your Tesla key card and place it on the designated reader area. For the Model 3 and Model Y, this is located on the center console just behind the cup holders. For the Model S and Model X, place the key fob in the central cup holder area or swipe the key card near the center console. You will hear a soft chime, and the touchscreen will wake up, indicating that the vehicle has recognized you as an authorized driver and is ready to accept driving commands.
Step 3: Depress and Hold the Brake Pedal
Your Tesla has built-in safety mechanisms that prevent accidental gear changes. To bypass the parking lock, you must firmly depress the brake pedal. Place your right foot on the brake and push down until you feel solid resistance. You must keep your foot securely on the brake pedal throughout the initial shifting process. If you lift your foot prematurely, the vehicle’s computer will reject the gear change command and default back to the Park setting to prevent the car from rolling away unexpectedly.
Step 4: Identify Your Vehicle’s Gear Selector Mechanism
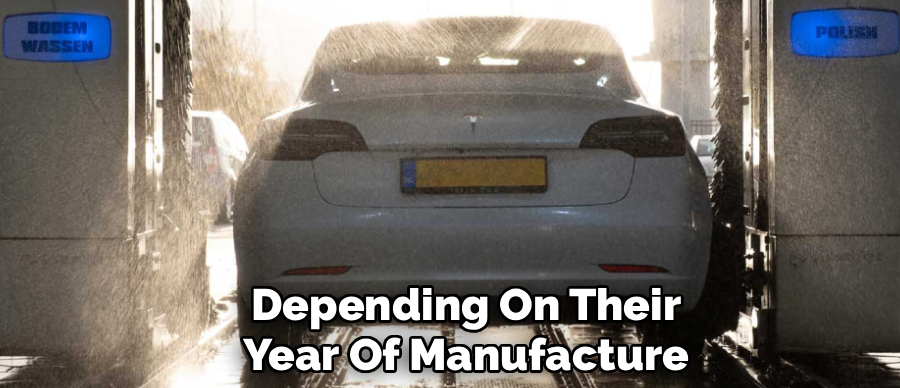
Tesla models utilize different physical and digital controls depending on their year of manufacture. You must identify which system your car uses. Older Model S and Model X vehicles, along with Model 3 and Model Y vehicles built before 2024, feature a physical gear stalk attached to the right side of the steering column. Newer “Highland” Model 3s, Cybertrucks, and refreshed Model S and Model X vehicles lack a physical stalk entirely. Instead, these newer vehicles rely on a sliding digital gear selector located on the left side of the main touchscreen, backed up by physical capacitive buttons located on the roof console near the hazard light switch.
Step 5: Execute the Neutral Command (Physical Stalk Models)
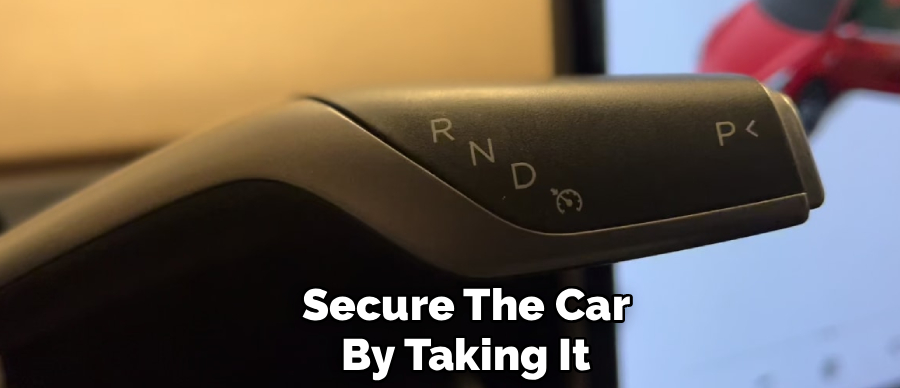
If your Tesla is equipped with a traditional right-hand gear stalk, shifting into neutral is a matter of precise movement. With your foot firmly on the brake, gently push the right stalk either up or down to the first position of resistance and hold it there for approximately two seconds. Do not push the stalk all the way up (which engages Reverse) or all the way down (which engages Drive). You only want to hit the middle detent. Wait until you see the gray “N” icon illuminate on your digital instrument cluster or the top corner of your center screen. Once the “N” appears, you can release the stalk.
Step 6: Execute the Neutral Command (Touchscreen Models)
For newer Tesla models without a physical gear stalk, you will use the central touchscreen. With your foot firmly on the brake pedal, look at the left-hand side of the display where the vehicle avatar is located. You will see a vertical strip indicating Drive (up arrow) and Reverse (down arrow). To engage neutral, touch the gray neutral icon (N) that appears between the Drive and Reverse indicators, or tap and hold the screen in the gear selector area. Alternatively, if the screen is malfunctioning, look up at the overhead console near the rearview mirror, where you will find backup PRND capacitive buttons. Press and hold the “N” button until neutral engages.
Step 7: Utilize Car Wash Mode for Automated Washes
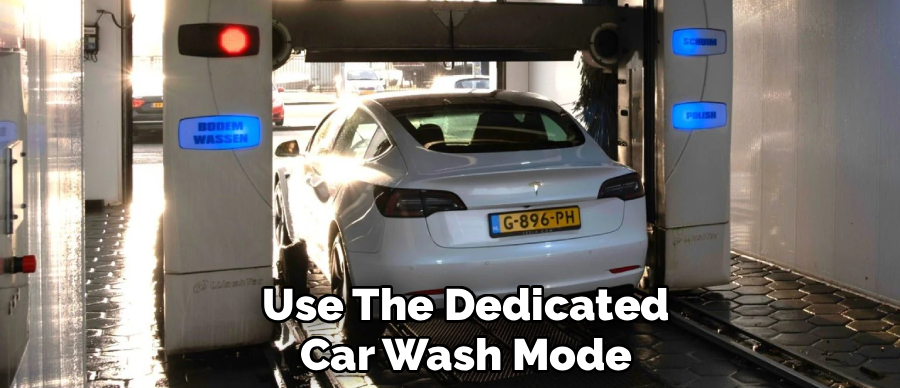
If your specific goal is to send the vehicle through an automated car wash where you remain inside the vehicle, you should use the dedicated Car Wash Mode rather than a simple stalk shift. Tap the ‘Controls’ icon (the car symbol) on the bottom left of your screen. Navigate to ‘Service’, and then tap ‘Car Wash Mode’. This mode closes all windows, locks the charge port, disables the automatic windshield wipers, and prepares the car. Once the menu is open, you will see an option that says “Enable Free Roll.” With your foot on the brake, tap this button. The car will shift into neutral and remain there, allowing the automated track to pull you through the wash.
Step 8: Engage Transport Mode for Towing
If your vehicle needs to be winched onto a flatbed tow truck, a standard neutral shift is insufficient because the car will automatically shift back into Park if you open the door to exit the vehicle. For towing, you must use Transport Mode. Navigate to ‘Controls’, then ‘Service’, and select ‘Towing’. The screen will display safety warnings. With your foot on the brake, press and hold the ‘Transport Mode’ button until it turns blue. This special mode disengages the parking brake completely and prevents the car from locking the wheels, allowing the tow operator to safely pull the car onto the flatbed without destroying the electric motors.
Step 9: Verify the Neutral Status on Your Display
Regardless of the method you used to achieve neutral, you must visually verify that the vehicle is actually in the correct state. Look at your primary display screen. The letter “N” should be prominently highlighted. If you used Transport Mode, a specific red or blue banner will appear at the top of the screen indicating that the vehicle is free-rolling. Slowly ease your foot off the brake pedal to test the engagement. If the car holds its rolling state without suddenly jerking to a stop, the neutral gear has been successfully and safely engaged.
Step 10: Safely Disengage Neutral and Return to Park
Once your car wash is complete or you have finished moving the vehicle, you must secure the car by taking it out of neutral. To do this, simply depress the brake pedal firmly. If you used the stalk, push the button on the end of the right stalk to engage Park. If you used the touchscreen, tap the “P” icon on the display or overhead console. If you were in Car Wash Mode, tap “Exit Car Wash Mode” on the screen. If you were in Transport Mode, press and hold the Transport Mode button again until it deactivates. Always verify the “P” icon is illuminated before exiting the vehicle.
5 Things You Should Avoid
- Do not open the door during a standard neutral shift. If you simply use the gear stalk to put the car in neutral and then open the driver’s door to step out, the Tesla’s safety systems will instantly slam the electronic parking brake on. This will violently jolt the car and prevent it from rolling.
- Avoid towing with the wheels on the ground. You should never tow a Tesla with its drive wheels spinning on the pavement, even if it is in neutral. This can overheat and permanently destroy the electric motors. Always use a flatbed.
- Do not ignore the low-voltage battery. If your 12V or 16V battery is completely dead, the touchscreen and electronic parking brake will not function. Avoid trying to force the car to move; you must jump-start the low-voltage system first to access the towing menus.
- Do not leave the vehicle unattended on a slope. Neutral completely disconnects the powertrain’s resistance. If you exit the vehicle while it is in Transport Mode on an incline, the car will roll away and potentially cause a severe accident.
- Avoid rushing the touchscreen inputs. When navigating to Service menus for Tow Mode or Car Wash Mode, tap the options deliberately. Rushing can cause you to accidentally activate the wrong feature or fail to hold the Transport Mode button long enough to engage it.
Conclusion
How to put Tesla in neutral is a straightforward process once you understand the vehicle’s internal software and hardware interface.
Whether you are using the traditional steering column stalk, the newer touchscreen slider, or diving into the specialized Service menus for Car Wash or Transport Mode, you have full control over your vehicle’s drivability.
By following the steps outlined in this guide and observing critical safety precautions, you can confidently navigate automated washes, assist tow operators, and maneuver your vehicle safely. Take a few minutes to practice these physical controls in a safe, flat environment so you are prepared whenever the need arises.

About
Ora Hayes is a distinguished figure in the world of DIY Thecarfixes, with over a decade of expertise in automotive diagnostics and high-performance maintenance. Her professional focus lies in merging mechanical precision with modern digital tools, fostering repair solutions that are both cost-effective and highly reliable. As the author of Thecarfixes, Ora Hayes delves into the art and science of automotive restoration, inspiring car owners and hobbyist mechanics alike.
Education
RMIT University (Melbourne, Australia) Associate Degree in Automotive Engineering — Focus on vehicle dynamics, industry-driven repair protocols, and advanced diagnostics. Gained hands-on experience with traditional mechanical tools and modern ECU remapping software.
Nottingham Trent University (United Kingdom) Bachelor’s in Mechanical Design and Automotive Engineering (Honors) — Specialized in automotive systems with a focus on blending technical engineering with everyday usability. Participated in industry projects, working with leading automotive manufacturers to gain real-world insights into vehicle longevity.
Publications and Impact
In Thecarfixes, Ora Hayes shares her insights on troubleshooting complex engine issues, material durability, and strategies for efficient garage setups. Her writing bridges the gap between professional mechanic knowledge and the home enthusiast’s needs, making it a must-read for both everyday drivers and seasoned gearheads.




