

Let’s be blunt: car batteries sit ignored, half-forgotten, until they suffer. Most folks don’t give them a second thought—right up until their engine won’t turn over and they’re cursing the sullen silence under their hood. That harmless-looking crust creeping around the battery terminals? It isn’t so benign after all. A little neglect there can lead, embarrassingly fast, to a car that simply won’t start. Addressing that crust early often means the difference between a minor clean-up and a miserable morning waiting for a jump.
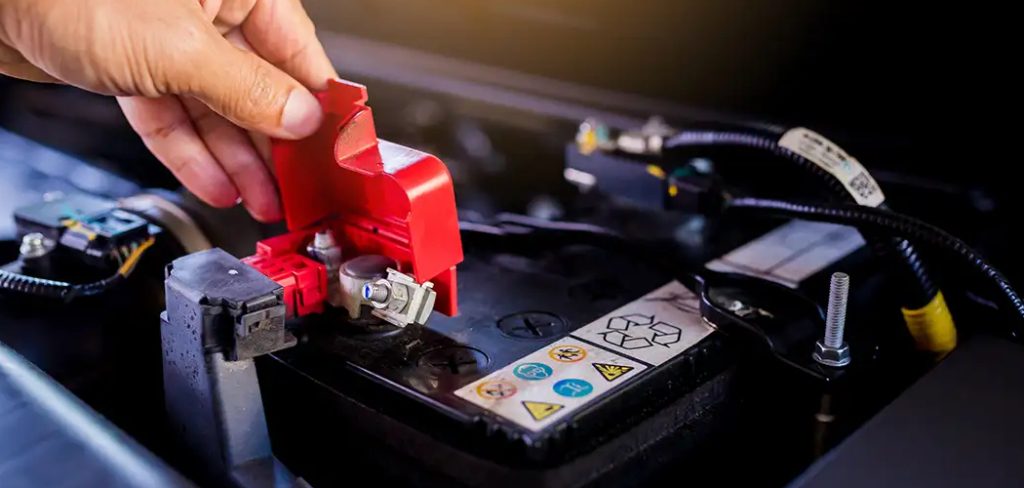
Some recoil at the idea of battery maintenance, imagining bizarre chemicals or finicky procedures, but the truth is quieter and less intimidating. Armed with some rudimentary tools, a handful of basics you probably have knocking around the garage, and twenty minutes or so, nearly anyone can handle this job. Below, you’ll find concrete, practical steps for not only cleaning battery terminals but keeping them shipshape down the line. In this guide on how to prevent battery terminal corrosion
What Actually Causes All That Gunk?
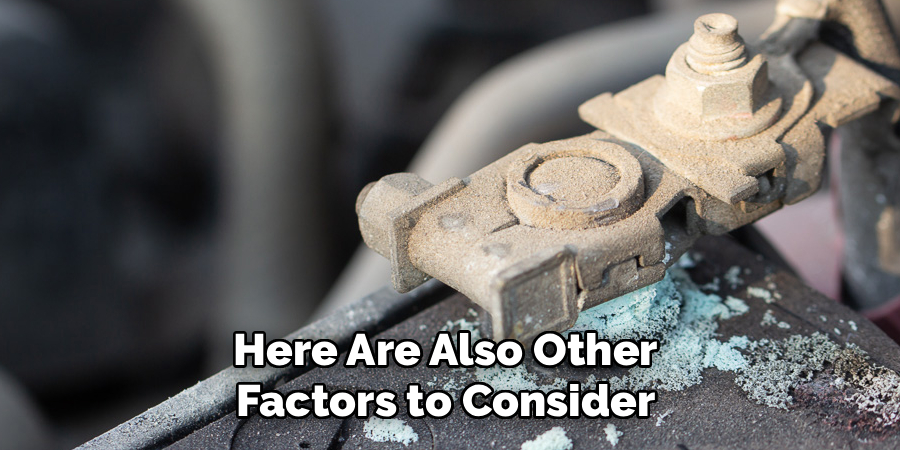
If you’ve ever popped your hood and found white, green, or almost turquoise stuff caked onto the battery posts and cables, you’ve run up against corrosion. What’s really going on here? In short, hydrogen gas, which leaks in trace amounts from the battery during regular charging and discharging cycles, mixes with air and moisture. Now, chemistry steps in—the escaped gas reacts with the terminal metals (think copper, lead, or even aluminum), and this reaction forms compounds such as copper sulfate or lead sulfate. That’s the crusty mess you brush off.
Oddly enough, basic battery operation almost guarantees some venting. Even if you treat the car gently, these reactions are probably already happening beneath the terminal boots. You might also notice that corrosion builds up faster if the battery’s been overcharged or a terminal’s a little loose. None of this necessarily spells catastrophe, but all of it points to the value of, yes, basic regular care.
Gather Your Supplies Before Lifting the Hood
Don’t leap straight in without checking your toolkit. To tackle battery terminal corrosion, you’re going to want:
- A reasonably sturdy wire brush, or a tool made specifically for cleaning battery terminals.
- Baking soda and some warm tap water to whip up a cleaning solution—good old sodium bicarbonate effectively neutralizes the acid.
- A wrench or socket set that matches the size of your cable clamps. (Guesswork here leads to dropped nuts and scraped knuckles.)
- A pile of rags or some disposable paper towels—corrosion can make an unsightly mess.
- Some species of protective coating, whether it’s a can of anti-corrosion spray or just a tub of petroleum jelly, should be applied afterward and keep future trouble at bay.
A Note—Perhaps an Emphatic One—on Safety
Car batteries may sit there mutely in the engine bay, but they harbor more energy and risk than many realize. There’s real acid inside, and an electrical current strong enough to surprise you. So, slow down, take a breath, and put on gloves—preferably the kind that resist acid. Eye protection isn’t negotiable: all it takes is one stray flake or a splash to turn the afternoon sour.
Double-check that the engine is off and the keys are nowhere nearby. Choose a workspace with fresh air—open garage, driveway, or at least somewhere the hydrogen gas won’t hang in a cloud. And of course, it should go without saying: no cigarettes, sparks, or open flames near the battery.
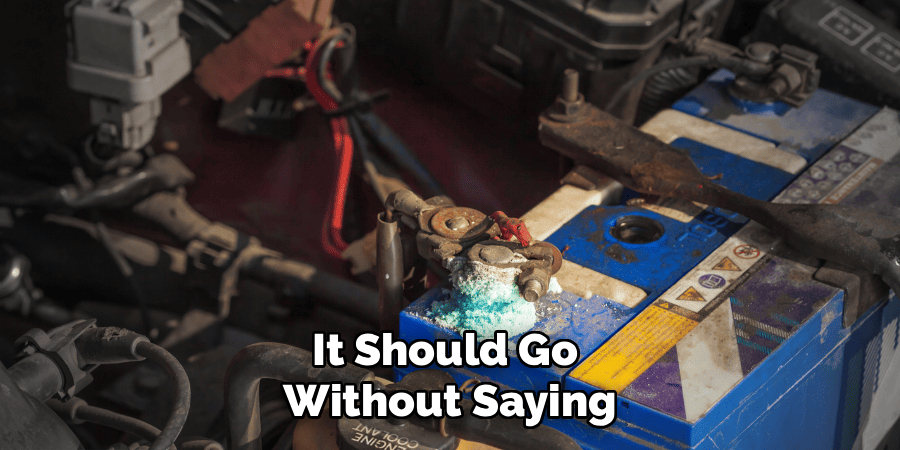
When it comes time to remove cables, start with the negative (black) one. Reinstall it last. This order isn’t an arbitrary ritual; doing it wrong can invite electrical shorts, a flash of angry sparks, or worse. Simple care can dodge a headache.
7 Steps on How to Prevent Battery Terminal Corrosion
Step 1: Disconnect—But Carefully
Start by isolating the battery. Find the negative terminal first; it’s usually marked with a minus sign or sheathed in black rubber. Loosen the nut that clamps it down (carefully, not gorilla-tight), then slide the clamp off. Tuck the cable well aside. You don’t want it springing back and making accidental contact.
Now, and only now, turn your attention to the positive (often red) terminal. Same process. This order is not optional. Removing the positive first can—if your metal wrench grazes any nearby grounded part—set off impressive arcs. With both cables off and safely away from the posts, you’re ready to get to work.
Step 2: Take a Hard Look at the Battery’s Condition
Pause before you start scrubbing. Give the battery casing a good examination. Hairline cracks, bulging sides, or visible leaks of acid around the base? These are not cosmetic flaws you can ignore. Batteries showing serious damage need replacing outright—a clean set of terminals is wasted if the core unit is breaking down.
While your eyes are peeled, inspect the metal clamps and cables, too. Corrosion sometimes eats away at the wires themselves, making them fray or thinning the clamps dangerously. If there’s obvious structural damage, it’s likely time to buy and fit replacements before moving forward.
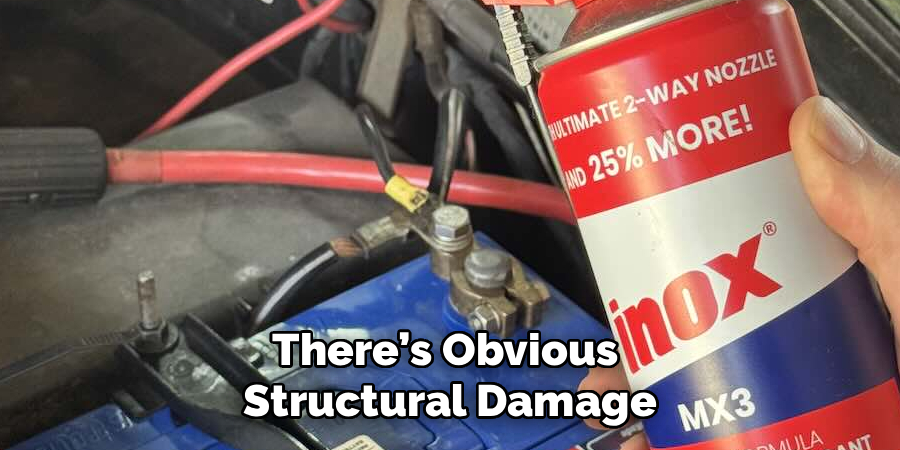
Assuming everything’s solid, you can relax (slightly) and continue.
Step 3: Neutralize That Nasty Build-Up
Here’s the alchemy. Mix a tablespoon of baking soda into a cup of warm water; stir well to dissolve the powder. Pour this over the dusty white-green grime on both posts and inside the disconnected clamps. Listen for fizzing—a good sign. The solution is breaking down the nastiness so it can be brushed away.
Leave the liquid to do its work for several minutes. That time lets the mixture penetrate the crusty deposits. If you’d rather use a store-bought cleaner, go ahead, but double-check the directions—some require specific waiting times. Allowing the solution to work, regardless of its origin, is key. Don’t rush; impatience makes more work.
Step 4: Scrub With Purpose
Once fizzing subsides, go at it with the wire brush. Work the tool in small, firm circles around the posts and pay special attention to the bases—corrosion loves to hide in the nooks. The goal here isn’t just to polish, but to clear every scrap of build-up.
Now, shift focus to the clamps. Use the internal part of your tool to scour inside the rings until bare, shiny metal appears. That’s where the electrical magic happens; a dirty surface means poor current and, sooner or later, another quiet, dead dashboard. Flawless contact here is worth a little extra effort.
Step 5: Rinse (Gently), Then Dry—Really Dry
Now for clean-up. Take a cup of plain water and pour it carefully over both terminals and clamps to wash away loosened debris and any baking soda paste. Resist any urge to grab the garden hose. Water and electronics are a fraught mix.
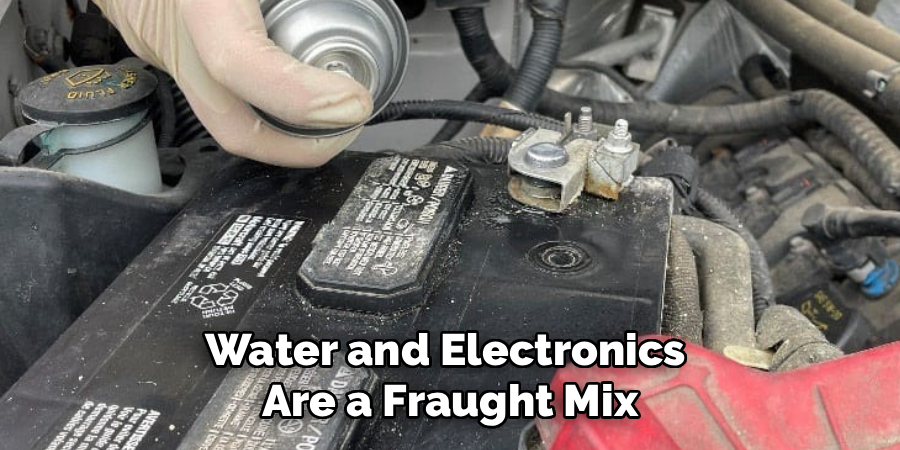
Dry everything—posts, clamps, casing—with microfiber towels or thick paper towels. Don’t leave a hint of dampness behind; even a little moisture promotes fresh corrosion. For peace of mind, prop the hood open and allow the engine bay to air-dry for another ten minutes or so. Excessive caution here pays off over time.
Step 6: Barrier Up—Keep Trouble Out
Now the connections are bare and dry, seal them. Spray-on anti-corrosion films exist and work well. If those aren’t on hand, petroleum jelly or a dab of dielectric grease performs the same feat on a budget. Slather the chosen compound over the posts, coating fully from the plastic base upward.
A subtle point: Don’t apply lubricant or spray inside the clamp rings—wait until connections are reestablished. Bare metal-to-metal surfaces transmit power better (and applying grease inside first can insulate, rather than protect).
Step 7: Reconnect in Reverse
Time to put it all back together. Start with the positive cable this time—slide it onto its battery post and tighten the nut until snug (not herculean-tight, just enough that the clamp won’t twist by hand). Repeat for the negative terminal.
With both cables secure, coat the outsides and any exposed metal with another layer of anti-corrosion spray or petroleum jelly. This final shield gives your battery a fighting chance against future environmental attacks.
Following these steps on how to prevent battery terminal corrosion, you can prolong the life of your battery and avoid potential breakdowns. But there are also other factors to consider when it comes to maintaining a healthy battery.
On the Environmental Side of Things
All that muck you wiped away and all the leftover acid—it has to end up somewhere. Pouring anything that came off the battery down a storm drain is a disaster in the making. The heavy metals and chemicals don’t just vanish—they work their way into rivers, lakes, or groundwater.
Scoop everything up with throwaway towels and bin them. If you replaced the battery itself, find a certified battery recycling location or an auto parts shop willing to accept hazardous waste. Most offer a refund on the “core charge” when you return an old battery. It isn’t just courtesy—it’s mandated for a reason.
Mistakes—The Usual Suspects
Even veteran tinkerers slip up. Bypassing the proper order for disconnecting and reconnecting cables is a common one, sometimes resulting in the kind of electrical short that ruins both day and savings account. Another misstep is slathering petroleum jelly inside the clamp before installing—well-meant, but it ruins conductivity. You lose more than you gain.
Some, understandably eager, forget to neutralize the acid first and then raise a cloud of noxious dust by scrubbing—don’t. And, perhaps most dangerously, seeing visible cracks, they try to “clean around” the problem instead of replacing a compromised battery. Problems ignored have a knack for coming back.
Frequently Asked Questions
Q1: How Often Should Terminal Cleaning Happen?
Think routine, not seldom. Best practice is to look over your battery terminals every time you do an oil change (about twice a year). If you drive in punishing climates—wet, hot, or fluctuating—step up the checks. A small effort here keeps you out of trouble later.
Q2: Is Coke Really Good for Cleaning Batteries?
There’s a long-standing DIY myth about using cola. Yes, it’s acidic enough to shift corrosion, but the sugars and syrups left behind turn sticky and attract both dirt and pests. The baking soda and water solution is safer, cleaner, and leaves no icky residue under the hood.
Q3: Is a Corroded Battery Finished?
Not necessarily. Surface-level corrosion is routine and can be cleaned. Persistent, rapid corrosion, especially if you also notice trouble starting the engine, may point toward overcharging or a failing battery. If cleaning feels like a losing battle, or if new buildup returns in weeks, get the unit professionally checked—it might be time for a replacement.
Long-Term Confidence: A Few Minutes Go Far
This kind of maintenance isn’t glamorous, but it works. With a rag, a little vigilance, basic safety, and about the same effort as checking your tire pressure, you prevent a world of future inconvenience. Even a quick visual inspection every few months can ward off dead mornings and grumpy jump-start requests.
Don’t put it off until something goes wrong. Take advantage of the next idle moment, pop the hood, examine the battery terminals, and run through these steps on how to prevent battery terminal corrosion. It isn’t magic, but over the months and miles, it’s probably the closest thing to it.

About
Ora Hayes is a distinguished figure in the world of DIY Thecarfixes, with over a decade of expertise in automotive diagnostics and high-performance maintenance. Her professional focus lies in merging mechanical precision with modern digital tools, fostering repair solutions that are both cost-effective and highly reliable. As the author of Thecarfixes, Ora Hayes delves into the art and science of automotive restoration, inspiring car owners and hobbyist mechanics alike.
Education
RMIT University (Melbourne, Australia) Associate Degree in Automotive Engineering — Focus on vehicle dynamics, industry-driven repair protocols, and advanced diagnostics. Gained hands-on experience with traditional mechanical tools and modern ECU remapping software.
Nottingham Trent University (United Kingdom) Bachelor’s in Mechanical Design and Automotive Engineering (Honors) — Specialized in automotive systems with a focus on blending technical engineering with everyday usability. Participated in industry projects, working with leading automotive manufacturers to gain real-world insights into vehicle longevity.
Publications and Impact
In Thecarfixes, Ora Hayes shares her insights on troubleshooting complex engine issues, material durability, and strategies for efficient garage setups. Her writing bridges the gap between professional mechanic knowledge and the home enthusiast’s needs, making it a must-read for both everyday drivers and seasoned gearheads.





1 thought on “How to Prevent Battery Terminal Corrosion”