

Your vehicle’s braking system serves as its most critical safety feature, standing between a safe stop and a dangerous collision. Proper brake maintenance requires more than just swapping out worn brake pads or replacing old rotors.
Over time, the hydraulic fluid that powers your brakes absorbs moisture and allows tiny air bubbles to enter the closed system. This air compresses when you step on the pedal, creating a dangerously soft or “spongy” feeling that reduces your stopping power.
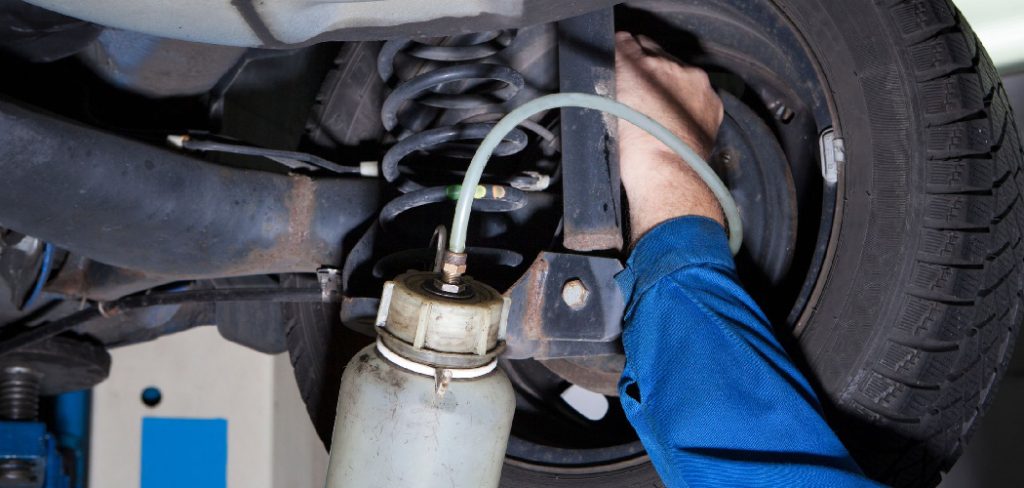
This guide on how to know if brakes need bleeding breaks down everything you need to know about checking your system and bleeding your brakes to restore a firm, reliable pedal feel.
What are the Benefits?
Taking the time to bleed your brakes provides several major advantages for both your vehicle’s performance and your personal safety. First and foremost, it restores the firm, responsive brake pedal feel you expect when you press your foot down. When air gets trapped in the hydraulic lines, it compresses, which means your physical effort goes toward squishing air bubbles rather than clamping the brake pads against the rotors. Removing this air ensures your stopping distances remain as short as possible.
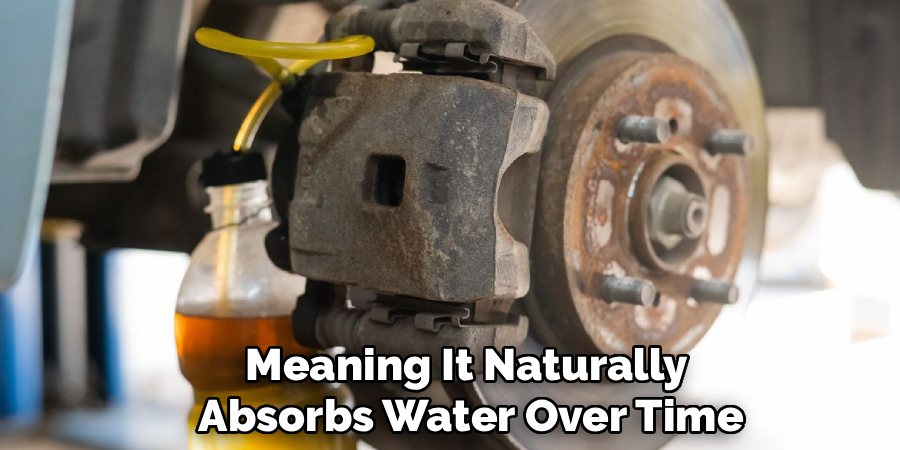
Bleeding your brakes also flushes out old, contaminated brake fluid. Brake fluid is hygroscopic, meaning it naturally absorbs water over time. This trapped moisture lowers the boiling point of the fluid, which can lead to complete brake failure during heavy use, such as driving down a steep mountain road. Furthermore, moisture causes internal corrosion in expensive components like the ABS module, brake calipers, and master cylinder. By bleeding the system and introducing fresh fluid, you protect these internal parts from rust, saving you thousands of dollars in potential future repairs while keeping your vehicle safe on the road.
What Will You Need?
Before you start inspecting and bleeding your system, you need to gather the right equipment. Having everything within reach prevents you from stopping mid-job, which can introduce more air into the system.
- Fresh Brake Fluid: Check your owner’s manual for the correct type (usually DOT 3 or DOT 4) from a brand-new, unopened bottle.
- Box-End Wrench: Sized to fit your vehicle’s specific bleeder valves (commonly 8mm or 10mm).
- Clear Plastic Tubing: Sized to fit snugly over the bleeder valve nipple.
- Fluid Catch Container: An empty, clean plastic bottle works perfectly.
- Jack and Jack Stands: To safely lift and secure the vehicle.
- Lug Wrench: To remove the wheels for better access.
- Clean Shop Rags and Brake Cleaner: For wiping up inevitable spills.
- An Assistant: To pump the brake pedal while you open the valves.
10 Easy Steps on How to Know if Brakes Need Bleeding
Step 1: Identify the Warning Signs
The first step is knowing exactly what a compromised braking system feels like. When you press the brake pedal, it should feel firm and engage smoothly. If your pedal feels squishy, soft, or sinks all the way to the floorboard under steady pressure, you likely have air trapped in the lines. Another clear indicator is if you find yourself having to “pump” the brakes multiple times to get the vehicle to stop quickly. These physical symptoms are your car’s way of telling you the hydraulic pressure is compromised and an inspection is necessary.
Step 2: Check the Fluid Condition and Level
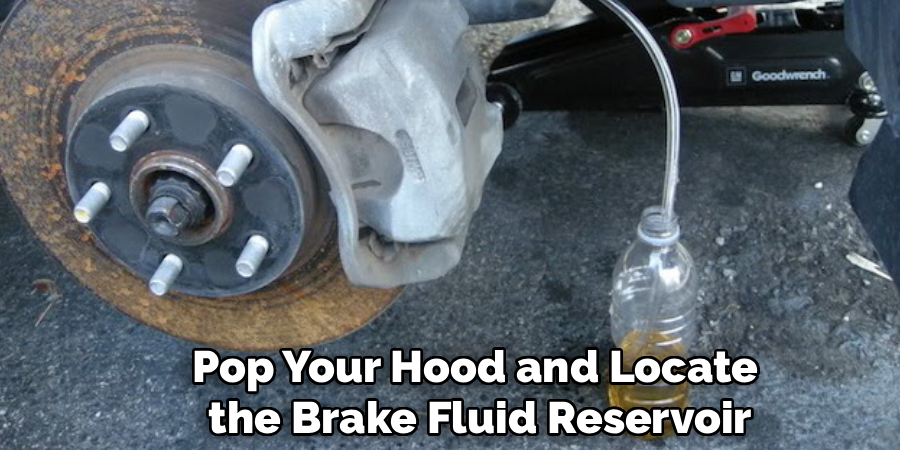
Pop your hood and locate the brake fluid reservoir, which sits on top of the master cylinder near the firewall on the driver’s side. Look at the fluid through the translucent plastic. Brand new brake fluid looks nearly clear with a slight yellow tint. If your fluid resembles dark maple syrup or black coffee, it is heavily contaminated and requires a full flush and bleed. Additionally, if the fluid level sits below the “MIN” line, air may have bypassed the reservoir and entered the master cylinder.
Step 3: Secure and Elevate the Vehicle
To perform a thorough inspection and subsequent bleed, you need proper access to the brake components behind each wheel. Park your car on a flat, level surface and engage the parking brake. Loosen the lug nuts on all four wheels slightly while the tires still touch the ground. Use a reliable hydraulic floor jack to lift the vehicle, and securely place jack stands under the designated factory lift points. Never work under a vehicle supported only by a hydraulic jack. Remove the wheels completely.
Step 4: Locate and Inspect the Bleeder Valves
Behind each wheel assembly, you will find the brake caliper (for disc brakes) or wheel cylinder (for drum brakes). Look near the top of the caliper or cylinder for a small metal valve resembling a grease fitting. This is the bleeder screw. Inspect them for severe rust or damage. Before attempting to open them, spray each valve with a penetrating oil to help break down any corrosion. A snapped bleeder valve turns a simple maintenance job into a massive headache, so patience here pays off.
Step 5: Top Off the Master Cylinder
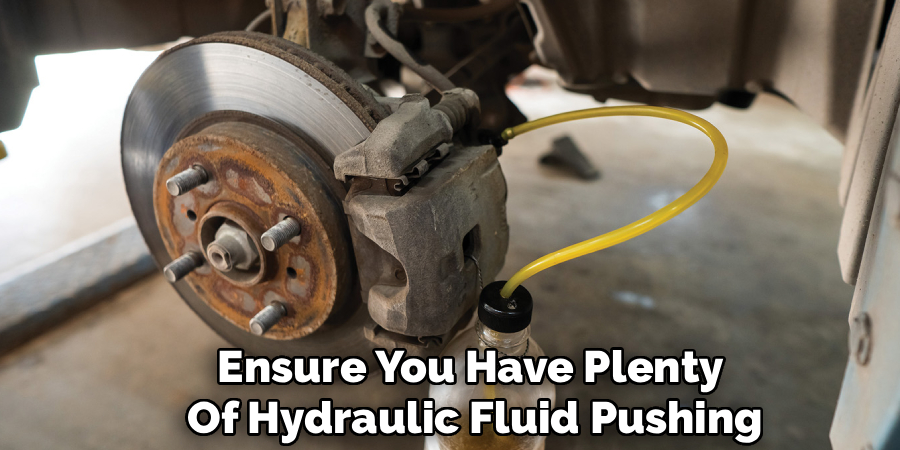
Before you open any lines, you must ensure you have plenty of hydraulic fluid pushing through the system. Remove the cap from the master cylinder reservoir under the hood. Fill it to the “MAX” line with fresh brake fluid from your newly opened bottle. Leave the cap loosely resting on top to prevent dirt from falling in while still allowing air to escape as the fluid level drops. You will need to return to this reservoir frequently throughout the bleeding process.
Step 6: Connect Your Bleeder Setup
Start at the wheel furthest from the master cylinder, which is typically the rear passenger side. Push one end of your clear plastic tubing tightly over the nipple of the bleeder valve. Place the other end of the tube into your empty catch bottle. Pour a small amount of fresh brake fluid into the bottom of the catch bottle, making sure the end of the tubing remains submerged. This submerged tube acts as a one-way liquid valve, preventing air from sucking back up into the caliper.
Step 7: The Pump and Hold Technique
Now it is time to involve your assistant. Ask them to sit in the driver’s seat and firmly press the brake pedal down three times, holding it completely down on the third press. They should shout “holding” so you know steady pressure is applied to the hydraulic system. It is vital that they do not release the pedal or let it up even a fraction of an inch until you specifically instruct them to do so, as releasing the pedal early will pull air straight back into the brake lines.
Step 8: Open the Bleeder Valve
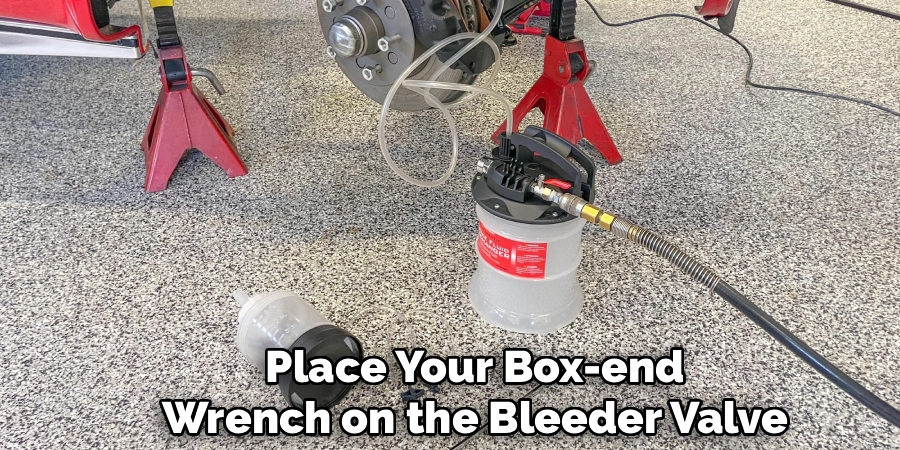
With your assistant holding the pedal down, place your box-end wrench on the bleeder valve. Slowly turn the valve counterclockwise about a quarter-turn. You will immediately see dirty fluid and air bubbles shoot through the clear tubing. Your assistant will feel the brake pedal sink to the floor. As soon as the fluid stops flowing or the pedal hits the floor, quickly tighten the valve clockwise. Only after the valve is completely closed should you tell your assistant to “release” the pedal.
Step 9: Monitor Fluid Levels Constantly
Repeat steps 7 and 8 multiple times at the same wheel until you see absolutely clear, bubble-free fluid passing through the plastic tubing. However, you must check the master cylinder reservoir under the hood after every three or four bleed cycles. If the master cylinder runs dry, it will suck massive amounts of air into the top of the brake system, forcing you to start the entire process completely over from scratch. Keep it topped off with fresh fluid constantly.
Step 10: Repeat the Sequence and Final Test
Once the rear passenger wheel runs clear, move to the rear driver side, then the front passenger side, and finally the front driver side. This specific sequence pushes air out through the shortest possible routes. After bleeding all four corners, ensure the bleeder valves are snug, spray them with brake cleaner to remove fluid residue, and put the wheels back on. Lower the car and press the brake pedal; it should feel incredibly firm. Take a slow, careful test drive around your neighborhood to verify stopping power.
5 Things You Should Avoid
When working on your braking system, simple mistakes can cause severe damage or compromise your safety. Avoid these five common pitfalls:
- Using Old, Open Brake Fluid: Brake fluid absorbs moisture rapidly from the air. Using a bottle that has been sitting unsealed on your garage shelf for a year introduces water directly into your hydraulic system, defeating the entire purpose of the bleed.
- Letting the Master Cylinder Run Dry: If you forget to monitor the fluid level under the hood while bleeding at the wheels, the reservoir will empty. This pulls a massive pocket of air into the lines, requiring a time-consuming bench-bleed of the master cylinder.
- Spilling Fluid on Your Paint: Brake fluid acts like a highly effective paint stripper. If a single drop lands on your vehicle’s bodywork, wipe it up instantly with a clean rag and wash the area with soapy water to prevent permanent damage to your clear coat.
- Snapping a Bleeder Valve: Rushing to force a rusted valve open with a socket often breaks the head right off. Always use penetrating oil, tap it gently, and use a specialized six-point flare nut wrench if the valve feels tight.
- Releasing the Pedal While the Valve is Open: If your assistant lifts their foot off the brake pedal before you have completely closed the bleeder screw, a vacuum effect pulls outside air directly through the bleeder nipple and into the caliper.
Conclusion
Maintaining your vehicle’s braking system requires attention to detail, but it remains one of the most rewarding and vital DIY tasks you can perform.
By recognizing the warning signs of trapped air and following a strict, methodical bleeding process, you take direct control over your vehicle’s safety. A firm brake pedal gives you confidence behind the wheel and ensures you can stop safely when it matters most.
Hopefully, this guide on how to know if brakes need bleeding has given you a better understanding of why and how to bleed your brakes.

About
Ora Hayes is a distinguished figure in the world of DIY Thecarfixes, with over a decade of expertise in automotive diagnostics and high-performance maintenance. Her professional focus lies in merging mechanical precision with modern digital tools, fostering repair solutions that are both cost-effective and highly reliable. As the author of Thecarfixes, Ora Hayes delves into the art and science of automotive restoration, inspiring car owners and hobbyist mechanics alike.
Education
RMIT University (Melbourne, Australia) Associate Degree in Automotive Engineering — Focus on vehicle dynamics, industry-driven repair protocols, and advanced diagnostics. Gained hands-on experience with traditional mechanical tools and modern ECU remapping software.
Nottingham Trent University (United Kingdom) Bachelor’s in Mechanical Design and Automotive Engineering (Honors) — Specialized in automotive systems with a focus on blending technical engineering with everyday usability. Participated in industry projects, working with leading automotive manufacturers to gain real-world insights into vehicle longevity.
Publications and Impact
In Thecarfixes, Ora Hayes shares her insights on troubleshooting complex engine issues, material durability, and strategies for efficient garage setups. Her writing bridges the gap between professional mechanic knowledge and the home enthusiast’s needs, making it a must-read for both everyday drivers and seasoned gearheads.





1 thought on “How to Know if Brakes Need Bleeding”