

Jumpstarting a diesel truck requires a different approach than reviving a standard gasoline car. Diesel engines operate with extremely high compression ratios, which means they demand significantly more cranking amps to turn over and start. To meet this massive energy requirement, diesel trucks come equipped with two batteries wired in parallel.
This setup doubles the available amperage while maintaining a standard 12-volt electrical system. Because you are dealing with a larger electrical load and a more complex starting mechanism, you must understand the exact procedure.
Let’s dive into how to jumpstart a diesel truck with 2 batteries.
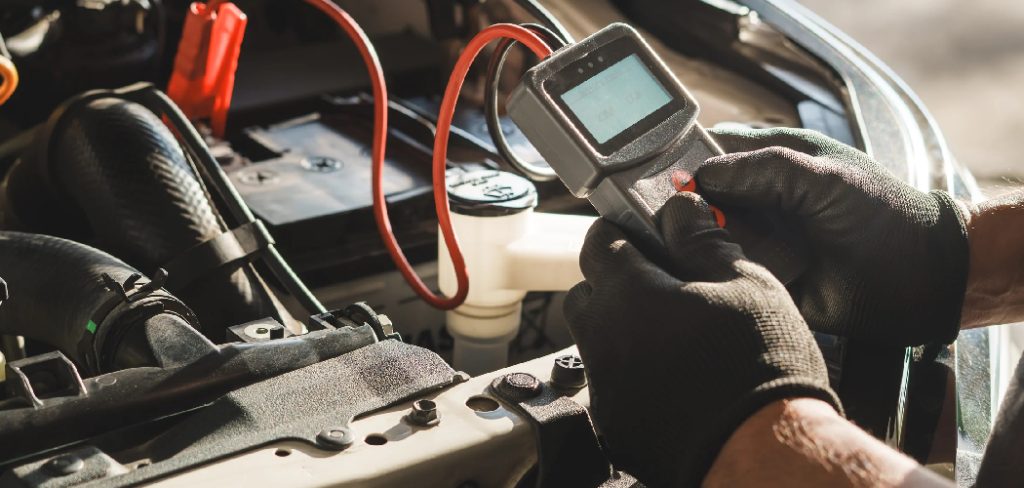
Benefits of Jumpstarting a Diesel Truck With 2 Batteries
Knowing how to jumpstart your diesel truck properly offers several distinct advantages.
First, you gain complete self-reliance. If you experience a dead battery in a remote location or during a freezing morning, you will not have to wait hours for roadside assistance.
Second, you save substantial money on expensive heavy-duty towing services. Third, understanding your truck’s dual-battery system helps you maintain it better, preventing unexpected breakdowns.
Finally, performing this task safely ensures you protect both your vehicle and the donor vehicle from catastrophic electrical surges, keeping you and your equipment safe.
What Will You Need?
Before attempting to start a dead diesel engine, gather the appropriate equipment. Standard car cables will melt or fail under the heavy load.
- Heavy-duty jumper cables
- A suitable donor vehicle
- Safety gear
- A wire brush
10 Easy Steps on How to Jumpstart a Diesel Truck With 2 Batteries
Step 1: Position the Vehicles
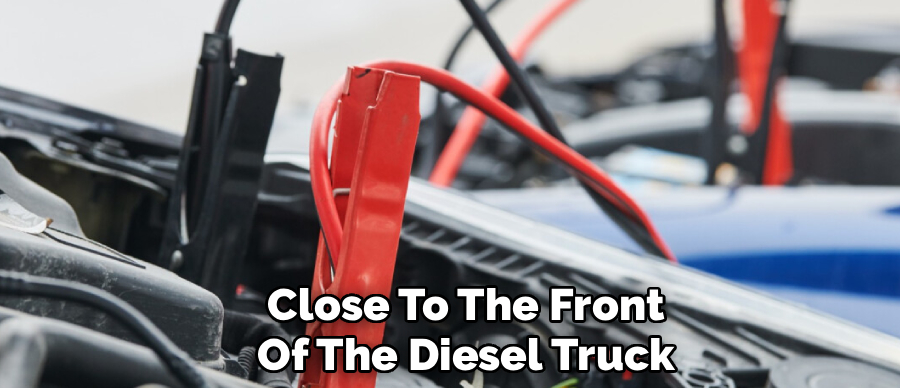
Carefully park the donor vehicle as close to the front of the diesel truck as possible, ensuring the jumper cables will easily reach between the two battery setups. Make sure both vehicles are on level ground to prevent rolling. Double-check that the vehicles don’t touch each other anywhere, as metal-to-metal contact can cause unexpected grounding issues. Set the parking brake firmly on both vehicles to avoid any movement during the jumpstart procedure. For added safety, put both vehicles into “Park” (or in neutral if they’re manual transmissions).
Step 2: Turn Everything Off
Turn off the ignition keys in both vehicles and remove them from the ignition switches. Make certain that all electrical accessories in both vehicles are powered down—this includes lights, wipers, radios, interior power outlets, and any aftermarket devices. Turning off every accessory ensures that all electrical current will flow directly to the batteries and starter motor, giving you the best chance of a successful jump and reducing the risk of damaging sensitive circuits.
Step 3: Identify the Main Battery
Diesel trucks often have two batteries: one may act as the primary, while the second supports extra loads. Open the hood and locate both batteries. The main (start) battery is usually on the driver’s side or indicated in the owner’s manual. It will generally have the thickest cables running to the starter motor. Examine both batteries closely for any cracks, bulges, severe corrosion, loose terminals, or evidence of leaking acid. If any battery looks damaged or unsafe, do not proceed—instead, replace or service the battery.
Step 4: Connect the First Red Clamp
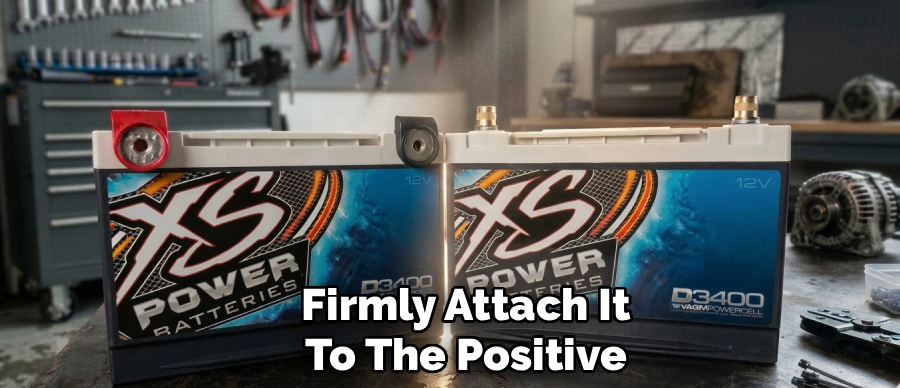
Take the red (positive) jumper cable and firmly attach it to the positive (+) terminal of the dead/main battery on the diesel truck. Wiggle the clamp to ensure a solid metal-to-metal connection—this helps maximize electrical conductivity. Avoid clamping onto any rust or corrosion. If necessary, use your wire brush to clean the terminal. This positive connection is the beginning of a safe, effective circuit.
Step 5: Connect the Second Red Clamp
Stretch the red cable to the donor vehicle and attach its other end securely to the positive (+) terminal of the donor’s battery. Make sure again that the connection is tight and that there’s no paint or corrosion creating resistance. During this step, be careful that the red and black clamps do not touch each other, and that the loose black (negative) clamps are well away from any metal components to avoid accidental shorts.
Step 6: Connect the First Black Clamp
Take the black (negative) jumper cable and place one clamp onto the negative (–) terminal of the donor vehicle’s battery. Wiggle the clamp to confirm a good grip. This step completes the circuit on the donor’s side, allowing current to flow from both positive and negative posts during the jumpstart attempt. Recheck all cable connections to make sure everything is firm and there are no loose cables.
Step 7: Ground the Final Black Clamp
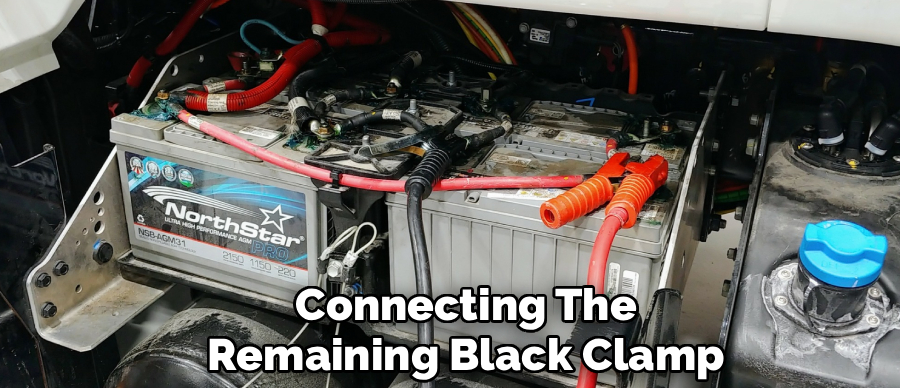
Instead of connecting the remaining black clamp to the negative battery terminal on the dead vehicle, attach it to an unpainted metal surface on the engine block or vehicle frame far from the battery (such as a thick engine bolt or a bare spot on the chassis). This final ground connection reduces the risk of sparks igniting battery vapors. Ensure the grounding point is stable and free of oil, grease, or paint. A solid metal ground ensures safe, efficient current flow through the starter motor.
Step 8: Start the Donor Vehicle
With all cables connected, start the engine of the donor vehicle and let it idle. Allow it to run for at least 5–10 minutes; this gives its alternator time to send an initial charge to the diesel truck’s batteries. If possible, slightly increase the rpm (rest your foot lightly on the gas pedal) to raise the alternator’s output—just don’t rev the engine hard. This gentle boost helps charge the dead batteries faster, especially on cold mornings or if the diesel’s batteries are deeply discharged.
Step 9: Start the Diesel Truck
Enter the disabled diesel truck and turn the key to the “On” position. Allow the glow plugs to warm up fully—wait for any associated indicator lights on the dashboard to extinguish. Once they have, attempt to start the engine. It may crank slowly at first; if it doesn’t start after a few seconds, don’t force it. Wait an additional 5–10 minutes to let the batteries absorb more charge, then try again. Once the truck fires up, let it idle—do not shut it off immediately!
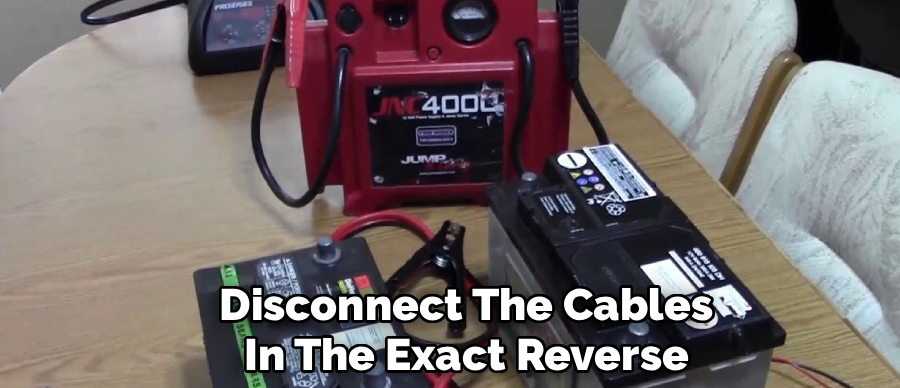
Step 10: Disconnect the Cables in Reverse Order
With both vehicles running, disconnect the cables in the exact reverse order of attachment. First, remove the black clamp from the grounded metal surface. Second, remove the black clamp from the donor battery. Third, remove the red clamp from the donor battery. Finally, remove the red clamp from the previously dead diesel battery.
5 Things You Should Avoid
- Using Undersized Cables: Never use cheap, thin jumper cables designed for small cars. They cannot carry the amperage required by a diesel starter and will quickly overheat, potentially causing a fire.
- Connecting the Negative Clamp to the Dead Battery: Never attach the final black clamp directly to the negative post of the disabled battery. This creates a spark directly over the battery, which can ignite venting gases and cause an explosion.
- Letting Clamps Touch: Never allow the red and black clamps to touch each other while connected to a power source. This creates a direct short circuit that can melt the cables and destroy the battery.
- Rushing the Process: Avoid trying to crank the diesel engine immediately after connecting the cables. The massive batteries need time to absorb a surface charge from the donor vehicle.
- Ignoring Battery Condition: Never attempt to jumpstart a frozen battery, a cracked battery, or one leaking acid. This will result in permanent damage and severe physical danger.
Frequently Asked Questions
- Can I Jumpstart a Diesel Truck With a Regular Passenger Car?
Yes, but you will find it incredibly difficult and time-consuming. A standard car alternator produces far less amperage than a heavy-duty truck requires to crank. You will need to leave the vehicles connected for at least twenty minutes to transfer enough charge. During this time, you must keep the car engine running above idle speed. Ultimately, relying on another heavy-duty vehicle is a much safer and faster method. - Why Do Diesel Trucks Have Two Batteries Instead of ONE?
Diesel engines lack spark plugs and rely entirely on high compression to ignite the fuel mixture. Compressing the air inside large engine cylinders requires a highly powerful starter motor. A single 12-volt battery simply cannot provide the sustained cold cranking amps necessary to turn the heavy internal components. Wiring two batteries in parallel solves this by doubling the available amperage while keeping the system voltage at a standard 12 volts. - How Long Should I Let the Truck Run After a Successful Jumpstart?
You must keep the engine running for a minimum of thirty to forty-five minutes after a successful start. Your truck’s alternator needs this time to replenish the deep discharge experienced by the massive dual-battery system. Driving the truck at highway speeds charges the batteries much faster than simply letting it idle in a driveway. If you shut the engine off too soon, you will likely need another jumpstart immediately.
Conclusion
Jumpstarting a heavy-duty diesel engine safely comes down to using the right equipment and following a strict sequence of actions.
By using thick gauge cables, connecting the clamps in the correct order, and grounding the final connection away from the battery, you eliminate the risk of electrical damage and injury. Make it a habit to clean your battery terminals regularly and check your voltage levels to prevent unexpected failures before they happen.
Hopefully, the article on how to jumpstart a diesel truck with 2 batteries has given you the knowledge and confidence to handle any battery-related issues in the future.

About
Ora Hayes is a distinguished figure in the world of DIY Thecarfixes, with over a decade of expertise in automotive diagnostics and high-performance maintenance. Her professional focus lies in merging mechanical precision with modern digital tools, fostering repair solutions that are both cost-effective and highly reliable. As the author of Thecarfixes, Ora Hayes delves into the art and science of automotive restoration, inspiring car owners and hobbyist mechanics alike.
Education
RMIT University (Melbourne, Australia) Associate Degree in Automotive Engineering — Focus on vehicle dynamics, industry-driven repair protocols, and advanced diagnostics. Gained hands-on experience with traditional mechanical tools and modern ECU remapping software.
Nottingham Trent University (United Kingdom) Bachelor’s in Mechanical Design and Automotive Engineering (Honors) — Specialized in automotive systems with a focus on blending technical engineering with everyday usability. Participated in industry projects, working with leading automotive manufacturers to gain real-world insights into vehicle longevity.
Publications and Impact
In Thecarfixes, Ora Hayes shares her insights on troubleshooting complex engine issues, material durability, and strategies for efficient garage setups. Her writing bridges the gap between professional mechanic knowledge and the home enthusiast’s needs, making it a must-read for both everyday drivers and seasoned gearheads.




