

Installing an infant car seat base can feel stressful the first time, especially when you are bringing home a newborn or moving the seat into a different vehicle. The base is the part that stays secured in the car, allowing the infant carrier to click in and out without reinstalling the whole seat each time. When it is installed correctly, it helps keep the carrier stable and positioned at the right angle for your baby’s safety and comfort.
This guide explains how to install base of infant car seat in a clear, beginner-friendly way. You will learn how to choose the right seating spot, decide between the lower anchors and seat belt, tighten the base, check the recline angle, and confirm that the installation is secure.
Every car seat and vehicle can be a little different, so always read both manuals before you begin. A careful installation can give you peace of mind every time your baby rides with you.
Why Installing An Infant Car Seat Base Matters
A correctly installed infant car seat base helps protect your baby during normal driving, sudden stops, and crashes. The base keeps the carrier locked in place, reduces extra movement, and helps maintain the proper rear-facing angle for a young baby’s head, neck, and airway.
Proper installation also makes daily travel easier. Once the base is secure, you can click the infant carrier in and out without repeating the full setup each trip. This is helpful for errands, appointments, and daycare drop-offs.
A loose or poorly positioned base can reduce the seat’s protection. Taking the time to install it correctly helps your car seat work the way the manufacturer designed it to work.
Step-By-Step Guide To How To Install Base Of Infant Car Seat
Step 1: Read Both Manuals First
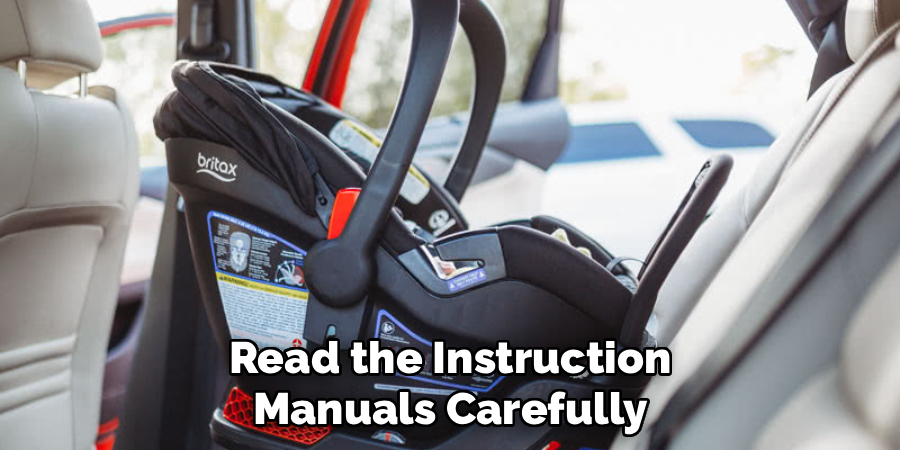
Before touching the base, read the car seat manual and the vehicle owner’s manual. The car seat manual explains how the base works, where the belt path is, how to adjust the recline, and when to use lower anchors or the seat belt.
The vehicle manual tells you which seating positions allow child restraint installation. It also explains where the lower anchors are located, whether the center seat can be used, and any special rules for locking the seat belt. This first step may feel slow, but it prevents common mistakes and helps you install the base with confidence.
Step 2: Choose The Safest Seating Position
The back seat is the safest place for an infant car seat. Many parents prefer the center rear seat because it is farthest from side-impact zones, but it is only a good choice if you can get a secure installation there. If the center position does not allow a tight fit, use one of the rear side seats instead.
Place the base flat on the vehicle seat and check that it sits evenly. Avoid installing it in a front seat with an active airbag. If your vehicle has unusual seat shapes, narrow spaces, or deep cushions, check the manuals carefully before deciding on the final position.
Step 3: Choose Lower Anchors Or Seat Belt
Most infant car seat bases can be installed with either the lower anchors or the vehicle seat belt. You should use one method unless your car seat manual clearly says both are allowed. Using both when not approved can change how the seat performs in a crash.
Lower anchors are built into many vehicles and are often simple to use, but they have weight limits. Seat belt installation is also safe when done correctly and may be required in some seating positions. When learning how to install base of infant car seat, the best method is the one that gives a tight, approved fit in your vehicle.
Step 4: Position The Base On The Vehicle Seat
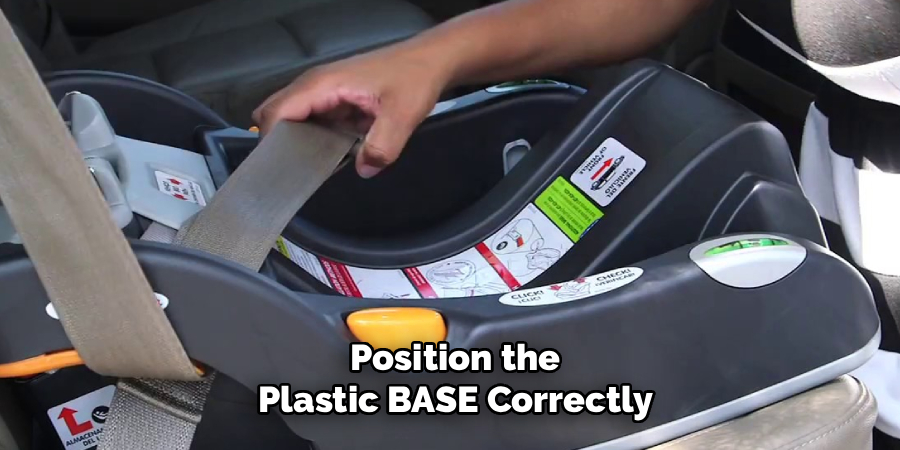
Set the base on the vehicle seat so the carrier will face the rear of the car. Make sure the base is not tilted, twisted, or resting on objects. Remove bulky seat protectors, towels, toys, or anything not approved by the car seat manufacturer.
Check the recline indicator on the base. Many infant bases have a bubble, line, or color zone that shows the correct angle. Newborns often need a more reclined position than older babies because they need extra support for their head and airway. Adjust the recline foot or built-in angle feature before tightening the installation.
Step 5: Attach The Lower Anchors Correctly
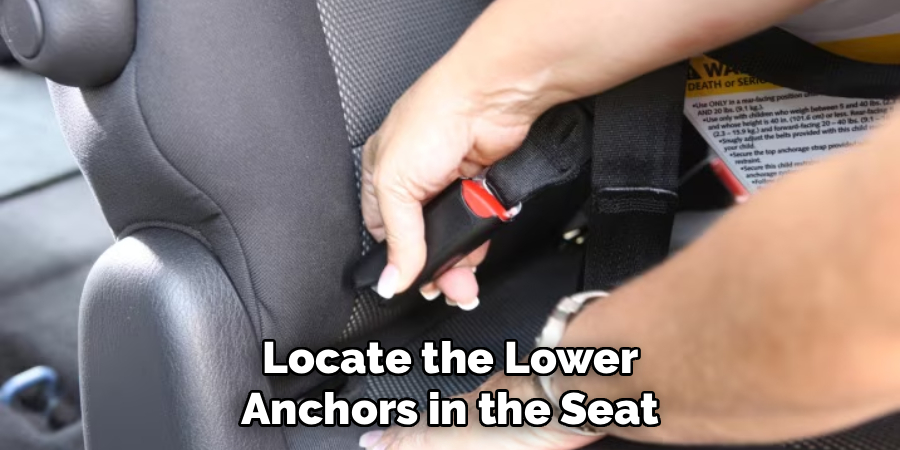
If you choose lower anchors, connect each anchor hook or connector to the correct lower anchor bar in the vehicle seat crease. Make sure the strap is not twisted and that each connector faces the direction shown in the car seat manual.
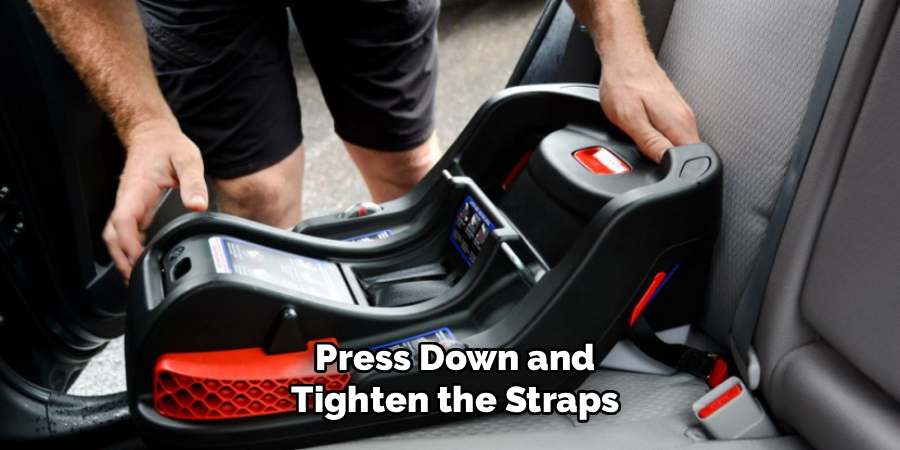
Press down firmly on the base while pulling the lower anchor adjustment strap. Put your weight near the belt path, not at the far end of the base. This helps remove slack where it matters most. After tightening, store any extra strap as the manual directs so it does not interfere with the carrier clicking into place.
Step 6: Install With The Seat Belt
If you choose the seat belt, route the lap belt or lap-and-shoulder belt through the base’s marked belt path. The belt path is usually labeled and designed to guide the belt across the strongest part of the base. Make sure the belt lies flat with no twists.
Lock the seat belt using the method required by your vehicle. Some belts lock when pulled all the way out and slowly fed back in, while others require a built-in lockoff on the base. A key part of how to install base of infant car seat is knowing how your seat belt locks, because an unlocked belt can loosen during travel.
Step 7: Check For Tightness And Movement
Once the base is tightened, test it at the belt path. Hold the base with your non-dominant hand and move it side to side and front to back. It should not move more than one inch at the belt path. Do not test by pulling from the top or far end of the base, because that can make a good installation look loose.
If the base moves too much, press down again and remove more slack. You may need to change seating positions or switch from lower anchors to the seat belt if you cannot get a secure fit.
Step 8: Click In The Carrier And Final Check
After the base is secure, place the infant carrier onto the base until you hear or feel it click. Lift gently on the carrier handle to confirm it is locked in. Check the recline indicator again with the carrier attached, since the angle can change slightly once the seat is loaded.
Make sure the carrier handle is in an approved position for travel. Some brands allow the handle up, while others require it down or in a specific spot. Before every drive, confirm the carrier is locked, the base is tight, and no straps or objects are caught underneath.
Frequently Asked Questions
Can I Install An Infant Car Seat Base Without Lower Anchors?
Yes, you can install most infant car seat bases with the vehicle seat belt instead of lower anchors. Seat belt installation is safe when the belt is routed correctly, locked properly, and tightened well. Always follow the car seat manual and vehicle manual. If the base moves more than one inch at the belt path, reinstall it or try another approved seating position.
Should The Infant Car Seat Base Move At All?
A properly installed base should not move more than one inch from side to side or front to back when checked at the belt path. Some movement at the far end of the base can be normal, so test only where the belt or anchor strap passes through. If it feels loose at the belt path, remove slack and tighten it again.
Is The Middle Seat Always The Best Place?
The middle rear seat is often a safe choice because it is farther from side impacts, but it is not always the best option for every vehicle. The safest spot is the rear seating position where you can get a correct and tight installation. If the middle seat has no approved anchor setup or the base will not sit securely, use a rear side position.
How Do I Know If The Recline Angle Is Correct?
Most infant car seat bases include a recline indicator, such as a bubble level, line, or colored zone. Park on level ground and adjust the base until the indicator shows the correct range for your baby’s age and size. Newborns usually need a more reclined angle. If the angle is wrong, your baby’s head may fall forward, which can affect breathing.
When Should I Get The Installation Checked?
You should get the installation checked if you are unsure, if the base still feels loose, or if your vehicle seat shape makes installation difficult. A certified child passenger safety technician can inspect the setup and teach you how to install it correctly. It is also wise to get help after changing vehicles, replacing a seat, or having a crash.
Conclusion
Installing an infant car seat base correctly takes patience, but the process becomes easier when you follow it step by step. Start with both manuals, choose an approved rear seating position, use either lower anchors or the seat belt, set the recline angle, tighten the base at the belt path, and confirm the carrier clicks in securely.
Now that you understand how to install base of infant car seat, take a few extra minutes to inspect your setup before every ride. If anything feels loose or unclear, contact a certified child passenger safety technician for hands-on help. A secure base gives your baby better protection and gives you more confidence on the road.

About
Ora Hayes is a distinguished figure in the world of DIY Thecarfixes, with over a decade of expertise in automotive diagnostics and high-performance maintenance. Her professional focus lies in merging mechanical precision with modern digital tools, fostering repair solutions that are both cost-effective and highly reliable. As the author of Thecarfixes, Ora Hayes delves into the art and science of automotive restoration, inspiring car owners and hobbyist mechanics alike.
Education
RMIT University (Melbourne, Australia) Associate Degree in Automotive Engineering — Focus on vehicle dynamics, industry-driven repair protocols, and advanced diagnostics. Gained hands-on experience with traditional mechanical tools and modern ECU remapping software.
Nottingham Trent University (United Kingdom) Bachelor’s in Mechanical Design and Automotive Engineering (Honors) — Specialized in automotive systems with a focus on blending technical engineering with everyday usability. Participated in industry projects, working with leading automotive manufacturers to gain real-world insights into vehicle longevity.
Publications and Impact
In Thecarfixes, Ora Hayes shares her insights on troubleshooting complex engine issues, material durability, and strategies for efficient garage setups. Her writing bridges the gap between professional mechanic knowledge and the home enthusiast’s needs, making it a must-read for both everyday drivers and seasoned gearheads.




