

Drivers who pilot manual transmission vehicles often find themselves relying heavily on auditory cues to shift gears. This reliance on sound might suggest a certain mechanical intuition, but it lacks visual precision. Adding a dedicated gauge to monitor engine speed could bridge this informational gap.
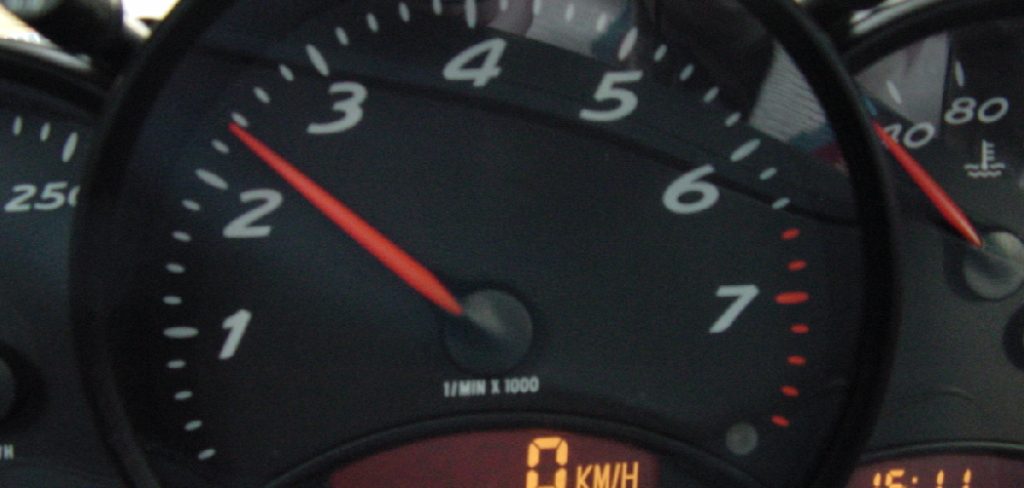
Many performance enthusiasts view dashboard modifications with a mix of excitement and mild apprehension. Automotive electrical work can appear intimidating to the uninitiated. Fortunately, learning how to install a tachometer remains a highly manageable weekend project.
Breaking the procedure down into logical, sequential steps removes much of the mystery surrounding automotive wiring. This guide outlines everything from sourcing a clean signal to routing wires through the firewall. You will find that approaching the task systematically often yields a factory-quality result.
Understanding How an Aftermarket Tachometer Works
Installing a tachometer may initially appear intimidating to the uninitiated. Fortunately, learning how to install a tachometer remains a highly manageable weekend project. By breaking the procedure into logical, sequential steps, much of the mystery surrounding automotive wiring is removed.
This guide outlines everything from sourcing a clean signal to routing wires through the firewall. Approaching the task systematically often leads to results that look and function like factory-quality installations.
What Does a Tachometer Measure?
Before cutting any wires, it is essential to understand the purpose of the tachometer. A tachometer tracks the revolutions per minute (RPM) of your engine’s crankshaft. It accomplishes this by reading electrical pulses generated by the ignition system or engine control unit.
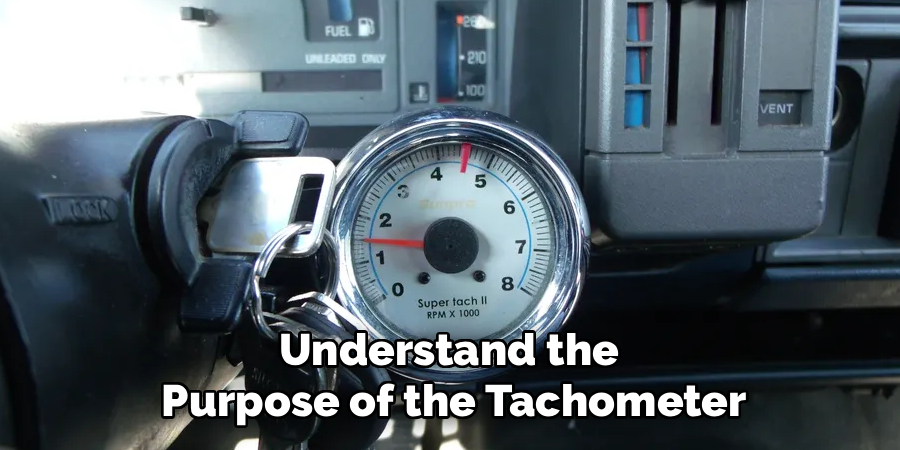
Each time a spark plug fires, a subtle electrical wave travels through the wiring harness. The tachometer intercepts these pulses and calculates their frequency, providing a real-time display of the engine’s rotational speed. This feedback offers invaluable insight into how hard the engine is working at any given moment.
Why Do Accurate RPM Readings Matter?
Accurate RPM readings are crucial for protecting your engine from potential damage. Over-revving can result in catastrophic failures, such as floating the valves or bending a connecting rod.
By monitoring the tachometer, drivers can ensure that they remain within a safe operational range. This is particularly important during spirited driving sessions, where optimizing shift points can enhance performance while safeguarding the engine’s longevity.
Essential Tools and Materials for the Job
Proper preparation is key to a smooth and efficient installation process. Having the necessary tools and materials on hand can save you time and frustration, preventing unnecessary trips to the hardware store in the middle of your project. Here’s what you’ll need:
Required Tools
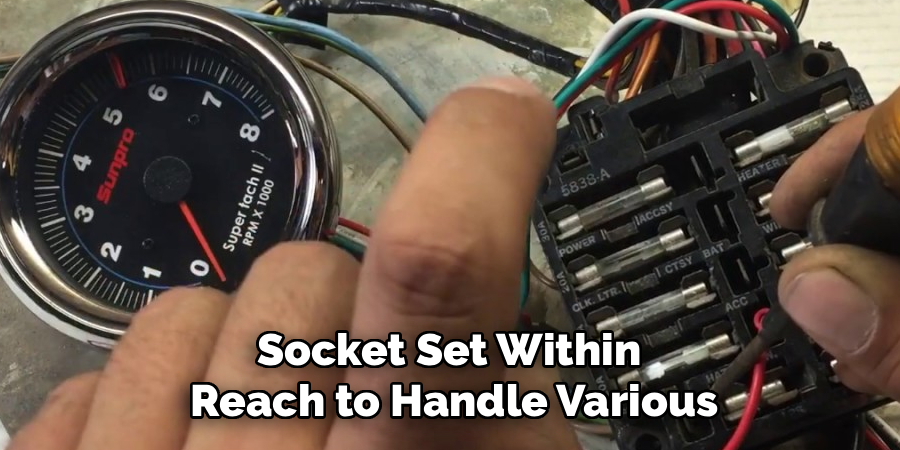
High-quality tools are critical for accuracy and reliability. You will need a reliable wire stripper and a mechanical crimping tool to ensure precise connections. Additionally, a digital multimeter is indispensable for testing live circuits. Keep basic hand tools like screwdrivers, pliers, and a standard socket set within reach to handle various components. These essentials will make the process significantly more manageable.
Essential Materials
When selecting materials, prioritize automotive-grade wire that can withstand the harsh conditions of an engine bay. Electrical tape and heat shrink tubing are crucial for securing and protecting your connections from moisture and vibration.
Skip household wire connectors, as they aren’t designed for the extreme temperature fluctuations and physical stress found in vehicles. Instead, opt for proper ring terminals and insulated quick-splices to ensure your tachometer functions flawlessly for years to come.
Choosing the Right Mounting Location
Strategic Placement Considerations
Where you position the tachometer inside the vehicle cabin requires careful planning. Visibility is the top priority, as the gauge must be easy to read at a glance without distracting you from the road.
Popular mounting locations include the steering column and the driver’s side A-pillar, as both provide convenient viewing angles. However, safety should guide your ultimate decision. Ensure the tachometer does not obstruct your view of the windshield, block vital instruments like the speedometer, or interfere with any vehicle controls.
Ensuring Safety and Efficient Installation
Another critical factor is avoiding potential hazards, such as placing the gauge housing in the deployment path of airbags, which could compromise their functionality in an accident. Once you have selected a suitable mounting location, carefully plan the routing of the wires needed to connect the tachometer.
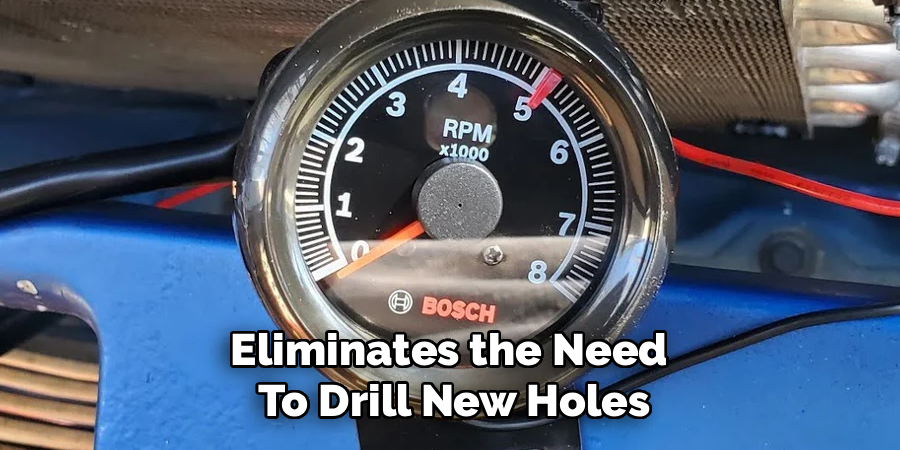
Most installations will require passing these wires through the vehicle’s metal firewall to reach the engine bay. Identifying and using a pre-existing rubber grommet is ideal, as it eliminates the need to drill new holes, reducing the risk of introducing rust or compromising the integrity of the chassis. Proper planning ensures a clean, secure, and long-lasting installation.
The Primary Guide: Step-by-Step on How to Install a Tachometer
Executing the physical installation requires patience and an organized workspace. Most standard aftermarket gauges utilize a basic four-wire setup. We will walk through the function and connection process for each individual wire.
Step 1: Disconnect the Vehicle Battery
Electrical safety serves as the foundation for any automotive modification. You must locate the vehicle’s battery and remove the negative terminal before stripping a single wire. This simple precaution prevents accidental short circuits that could easily fry expensive computer modules.
Step 2: Mount the Tachometer Gauge
With the power cut, you can physically secure the instrument to your chosen location. Use the provided metal bracket and hardware to clamp the gauge housing tightly to the steering column or dashboard. Leave plenty of slack in the wiring harness emerging from the back of the dial to allow for minor positional adjustments later.
Step 3: Route the Wiring Harness
Routing the wires cleanly separates amateur installations from professional-grade work. Pass the main signal and power wires discreetly behind the interior dashboard panels. Use zip ties to secure the harness away from moving components like the steering shaft or the brake pedal linkage.
You must route the primary signal wire through the firewall to access the engine bay. Pushing the wire through an existing rubber grommet protects the delicate copper strands from chafing against sharp sheet metal. Keep this wire far away from the hot exhaust manifold.
Step 4: Connect the Power and Ground Wires
The instrument requires a solid electrical foundation to operate correctly. Attach the black ground wire to a clean, bare-metal chassis bolt under the dashboard. A poor ground connection often causes erratic gauge behavior.
Next, you must connect the red power wire to a switched 12-volt ignition source. You can usually find a suitable circuit in the interior fuse box. This ensures the tachometer only receives power when the ignition key is actually turned on, preventing a dead battery overnight.
Step 5: Wire the Illumination Circuit
Night driving requires a backlit dial for proper visibility. Locate the white wire in your gauge harness, which typically controls the internal illumination. You should splice this wire into the vehicle’s existing headlight or dashboard dimmer circuit.
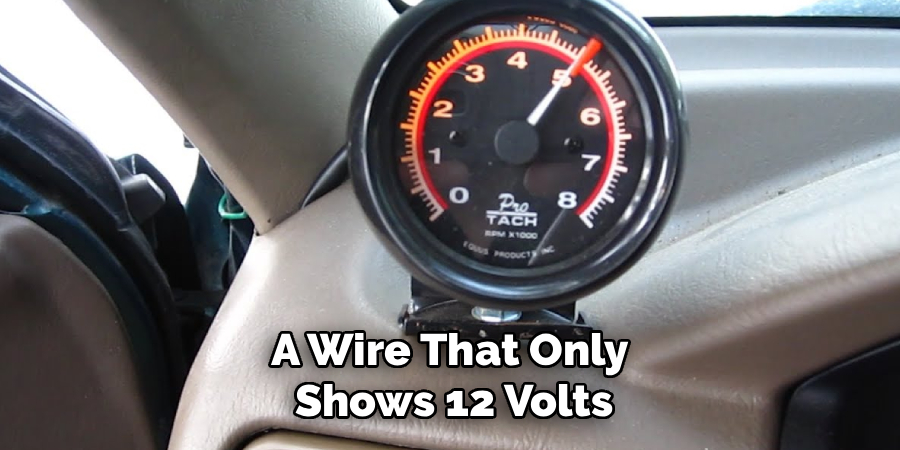
Tapping into this specific circuit allows the aftermarket gauge to light up synchronously with your factory instruments. You can use your multimeter to probe the fuse box and find a wire that only shows 12 volts when the headlight switch is activated.
Step 6: Connect the RPM Signal Wire
The green wire represents the most critical connection in this entire process. This wire carries the raw RPM data from the engine to the dial on your dashboard. Route it carefully to your designated signal source under the hood.
Secure the wire tightly along the inner fender well. Ensure it does not stretch tightly across the engine block, as engine vibration could eventually tear the connection loose.
Signal Sourcing: Ignition Coil vs. ECU
Finding the correct RPM pulse occasionally confuses first-time installers. The method you use depends entirely on the age and technological complexity of your vehicle. Older, carbureted engines operate quite differently from modern, computer-controlled power plants.
Tapping into an Older Ignition Coil
Classic vehicles utilize a traditional distributor and a standalone ignition coil to generate spark. This setup makes signal sourcing incredibly straightforward. You simply need to attach the green signal wire directly to the negative terminal of the ignition coil.
Every time the points open inside the distributor, the coil fires and sends a distinct electrical pulse. The tachometer reads these negative pulses with remarkable accuracy. Use a secure ring terminal to bolt the green wire onto the coil stud.
Sourcing the Signal from a Modern ECU
Modern fuel-injected vehicles rarely feature a single, accessible ignition coil. Instead, they rely on complex coil-on-plug systems managed by an Engine Control Unit (ECU). You cannot tap into just one of these individual coils, as it would only read the RPM of a single cylinder.
You must locate the specific tachometer output pin on your vehicle’s ECU wiring harness. This task requires consulting a factory service manual to identify the exact wire color and pin location. Splicing into the wrong computer wire could potentially trigger diagnostic error codes or engine misfires.
Calibrating the Tachometer for Your Engine Cylinder Count
Understanding Tachometer Calibration
A tachometer cannot intuitively determine how many cylinders your engine has. The number of ignition pulses per revolution varies depending on the engine configuration. For instance, a four-cylinder engine generates fewer pulses compared to an eight-cylinder engine. To ensure accurate readings, you must manually calibrate the tachometer to correctly interpret the incoming signals.
Adjusting for Cylinder Count
Most aftermarket tachometers are designed with configurable settings to match a variety of engine types. These settings usually consist of a small switch or a set of wire loops located on the back of the tachometer housing.
To calibrate, slide the switch to match your engine configuration—commonly marked as “4,” “6,” or “8” to correspond to four-, six-, or eight-cylinder engines. If this calibration step is skipped, the tachometer may display incorrect RPM readings, showing values twice as high or half as low as the actual engine speed.
Troubleshooting Common Installation Issues
Even meticulous installations occasionally encounter minor technical hiccups. If your new gauge behaves strangely upon starting the engine, do not panic. Most common issues stem from simple wiring faults that you can trace and fix in minutes.
Bouncing or Erratic Needles
A needle that jumps wildly across the dial typically points to a grounding failure. If the black wire rests against painted metal or loose plastic, the instrument cannot complete its electrical circuit. Verify that your ground connection bites directly into clean steel.
Alternatively, an erratic sweep might indicate a weak or noisy signal from the ignition coil. Electrical interference from failing spark plug wires could distort the pulse. Rerouting the green wire away from the high-voltage ignition components often resolves this interference.
Gauge Not Powering On
If the dial remains completely dark when you turn the key, the power circuit requires inspection. Grab your digital multimeter and probe the connection point for the red wire. It should read a steady 12 volts with the ignition in the “On” position.
You should also check for any blown inline fuses hidden within the tachometer harness. If you accidentally allowed a live wire to touch the chassis during installation, the fuse likely sacrificed itself to protect the internal circuitry.
Conclusion
Understanding the mechanical pulse of your vehicle adds a deeply rewarding layer to the driving experience. We have examined the electrical principles, the routing strategies, and the specific connection methods required for success. Taking the time to execute clean, secure splices ensures your new instrument remains reliable under harsh automotive conditions.
Mastering how to install a tachometer empowers you to monitor your engine’s health with clinical precision. It removes the guesswork from shifting gears and protects your motor from unintentional abuse. Reconnect your negative battery terminal, start the engine, and enjoy the immediate, sweeping feedback of your newly installed gauge.

About
Ora Hayes is a distinguished figure in the world of DIY Thecarfixes, with over a decade of expertise in automotive diagnostics and high-performance maintenance. Her professional focus lies in merging mechanical precision with modern digital tools, fostering repair solutions that are both cost-effective and highly reliable. As the author of Thecarfixes, Ora Hayes delves into the art and science of automotive restoration, inspiring car owners and hobbyist mechanics alike.
Education
RMIT University (Melbourne, Australia) Associate Degree in Automotive Engineering — Focus on vehicle dynamics, industry-driven repair protocols, and advanced diagnostics. Gained hands-on experience with traditional mechanical tools and modern ECU remapping software.
Nottingham Trent University (United Kingdom) Bachelor’s in Mechanical Design and Automotive Engineering (Honors) — Specialized in automotive systems with a focus on blending technical engineering with everyday usability. Participated in industry projects, working with leading automotive manufacturers to gain real-world insights into vehicle longevity.
Publications and Impact
In Thecarfixes, Ora Hayes shares her insights on troubleshooting complex engine issues, material durability, and strategies for efficient garage setups. Her writing bridges the gap between professional mechanic knowledge and the home enthusiast’s needs, making it a must-read for both everyday drivers and seasoned gearheads.




