

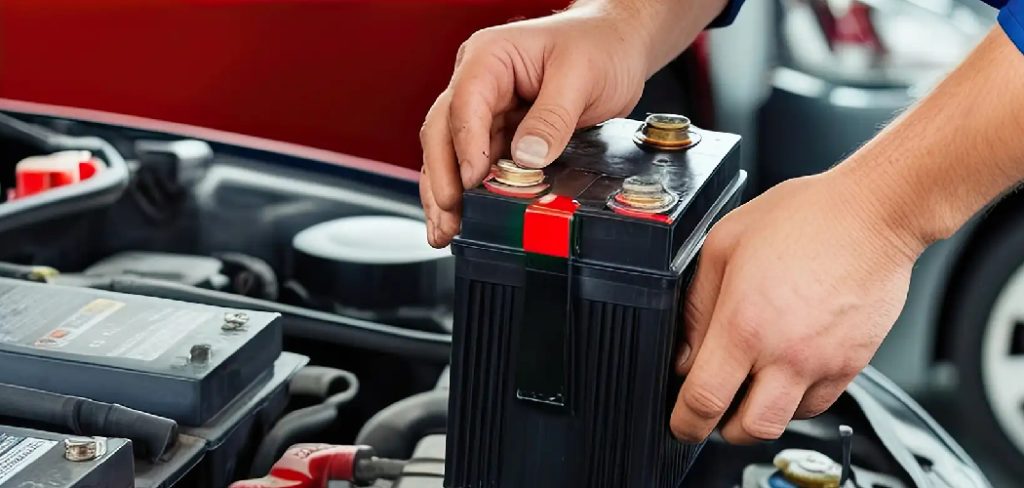
A weak or dead battery can turn a normal day into a stressful one. Your car may click instead of start, dashboard lights may flicker, or electrical features may act strangely. Learning how to install a new battery gives you the confidence to handle one of the most common car maintenance tasks without waiting for roadside help or paying extra labor costs.
A car battery supplies the power needed to start the engine and run electrical systems when the vehicle is off. Over time, every battery wears down due to age, weather, short trips, corrosion, and normal use. Replacing it at the right time helps prevent surprise breakdowns and keeps your vehicle dependable.
This guide explains the process in a beginner-friendly way. You will learn how to choose the right battery, remove the old one safely, clean the terminals, install the replacement, and test your work before driving.
Why Learning Battery Installation Is Important
Knowing how to replace a car battery can save you money, time, and stress. Many auto shops charge for installation, and while the fee may seem small, it adds up over the life of your vehicle. If you own more than one car, this skill becomes even more useful.
Battery problems often happen at inconvenient times. Your car might fail to start before work, during bad weather, or after sitting for a few days. When you understand the replacement process, you can act quickly instead of feeling stuck.
This skill also helps you better understand your vehicle. You will learn where the battery sits, how the terminals connect, and what corrosion or loose cables look like. That knowledge can help you spot early warning signs before a battery fully fails.
Step-By-Step Guide To How to Install a New Battery
Step 1: Confirm The Battery Needs Replacement
Before removing anything, make sure the battery is likely the problem. Common signs include slow cranking, clicking sounds when you turn the key, dim headlights, electrical issues, or a battery warning light. If the battery is more than three to five years old, age may also be a factor.
A simple voltage test can help. A healthy fully charged battery usually reads around 12.6 volts when the engine is off. If the reading is much lower, the battery may be weak. If you are unsure, many auto parts stores can test it for free.
Step 2: Choose The Correct Replacement Battery
The new battery must match your vehicle’s requirements. Check your owner’s manual or the label on the old battery for the correct group size, cold cranking amps, terminal position, and battery type. The group size tells you the battery’s physical dimensions and terminal layout. You usually do not need special tools for a standard car battery replacement.
Cold cranking amps, often called CCA, measure starting power in cold weather. Choosing a battery with the correct or higher recommended CCA helps your car start reliably. Do not guess based on appearance alone, because two batteries can look similar but fit or perform differently.
Step 3: Gather Tools And Prepare Your Vehicle
Park on a flat surface, turn off the engine, remove the key, and engage the parking brake. Let the vehicle cool if it was recently driven. Open the hood and locate the battery, which may be under a plastic cover or in the trunk on some models.
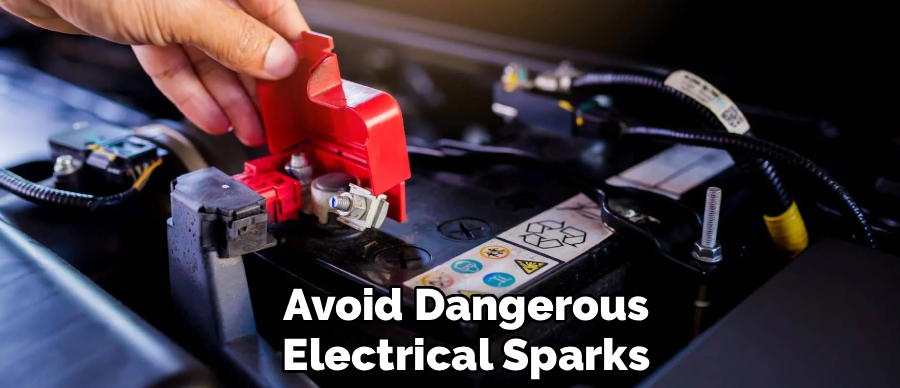
You will usually need a wrench or socket set, work gloves, safety glasses, a battery terminal brush, and a small amount of baking soda mixed with water for corrosion cleanup. Keep metal tools away from both battery terminals at the same time to avoid sparks.
Step 4: Disconnect The Old Battery Safely
Always disconnect the negative terminal first. The negative cable is usually marked with a minus sign and often has a black cover or cable. Loosen the nut, then gently twist and lift the cable away from the terminal. Place it where it cannot spring back.
Next, disconnect the positive terminal, usually marked with a plus sign and often covered in red. Removing the cables in this order helps reduce the chance of short circuits. Do not force stuck terminals with heavy pressure, because battery posts can crack or break.
Step 5: Follow The Safe Method
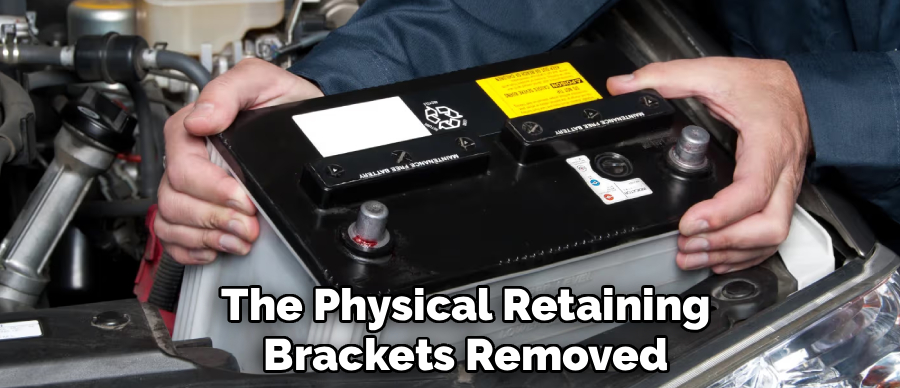
Remove the hold-down bracket, strap, or clamp that secures the battery in place. Batteries are heavy, so use both hands and lift straight up. Keep the battery upright to prevent leaks, especially if it is not a sealed design. Use your metal socket wrench to loosen this bolt slowly, making absolutely sure your metal tool never touches the frame of the tractor.
Set the old battery on the ground in a safe spot away from children, pets, and open flames. Do not place it on your car’s painted surfaces, as acid residue can damage paint. Most retailers accept old batteries for recycling and may charge a core fee if you do not return one.
Step 6: Clean The Battery Tray And Cable Terminals
Inspect the battery tray before placing the new battery inside. Dirt, rust, and corrosion can keep the battery from sitting flat. If you see white, green, or bluish buildup around the cable ends, clean it before reconnecting the new battery.
Use a terminal brush and a small amount of baking soda and water to neutralize corrosion. Wipe everything dry with a clean cloth before moving on. Clean terminals help electricity flow properly and reduce future starting issues. If a cable end is cracked, badly corroded, or loose, replace it before installing the new battery.
Step 7: Complete With Correct Cable Order
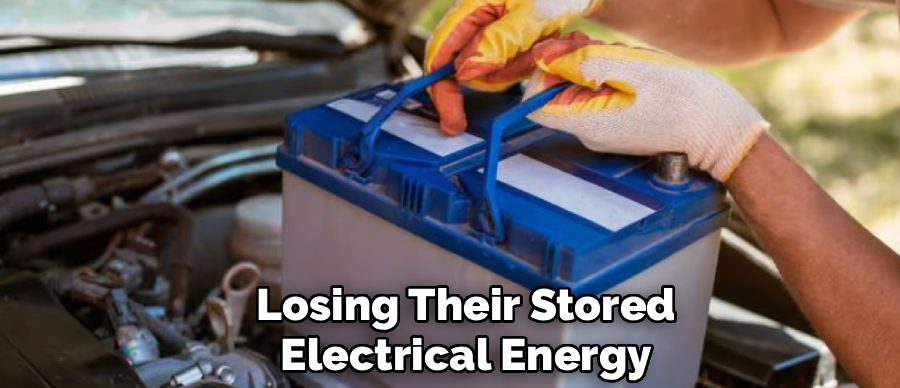
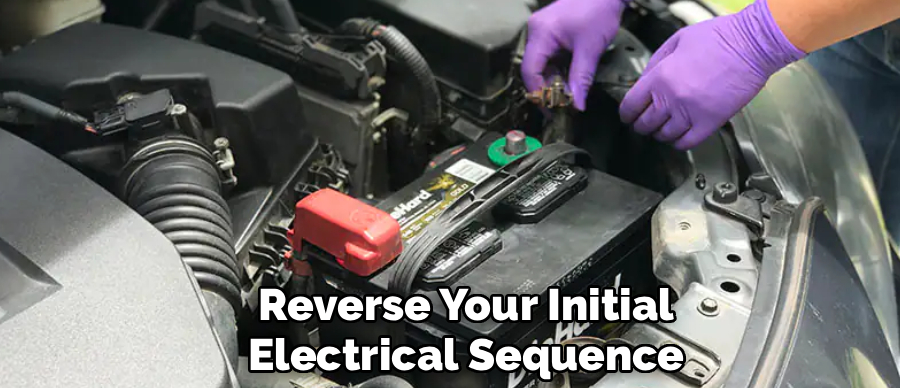
Place the new battery into the tray with the terminals facing the correct direction. Make sure it sits flat and does not rock. Reinstall the hold-down clamp or bracket so the battery cannot move while driving. A loose battery can damage cables and create safety risks.
Connect the positive cable first and tighten it securely. Then connect the negative cable and tighten it as well. The cable ends should not twist or lift off by hand. Avoid overtightening, since too much force can damage the battery posts or cable clamps.
Step 8: Test The Installation And Reset Basic Settings
Once the battery is secure, start the vehicle. The engine should crank strongly and start normally. Check that the battery warning light turns off after the engine starts. If the car does not start, turn it off and inspect the cable connections again.
Some vehicles may lose clock, radio, seat memory, or window settings after battery replacement. Reset these features as needed. Let the engine run for a few minutes, then take a short drive if everything sounds normal. Watch for warning lights and listen for any unusual behavior.
Frequently Asked Questions
How Long Does It Take To Install A Car Battery?
Most battery replacements take about 15 to 30 minutes if the battery is easy to access and the terminals are not badly corroded. Some vehicles take longer because the battery may be under a cover, in the trunk, or in a tight engine bay. Taking your time is better than rushing, especially when disconnecting and reconnecting cables.
Do I Need Special Tools To Replace A Battery?
You usually do not need special tools for a standard car battery replacement. A wrench or socket set is often enough to loosen the terminal clamps and hold-down bracket. Safety glasses and gloves are strongly recommended because batteries contain acid and can produce sparks. A terminal cleaning brush is also useful for removing corrosion.
Which Battery Cable Should I Remove First?
Remove the negative cable first and reconnect it last. This order helps reduce the chance of an accidental short circuit while you work. The negative terminal is usually marked with a minus sign, while the positive terminal has a plus sign. If you are unsure, stop and confirm the markings before loosening anything.
Can A New Battery Be Installed Backward?
Yes, it is possible to position a battery incorrectly if the terminal layout does not match your vehicle. Connecting cables to the wrong terminals can cause serious electrical damage. Always compare the new battery with the old one before installation. Make sure the positive and negative posts are in the correct locations and the cables reach without stretching.
What Should I Do With The Old Battery?
Do not throw an old car battery in regular trash. Car batteries contain lead and acid, so they must be recycled properly. Most auto parts stores, repair shops, and recycling centers accept used batteries. Many stores also charge a core fee when you buy a new battery and refund it when you return the old one.
Conclusion
Replacing a car battery is a practical skill that can save money and help you avoid unexpected delays. The key steps are simple: confirm the battery is bad, choose the right replacement, disconnect the old battery safely, clean the terminals, secure the new battery, and test the vehicle.
With patience, basic tools, and careful attention to cable order, how to install a new battery becomes a manageable job for many beginners. If your battery is weak or aging, use this guide to prepare before it leaves you stranded.

About
Ora Hayes is a distinguished figure in the world of DIY Thecarfixes, with over a decade of expertise in automotive diagnostics and high-performance maintenance. Her professional focus lies in merging mechanical precision with modern digital tools, fostering repair solutions that are both cost-effective and highly reliable. As the author of Thecarfixes, Ora Hayes delves into the art and science of automotive restoration, inspiring car owners and hobbyist mechanics alike.
Education
RMIT University (Melbourne, Australia) Associate Degree in Automotive Engineering — Focus on vehicle dynamics, industry-driven repair protocols, and advanced diagnostics. Gained hands-on experience with traditional mechanical tools and modern ECU remapping software.
Nottingham Trent University (United Kingdom) Bachelor’s in Mechanical Design and Automotive Engineering (Honors) — Specialized in automotive systems with a focus on blending technical engineering with everyday usability. Participated in industry projects, working with leading automotive manufacturers to gain real-world insights into vehicle longevity.
Publications and Impact
In Thecarfixes, Ora Hayes shares her insights on troubleshooting complex engine issues, material durability, and strategies for efficient garage setups. Her writing bridges the gap between professional mechanic knowledge and the home enthusiast’s needs, making it a must-read for both everyday drivers and seasoned gearheads.




