

Noticing a puddle of reddish or brownish fluid under the front of your car is never a welcome sight. When your steering wheel suddenly feels heavy, makes whining noises, or hesitates when you turn, you are likely dealing with a steering system issue.
Over time, the intense pressure and constant movement within this system take a toll on its components. A leak here is not just a nuisance that stains your driveway; it is a serious safety hazard that can eventually destroy your power steering pump or cause you to lose steering assist while driving.
This comprehensive guide on how to fix rack and pinion leak will walk you through everything you need to know to fix a rack and pinion leak safely and effectively in your own garage.
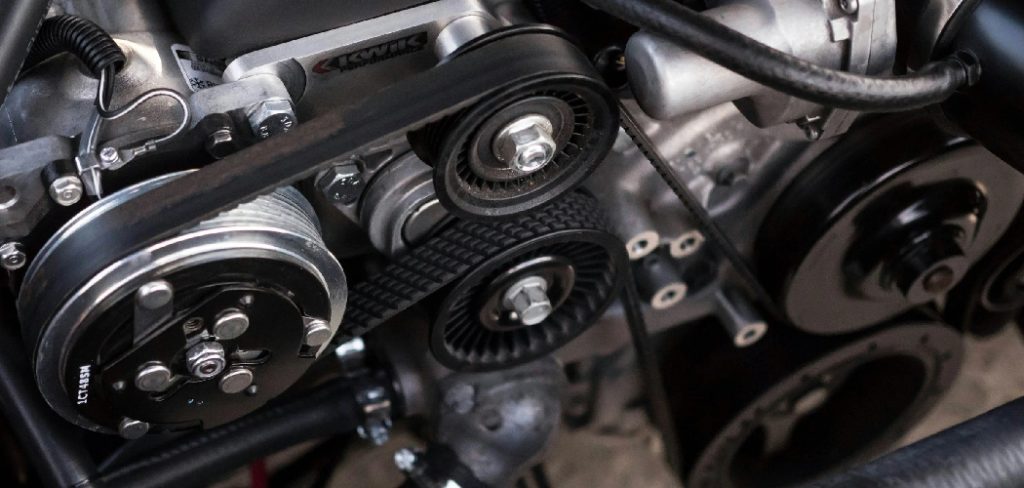
What Will You Need?
Before you begin tearing into your steering system, gather all necessary tools and supplies. Having everything within arm’s reach makes the job much smoother.
- Heavy-duty hydraulic floor jack and two sturdy jack stands
- A comprehensive metric and standard socket set with extensions
- Line wrenches (flare nut wrenches) to prevent stripping hose fittings
- A large drain pan to catch old fluid
- Several clean microfiber towels or shop rags
- Replacement O-rings, a seal kit, or a complete replacement rack assembly
- New manufacturer-specified power steering fluid
- Safety glasses and heavy-duty nitrile gloves
- Brake cleaner for degreasing the area
- A funnel for adding new fluid
10 Easy Steps on How to Fix Rack and Pinion Leak
Step 1: Diagnose the Severity and Location of the Leak
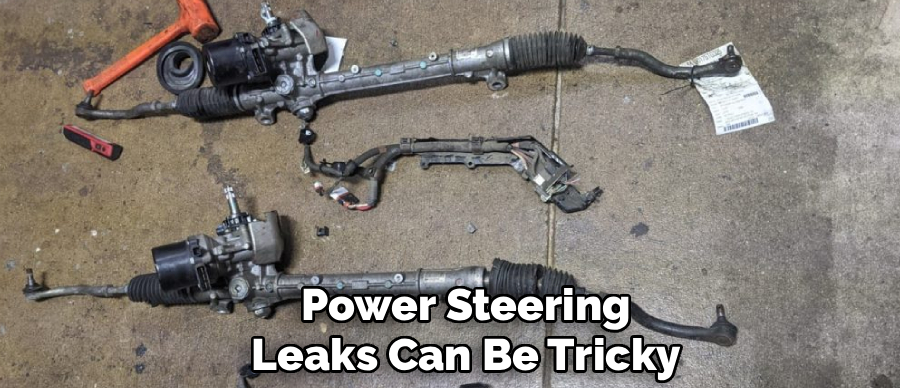
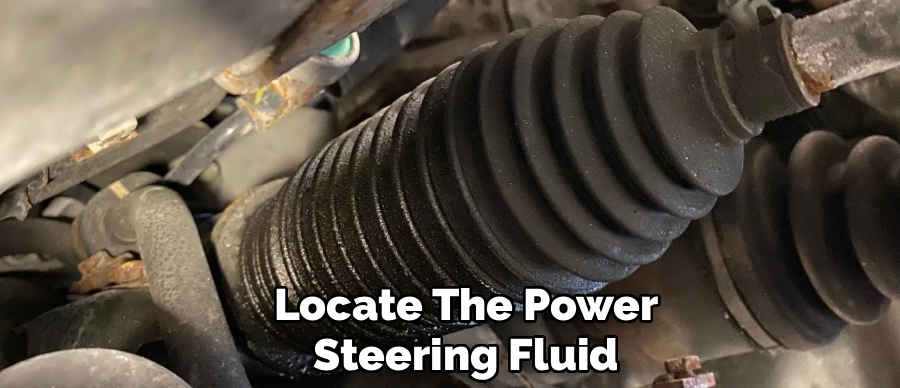
Before unbolting anything, you must confirm exactly where the fluid is escaping. Power steering leaks can be tricky because fluid blows backward while you drive, coating components far away from the actual hole. Park your car on a dry, level surface and slide a clean piece of cardboard underneath the front engine bay. Start the engine and turn the steering wheel lock-to-lock a few times to build pressure. Turn off the engine and inspect the cardboard.
Trace the drips straight up to the steering components. Look closely at the rubber bellows boots on either end of the rack; if they are bloated or dripping, the inner end seals have blown. If the leak comes from where the steering column meets the unit, the input shaft seal has failed. Taking the time to pinpoint the exact failure saves you from replacing parts that are actually working perfectly fine.
Step 2: Safely Elevate and Secure the Vehicle
Your safety remains the absolute top priority during any major automotive repair. Ensure your vehicle sits on a flat, solid concrete surface rather than dirt or asphalt, which can give way. Put the vehicle in park (or in gear for a manual transmission) and firmly engage the parking brake. Place wheel chocks behind both rear tires. Slide your hydraulic floor jack under the manufacturer-recommended front center lift point and raise the front end of the vehicle until the front wheels are completely off the ground.
Place your sturdy jack stands under the reinforced pinch welds or frame rails on both sides. Slowly lower the jack so the car rests its full weight securely on the stands. Give the car a firm shake to ensure it is completely stable before you ever place your body underneath it.
Step 3: Clean the Surrounding Area Thoroughly
When working on hydraulic systems, cleanliness is incredibly important. Even a single grain of sand entering the steering pump or rack can score the internal cylinders and cause a brand new unit to fail prematurely. Put on your safety glasses to protect your eyes from falling debris. Generously spray the entire steering assembly, the hose connections, and the surrounding subframe with automotive brake cleaner.
Use a small wire brush or stiff nylon brush to scrub away decades of caked-on grease, dirt, and road grime. Wipe everything completely dry with clean shop rags. A clean workspace not only prevents internal contamination but also makes it significantly easier to spot your wrench points and line up your sockets during the removal and installation processes.
Step 4: Drain the Old Power Steering Fluid
You need to empty the system to prevent a massive mess when you disconnect the hydraulic lines. Locate the power steering fluid reservoir in your engine bay. Use a simple turkey baster or a fluid extraction syringe to suck out as much old fluid from the reservoir as possible. Next, place your large drain pan directly underneath the lowest point of the steering system.
Locate the low-pressure return hose on the steering assembly and use a pair of pliers to slide the hose clamp back. Carefully pull the rubber hose off the metal fitting and aim it downward into the pan. Let the fluid drain completely. To push the remaining fluid out of the internal cylinders, turn the steering wheel slowly from left to right several times.
Step 5: Disconnect the Tie Rods and Steering Column
To gain access to the seals or remove the unit entirely, you must detach it from the wheels and the steering wheel. Start at the wheels by removing the front tires. Locate the outer tie rod ends where they connect to the steering knuckles. Remove the cotter pin and unbolt the castle nut.
Use a tie rod puller or a few firm taps with a hammer on the knuckle to pop the tie rod free. Next, move inside the cabin or under the hood to locate the steering column intermediate shaft joint. Mark the splines with a paint pen so you can perfectly align the steering wheel during reassembly. Remove the pinch bolt securing the steering column joint to the input shaft and slide the joint upward to detach it.
Step 6: Disconnect the High and Low-Pressure Lines
This step requires patience and the right tools. The hydraulic lines threading into the rack are often very tight and made of soft metal. You must use flare nut wrenches (also known as line wrenches) because standard open-end wrenches will easily round off the fittings, turning a simple job into a nightmare.
Carefully loosen the high-pressure line and the return line where they enter the valve body. Have rags ready, as residual fluid will undoubtedly spill out. Inspect the ends of these metal lines. They utilize small rubber O-rings at the tips. If your leak was originating from the fittings, simply replacing these O-rings and tightening the lines might solve your problem without requiring a full rack rebuild.
Step 7: Remove and Rebuild, or Replace the Entire Unit
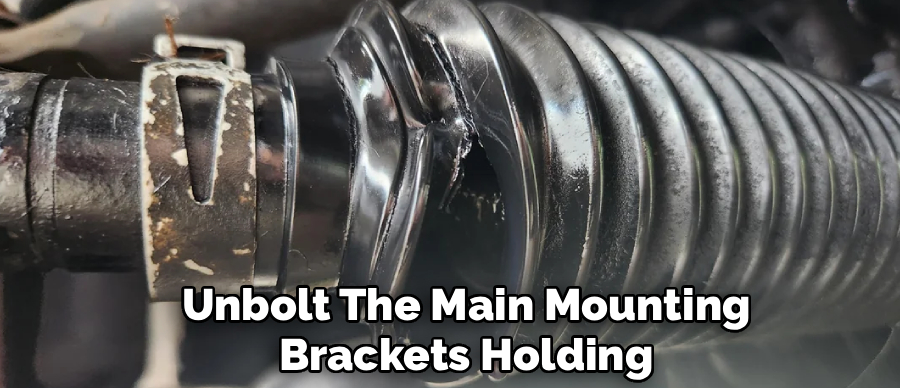
Depending on your diagnosis, you now face a choice: rebuild the current unit or install a remanufactured one. If replacing the whole assembly, unbolt the main mounting brackets holding the rack to the crossmember or subframe. Carefully maneuver the heavy, awkward unit out through the wheel well or underneath the car. If you choose to rebuild it to fix internal seal leaks, move the unit to a clean workbench.
You will need to carefully remove the snap rings, extract the inner tie rods, pull the main shaft out of the housing, and press in new high-pressure seals from your rebuild kit. Because rebuilding requires specialized internal seal tools and absolute precision, most DIY mechanics choose to bolt in a remanufactured unit to save time and guarantee a leak-free result.
Step 8: Install the New Seals or the Replacement Unit
If you opted for a new or rebuilt unit, the installation process reverses the removal. Carefully slide the new steering rack back into its position on the subframe. Thread the main mounting bolts in by hand to avoid cross-threading, then torque them to your vehicle’s specific factory torque specifications using a torque wrench.
Before reattaching the hydraulic lines, replace the small rubber O-rings on the tips of the high-pressure and low-pressure hoses with brand new ones lubricated with fresh steering fluid. Thread the line fittings in entirely by hand to ensure they sit perfectly straight, then snug them down firmly with your flare nut wrench. Do not over-tighten them, or you risk cracking the aluminum housing.
Step 9: Reconnect the Steering and Suspension Components
Now reconnect the mechanical links. Slide the intermediate steering shaft back onto the splined input shaft, taking care to line up the paint marks you made earlier. This ensures your steering wheel sits straight when the car drives straight. Insert and tighten the pinch bolt. Next, reconnect the outer tie rod ends to the steering knuckles at the wheels.
Torque the castle nuts to spec and always install a brand new cotter pin for safety. Reinstall your front wheels and hand-tighten the lug nuts. You are now fully reassembled, but the hydraulic system is full of air, which brings us to the most critical final step.
Step 10: Refill the Fluid and Bleed the System Thoroughly
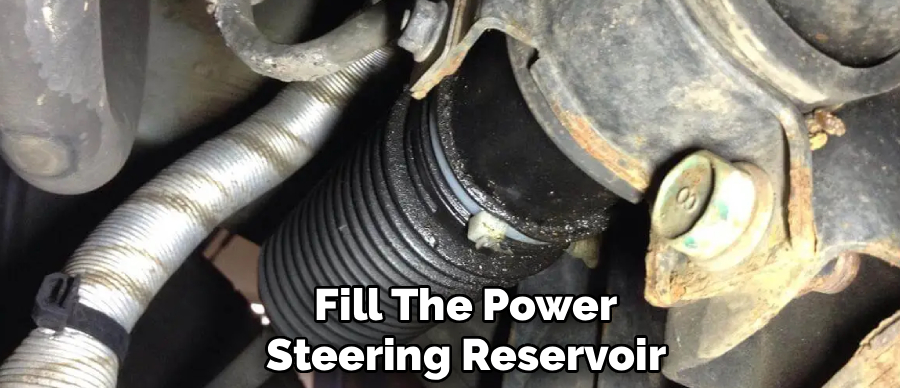
Lower the vehicle slightly so the tires barely touch the ground. Fill the power steering reservoir with the correct fresh fluid. Do not start the engine yet. To bleed the air, turn the steering wheel slowly, lock-to-lock, twenty times. Check the reservoir and add fluid as the level drops. Now, start the engine.
The fluid level will drop rapidly as the pump circulates it; keep filling it so the pump does not suck in air. Continue turning the wheel lock-to-lock until the fluid in the reservoir is completely free of tiny air bubbles and the pump stops whining. Turn off the engine, lower the car completely, torque your lug nuts, and take a slow test drive. Re-check for leaks around all fittings upon your return.
5 Things You Should Avoid
- Avoid ignoring a leak, even a small one. Power steering fluid is highly flammable and dripping it onto a hot exhaust pipe creates a severe fire hazard.
- Avoid using universal power steering fluids without checking your manual. Many modern vehicles require specific synthetic fluids or automatic transmission fluid (ATF). Mixing incorrect fluids destroys internal seals rapidly.
- Avoid over-tightening the delicate hydraulic line fittings. The aluminum housing strips easily, and repairing damaged threads on the valve body often requires buying a completely new steering unit.
- Avoid working underneath a vehicle supported only by a hydraulic jack. Always use properly rated jack stands placed on solid, level ground to prevent fatal accidents.
- Avoid using vice grips or standard open-end wrenches on the line fittings. Always invest in proper flare nut wrenches to prevent rounding off the soft brass or aluminum hose nuts.
Conclusion
How to fix rack and pinion leak might seem like a daunting challenge at first glance, but breaking it down into methodical steps makes it highly achievable for the dedicated DIY mechanic.
By taking your time to accurately diagnose the source of the leak, utilizing the correct specialized tools, and prioritizing cleanliness, you can restore your car’s steering system to factory perfection. Remember that patience is your best tool, especially when dealing with stubborn hydraulic fittings and bleeding air from the system.
Completing this repair not only brings immense satisfaction but also ensures your vehicle remains safe, responsive, and reliable on the road for years to come.

About
Ora Hayes is a distinguished figure in the world of DIY Thecarfixes, with over a decade of expertise in automotive diagnostics and high-performance maintenance. Her professional focus lies in merging mechanical precision with modern digital tools, fostering repair solutions that are both cost-effective and highly reliable. As the author of Thecarfixes, Ora Hayes delves into the art and science of automotive restoration, inspiring car owners and hobbyist mechanics alike.
Education
RMIT University (Melbourne, Australia) Associate Degree in Automotive Engineering — Focus on vehicle dynamics, industry-driven repair protocols, and advanced diagnostics. Gained hands-on experience with traditional mechanical tools and modern ECU remapping software.
Nottingham Trent University (United Kingdom) Bachelor’s in Mechanical Design and Automotive Engineering (Honors) — Specialized in automotive systems with a focus on blending technical engineering with everyday usability. Participated in industry projects, working with leading automotive manufacturers to gain real-world insights into vehicle longevity.
Publications and Impact
In Thecarfixes, Ora Hayes shares her insights on troubleshooting complex engine issues, material durability, and strategies for efficient garage setups. Her writing bridges the gap between professional mechanic knowledge and the home enthusiast’s needs, making it a must-read for both everyday drivers and seasoned gearheads.




