

Automotive troubleshooting often begins with an unsettling sensation felt right through the steering wheel. Drivers might notice a harsh vibration or a heavy clunking noise emanating from beneath the hood during acceleration. These physical symptoms frequently point toward a failing engine support system.
Many owners assume that lifting an engine involves a specialized shop and thousands of dollars. The reality appears to indicate otherwise. With patience and basic mechanical logic, replacing these faulty components represents a surprisingly straightforward driveway project.
This article outlines exactly how to fix motor mounts using safe, established methods. We will look at diagnosing the failure points, gathering the appropriate tools, and executing the swap. By the end of this reading, tackling this heavy-duty repair might feel entirely within your grasp.
Understanding Motor Mounts and Why They Fail
Internal combustion engines generate immense rotational force. Without a structural dampening system, that violent energy would literally tear the vehicle apart. Motor mounts act as the primary intermediary between the violent power plant and the static chassis.
The Role of Motor Mounts
These components secure the heavy engine and transmission assembly directly to the vehicle’s subframe. Their main job involves absorbing normal operational vibrations so the cabin remains relatively quiet. They also prevent the engine from twisting drastically when you press the accelerator.
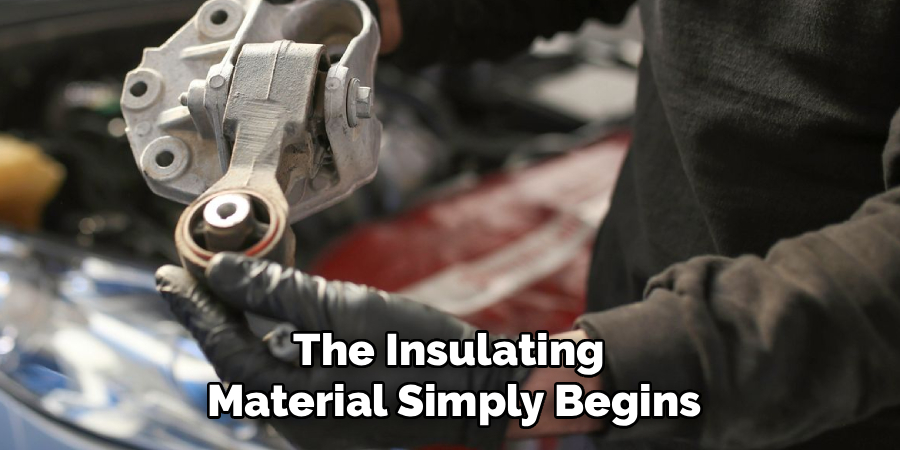
Think of them as structural shock absorbers. A steel bracket bolts to the engine block, while another steel plate attaches to the frame. A thick layer of dense material sits sandwiched between these two metal plates to isolate the kinetic energy.
Common Causes of Wear and Tear
Nothing in an automotive engine bay lasts forever. Constant exposure to extreme exhaust heat cycles naturally accelerates the degradation of rubber compounds. Over years of daily driving, the insulating material simply begins to dry rot and crack.
Chemical contamination plays a significant role as well. Engine oil or power steering fluid leaking onto a rubber mount will slowly dissolve the structural integrity of the part. Once the rubber collapses entirely, metal-to-metal contact becomes an inevitable and rather noisy reality.
Symptoms of Bad Motor Mounts
Diagnosing the issue correctly saves you from ordering unnecessary parts. A collapsed mount usually presents very specific physical warnings. Paying close attention to how the car behaves under load might help you pinpoint the exact failure.
Excessive Engine Vibration
The most common indicator of a bad mount involves an intense shaking sensation while the vehicle sits at a red light. A collapsed insulator allows the engine block to rest directly against the metal subframe. This direct contact transfers every single combustion pulse straight into the cabin.
You might notice the dashboard rattling or the steering wheel vibrating aggressively in your hands. This shaking usually diminishes slightly once the vehicle begins moving, as the engine speed smooths out the power delivery.
Clunking or Banging Noises
Auditory clues often accompany the physical vibrations. Drivers frequently hear a heavy, metallic banging sound when shifting an automatic transmission from park into drive or reverse.
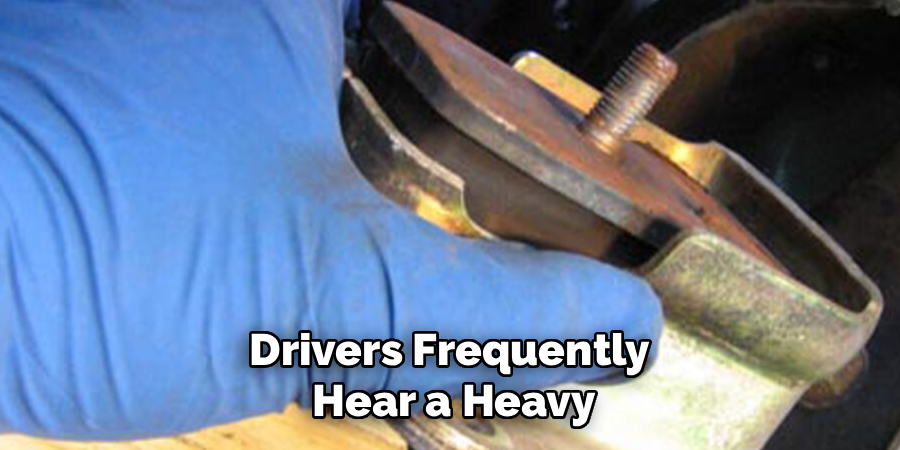
This noise occurs because the broken mount allows the engine to physically lift and slam back down under the sudden application of torque. Hard acceleration from a dead stop can provoke a similar, rather alarming thud from the engine bay.
Visible Engine Movement
Visual confirmation remains the most definitive diagnostic test. You will need a trusted helper sitting in the driver’s seat with the parking brake firmly engaged. Have them press the foot brake hard while lightly tapping the accelerator in drive.
If you observe the engine lifting several inches off its cradle, a mount has certainly sheared in half. A healthy engine should only twist a tiny fraction of an inch under this controlled stress test.
Safety First: Essential Tools and Preparation
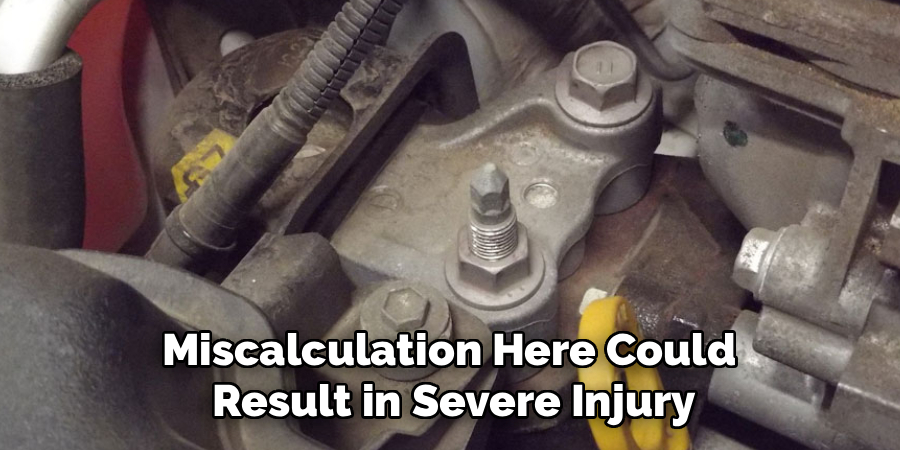
Supporting a piece of machinery that weighs hundreds of pounds demands serious respect. The preparation phase requires absolute focus on safety. A minor miscalculation here could result in severe injury or catastrophic vehicle damage.
Gathering the Right Tools
Securing the proper equipment before turning a single bolt is highly recommended. You will need a reliable hydraulic floor jack capable of lifting at least two tons. A wide, thick block of scrap wood is equally necessary to distribute the lifting weight safely.
Heavy-duty jack stands must support the vehicle chassis itself. For the actual disassembly, gather a comprehensive metric socket set featuring long extensions and universal swivel joints. A long breaker bar might also be required to loosen factory bolts that have seized over time.
Safety Gear and Best Practices
Personal protective equipment should never be treated as an afterthought. Wear safety glasses to shield your eyes from falling rust, dirt, and potentially caustic fluids.
Working on a flat, level concrete surface is an absolute requirement, as asphalt can allow jack stands to sink dangerously. Finally, always disconnect the negative battery terminal to prevent accidental electrical shorts while maneuvering metal tools near the alternator.
Step-by-Step Guide: How to Fix Motor Mounts
Approaching this heavy repair requires a sequential, deliberate mindset. Removing a structural support means you are actively shifting the balance of the drivetrain. Follow these instructions carefully to ensure the engine remains stable throughout the entire procedure.
Step 1: Locate the Damaged Mounts
Most front-wheel-drive vehicles utilize three or four distinct mounting points, including the transmission support. Rear-wheel-drive platforms typically feature two primary engine mounts flanking the block. Consult your specific repair manual to find their exact locations.
You will often find one mount near the front radiator, one near the firewall, and a final support underneath the transmission tail housing. Visually inspect each one with a flashlight to identify torn rubber or leaking hydraulic fluid.
Step 2: Safely Support the Engine
This step represents the most critical safety juncture of the entire project. Slide your hydraulic floor jack underneath the vehicle and position it directly below the engine oil pan. You must place your wide block of wood flat onto the jack saddle.
Slowly raise the jack until the wood presses firmly against the bottom of the oil pan. The wood distributes the extreme pressure, preventing the steel jack from punching a hole straight through the delicate oil reservoir. Apply just enough upward pressure to take the engine’s weight off the mounts without physically lifting the car off its stands.
Step 3: Remove the Obstructions
Engine bays are notoriously cramped environments. You might need to clear a path before you can reach the mounting bolts. This often involves temporarily removing the plastic air intake box or unbolting the coolant overflow reservoir.
Some vehicles feature aluminum heat shields bolted directly over the exhaust-side mounts. Carefully unbolt these shields and set them aside. Gaining clear, unobstructed access prevents you from rounding off bolt heads while working at bad angles.
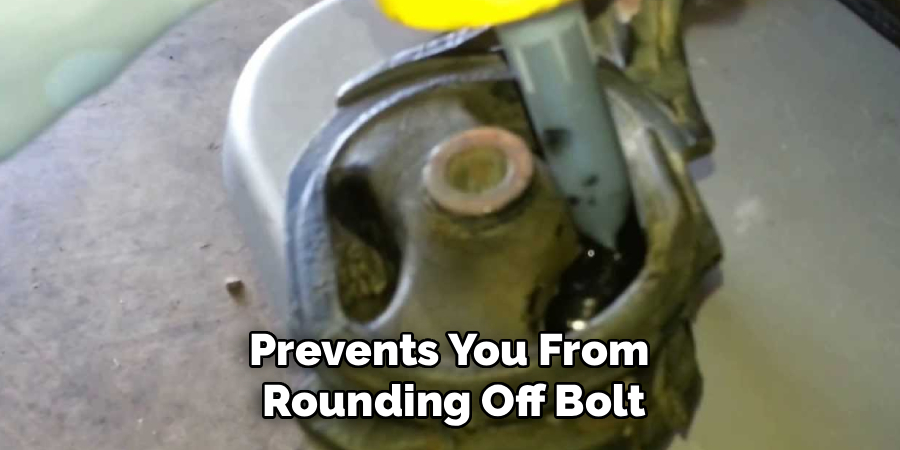
Step 4: Unbolt and Remove the Old Mount
Begin by loosening the fasteners connecting the mount to the vehicle’s frame. Next, loosen the bolts attaching the bracket to the engine block itself. If the bolts feel incredibly tight, apply a penetrating oil and let it soak for several minutes.
Once all the hardware is removed, you might find the mount still pinched tightly in place. Very slightly raise the floor jack a fraction of an inch to relieve the binding pressure. The old, broken mount should then slide freely out of its cradle.
Step 5: Install the New Motor Mount
Compare your new replacement part to the old unit to verify that the bolt hole alignments match perfectly. Slide the fresh mount into the space. You must thread every single bolt in by hand for the first few turns.
Using a power tool immediately risks cross-threading the soft aluminum threads deep inside the engine block. Once all bolts are hand-tight and the bracket sits flush, use a calibrated torque wrench. Tighten the hardware strictly to the manufacturer’s specific foot-pound settings.
Step 6: Lower the Engine and Test
With the new component fully torqued, slowly twist the handle on your floor jack to lower the engine block. Watch carefully as the engine settles its weight onto the fresh rubber. Remove the jack and the wooden block from underneath the vehicle.
Reconnect your negative battery terminal and clear away any stray tools. Start the engine and let it idle. The violent shaking that previously plagued the cabin should be entirely gone, replaced by a smooth, quiet hum.
Types of Replacement Motor Mounts
When purchasing replacement parts, you will encounter several different material options. Your choice heavily influences the driving dynamics of the vehicle. Understanding these differences helps you tailor the repair to your personal preferences.
Solid Rubber Mounts
Standard OEM-style mounts utilize a dense rubber core. These represent the factory standard for nearly all passenger vehicles. They offer the absolute best balance of cabin comfort and vibration dampening.
Rubber mounts isolate the engine completely, providing a luxurious, quiet ride. However, their flexibility means they will eventually wear out again after another eighty or a hundred thousand miles of commuting.
Polyurethane Mounts
Performance enthusiasts frequently upgrade to stiffer polyurethane options. Polyurethane resists chemical breakdown from oil leaks much better than natural rubber. These mounts hold the engine incredibly rigid, which improves throttle response and shifting feel.
The trade-off comes in the form of cabin comfort. Because polyurethane lacks the soft absorbing qualities of rubber, it transfers significantly more mechanical vibration directly into the steering wheel and dashboard.
Fluid-Filled and Active Mounts
Many modern luxury vehicles employ sophisticated hydraulic or active mounts. These units contain a chamber of viscous fluid designed to cancel out specific harmonic frequencies at idle.
Some high-end variants even feature electronic solenoids that change the stiffness of the mount based on engine RPM. While they provide unparalleled smoothness, they are considerably more expensive to replace when they eventually rupture and leak their internal fluid.
Common Mistakes to Avoid During Installation
DIY mechanics occasionally make procedural errors that complicate this repair. Knowing what to avoid might save you from damaging expensive drivetrain components. Patience remains your best tool against these common pitfalls.
Jacking the Engine Incorrectly
Placing the floor jack directly against a bare, unprotected oil pan is a recipe for disaster. The concentrated pressure will easily dent or puncture the thin metal. This mistake turns a simple bracket replacement into a massive engine teardown.
Furthermore, you must never attempt to lift the engine by placing the jack under the air conditioning compressor or the harmonic balancer. Always use a wide wooden block against the structural oil pan to lift safely.
Ignoring Torque Specifications
Guessing the tightness of structural engine bolts is incredibly risky. If you leave the fasteners too loose, the engine vibrations will quickly back them out entirely. This could cause the motor to drop suddenly while driving.
Conversely, over-tightening a steel bolt into an aluminum engine block will permanently strip the threads. You must use a reliable torque wrench to ensure the mounting hardware is tightened exactly to the factory requirements.
When to Replace All Mounts at Once
Drivers frequently wonder if they should replace a single broken component or buy a complete set. Budget constraints often tempt owners to fix only the most obviously damaged part. This strategy, however, usually ends up costing more time and money in the long run.
The Domino Effect of Failed Mounts
Motor mounts function as an interdependent system. When one structural support collapses, it forces the remaining healthy mounts to carry a massive, disproportionate load.
Leaving an old, fatigued mount in place alongside a brand-new one creates an imbalance. The excessive twisting forces will rapidly destroy the new rubber insulator, putting you right back where you started a few months later.
Cost and Time Efficiency
Advocating for a complete replacement seems like the most logical approach. Since you already have the vehicle safely raised and the tools scattered across the driveway, the labor overlap is significant.
Replacing the transmission support and the remaining engine mounts simultaneously saves immense effort. Doing the job comprehensively ensures the entire drivetrain remains locked down and perfectly balanced for years to come.
Conclusion
Restoring a smooth, quiet ride to your vehicle does not necessarily require an expensive trip to a dealership. Understanding exactly how to fix motor mounts empowers you to tackle this structural repair with genuine mechanical confidence.
By prioritizing safety, using a wooden block to support the oil pan, and relying on precise torque specifications, you can safely extract and replace these heavy components. A failing support system places undue stress on everything from your exhaust pipes to your transmission linkages. Gather your jack stands, order a complete set of quality replacement parts, and take control of your vehicle’s mechanical health today.

About
Ora Hayes is a distinguished figure in the world of DIY Thecarfixes, with over a decade of expertise in automotive diagnostics and high-performance maintenance. Her professional focus lies in merging mechanical precision with modern digital tools, fostering repair solutions that are both cost-effective and highly reliable. As the author of Thecarfixes, Ora Hayes delves into the art and science of automotive restoration, inspiring car owners and hobbyist mechanics alike.
Education
RMIT University (Melbourne, Australia) Associate Degree in Automotive Engineering — Focus on vehicle dynamics, industry-driven repair protocols, and advanced diagnostics. Gained hands-on experience with traditional mechanical tools and modern ECU remapping software.
Nottingham Trent University (United Kingdom) Bachelor’s in Mechanical Design and Automotive Engineering (Honors) — Specialized in automotive systems with a focus on blending technical engineering with everyday usability. Participated in industry projects, working with leading automotive manufacturers to gain real-world insights into vehicle longevity.
Publications and Impact
In Thecarfixes, Ora Hayes shares her insights on troubleshooting complex engine issues, material durability, and strategies for efficient garage setups. Her writing bridges the gap between professional mechanic knowledge and the home enthusiast’s needs, making it a must-read for both everyday drivers and seasoned gearheads.




