

Encountering a sudden communication error between your vehicle’s internal computers frequently disrupts travel plans without warning. The U0101 diagnostic trouble code indicates that the Engine Control Module (ECM) has seemingly lost contact with the Transmission Control Module (TCM). Without this continuous data stream, your powertrain simply cannot determine when to shift gears safely.
Learning exactly how to fix code u0101 could help you restore basic functionality and avoid unnecessary repair bills. We will approach this electrical mystery systematically to isolate the exact cause of the communication failure. Guessing at electrical faults usually results in wasted money and immense frustration.
This diagnostic guide explores the specific steps required to test your digital networks. We will examine battery voltage, inspect wiring harnesses for hidden corrosion, and test the TCM power and ground circuits. Following this structured methodology might help you pinpoint the electrical fault right in your own garage.
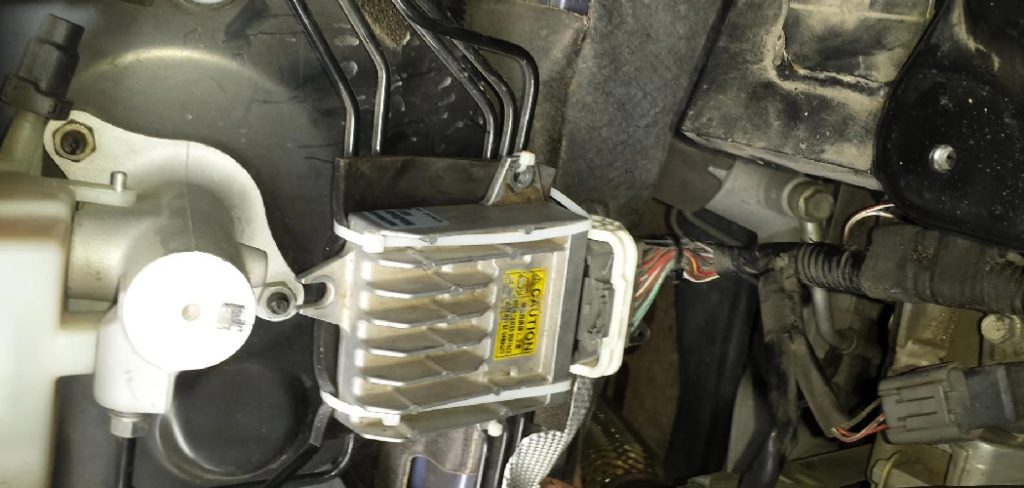
What Does Code U0101 Mean?
Understanding the basic architecture of your vehicle’s computer network seems necessary before grabbing any diagnostic tools. This foundational knowledge makes the subsequent testing process much easier to follow. A loss of communication implies a physical or digital break in the chain.
The Role of the Transmission Control Module (TCM)
The TCM acts as the primary decision-maker for your automatic transmission. It constantly processes incoming data regarding vehicle speed, engine load, and throttle position. The computer uses this specific information to command gear changes at the perfect moment.
When the TCM loses power or connection, the transmission loses its ability to operate normally. The mechanical gears remain physically intact, but the electronic brain controlling them essentially goes to sleep. This isolation prevents the hydraulic valves from opening or closing.
How the CAN Bus Network Communicates
Modern vehicles utilize a Controller Area Network (CAN bus) to send packets of data between isolated modules. You might think of it as a high-speed digital telephone line connecting the engine and transmission computers. A U0101 error usually means this telephone line is cut, shorted to ground, or simply unplugged.
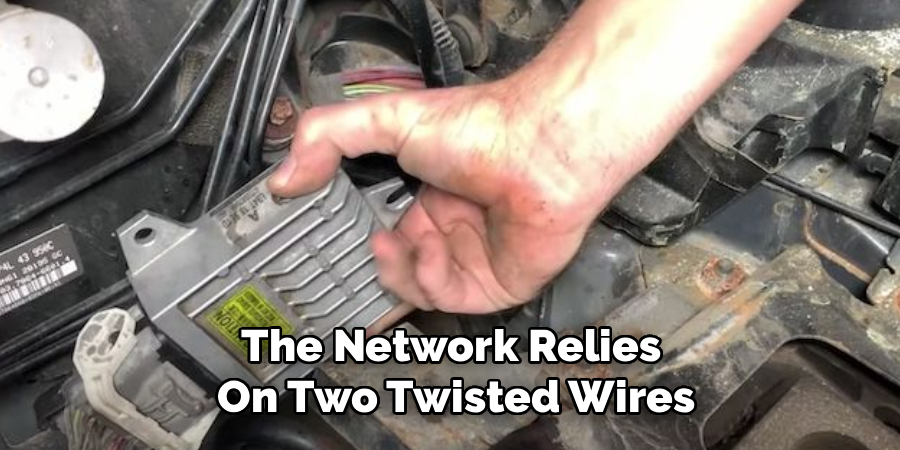
The network relies on two twisted wires, commonly referred to as CAN High and CAN Low. These wires transmit continuous voltage fluctuations that the computers translate into usable data. If interference disrupts these voltage waves, the modules stop talking to each other entirely.
Common Symptoms of a TCM Communication Failure
Recognizing the physical warning signs often helps you confirm the initial digital diagnosis. A lost connection produces very distinct, almost violent drivability issues. The vehicle usually reacts defensively to protect its internal hardware.
Transmission Stuck in Limp Mode
Your vehicle will likely default to a defensive “limp mode” to protect the transmission’s internal clutch packs from catastrophic damage. This safety feature usually locks the gearbox into second or third gear permanently. You will probably experience extremely slow acceleration from a stop.
Driving at highway speeds becomes nearly impossible under these conditions. The engine will rev incredibly high just to maintain fifty miles per hour. This limited operational state ensures you can limp the car to a safe location without destroying the drivetrain.
Erratic Shifting and Check Engine Light
The check engine light will illuminate almost immediately when the computer registers the communication drop. You might also notice harsh, clunky gear engagements when moving the physical shifter from park to drive. The transmission applies maximum hydraulic pressure in limp mode, causing these violent jolts.
Additionally, the gear indicator on your dashboard might flash randomly or go completely blank. If the dashboard cannot communicate with the transmission, it cannot display what gear you are currently in. This visual blankness strongly points toward a network failure.
Primary Causes Behind the U0101 Error
Several specific electrical anomalies can sever the connection to the TCM. Identifying the most common culprits helps narrow down your overall search area. Finding the root cause requires a bit of patience.
Dead or Weak Battery
Digital modules require a steady, exceptionally clean supply of voltage to function properly. A weak battery or a failing alternator could easily cause the system voltage to drop below the minimum operating threshold. When voltage dips, the computers simply shut down to conserve energy.
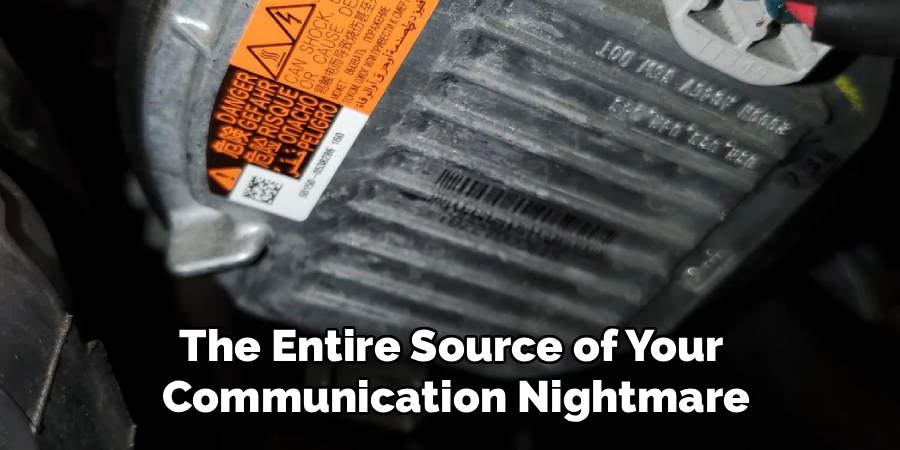
This sudden loss of power mimics a severed wire. Always verify your charging system before tearing into the wiring harnesses. A simple dying battery might be the entire source of your communication nightmare.
Corroded Wiring Harnesses and Connectors
The TCM often sits remarkably low in the engine bay or mounts directly onto the transmission casing. This vulnerable placement exposes the wiring harness to standing water, road salt, and flying debris. Moisture intrusion frequently leads to severe oxidation on the metal terminal pins.
Green, powdery corrosion physically blocks the electrical current and delicate data signals. A connector might look perfectly fine on the outside while rotting from within. Pulling these plugs apart for visual inspection seems absolutely mandatory.
Internal TCM Failure
Sometimes the fault lies entirely within the computer itself rather than the exterior wiring. Intense engine heat, severe physical vibration, or an internal short circuit could fry the delicate circuit boards inside the casing. A melted circuit board renders the TCM permanently unresponsive to the CAN network.
Unfortunately, an internal failure usually requires purchasing a completely new unit. You can only confirm this diagnosis after ruling out all external wiring and power issues. Assuming the computer is dead from the start often leads to expensive misdiagnoses.
Essential Tools for TCM Diagnostics
Gathering the correct testing equipment allows you to probe the electrical circuits safely. Guessing blindly will undoubtedly lead to unnecessary parts replacement. Proper tools provide the objective data you need.
OBD-II Scanner with Module Capability
You need an advanced diagnostic scanner to communicate directly with the CAN bus system. A basic, twenty-dollar code reader simply will not access the transmission data lines. It also cannot show you live network communication statuses between modules.
Digital Multimeter and Probes
A high-quality digital multimeter serves as your primary investigative tool. You will use it for checking resting voltage, ground resistance, and wire continuity. Consider using specialized back-probing pins to measure the circuits without puncturing the delicate weather seals on the wire connectors.
Step-by-Step Guide: How To Fix Code U0101
Following this primary diagnostic sequence might help you locate the exact source of the communication loss. Work carefully and methodically through each circuit. Skipping steps usually results in missing the actual problem.
Step 1: Check the Battery Voltage and Health
Start your investigation at the main power source. Connect your digital multimeter across the battery terminals while the engine remains turned off. You should see a reading of at least 12.4 volts to indicate a healthy resting charge.
Next, start the engine and verify that the alternator charges the system at roughly 14 volts. A weak battery will cause sensitive modules to shut down entirely, triggering the U0101 code. Replacing a dead battery might resolve the issue immediately.
Step 2: Inspect the TCM Wiring Harness for Corrosion
Locate the Transmission Control Module in your specific vehicle. Carefully unplug the main wiring harness connector by depressing the plastic locking tab. Shine a bright flashlight inside both the plug and the module’s receptacle.
Look closely for green oxidation, bent metal pins, or obvious signs of water intrusion. You can clean minor buildup using a dedicated electronic contact cleaner and a soft nylon brush. Allow the connector to dry completely before plugging it back in.
Step 3: Verify the TCM Ground Connections
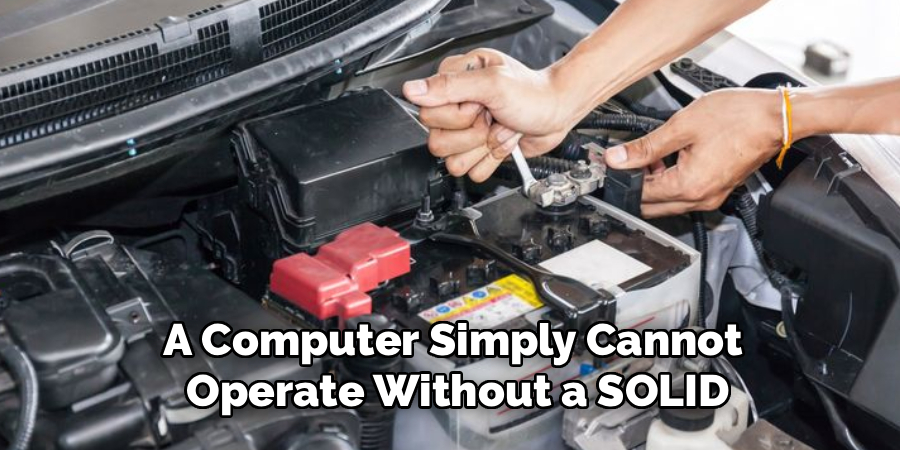
A computer simply cannot operate without a solid, unimpeded ground path to the chassis. Identify the specific ground pins on the TCM connector by consulting your vehicle’s factory wiring diagram. Set your multimeter to the ohms scale to measure electrical resistance.
Measure the resistance between the ground pin and the negative battery terminal. A reading above five ohms may suggest a loose or rusted ground wire. You must clean the metal mounting points and tighten the bolts to restore the connection.
Step 4: Test the TCM Power Supply
Turn the ignition key to the “ON” position without actually starting the engine. Use your multimeter to probe the power supply pins on the disconnected harness plug. Ensure the module receives a full 12 volts of power from the battery.
If the voltage reads zero or appears unusually low, you must trace the wire back to the main fuse box. Check the related circuits for a blown fuse or a malfunctioning power relay. A blown fuse usually indicates a short circuit somewhere along the wire’s path.
Step 5: Probe the CAN Bus Communication Lines
Testing the actual data network requires measuring the CAN High and CAN Low wires. These specific lines transmit the digital messages between the ECM and TCM. Measure the resistance across these two wires with the vehicle battery completely disconnected.
A healthy, intact network typically reads exactly 60 ohms. A reading of 120 ohms strongly indicates a broken wire between the modules. Conversely, a reading near zero ohms suggests the two wires have melted together and shorted out.
Step 6: Clear the Codes and Test Drive
Once you repair the broken wire, clean the chassis ground, or replace the blown fuse, reconnect the TCM safely. Use your advanced diagnostic scanner to clear the U0101 code from all vehicle modules. Ensure the dashboard warnings disappear completely before starting the car.
Take the vehicle for a fifteen-minute test drive under varying speeds. Pay close attention to how the transmission shifts through the gears. If the check engine light remains off and the shifts feel smooth, your electrical repair was successful.
How to Handle Severe Wiring Issues
Addressing physical damage to the harness properly prevents the communication code from returning later. Wrapping a broken wire in cheap electrical tape rarely holds up to engine bay heat. You must utilize professional repair methods.
Repairing Frayed Wires
If you discover a rubbed or chewed wire, cut out the damaged section entirely. Strip the ends and solder a new piece of matching gauge wire securely into place. This creates a permanent, highly conductive bond.
Seal the soldered connection tightly with adhesive-lined heat shrink tubing. The adhesive melts during heating to keep atmospheric moisture out of the repair. This specific technique prevents future corrosion from destroying your new connection.
Replacing Damaged Pins and Connectors
Severely rusted connector pins often require complete replacement. You can typically purchase a pre-wired pigtail connector directly from the dealership’s parts department. This replacement part contains a new plastic housing and pristine metal pins.
Splice the new connector into your factory harness one single wire at a time. This methodical approach ensures you match the complex pinout perfectly. Crossing the data wires during this process will instantly crash the entire CAN network.
When to Replace the Transmission Control Module
You should only make the decision to swap the module after ruling out all external wiring and power issues. Dealerships do not accept returns on installed electrical components. Replacing a good module wastes significant financial resources.
Confirming an Internal Short
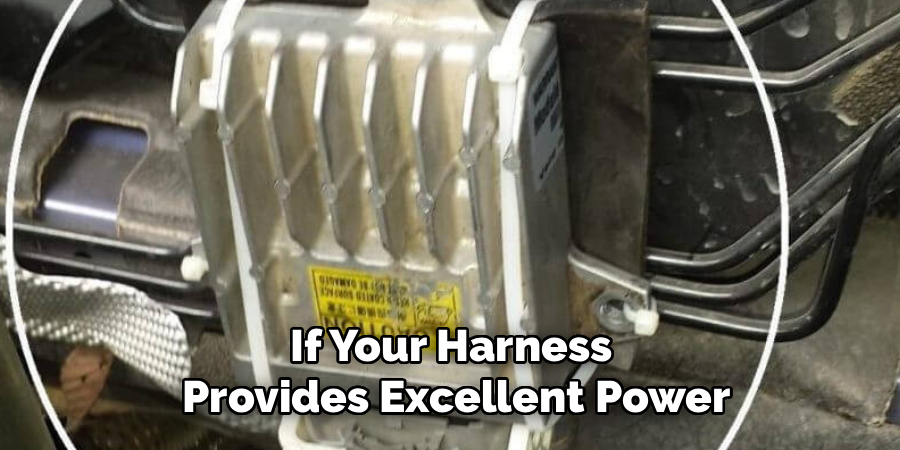
If your harness provides excellent power, strong grounds, and a healthy 60-ohm CAN bus signal, the TCM itself has likely failed internally. The exterior pathways are clear, but the brain refuses to respond. At this point, you will need to source a replacement unit.
Programming a New TCM
Keep in mind that you cannot simply plug a new or used TCM into the harness and drive away. The replacement module arrives completely blank. It does not know what type of transmission or engine it controls.
A dealership or an advanced automotive locksmith must program the new module to your vehicle’s specific VIN. This software flash allows it to communicate securely with the engine computer. Skipping this programming step leaves the vehicle permanently immobilized.
Cost Expectations for a U0101 Repair
Understanding the financial side of fixing network communication faults might ease your anxiety. The final bill varies wildly depending on what actually broke. Diagnostics make up the bulk of the expense.
DIY Diagnostic Savings
Finding a broken ground wire or replacing a blown ten-amp fuse at home costs almost nothing. Investing a few hours in testing the circuits yourself saves hundreds of dollars in professional diagnostic labor fees. Multimeters pay for themselves during these exact scenarios.
Professional Shop Estimates
If you ultimately need a completely new TCM, expect the repair bill to rise significantly. A replacement module, combined with installation labor and factory programming, can easily exceed $1,000. Prices fluctuate based on the vehicle’s make, model, and part availability.
Conclusion
A sudden loss of communication between your vehicle’s computers creates a highly intimidating set of drivability problems. However, approaching the repair methodically takes the terrifying guesswork out of the electrical equation. We highly recommend starting with the basics by verifying your battery health and checking the relevant system fuses.
Carefully inspect the wiring harness for signs of water damage, and test the power circuits to ensure the computer receives the electricity it needs. Only consider replacing the computer module after you have definitely proven the wiring is completely intact. Knowing exactly how to fix code u0101 empowers you to tackle complex electrical diagnostics with confidence, potentially saving you a massive repair bill while restoring a smooth shift to your transmission.

About
Ora Hayes is a distinguished figure in the world of DIY Thecarfixes, with over a decade of expertise in automotive diagnostics and high-performance maintenance. Her professional focus lies in merging mechanical precision with modern digital tools, fostering repair solutions that are both cost-effective and highly reliable. As the author of Thecarfixes, Ora Hayes delves into the art and science of automotive restoration, inspiring car owners and hobbyist mechanics alike.
Education
RMIT University (Melbourne, Australia) Associate Degree in Automotive Engineering — Focus on vehicle dynamics, industry-driven repair protocols, and advanced diagnostics. Gained hands-on experience with traditional mechanical tools and modern ECU remapping software.
Nottingham Trent University (United Kingdom) Bachelor’s in Mechanical Design and Automotive Engineering (Honors) — Specialized in automotive systems with a focus on blending technical engineering with everyday usability. Participated in industry projects, working with leading automotive manufacturers to gain real-world insights into vehicle longevity.
Publications and Impact
In Thecarfixes, Ora Hayes shares her insights on troubleshooting complex engine issues, material durability, and strategies for efficient garage setups. Her writing bridges the gap between professional mechanic knowledge and the home enthusiast’s needs, making it a must-read for both everyday drivers and seasoned gearheads.




