

The Anti-lock Braking System (ABS) is a critical safety feature in modern vehicles designed to prevent your wheels from locking up during heavy braking.
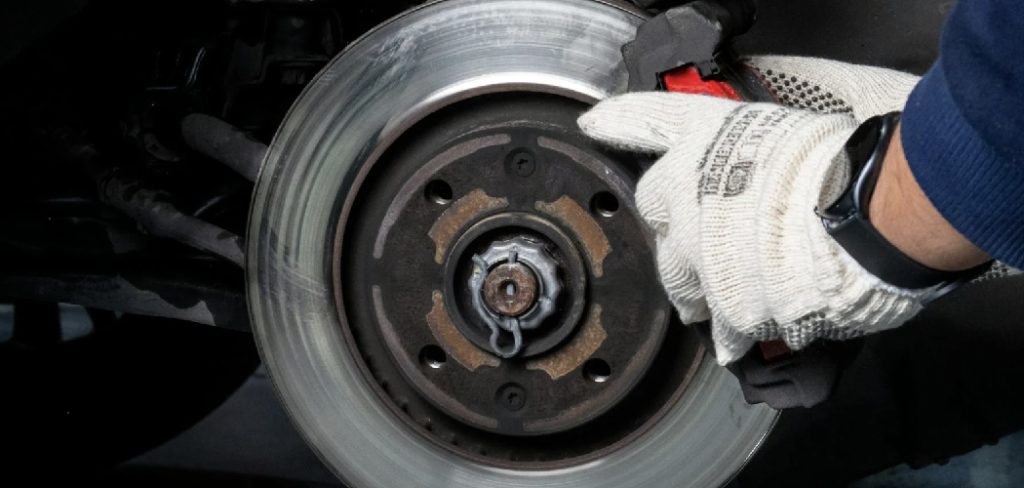
By pulsing the brake pressure automatically, the system allows you to maintain steering control during emergency stops or on slippery surfaces. When your ABS warning light illuminates on the dashboard, it indicates a malfunction that has disabled this safety feature. Common issues include failed wheel speed sensors, damaged wiring harnesses, corroded tone rings, or a malfunctioning ABS control module.
Let’s dive into how to fix anti lock brake system.
What are the Causes?
There are several common causes that can lead to a malfunctioning anti-lock brake system. One of the most common reasons is a failed wheel speed sensor. This sensor sends information about the speed of each wheel to the ABS control module, allowing it to adjust the braking pressure accordingly. When this sensor fails, it can result in inaccurate readings and cause the ABS to malfunction.
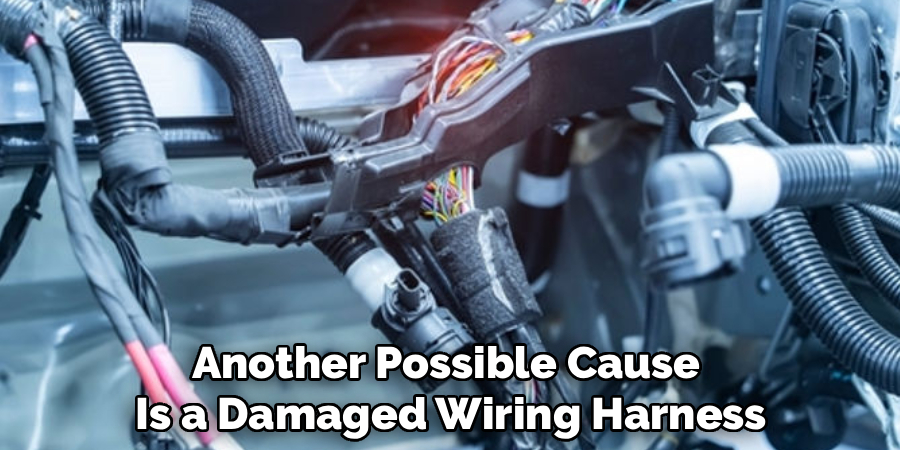
Another possible cause is a damaged wiring harness. The wiring harness connects all of the components of the ABS together, and if it becomes damaged or corroded, it can disrupt the communication between these components and result in an ABS failure.
What Will You Need?
Before you begin, gather the following tools and materials:
- OBD2 diagnostic scanner with ABS code reading capabilities
- Digital multimeter
- Hydraulic floor jack and heavy-duty jack stands
- Lug wrench or impact gun
- Basic socket and wrench set (metric and standard)
- Penetrating fluid (like WD-40 or PB Blaster)
- Wire brushes and sandpaper
- Brake parts cleaner
- Replacement ABS wheel speed sensor or wiring (based on your diagnosis)
- Dielectric grease
- Safety glasses and gloves
10 Easy Steps on How to Fix Anti Lock Brake System
Step 1: Diagnose the System with an OBD2 Scanner
The very first thing you must do is figure out why the system is failing. Do not start replacing parts blindly. Plug an OBD2 diagnostic scanner into your vehicle’s port, usually located under the driver’s side dashboard. Ensure your scanner has the specific capability to read ABS module codes, as basic engine code readers will not work for this. Turn the ignition to the “on” position without starting the engine and scan for faults.
The scanner will give you a specific code, such as “C0035,” which usually points directly to the exact wheel causing the issue, such as the left front wheel speed sensor. Write this code down so you know exactly which corner of the vehicle to focus your attention on.
Step 2: Safely Lift and Secure the Vehicle
Once you know which wheel is causing the problem, park your vehicle on a flat, level concrete surface. Engage the parking brake and place wheel chocks behind the tires that will remain on the ground. Use a lug wrench to slightly loosen the lug nuts on the affected wheel before lifting the car.
Position your hydraulic floor jack under the vehicle’s factory-approved lifting point and raise the car until the tire is completely off the ground. Immediately slide a heavy-duty jack stand under the frame or pinch weld to secure the vehicle. Never rely solely on a hydraulic jack to hold the car while you work. Finish removing the lug nuts and pull the wheel off to expose the brake assembly.

Step 3: Locate the ABS Wheel Speed Sensor
With the wheel removed, look behind the brake rotor to locate the ABS wheel speed sensor. On most vehicles, this sensor is bolted directly into the steering knuckle or the wheel hub assembly. It looks like a small black plastic cylinder with a wire harness extending out of it. It points inward toward a toothed gear known as the tone ring, which spins along with the wheel axle.
Take a moment to familiarize yourself with how the sensor sits and how its wiring route travels up the suspension components and into the wheel well. Taking a quick photo with your phone can help you remember the exact routing for reassembly.
Step 4: Inspect the Wiring and Harness for Damage
Before assuming the sensor itself is dead, thoroughly inspect the wiring attached to it. Follow the wire from the sensor all the way up into the inner fender where it connects to the main vehicle harness. Look for any obvious signs of physical damage. The constant up-and-down motion of the suspension can cause the wire to chafe against metal parts.
Look for cuts in the insulation, exposed copper wire, melting, or sections that have been chewed by rodents. Unplug the connector at the main harness and check the interior pins. If you see green or white powdery corrosion inside the plug, clean it out, as a poor electrical connection can trigger an ABS fault even if the sensor is perfectly fine.
Step 5: Remove the Faulty ABS Sensor
If the wiring looks good, you will need to remove the sensor. These sensors live in a harsh environment of heat, road salt, and water, so they are often seized in place. Spray a generous amount of penetrating fluid directly onto the sensor’s mounting bolt and the base where it enters the hub. Let it soak for at least ten to fifteen minutes.
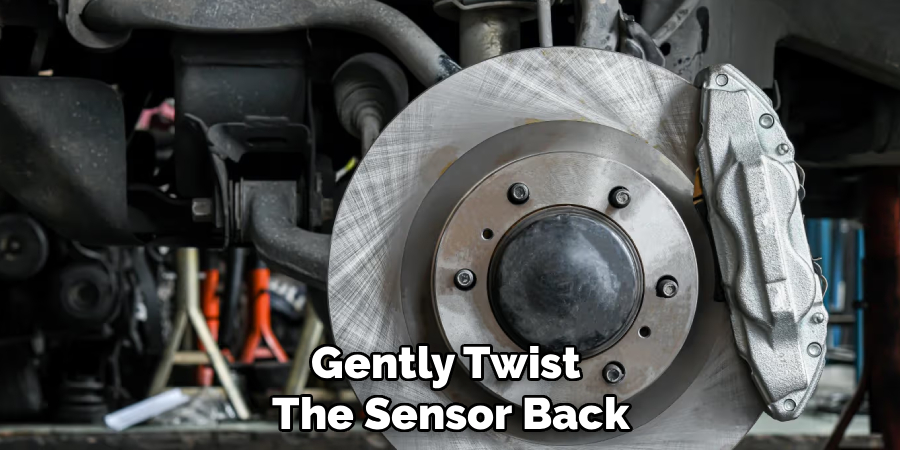
Use the appropriate socket—usually a 10mm or Allen key—to carefully remove the retaining bolt. Gently twist the sensor back and forth while pulling outward to work it free. Do not pry aggressively with a screwdriver, as snapping the plastic sensor off inside the metal hub will turn a simple job into a nightmare.
Step 6: Clean the Mounting Surface and Tone Ring
Once the old sensor is out, you must prepare the area for the new part. Rust and debris build up under the sensor’s mounting tab over time. This rust pushes the sensor away from the tone ring, increasing the air gap and causing a weak signal that triggers the dashboard light.
Use a small wire brush or sandpaper to clean the flat mounting surface on the knuckle until it is bare metal. Next, shine a flashlight into the hole to inspect the tone ring. If the teeth are packed with metallic dust, grease, or severe rust, the new sensor will not read correctly. Spray brake cleaner into the hole and use a small brush to clean the teeth of the tone ring as you slowly rotate the wheel hub.
Step 7: Test the Sensor and Circuit
Before installing the new part, you can verify your diagnosis using a digital multimeter. Set your multimeter to read ohms (resistance). Touch the two probes to the two pins inside the old sensor’s connector. A healthy passive wheel speed sensor typically reads between 800 and 2000 ohms, depending on the vehicle.
If the meter reads infinite resistance (an open circuit) or zero (a short), the sensor is definitely broken. You can also test the new sensor to ensure it is good before putting it on the car. This quick verification step gives you the confidence that your replacement part will actually solve the issue you are chasing.
Step 8: Install the New ABS Sensor
Take your new wheel speed sensor and apply a very light coat of anti-seize compound to the plastic barrel that slides into the hub. This will make it much easier to remove in the future if it ever fails again. Push the sensor into the hole until it sits completely flush against the clean mounting surface.
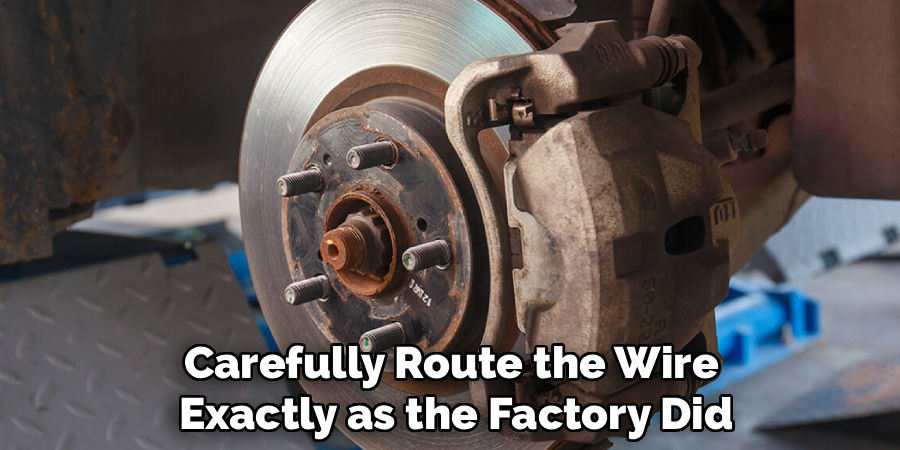
Thread the retaining bolt in by hand to avoid cross-threading, and tighten it down snugly. Do not overtighten, as you could crack the plastic housing. Apply a small dab of dielectric grease to the electrical connector to seal out moisture, then plug it into the main harness. Carefully route the wire exactly as the factory did, securing it into all the original clips so it does not rub against the moving tire or suspension parts.
Step 9: Reinstall the Wheel and Lower the Vehicle
With the new sensor securely installed and plugged in, you can begin wrapping up the physical repair. Lift the wheel and tire assembly back onto the hub. Thread all the lug nuts on by hand as far as they will go to ensure the wheel is seated evenly against the brake rotor. Grab your jack and lift the vehicle just enough to relieve the pressure on your jack stand.
Carefully remove the jack stand and slowly lower the vehicle back down until the tire is resting firmly on the ground. Use a torque wrench to tighten the lug nuts to your vehicle manufacturer’s specific torque rating, working in a star pattern to ensure even pressure across the wheel.
Step 10: Clear the Fault Codes and Test Drive
The mechanical work is done, but the computer still remembers the old error. Plug your OBD2 scanner back into the port under the dashboard. Navigate to the ABS module menu and select the option to clear or erase the fault codes. The dashboard ABS warning light should turn off immediately.
Start the engine and take the vehicle for a careful test drive in a safe, low-traffic area. Drive at various speeds, as some systems require you to reach at least fifteen miles per hour to run a full self-diagnostic check. If the warning light stays off and the brakes feel normal, you have successfully fixed your anti-lock braking system.
Conclusion
How to fix anti lock brake system is an essential part of responsible vehicle ownership. While dealing with dashboard warning lights can be intimidating, a systematic approach makes it highly manageable for the home mechanic.
Always prioritize safety by properly supporting your vehicle on heavy-duty jack stands and wearing protective gear. Remember that while swapping a wheel speed sensor is a straightforward mechanical task, you should never attempt to open or modify the hydraulic side of the braking system unless you have advanced experience and the proper bleeding tools.
Take your time, trust your diagnostic scanner, and enjoy the peace of mind that comes with knowing your vehicle can stop safely in an emergency.

About
Ora Hayes is a distinguished figure in the world of DIY Thecarfixes, with over a decade of expertise in automotive diagnostics and high-performance maintenance. Her professional focus lies in merging mechanical precision with modern digital tools, fostering repair solutions that are both cost-effective and highly reliable. As the author of Thecarfixes, Ora Hayes delves into the art and science of automotive restoration, inspiring car owners and hobbyist mechanics alike.
Education
RMIT University (Melbourne, Australia) Associate Degree in Automotive Engineering — Focus on vehicle dynamics, industry-driven repair protocols, and advanced diagnostics. Gained hands-on experience with traditional mechanical tools and modern ECU remapping software.
Nottingham Trent University (United Kingdom) Bachelor’s in Mechanical Design and Automotive Engineering (Honors) — Specialized in automotive systems with a focus on blending technical engineering with everyday usability. Participated in industry projects, working with leading automotive manufacturers to gain real-world insights into vehicle longevity.
Publications and Impact
In Thecarfixes, Ora Hayes shares her insights on troubleshooting complex engine issues, material durability, and strategies for efficient garage setups. Her writing bridges the gap between professional mechanic knowledge and the home enthusiast’s needs, making it a must-read for both everyday drivers and seasoned gearheads.




