

Driving in a compromised posture presents an immediate hazard. A vehicle’s chair must lock securely into its designated tracks to protect the occupant during sudden deceleration. When the mechanism seizes, the resulting discomfort may suggest a severe mechanical failure, though this assumption is frequently incorrect.
We must understand how to fix a stuck manual car seat to regain total control over the driving experience. Modern automotive interiors often mask simple mechanical bindings behind layers of molded plastic and carpet. This repair is highly manageable. It typically requires only a methodical approach rather than an expensive visit to a dealership.
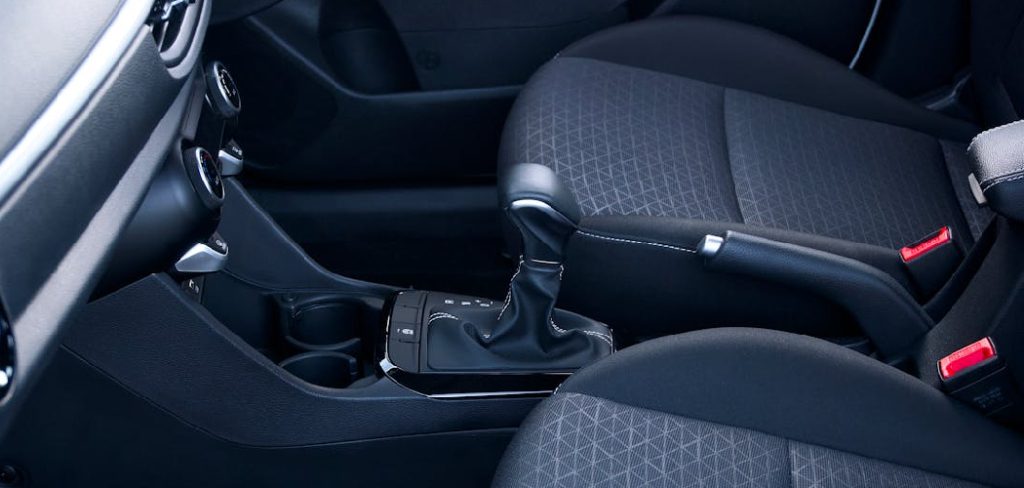
Jammed mechanisms usually result from mundane, everyday neglect rather than catastrophic hardware collapse. Dirt buildup or dry metal components tend to be the primary offenders. We can restore smooth movement using basic household tools and a fraction of patience.
Common Reasons Your Car Seat Won’t Move
Standard seating tracks operate on a surprisingly primitive physical system. The architecture relies on a release bar, tension springs, and metal rails sliding past one another. These exposed components sit precariously close to the floorboards.
This proximity makes them highly susceptible to environmental factors and everyday human carelessness. A track system rarely fails without an external catalyst. We must examine the immediate environment before assuming the hardware itself has broken.
Friction and foreign debris are the natural enemies of this sliding mechanism. The factory tolerances are quite tight. Even microscopic interference can halt the entire system entirely.
Objects Lodged in the Track
Foreign objects represent the most frequent culprit behind a jammed rail. Loose change, stray French fries, and dropped pens naturally gravitate toward the lowest point in the cabin. These items often roll under the chair and wedge themselves tightly between the sliding metal parts.
Even a diminutive object can completely seize the track mechanism. A single coin might prevent the release latch from engaging its designated notch. Forcing the chair against a hard blockage often bends the internal pins.

Applying brute force to a blocked rail could cause permanent damage to the alignment. The metal tracks are somewhat malleable. Once warped, they rarely return to their original factory shape without specialized machining.
Rusted or Dry Glides
Friction exacts a heavy toll on moving metal parts over time. The factory grease applied to the rails eventually dries out and collects atmospheric dust. This combination forms a sticky, abrasive paste that actively hinders movement.
Seasonal moisture brought into the vehicle via wet shoes may lead to surface rust along the inner track walls. Water pools in these metallic valleys quite easily. When the lubrication fails, the metal simply grinds against itself.
This localized friction makes it nearly impossible for the user to slide the chair safely. The physical resistance you feel is literal metal scraping away at its neighboring component. Ignoring this symptom often accelerates the degradation of the entire sliding assembly.

Tools Required to Free a Jammed Seat
Diagnosing the mechanism requires a specific set of implements. You likely possess most of these items in your garage already. Setting up your workspace properly prevents unnecessary delays once you begin the physical extraction.
We approach this task with surgical intent. Heavy hammers or pry bars have no place in delicate automotive interiors. We will rely instead on precision and targeted chemical application.
Illumination and Cleaning Supplies
A bright LED flashlight or a strapped headlamp is absolutely non-negotiable. The cavity beneath a vehicle chair is notoriously dark and difficult to navigate. You must see deep into the metallic channels to identify hidden obstructions.
Gather a stiff-bristled nylon brush, a pair of tweezers, and standard needle-nose pliers. A shop vacuum equipped with a narrow crevice tool attachment will also prove invaluable. These implements help extract stubborn debris trapped in tight corners.
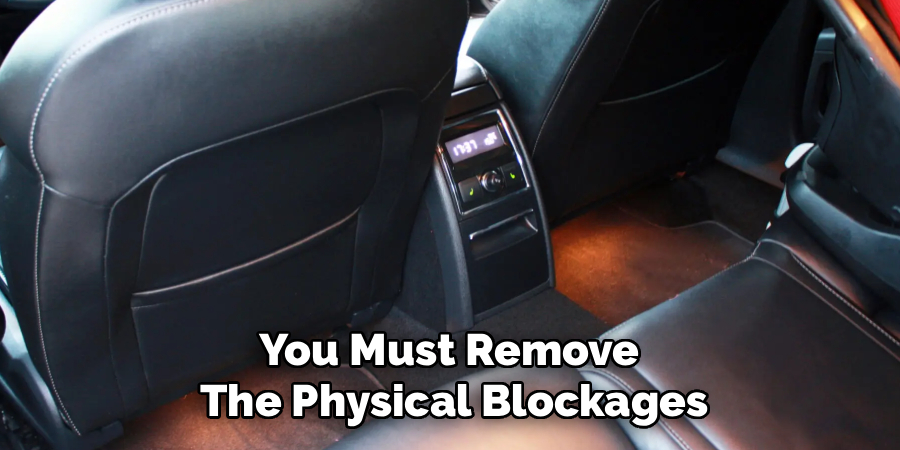
You must remove the physical blockages before applying any chemical solutions. Spraying lubricant over a pile of sand merely creates a highly permanent mud. The area must be pristine before we attempt to reintroduce synthetic slip.
Proper Automotive Lubricants
Selecting the correct chemical spray requires a bit of automotive literacy. Heavy greases or standard WD-40 tend to attract more dirt, ultimately causing future sticking. These household lubricants evaporate quickly and leave a tacky residue behind.
You should purchase a dry Teflon spray, a silicone lubricant, or a white lithium grease. Manufacturers design these specific chemicals for automotive hinges and exposed tracks. They create a highly slick surface without holding onto passing dust particles.
Applying the correct fluid ensures the repair lasts for years rather than weeks. The chemistry of your chosen lubricant dictates the long-term success of the entire operation.
Step-by-Step Guide: How to Fix a Stuck Manual Car Seat
We now transition into the active troubleshooting phase. Following this sequence carefully allows you to resolve the issue without removing the entire chair from the cabin. Removing the mounting bolts is a tedious chore we prefer to avoid.
Knowing exactly how to fix a stuck manual car seat requires an understanding of leverage and patience. Rushing this sequence frequently results in broken plastic trim pieces. We will work methodically from the floorboards upward.
Step 1: Clear the Area and Inspect the Tracks
Park your vehicle on a completely flat surface. Open both doors widely to maximize the natural light entering the cabin. Kneel beside the car and shine your flashlight directly into the front openings of the metal floor rails.
Run a small flathead screwdriver slowly along the inner channel. You are feeling for hidden obstructions like coins or hardened rocks that your eyes might miss. The tactile feedback from the screwdriver often reveals blockages coated in dark grease.
Use your needle-nose pliers to extract any solid objects you encounter. Follow this extraction with a thorough vacuuming of the entire track system. Removing the loose dirt ensures our subsequent lubrication steps actually reach the bare metal.
Step 2: Fix the Release Mechanism and Springs
Focus your attention on the primary handle located at the front of the chair. Pulling this bar lifts a locking pin out of the rail notches, theoretically allowing movement. Look underneath the cushion while lifting the handle to observe the mechanics in real time.
You must ensure the metal cable connects properly to both sides of the track assembly. Occasionally, the tension spring pops off its mounting hook due to violent movements or age. A disconnected spring renders the handle completely useless.

If you locate a dangling spring, use your pliers to stretch it back into its designated hole. This action restores the mechanical tension needed to lift the locking mechanism effectively. The handle should feel tight and responsive once the spring is reseated.
Step 3: Lubricate the Rails and Test Movement
The final phase involves targeted chemical application. Shake your chosen can of white lithium grease or silicone spray vigorously. Spray a focused, brief burst directly inside the track channels.
You must avoid coating the surrounding carpet or upholstery, as these chemicals stain fabric permanently. Sit in the chair and pull the release handle firmly upward. Use your leg leverage to push your body backward and forward in small, repetitive rocking motions.
This rocking action distributes the new lubricant evenly across the hidden metal surfaces. Continue shifting your weight until the chair slides freely along the entire length of the track. The movement should feel fluid and completely silent.
Common Issues and Maintenance Tips
Identifying Problem Areas
Over time, recliner chairs can develop minor issues like squeaking, stiffness, or uneven movement. To identify problem areas, inspect the chair thoroughly for loose screws, misaligned tracks, or worn-out components. Listening carefully while operating the recliner can help pinpoint the source of any unusual sounds or resistance.
Preventative Care and Cleaning
To keep your recliner in optimal condition, clean it regularly with appropriate products for its material. For leather recliners, use a gentle leather cleaner and conditioner to prevent cracking and dryness. For fabric chairs, vacuum the upholstery frequently to remove dust and debris. Additionally, apply lubricant to the moving parts every few months to prevent wear and ensure smooth operation.
Frequently Asked Questions
How Often Should I Lubricate My Recliner’s Moving Parts?
It is recommended to apply lubricant to the moving parts of your recliner every few months. This helps prevent wear and ensures smooth operation over time.
What Is the Best Way to Clean a Leather Recliner?
To clean a leather recliner, use a gentle leather cleaner and conditioner. This will help maintain the material’s softness and prevent cracking or dryness.
Can I Wash Fabric Recliner Upholstery?
While some fabric recliners have removable, machine-washable covers, it is usually better to vacuum the upholstery regularly to remove dust and debris. For stubborn stains, use a fabric-safe cleaner following the manufacturer’s guidelines.
How Can I Prevent Squeaking Noises in My Recliner?
Regular maintenance, such as cleaning and lubricating the moving parts, can prevent squeaking noises. Additionally, periodically inspect the recliner for loose screws or bolts and tighten them as needed.
What Should I Do If My Recliner Stops Reclining?
If your recliner stops reclining, check for any visible obstructions or mechanical issues. Consult the user manual, and if the problem persists, contact the manufacturer or a professional for repairs.
Conclusion
Routine maintenance dictates the lifespan of your vehicle’s interior components. Understanding how to fix a stuck manual car seat ensures you maintain a safe, ergonomically correct driving posture at all times. This knowledge entirely eliminates the need for expensive, frustrating automotive repair bills.
Keeping the floorboards reasonably clean prevents the vast majority of these mechanical jams. A quick vacuuming every few months serves as the best possible preventative measure. Grab your flashlight, inspect those hidden floor rails closely, and confidently reclaim full physical control over your daily driving position.

About
Ora Hayes is a distinguished figure in the world of DIY Thecarfixes, with over a decade of expertise in automotive diagnostics and high-performance maintenance. Her professional focus lies in merging mechanical precision with modern digital tools, fostering repair solutions that are both cost-effective and highly reliable. As the author of Thecarfixes, Ora Hayes delves into the art and science of automotive restoration, inspiring car owners and hobbyist mechanics alike.
Education
RMIT University (Melbourne, Australia) Associate Degree in Automotive Engineering — Focus on vehicle dynamics, industry-driven repair protocols, and advanced diagnostics. Gained hands-on experience with traditional mechanical tools and modern ECU remapping software.
Nottingham Trent University (United Kingdom) Bachelor’s in Mechanical Design and Automotive Engineering (Honors) — Specialized in automotive systems with a focus on blending technical engineering with everyday usability. Participated in industry projects, working with leading automotive manufacturers to gain real-world insights into vehicle longevity.
Publications and Impact
In Thecarfixes, Ora Hayes shares her insights on troubleshooting complex engine issues, material durability, and strategies for efficient garage setups. Her writing bridges the gap between professional mechanic knowledge and the home enthusiast’s needs, making it a must-read for both everyday drivers and seasoned gearheads.




