

Stumbling upon a dent in your car’s fender is, let’s be honest, an almost universal annoyance. These little accidents seem inevitable: a rogue shopping cart, a neighbor’s overzealous parking, or some mysterious culprit in the night. The instinct, of course, is to brace yourself for jaw-dropping quotes from the body shop. Yet, contrary to what some folks may believe, you aren’t always beholden to professionals for every ding and dip.
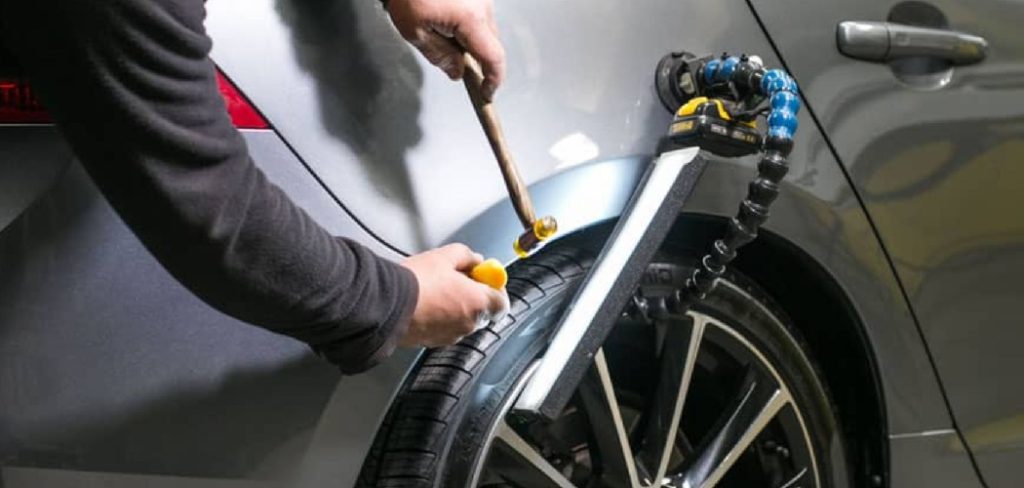
Plenty of minor fender dents can be managed in the same place you keep the holiday decorations—your garage—provided you arm yourself with patience and a few basic tools, maybe even a sense of humor. It’s not only about sidestepping those hefty invoices. There’s also a modest feeling of triumph that comes from smoothing out your own automotive blemishes. The whole process, routine as it may seem on the surface, can do wonders for preserving your car’s value and your self-sufficiency. In this guide on how to fix a dent in a fender
Tools and Materials You’ll Need
To successfully fix a dent in your car’s fender, you will need the following tools and materials:
- A plunger (for small dents)
- A rubber mallet or hammer
- An aluminum foil or hair dryer (for larger dents)
- A suction cup dent puller
- Sandpaper
- Body filler
- Primer and paint that matches your car’s color
- Clear coat for finishing touch
- Cleaning supplies such as soap and water, degreaser, and wax remover
- Safety gear, including gloves, goggles, and a face mask
7 Simple Step-by-step Guidelines on How to Fix a Dent in a Fender
Step 1: Assess the Damage Carefully Before Starting
Don’t just start poking at the dent. Give it a slow, thorough once-over. Not every fender ding is meant for the at-home enthusiast. If the paint has started cracking or the metal is sharply creased—think origami, not a gentle hill—a DIY fix may only lead to more trouble. Run your fingers over the spot; the shape, depth, and texture will often tell you more than your eyes. Some dents are simple; others are best left to someone with more specialized tools.

It’s worth asking what sort of material you’re dealing with. Plenty of newer cars use plastics or composite panels, and these tend to respond pretty well to heat. They almost seem to want to return to their original form, as strange as that sounds. Aluminum and steel fenders, on the other hand, usually require a bit more physical persuasion. Tailoring your approach to the material will save you both time and frustration.
Step 2: Clean the Area Thoroughly
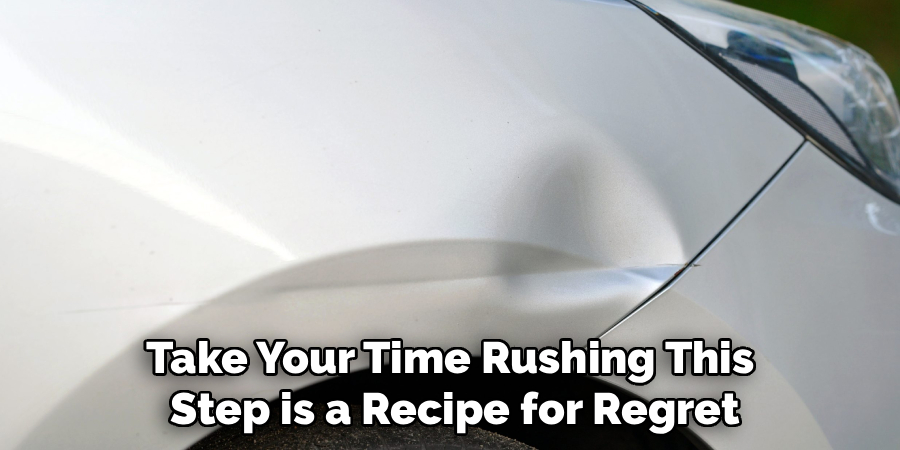
Assuming you’re committed to going ahead, start by tidying up. Any grit, dust, or oily residue left clinging to the paint can foul up your tools and, just as importantly, scratch the finish during repair. Grab your bucket of warm, soapy water and a soft sponge, clearing away every trace of road grime. Take your time—rushing this step is a recipe for regret.
Once the fender is sparkling, dry it as well as possible. Even tiny beads of water can sabotage the suction on your plunger or puller. A dry, clean surface isn’t negotiable if you want your tools to work and your paint to emerge unscathed.
Step 3: Heat the Metal or Plastic
Now we’re getting to the heart of it. The point of heating the area isn’t to scorch the paint—it’s to coax the panel into becoming more malleable, just for a little while. Hold your hairdryer or heat gun several inches away and keep it moving in steady circles. There’s no need to test the limits of your clear coat; burning the paint is about the quickest way to make things worse.
Usually, three to five minutes will do it, but test the surface with the back of your hand. Caution is warranted—heat guns, especially,y can tip over into destructive territory fast. The goal here is gentle expansion, not a science experiment in melting plastic.
Step 4: Push the Dent Out from Behind
Sometimes, you get lucky. If there’s access to the back side of the fender—usually a matter of loosening the wheel well liner or cranking the steering to full lock—a gentle push from behind can work wonders. Glove up and press at the center of the dent. There’s a subtle art to this: consistent, steady pressure works much better than sudden, brute force. Occasionally, you may hear a satisfying pop—I’d argue it’s one of the top ten most rewarding sounds in a home garage.
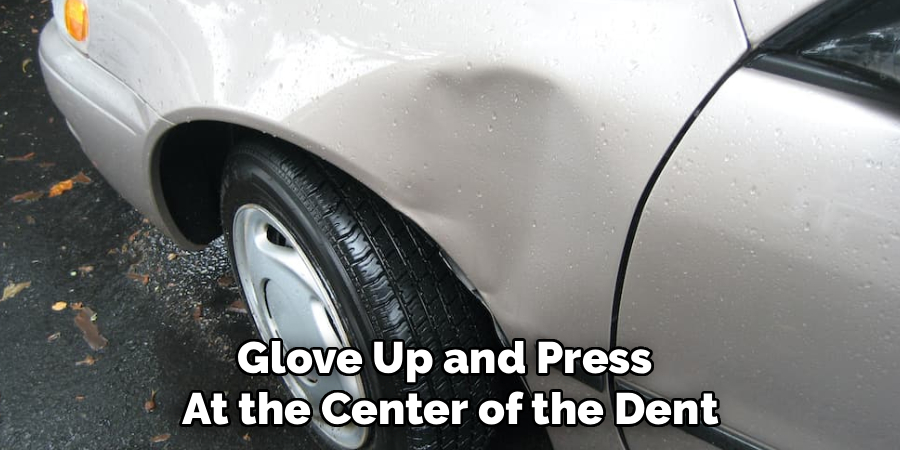
Not every dent will spring back on the first try, though. Use patience; overdoing it may leave you with a protruding lump instead of a smooth surface.
Step 5: Use a Plunger for Extra Pull
If you can’t get behind the panel (and often, you can’t), then you’ll probably be reaching for a plunger. Plumbing implements in auto repair? Stranger things have happened. Be sure it’s clean and slightly dampen the rim to help the suction. Center your aim, press firmly, then pull in slow, steady motions. There’s a temptation to jerk back hard, but that often makes matters worse, not better.
This process may feel repetitive—seal, pull, reposition. That’s part of the deal. Some panels simply refuse to cooperate immediately, but patience here will almost always get you further than brute strength.
Step 6: Cool the Area Quickly
Assuming the dent has mostly returned to shape, you’ll want to help it stay that way. This, somewhat surprisingly, is where your can of compressed air comes in. Flip it upside down and spray the cold liquid directly on the freshly-repaired area. The sudden chill—liquid carbon dioxide, in most cans—forces the material to contract, locking it in place.
Wipe away any frost or residue, then inspect your work. The surface should feel as solid and cold as the rest of the body panel. Even so, a close look never hurt—stray imperfections might mean another round is needed.
Step 7: Polish and Wax the Fender
Once you’re satisfied, it’s time for some finishing work. Even the gentlest repairs often leave behind tiny marks—scuffs, haze, or just dullness. Apply a bit of automotive polishing compound with a fresh towel and use small, circular motions. This step takes time, but the shine eventually returns.
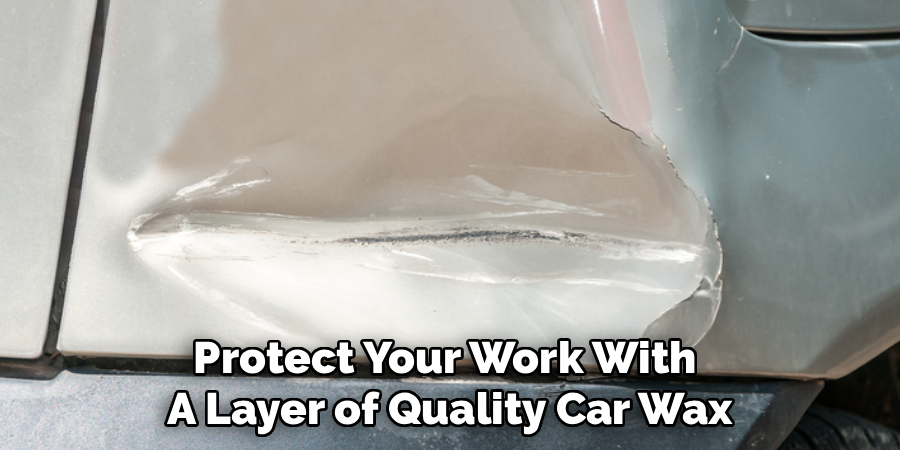
Finally, protect your work with a layer of quality car wax. It’s less about the momentary gleam and more a barrier against sun, rain, and whatever else the road throws at your fender next. Step back for a moment and take it in; not everyone can say they erased a bit of bad luck with their own hands.
Following these steps on how to fix a dent in a fender will not only save you money but also give you a sense of accomplishment. Plus, it’s always good to have some DIY skills in your back pocket for future mishaps.
Additional Tips for Car Maintenance
Taking care of minor damages like dents and scratches is just one aspect of proper car maintenance. Here are some additional tips to keep your car looking and running its best:
- Regularly wash and wax your car to protect the paint from damage caused by dirt, debris, and UV rays.
- Pay attention to any strange noises or warning lights on your dashboard – these could be indicators of larger issues that need immediate attention.
- Keep up with routine maintenance tasks such as oil changes, tire rotations, and brake inspections to prevent costly repairs down the road.
- Check and replace your air filter regularly to improve fuel efficiency and engine performance.
- Inspect your tires for proper inflation and wear – this can greatly impact your car’s handling, fuel economy, and safety.
- Don’t neglect the interior of your car – vacuum regularly, clean any spills or stains promptly, and use sunshades to protect your dashboard from sun damage.
Common Mistakes to Avoid
Misjudging the role of heat is probably the most common pitfall. Too much, too quickly, and you’re looking at ruined paint or, worse, warped plastic. Another trap: sharp tools as a shortcut. Outward bumps or pinpoints are nearly always worse than the original dent.
There’s also a tendency to rush the suction process—pulling too hard risks stretching the metal instead of resetting it, which sometimes can only be fixed by a professional with a hammer and dolly.
Do You Need To Use Professionals?
There’s a certain satisfaction in handling repairs alone. That said, some damage is truly out of home-repair territory. If the dent cuts through a body line, the paint is heavily compromised, or the damage is especially pronounced, it’s probably wise to step back and consult a specialist.
Paintless dent repair (PDR) technicians use a range of tools not found in most garages and can often erase far more complex damage, sometimes without even disturbing the original paint. Those leasing their vehicles or looking to protect resale on a high-end model may find the professional route is the only one that makes sense.
How Much Will It Cost?
This is where DIY shines. Most minor repairs can be handled for the price of a pizza—thirty dollars, give or take, for a plunger, can of air, and some wax. Take it to a shop, though, and the story changes.
Paintless dent repair for less serious damage usually falls between one and three hundred dollars. If your repair requires new paint or filler, the price can quickly balloon—five hundred, even a thousand dollars for larger jobs isn’t unheard of.
Frequently Asked Questions
Q1: Will Boiling Water Fix A Dent In A Plastic Fender?
A1: Oddly enough, yes. Hot water is frequently suggested for plastic panels thanks to how it softens the material just enough to allow it to move. The window for action is brief—you have to work while the surface is still hot and pliable. Once cooled, the plastic tends to stay put.
Q2: Can I Use Dry Ice Instead Of Compressed Air?
A2: You can. Dry ice delivers the same rapid cooling punch, though with a bigger caveat: it’s far colder and can cause nasty burns in seconds, so gloves are necessary. Gently rubbing it on the previously heated panel is usually enough to encourage the dent to retreat.
Q3: Does The Plunger Trick Work On All Cars?
A3: Not on everything. It’s usually effective on broad, flatter areas—think classic steel doors and smooth hoods—where you can get a good seal. Modern fenders with sharper curves or unusually stiff plastics are another story. There, a specialized suction cup puller (they’re often quite affordable) will give you better leverage.
Wrapping Up Your Auto Repair Project
Doing your own repairs doesn’t just save money—it deepens your connection with your car and your willingness to tinker. By thoughtfully sizing up the damage, applying heat judiciously, and maintaining a steady hand, you can manage the small slip-ups of everyday driving.
If today’s the day you’re inspired to address that minor scar on your fender, gather your supplies and give it a shot. Some fixes are easier than they look, and regardless of the outcome, you’ll learn something new along the way. For more tips or detailed guides—whether you’re a casual dabbler or self-declared gearhead—consider checking back here and spreading the word to those just beginning to explore the mysteries under the hood. Thanks for reading this guide on how to fix a dent in a fender.

About
Ora Hayes is a distinguished figure in the world of DIY Thecarfixes, with over a decade of expertise in automotive diagnostics and high-performance maintenance. Her professional focus lies in merging mechanical precision with modern digital tools, fostering repair solutions that are both cost-effective and highly reliable. As the author of Thecarfixes, Ora Hayes delves into the art and science of automotive restoration, inspiring car owners and hobbyist mechanics alike.
Education
RMIT University (Melbourne, Australia) Associate Degree in Automotive Engineering — Focus on vehicle dynamics, industry-driven repair protocols, and advanced diagnostics. Gained hands-on experience with traditional mechanical tools and modern ECU remapping software.
Nottingham Trent University (United Kingdom) Bachelor’s in Mechanical Design and Automotive Engineering (Honors) — Specialized in automotive systems with a focus on blending technical engineering with everyday usability. Participated in industry projects, working with leading automotive manufacturers to gain real-world insights into vehicle longevity.
Publications and Impact
In Thecarfixes, Ora Hayes shares her insights on troubleshooting complex engine issues, material durability, and strategies for efficient garage setups. Her writing bridges the gap between professional mechanic knowledge and the home enthusiast’s needs, making it a must-read for both everyday drivers and seasoned gearheads.




