

No one really expects their day to start with a new dent glaring up from the car hood. Maybe a baseball sailed where it shouldn’t have, or hail pelted down overnight, or—let’s be truthful—someone tried a parking maneuver they probably shouldn’t have attempted. Whatever the culprit, the blemish feels personal. Yet, running straight to an auto body shop isn’t always necessary, especially if the damage is modest.
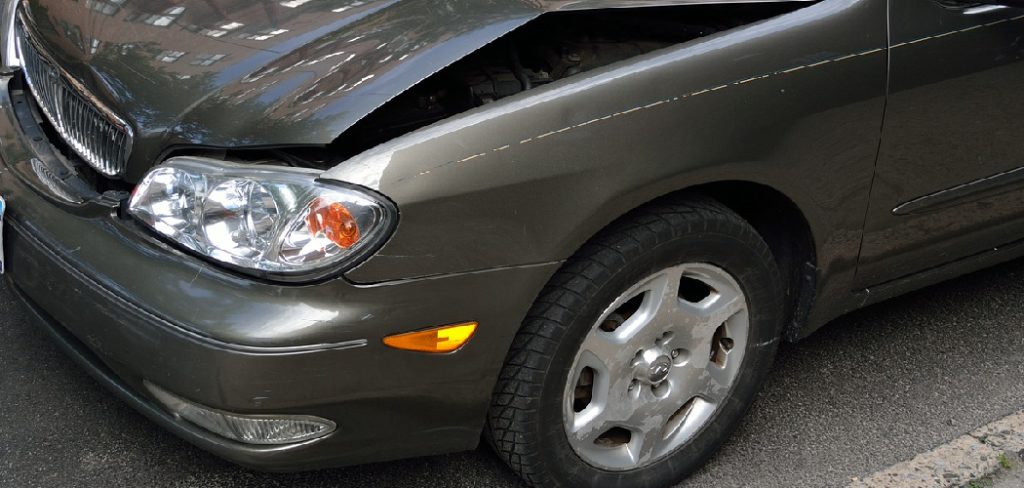
It’s surprising how many shallow hood dents can be tackled right at home, so long as you’re patient and have a halfway steady hand. If you’re interested in sidestepping hefty repair bills, stick around—this isn’t rocket science, but it does reward a careful, methodical approach. Here’s a plainspoken breakdown for those determined to smooth things out themselves. In this guide on how to fix a car hood dent, we’ll cover the tools you need, how to prepare your car so that it doesn’t sustain further damage and the steps you should follow to fix a dent successfully.
Tools and Materials You’ll Need
Think of this as assembling your toolkit for a kitchen project—there’s always something you wish you’d grabbed at the start. Before anything else, round up the essentials:
- Any decent hairdryer (or, if you’re fancy, a heat gun)
- A can of compressed air, or, if you like old-school tricks, some dry ice
- A suction-cup dent puller made for cars
- Microfiber cloths—truly clean ones
- Some rubbing alcohol (isopropyl, not the cheap stuff)
- (Optional) A glue gun and one of those dent bridge kits for especially stubborn or awkward dents
- Car wax and, if you’re feeling thorough, a bit of polish
Missing a key tool halfway will only tempt you to improvise, which rarely ends well.
7 Practical Steps on How to Fix a Car Hood Dent
Step 1: Clean the Damaged Area
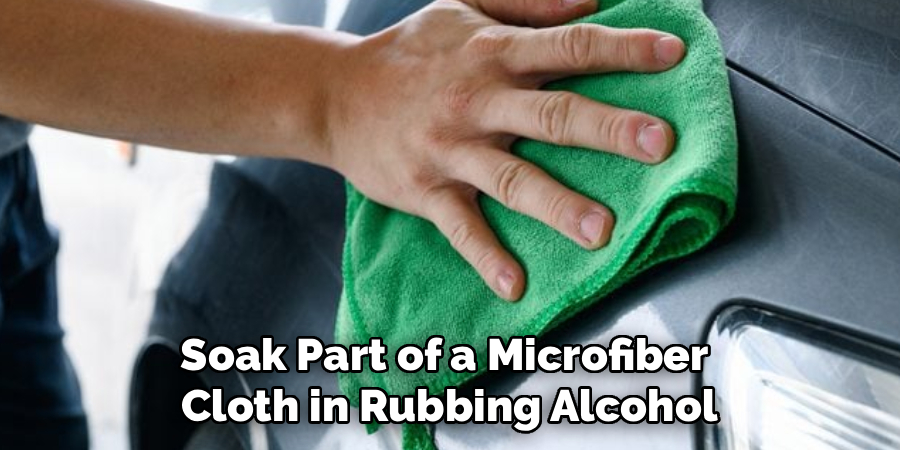
This might sound obvious, but you’d be amazed at how many people try to pull dents from dust and grime. The result? Tools slip, glue doesn’t stick, and annoyance multiplies. Begin with a bucket of warm water mixed with mild car soap, and scrub the dent (plus a generous area around it). Dry it well. Next, soak part of a microfiber cloth in rubbing alcohol and give the same spot another careful wipe. The goal is to lift away any wax or greasy residue left lurking. Let the surface air-dry before touching it again.
Step 2: Assess the Size and Depth
Now that you can actually see what you’re working with, pause for a thoughtful inspection. Not every dent yields to DIY efforts. Run your fingertips around the perimeter and across the center. Sharp creases, cracked paint, or flakes? Those usually need a professional’s touch. A dent that’s simply a shallow dish, spans a couple of inches, and shows no tortured metal? That’s well within a persistent home mechanic’s reach. Set realistic expectations; forcing the wrong fix can worsen the problem.
Step 3: Apply Heat to the Dent
Car sheet metal, for all its toughness, can be coaxed into compliance with the right encouragement. Enter heat. Take your dryer or heat gun, switch it to medium (high won’t do your paint any favors), and move it in slow, deliberate circles about six inches over the dent. Avoid lingering—you don’t want to bubble the clear coat. After three to five minutes of controlled heating, test the area with the back of your hand. It should feel hot, but not searing. The goal here is to get the metal pliable, not to give yourself first-degree burns.
Step 4: Use a Suction Cup Puller
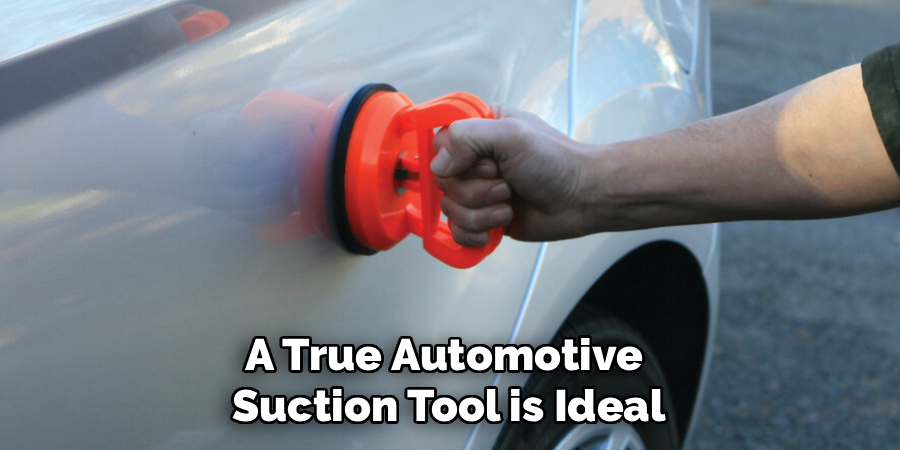
When the dough is evenly warmed—not unlike kneading dough that’s just come out of the fridge—it’s time to pull. Some folks swear by glass-lifting cups from hardware stores, and in a pinch, they can work, but a true automotive suction tool is ideal. Lightly dampen the rim of the suction cup for maximum grip, center it carefully on the dent, and lock it down. Brace yourself and pull straight back, not off to one side. Listen for the sound; the “pop” is oddly satisfying. Sometimes you’ll need a couple of tries, reheating the metal before each attempt.
Step 5: Try the Boiling Water Method
Still no luck? Now you’re moving into the realm of temperature extremes. Pour a kettle of boiling water directly on the dent—careful around your feet—and watch the metal become briefly malleable. In that fleeting moment, flip your can of compressed air upside down and spray the dent. The sudden cold causes the metal to react (the science here is thermal shock, in case you’re curious). Occasionally, this alone will snap the dent back into shape, no heavy-handed pulling required.
Step 6: Utilize a Glue Pulling Kit
For those single-minded dents that refuse to move, a glue-pulling kit provides one last shot. Pick a plastic tab roughly matching the dent’s diameter, smear the hot glue liberally, and press it firmly into the center. Let it cool all the way—touch to check. Attach the bridge and turn the knob. Go slow. Pressure builds gently, and the dent may creep outward or—if you’re lucky—release abruptly. If the glue snaps or partially releases, remove any remnants with rubbing alcohol. Sometimes, repeating this process a couple of times gets you where you want to be.
Step 7: Clean Up and Polish the Hood
Once you’ve (mostly) returned the hood to its original line, wipe down the area again. Stickiness, slight scratches, mystery smudges—all those can distract from your handiwork. Use your microfiber cloth and alcohol for a final cleanse. Then, with a soft pad, work in a dab of automotive polish, moving in lazy circles. This refreshes the clear coat, erases fine abrasions, and heightens shine. Whatever wax you prefer comes last, and serves as the finishing touch and the best protection you can give to your revived paint.
Following these steps on how to fix a car hood dent can save you time and money in the long run. By taking care of small dents yourself, you can avoid having to take your car to a professional for expensive repairs. Plus, it’s always satisfying to be able to fix something on your own.

Common Mistakes to Avoid
Tempted to skip steps or rush? Almost always a mistake. Too much heat risks bubbling or streaking the paint. A bathroom plunger is rarely up to the task—you’ll waste more time and energy than you save.
Pulling too hard or at an angle can shift the dent from a depression to a warped bulge. If you’re feeling frustrated or impatient, take a break and come back later. Method beats muscle in this sort of job.
Do You Need To Use Professionals?
There is a limit to what DIY can achieve—sometimes the dent’s shape, the location on a seam or body line, or cracked paint will make a home approach ill-advised. Deep dents and sharp creases almost always warrant a call to a professional, especially where rust might otherwise begin silently.
Professional Paintless Dent Repair (PDR) experts possess specialized rods and years of nuanced experience. Sometimes it’s worth the peace of mind.
How Much Will It Cost?
If you stick to simple tools—a hairdryer and whatever else you already have—the outlay is minimal. Most glue-pulling kits or suction tools cost between fifteen and fifty bucks if you shop online. Should a pro step in, figure on somewhere between one hundred and three hundred dollars for a standard hood dent, provided they aren’t repainting.
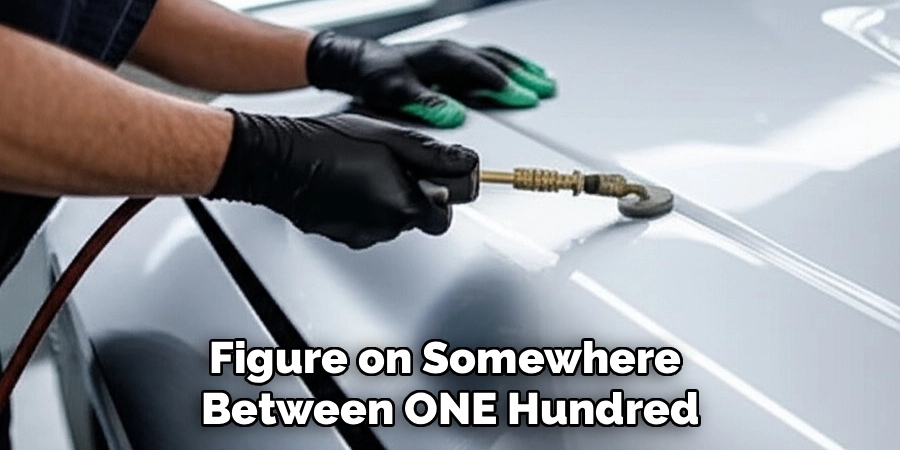
A full repaint and body shop treatment? That crosses into five-hundred-dollar territory pretty quickly.
Frequently Asked Questions
Q1: Can I Use A Plunger To Fix A Car Hood Dent?
It’s not impossible, especially for shallow, broad dents on flat metal. Clean the plunger first, and always wet the rim to help form a seal. Still, automotive suction cups are usually more effective and consistent.
Q2: Will Removing A Dent Damage My Car Paint?
If you’re careful—steady heat, no aggressive, jerking motions—the paint should survive unscathed. The big risks come from overcooking an area or trying to yank out a dent too quickly. Pre-existing paint cracks may, unfortunately, spread a bit if you apply too much force.
Q3: How Long Does It Take To Repair A Hood Dent?
A straightforward, shallow dent can often be handled in about twenty to thirty minutes, start to finish. Really stubborn spots, or ones requiring several passes with glue or heat, might take upward of an hour. Professionals typically move faster, but you lose the personal satisfaction.
Conclusion
A dented hood doesn’t have to mark the beginning of a long, costly ordeal. Careful assessment and thoughtful, gradual work can often restore the hood to near-original condition, all without leaving your driveway. None of these methods guarantees showroom perfection, but for small dings, they often come surprisingly close.
If you reach your limit—or your patience wears thin—there’s no shame in calling in someone with more experience. Most car blemishes, fortunately, aren’t permanent, and the time invested in tackling them yourself tends to pay off every time you spot your own handiwork gleaming back at you. Thanks for reading this guide on how to fix a car hood dent.

About
Ora Hayes is a distinguished figure in the world of DIY Thecarfixes, with over a decade of expertise in automotive diagnostics and high-performance maintenance. Her professional focus lies in merging mechanical precision with modern digital tools, fostering repair solutions that are both cost-effective and highly reliable. As the author of Thecarfixes, Ora Hayes delves into the art and science of automotive restoration, inspiring car owners and hobbyist mechanics alike.
Education
RMIT University (Melbourne, Australia) Associate Degree in Automotive Engineering — Focus on vehicle dynamics, industry-driven repair protocols, and advanced diagnostics. Gained hands-on experience with traditional mechanical tools and modern ECU remapping software.
Nottingham Trent University (United Kingdom) Bachelor’s in Mechanical Design and Automotive Engineering (Honors) — Specialized in automotive systems with a focus on blending technical engineering with everyday usability. Participated in industry projects, working with leading automotive manufacturers to gain real-world insights into vehicle longevity.
Publications and Impact
In Thecarfixes, Ora Hayes shares her insights on troubleshooting complex engine issues, material durability, and strategies for efficient garage setups. Her writing bridges the gap between professional mechanic knowledge and the home enthusiast’s needs, making it a must-read for both everyday drivers and seasoned gearheads.




