

It’s 7:45 AM. Maybe you’re clutching a coffee, balancing a laptop on your hip, and then — the car door sticks, or worse, refuses to budge at all. Suddenly, what should’ve been a straightforward commute feels unnecessarily complicated. If you’ve ever thought, “How hard could it be to fix this?” you’re not alone. Tackling the repair yourself isn’t just a way to save some cash; it’s oddly satisfying and might come in handy when you least expect it.
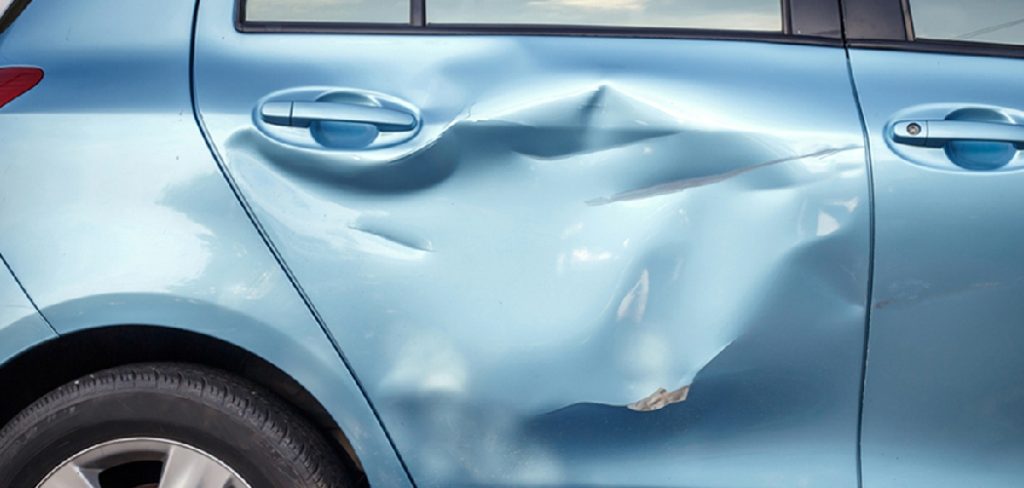
This isn’t just another quick-fix checklist, either. The following guide on how to fix a car door offers a walk-through from the first head-scratching inspection to that final click of the door latching properly. We’ll talk about the gritty details—removing stubborn panels, handling greased-up components, and the inevitable temptation to use brute force (don’t). If nothing else, you’ll know what actually goes on inside your car door.
Tools and Materials You’ll Need
Let’s start before anything comes apart. Take a moment to gather everything, and double-check while you’re at it; there’s nothing more frustrating than hunting for a tool halfway into disassembly. Here’s what should be at arm’s reach:
- Socket set and a ratchet (the one you always dig for)
- Both flathead and Phillips screwdrivers
- Trim removal tools made of plastic, not metal — trust me, your paint job will thank you
- Relevant replacement bits: think door latch, window regulator, or whatever gremlin you’re chasing down
- Gloves and safety glasses if you’re not into scratches or stinging knuckles
- White lithium grease or, in a pinch, a silicone spray
- Flashlight small enough to snake into tight corners
7 Simple Step-By-Step Guidelines on How to Fix a Car Door
Step 1: Inspect the Damage and Assess the Door Mechanism
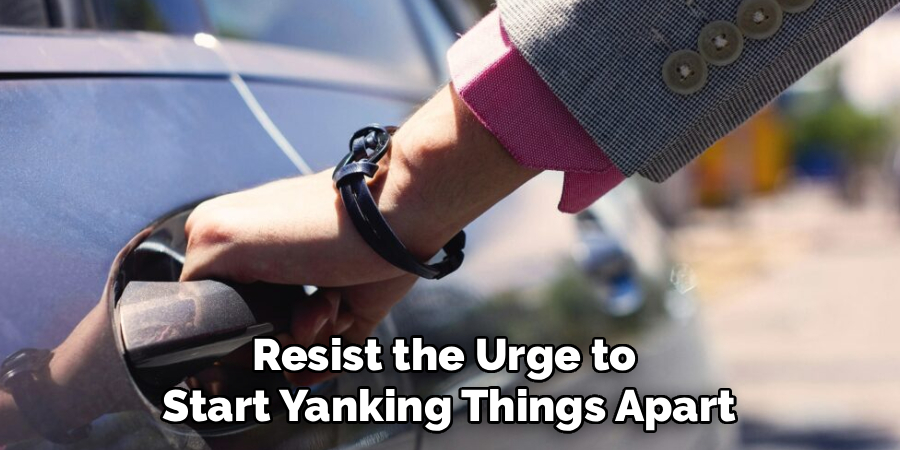
Resist the urge to start yanking things apart. Instead, poke around. What’s actually wrong? Sometimes it’s as obvious as a bent hinge, but other times, a sticky window switch or an erratic latch points to bigger trouble. Press the handles, both inside and out. Listen for clicks, snaps, or the unnerving silence from a dead latch. Run the window up and down, slow and steady, keeping an ear out for the grinding, wheezing, or hesitation of a regulator about to give up the ghost.
Diagnosing well here often saves you money, time, and the indignity of discovering that what you replaced wasn’t broken in the first place. Stuck door? Might be a broken cable, or the lock is seized. Shine your light into every gap and crevice. Broken plastic or a dangling metal rod can mean the difference between needing a $7 clip and a $200 actuator. Jot down what you spot, either on paper or a photo—future-you will be grateful.
Step 2: Remove the Interior Door Panel Carefully
Now comes the part people tend to rush—and regret. The door panel is probably held by more screws than the design seems to require, and they love to hide. Start searching around the handle recess, under small plastic caps, and along the edges near the map pocket. Pull out a cup or an old Tupperware to keep the screws from rolling under the car seat, because, yes, they absolutely will.
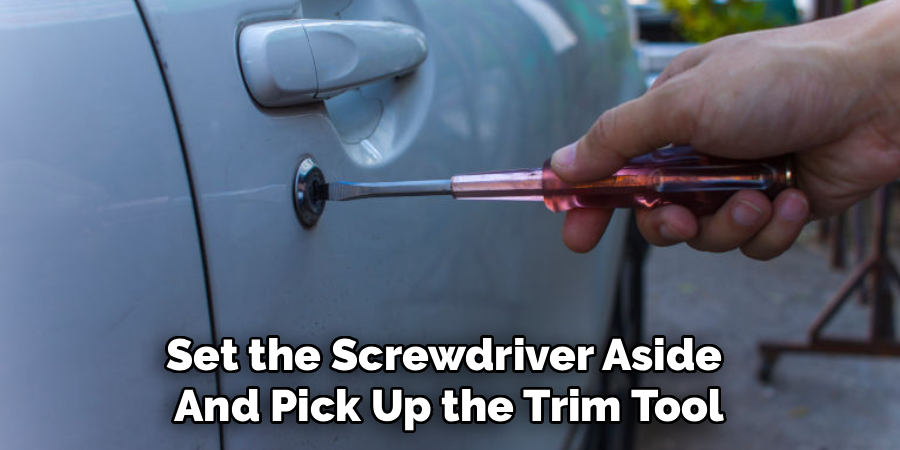
Once you are certain all hardware is out, set the screwdriver aside and pick up the trim tool. Slide it underneath the panel, starting at the bottom, and gently—no, really, gently—twist. You’ll hear the distinct sound of clips releasing. It’s a little nerve-wracking, but it should not sound like something cracked in half. Circle the perimeter, working along until the panel feels loose all around. Now lift, don’t yank, because the top edge usually hooks over the window channel. With any luck, you’re rewarded with a view of the door’s mysterious inner workings.
Step 3: Disconnect the Electrical Connections and Wiring
These days, even basic cars have a spaghetti mess of wires tucked inside the door. Window switches, speakers, lock motors, puddle lights—each has its own connector. As you begin lifting the interior panel, stare at the wires you spot. Many connectors have a release tab you need to press—never pull by the wire itself, unless you’re fond of chasing electrical gremlins later. Some may seem impossibly stubborn; a small screwdriver can help, but again, resist any urge to pry too hard.
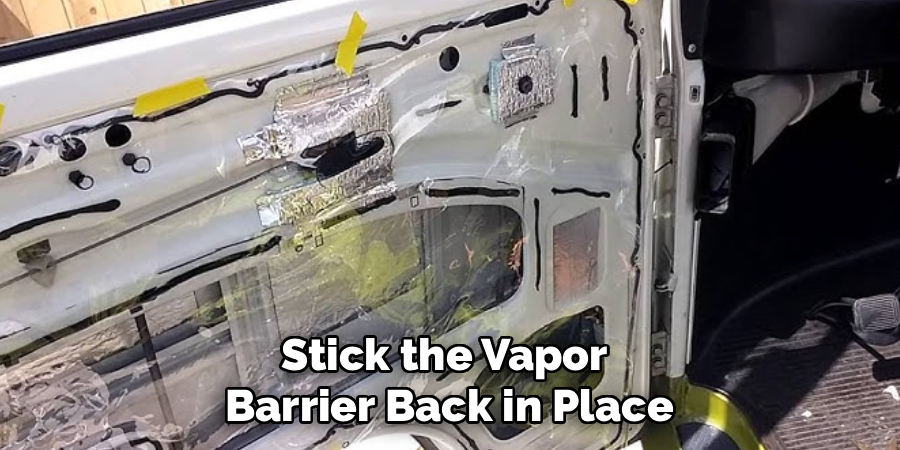
Once everything’s unplugged, gently set the door panel aside, preferably on a soft surface. Hardened pros use a bath towel, while the rest of us grab whatever’s clean. Now you can properly see the vapor barrier—a thin layer of foam or plastic—guarding the machinery within.
Step 4: Access and Repair the Window Regulator or Latch
Right behind the barrier is the playing field. With a utility knife or your fingers, start to peel the vapor layer back. Take care not to shred it; you’ll need it later to keep water out. Below, you’ll see cables and linkages, some greasy, some suspiciously clean.
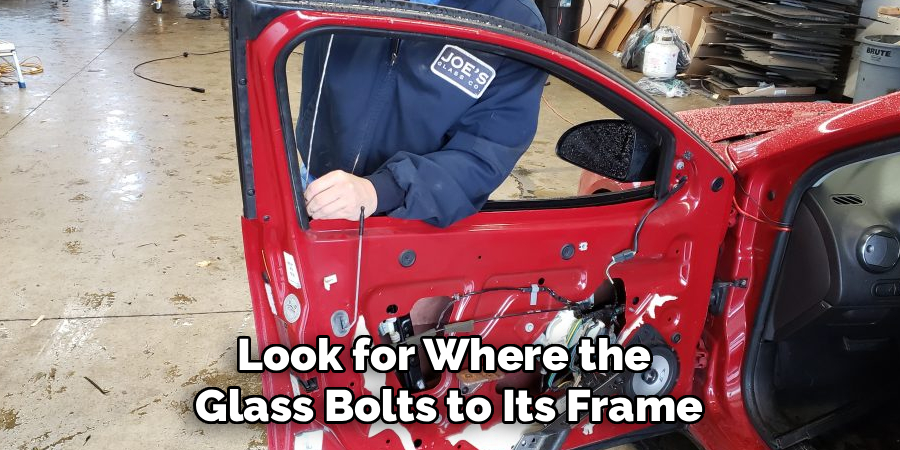
If a window regulator is your culprit, look for where the glass bolts to its frame. These bolts may need to be removed to separate the glass, which you then tape (blue painter’s tape works) up to keep it out of the way. If you’re after the latch, hunt for rods and cables that snake from the lock outwards to both handles. Most latches are held by several bolts, hidden in plain sight. Unscrew them and extract the part with a bit of patience—sometimes a squeeze or wiggle is required to get it out through the access hole.
Step 5: Replace Broken Components and Lubricate Moving Parts
Double-check your new part against the old one before it goes in. Forgetting a minor difference in shape or size can lead to redoing the entire job—careless, but it happens to everyone. Maneuver the new component gently inside, watching for pinched wires or nicked glass.
Tighten bolts with care: too loose and things will rattle, too tight and plastic might crack. Now’s your chance to lather up any sliding parts with lithium grease—especially the window tracks and latch. Don’t skip the rubber seals, either; a dab of silicone spray keeps windows gliding, not dragging. Greasing here may extend the life of moving bits by years, and it’s the sort of step that separates a quick fix from something that lasts.
Step 6: Reconnect the Wiring and Test the Door Functions
Before you button everything back up, plug each connector in—one by one. If you previously disconnected the car battery, hook it up again. With the panel still off, start the ignition of the accessory. Check every feature: do the windows move? Do locks engage each time? If anything stutters or stalls, make adjustments now. A misaligned bolt or sticky switch is easier to fix at this stage than after reassembly. If all seems right (don’t rush this check), you’re set to close things up for good.
Step 7: Reattach the Interior Door Panel and Secure All Screws
Construction, now in reverse. Stick the vapor barrier back in place, pressing to reseal as best as possible—water leaks aren’t something you want to discover after a heavy rain. Lift the door panel up, carefully threading wires through to their proper places, and hook its top edge over the window rail. Line up each retaining clip, then smack them in, open-palm, until you hear that satisfying snap all the way round.
Don’t forget the screws—none of them. Bare screw heads? Cover them with the little caps you pried off earlier. At the end, clean your fingerprints from the glass and trim. Step back and admire your handiwork.
Following these steps on how to fix a car door handle, you can successfully replace a broken or malfunctioning door handle on your own.
Common Mistakes to Avoid
A rushed diagnosis leads many beginners to replace perfectly healthy parts. Take the extra ten minutes. Another classic error: prying at trim before uncovering all hidden screws, which nearly always cracks the plastic.
Tugging on wires? Avoid it—plastic connectors exist for this reason. Skipping a full vapor barrier reseal will soon mean soggy carpets. And if you forget to test the door before buttoning it up? Prepare for a rerun of this entire process.
Do You Need To Use Professionals?
Plenty of car door repairs fall squarely within what a careful, patient home tinkerer can accomplish. Swapping a power window switch or swapping out a handle can become routine, especially with the wealth of vehicle-specific video tutorials now available.
But if you’re staring at a door twisted by a heavy collision or toasted by an electrical fire, it could be time to admit defeat. Body shops own industrial tools, welders, computer diagnostics—stuff no home toolbox includes.
How Much Will It Cost?
There’s no neat answer; repair bills vary as widely as car trouble itself. A plastic handle might run under $20, purchased at the corner parts store. A window regulator kit can hover between $50 and $150, with price dictated by year, make, and whether you prefer original or aftermarket.
Labor, if you opt for a shop, can easily land you a bill two to three hundred dollars higher—sometimes more. But, for the majority of issues, doing the work yourself keeps expenses surprisingly reasonable.
Frequently Asked Questions
Q1: What Should I Do If My Car Door Won’t Lock?
It might sound obvious, but start by popping in a fresh battery for your key fob. If locking’s still dead, head to the fuse box and check for blown fuses near “LOCK” or “DOOR.” No electrical issues? Odds are the actuator inside the door is finished. By then, you’ll need to open up the door and swap it for a new one.
Q2: Can I Fix a Dented Car Door By Myself?
Minor dings, if they haven’t cracked the paint, can often be coaxed back out with a suction tool or glue-pulling kit. Larger dents? Sometimes removing the panel and nudging the metal from behind works—rubber mallets are less risky than steel ones. Deep creases or torn metal? Realistically, that’s a job for a collision shop.
Q3: How Long Does It Take To Replace a Door Actuator?
If you’re new, allocate anywhere from ninety minutes up to three hours; most of the struggle is careful panel removal and working without much visibility. Seasoned techs, knowing all the hiding spots for screws and clips, sometimes finish in under an hour.
Wrap Up Your Repair Project
If you’ve gotten this far, breathe easy: you’ve just added a genuinely useful skill to your set. By keeping parts sorted and retracing your steps, you can reach a result that, frankly, passes for professional. Take a moment to check the other doors, too—most cars of a certain vintage eventually show the same wear.
Occasional tweaks, like a shot of grease on the hinges or a tightened handle, stave off bigger problems down the road. So clear up your tools and, with any luck, you won’t be seeing the inside of your car door for a while. Thanks for reading this guide on how to fix a car door.

About
Ora Hayes is a distinguished figure in the world of DIY Thecarfixes, with over a decade of expertise in automotive diagnostics and high-performance maintenance. Her professional focus lies in merging mechanical precision with modern digital tools, fostering repair solutions that are both cost-effective and highly reliable. As the author of Thecarfixes, Ora Hayes delves into the art and science of automotive restoration, inspiring car owners and hobbyist mechanics alike.
Education
RMIT University (Melbourne, Australia) Associate Degree in Automotive Engineering — Focus on vehicle dynamics, industry-driven repair protocols, and advanced diagnostics. Gained hands-on experience with traditional mechanical tools and modern ECU remapping software.
Nottingham Trent University (United Kingdom) Bachelor’s in Mechanical Design and Automotive Engineering (Honors) — Specialized in automotive systems with a focus on blending technical engineering with everyday usability. Participated in industry projects, working with leading automotive manufacturers to gain real-world insights into vehicle longevity.
Publications and Impact
In Thecarfixes, Ora Hayes shares her insights on troubleshooting complex engine issues, material durability, and strategies for efficient garage setups. Her writing bridges the gap between professional mechanic knowledge and the home enthusiast’s needs, making it a must-read for both everyday drivers and seasoned gearheads.




