

If you’ve owned a vehicle for even a modest length of time, you’ve no doubt discovered there’s much more to “basic maintenance” than an oil change. Among those overlooked tasks: coolant replacement. Many folks are quick to ignore antifreeze until warning lights flash, but that’s a gamble. With time, coolant loses its bite; left unchanged, the stuff may well allow preventable overheating, corrosion, or something much worse to take hold in your engine’s internals.
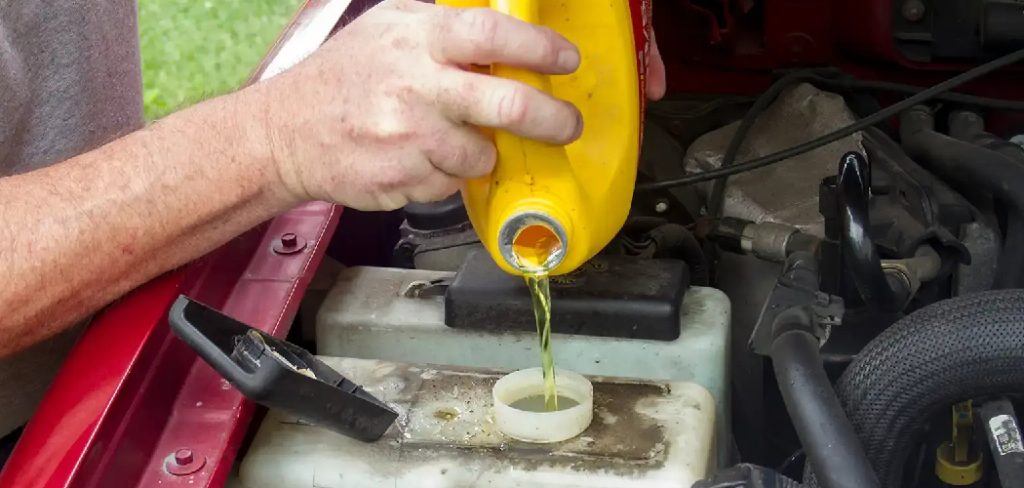
Is this something you can tackle in your own garage? Well, yes—at least, in most cases. There’s value in learning how. Not only does a do-it-yourself coolant drain spare your wallet, but it can demystify your relationship with your car. You don’t have to wield a mechanic’s wrench six days a week to manage this. The job is hands-on and a bit messy, but—assuming you follow a logical order—decidedly doable. It’s just a matter of being cautious, prepared, and willing to consult your owner’s manual when things get murky. In this guide on how to empty coolant from car, we’ll take you step by step through the process.
Safety Precautions Before Starting
Coolant changes aren’t “difficult,” exactly, but they are risky if you ignore the fundamental rules of safety. First, patience. Never pop open your cooling system when the engine is still radiating heat. That pressure in the hoses? It can turn the simple act of loosening a radiator cap into something that sends scalding liquid skyward. The best approach is the most boring: let the car sit a long while, five or six hours at minimum—overnight if possible.
There’s another, less obvious danger. Antifreeze can be lethal; dogs and cats, weirdly, are drawn to its sweet aroma. Handle everything as if it could be spilled. Pull on a pair of gloves—nitrile or something more robust—and don goggles, especially if you’re prone to accidental splashes. A spill can sneak up on you, too, so stashing some kitty litter or an absorbent mat nearby isn’t ridiculous. Better to sweep some gritty stuff than scrub a chemical stain for weeks.
Tools and Materials You’ll Need
- Nitrile or other protective gloves
- Goggles
- Antifreeze absorbent mat or kitty litter
- A bucket or container for antifreeze disposal
- Appropriate cleaning supplies (e.g., rags, sponges, scrub brush)
- Water source nearby in case of spills or splashes
7 Simple Step-by-step Guidelines on How to Empty Coolant From Car
Step 1: Elevate and Secure the Vehicle
First real task: get yourself access. Choose a dead-flat surface—your garage or a driveway with no slope at all, not that gravel patch under your neighbor’s oak. Parking brake engaged. Point your rear tires at some chocks. This isn’t paranoia; a wobbly car on a jack just isn’t worth a shortcut.
Once you’re satisfied that nothing’s going to roll, place a solid hydraulic floor jack under the manufacturer-approved spot. Don’t try improvising the lift point. Carefully bring the front end up, then immediately set heavy jack stands (ideally two) under the frame itself. Never trust a jack’s integrity for longer than absolutely necessary. Once lowered gently onto the stands, give the car a cautious shove. If it’s even a little unsteady, do it all again—your ribs will thank you.
Step 2: Locate the Radiator Drain Petcock
Now, slide beneath the front bumper and squint into the darkness. The radiator’s usually up front, but modern designs sometimes tuck their drain valves away behind trays, hoses, and brackets. The piece you’re after is known as a petcock—sometimes plastic, sometimes metal—a little wingnut or threaded plug near the radiator’s bottom.
You may encounter an aerodynamic splash guard or a slab of molded plastic, especially if your vehicle was engineered in the last twenty years. Grab that socket set. Remove the fasteners, gently, and lay the shield out of harm’s way. If the valve itself proves impossible to spot, the owner’s manual—though frustrating—can spare you hours of crawling around on the pavement.
Step 3: Position the Drain Pan Correctly
Here comes the wet part. The drain pan ought to go underneath the petcock, but coolant rarely falls straight down. When you loosen the valve, expect the arc of liquid to jet outward a little, at least until the pressure tapers off. Try offsetting your pan to the side the valve points—guesswork, a bit, but aim to catch the mess before it lands somewhere regrettable.
As more coolant drains out, that strong stream will slacken. Adjust your pan as needed. Cardboard placed underneath is an old trick and, should you overshoot, saves the future you from stains that might last until the car rusts away.
Step 4: Remove the Radiator Cap
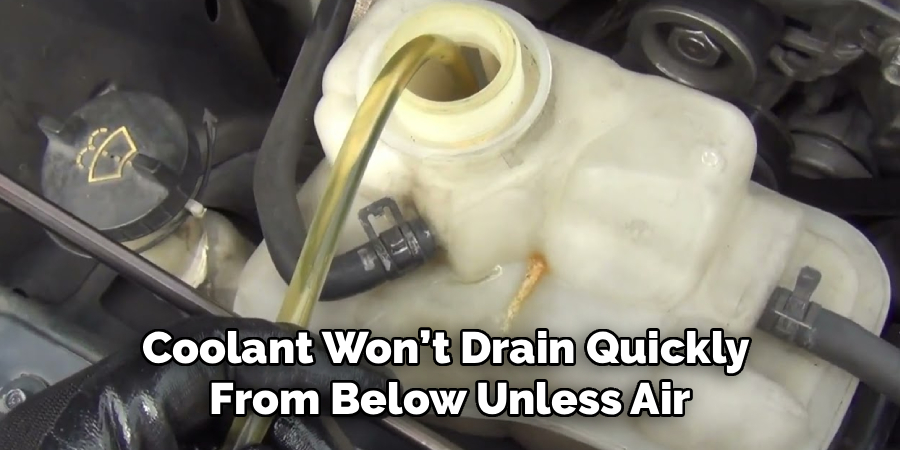
Now, lift yourself up top again. The principle: coolant won’t drain quickly from below unless air is allowed in from above. Find the radiator cap (or sometimes the pressurized expansion tank cap), press down, and twist it off to release the vacuum. This smooths out the draining and, perhaps more importantly, avoids the sudden, unpredictable burps of liquid you’ll get if you forget this step. Put the cap somewhere you’ll remember—engine bays have an appetite for small objects. If the rubber gasket looks brittle, crusted, or cracked, jot a note to grab a new one on your next parts run.
Step 5: Open the Drain Valve
Now for the main event. Return under the car and work the petcock loose—most twist by hand, though the stubborn ones may want pliers. Go easy; plastic valves tend to shear off under brute force, and replacing them is, frankly, a headache. Crack it open, step aside, and let the coolant pour.
How long does this take? Sometimes ten minutes, sometimes longer, depending on the vehicle. While you’re at it, take a quick look at what’s coming out. Rust flakes, sludge, metallic particles—any of those could suggest something deeper amiss and might justify a chemical flush before you refill.
Step 6: Drain the Coolant Reservoir
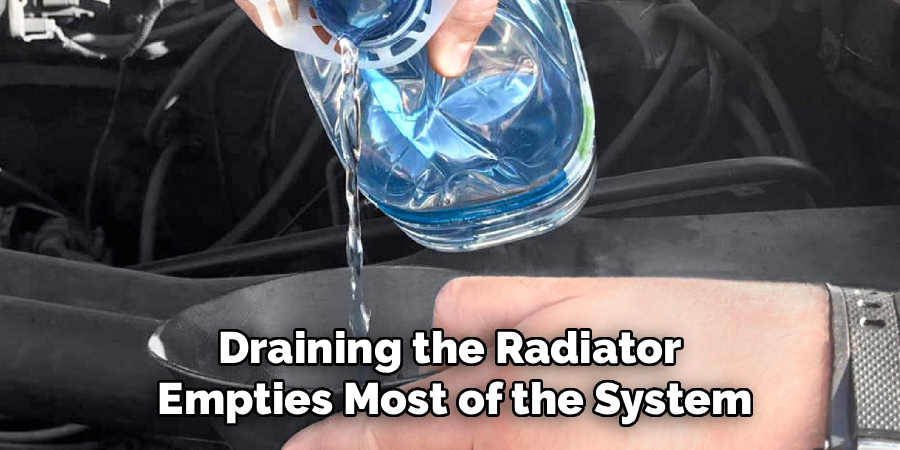
Draining the radiator empties most of the system, but not all. That overflow tank (or expansion reservoir) by the fender can trap an astonishing amount of coolant. Trace the small hose back—there’s often a fastener or two. With luck, unbolting the tank and inverting it is all you’ll need. If not, don’t panic. Fluid transfer pumps (even a turkey baster, in a pinch) can help suck the last drops out.
There’s an argument for rinsing the reservoir with a small amount of distilled water, especially if the gunk inside resembles pond scum more than automotive fluid.
Step 7: Close the Valve and Transfer Fluid
By now, the system should be empty. Tighten the petcock by hand until it’s snug—but stop short of wrenching it down; overtightening is a surefire way to strip threads and guarantee leaks later. Replace any plastic guards you removed earlier.
The next step—pouring the old coolant from the pan into a transport jug—requires steady hands. If you’re prone to spills, a wide-mouthed funnel is worth its weight in gold. Milk jugs and the containers your antifreeze came in both work fine. Mop up drips and puddles with rags or paper towels, not only out of pride but out of responsibility—neighborhood pets will investigate.
When that’s done, and provided you’ve kept things organized, you’re set up for the next phase or new coolant fill.
Following these steps on how to empty coolant from car will ensure that you complete the task safely and efficiently, without causing any harm to yourself or your vehicle. However, it’s always important to keep in mind that coolant is a toxic substance and should be handled with care.
Common Mistakes to Avoid
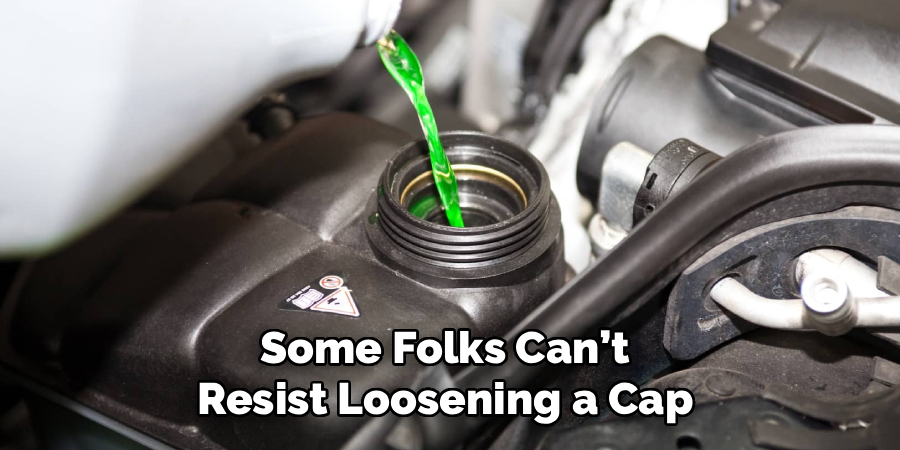
It’s tempting, with a job that seems straightforward, to hurry. That’s where the blunders creep in. Some folks can’t resist loosening a cap when the engine is still warm (painful mistake), or they’ll grab a pitcher of tap water to flush the block instead of distilled (bad idea—the minerals in tap water may speed up tiny, corrosive buildups you won’t notice until it’s too late).
Another classic is skipping the air bleed after a refill; trapped air bubbles can fool your gauges and, if unaddressed, may turn a short trip into an overheated disaster.
Signs Cooling System Needs Attention
Vehicles are oddly expressive when their cooling systems suffer. Your dash temp gauge is the most obvious tell—watch for it inching upward during routine drives, especially in traffic. It’s also worth sniffing for the syrupy scent of antifreeze, which may slip into your car’s cabin through the vents.
Finally, if you spot colorful puddles beneath the car—greens, oranges, or pinks—it’s probably time to inspect hoses, the water pump, or the radiator itself. These aren’t subtle hints.
When to Seek Professional Help?
Despite a knack for DIY fixes, certain warning signs deserve a mechanic’s expertise. Let’s say you spot a milky, frothy goo in the radiator or in the engine oil—stop everything. That’s likely a blown head gasket, and it’s not a driveway project.
Chronic overheating, even after a coolant change, may point to worn-out water pumps or sticky thermostats, neither of which can be addressed with a bottle of new fluid. If you’re anxious about balancing a car on jack stands—or the process just feels out of depth—don’t force it. The cost of labor often outweighs risking your safety.
Frequently Asked Questions
Q1: Can I Pour Old Antifreeze Down The Drain?
Absolutely not. Used antifreeze contains chemicals that will wreak havoc on the local water supply and wildlife if poured down a household drain or storm sewer. Always seal the waste in a proper container and take it to an auto shop or recycling center equipped for hazardous materials. A little effort here saves a lot of environmental grief.
Q2: How Often Should I Perform This Maintenance?
There’s no single answer, since every vehicle and fluid formulation is different. As a general guide, older cars usually call for a coolant change every 30,000 miles or two years. Newer models, particularly those running extended-life antifreeze, can sometimes stretch to five years or 100,000 miles. To be sure, dig into your owner’s manual—the folks who built your engine know best.
Q3: What Happens If I Mix Different Colors Together?
Combining coolants with different chemical bases, say, a green inorganic additive with an orange organic acid, rarely ends well. The mixture tends to congeal or form blockages, gumming up the works in places where coolant flow is absolutely vital. It’s a direct route to overheating, possibly even severe engine damage that’s both expensive and completely avoidable.
Preparing Your Vehicle for the Road Ahead
Looking after your vehicle’s cooling setup does more than save you from boiling over at a stoplight. Flushing out the old antifreeze clears away hidden trouble—deposit buildup, corrosion, sometimes even metal shavings. As tedious as this maintenance can be, the time you spend wrench in hand ultimately buys reliability when you need it most.
Once everything’s topped up to the manufacturer’s recommendations and the waste has been responsibly disposed of, you’re ready to embark on longer journeys minus the nagging worry of an overheating warning light. Maybe a mundane job, but, as with most things in car ownership, the devil is in the details. Thanks for reading this guide on how to empty coolant from car.

About
Ora Hayes is a distinguished figure in the world of DIY Thecarfixes, with over a decade of expertise in automotive diagnostics and high-performance maintenance. Her professional focus lies in merging mechanical precision with modern digital tools, fostering repair solutions that are both cost-effective and highly reliable. As the author of Thecarfixes, Ora Hayes delves into the art and science of automotive restoration, inspiring car owners and hobbyist mechanics alike.
Education
RMIT University (Melbourne, Australia) Associate Degree in Automotive Engineering — Focus on vehicle dynamics, industry-driven repair protocols, and advanced diagnostics. Gained hands-on experience with traditional mechanical tools and modern ECU remapping software.
Nottingham Trent University (United Kingdom) Bachelor’s in Mechanical Design and Automotive Engineering (Honors) — Specialized in automotive systems with a focus on blending technical engineering with everyday usability. Participated in industry projects, working with leading automotive manufacturers to gain real-world insights into vehicle longevity.
Publications and Impact
In Thecarfixes, Ora Hayes shares her insights on troubleshooting complex engine issues, material durability, and strategies for efficient garage setups. Her writing bridges the gap between professional mechanic knowledge and the home enthusiast’s needs, making it a must-read for both everyday drivers and seasoned gearheads.




