

You wake up, head outside, and there it is—a fresh dent staring at you. Irritation simmers. Maybe your first thought is to drive to a body shop and hand over your keys, along with a chunk of your savings. But let’s pause for a moment. Paintless dent removal (PDR), a repair method that doesn’t rely on slathering body filler or repainting panels, can address many dings without all that hassle or expense. Instead of covering up the damage, the technique works from behind or with clever surface tools, letting you preserve the paint that came from the factory—along with the value of your car.
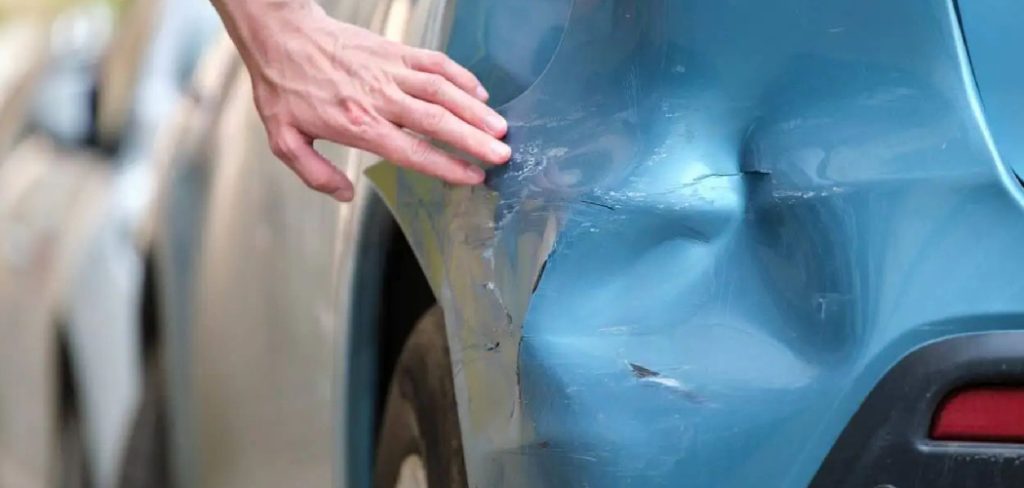
Tackling repairs at home might sound ambitious; fair enough. Still, if you follow a clear plan and assemble the right equipment, those minor imperfections could become yesterday’s problem, no professional needed. The process rewards patience more than brute strength, and, if you see it through, you may wonder why you ever tolerated those unsightly dings in the first place. Below, you’ll find a guide on how to do paintless dent removal meant not only to instruct but also, hopefully, to instill a bit of confidence for the first-time repairer itching to handle things personally.
Tools and Materials You’ll Need
- Dent Puller or Suction Cup
- Rubber Mallet
- Hot Glue Gun and Sticks
- Release Agent (Optional)
- Hair Dryer or Heat Gun
- Clean Cloth for Wiping Surfaces
7 Simple Step-By-Step Guidelines on How to Do Paintless Dent Removal
Step 1: Assessing the Damage
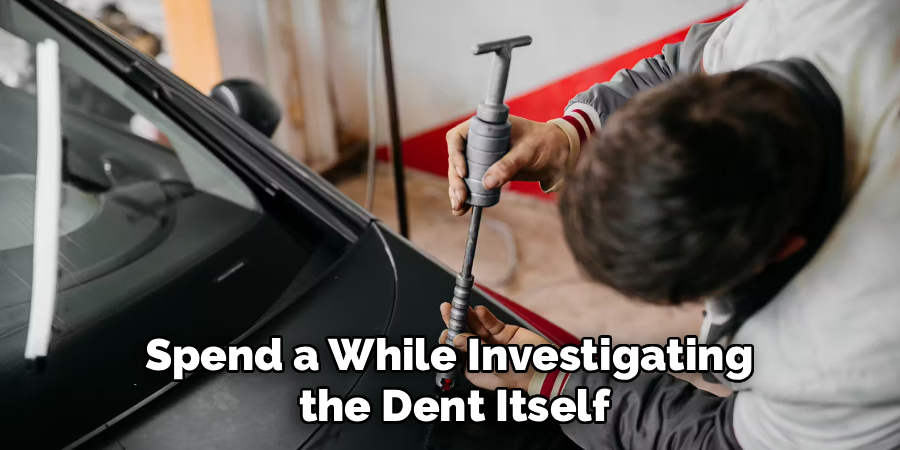
Before unsheathing any tools, spend a while investigating the dent itself. PDR isn’t a magic wand for every bump and bruise—if there’s paint cracking, or the metal looks shredded near a panel edge or support rib, you might be facing a job for the pros. The technique genuinely shines on dents that leave the original paint unbroken and live in flexible sheet metal.
If it passes this test, zoom in on the dent’s topology. Is it a wide, shallow dip or a pinpoint crater? The shape determines your pulling strategy and tool selection. Subdued, bowl-shaped dents tend to resolve with glue pulling, while sharper or creased impressions are tougher and might need a more delicate hand. No need to rush here—glaring overhead light helps you map out exactly where the metal is at its lowest, avoiding adhesive mishaps later.
Step 2: Preparing the Surface
For some reason, many skip a clean slate, thinking it can’t matter that much. In reality, surface contamination—think wax residue, dusty film, or old coatings—interferes with glue adhesion in a serious way. Start with a thorough wash, using real automotive soap and, ideally, warm water, because quick detailing sprays or cursory rinses won’t cut it. Follow up with a dry, lint-free towel. Lingering water will have you fighting with weak glue bonds all afternoon.
With the panel dry, spray the dented area with 91% isopropyl alcohol. Wipe it down completely; don’t just wave the rag over it. You’re looking for a squeaky-clean surface, one that the tab’s glue can grip without sliding off like butter from a hot pan. If you can stand the smell, let the alcohol dry fully—this usually takes only a moment unless humidity is unusually high. Skip this step, and you’ll likely see the glue pop right off the paint, pulling nothing but your patience.
Step 3: Setting Up the Line Board
Here’s where the theory meets practice. A line board—or, for some, a reflector with barcode patterns—turns a befuddling three-dimensional dent into a readable map. Place it so the lit (or reflected) lines snake across the depression. It’s rarely perfect on the first try; you’ll probably nudge and tilt it a few times, aiming for a reflection that shows waviness at the impact. Where the lines pinch most is likely your “epicenter”—the spot to target.
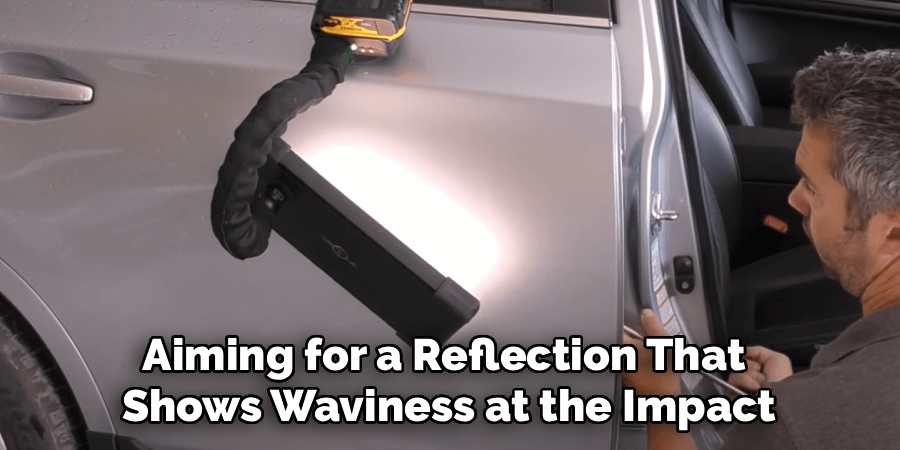
Refer to these lines as you work, not just at the start. The process is iterative: each pull, each tap will subtly change the topography. If you operate blindly, there’s a real danger of “oil canning”—pulling the metal outwards so far that it won’t sit flat again. Better to adjust the board than live with a mistake difficult to reverse.
Step 4: Applying the Glue and Tabs
Now comes the setup for your first pull. Select a pulling tab that fits the central area of the dent. Plug in your hot glue gun and wait until it’s fully primed—impatience here leads to stringy, ineffective glue. Spread a dime-sized amount onto the flat surface of the chosen tab; too little, and the tab peels mid-pull, too much and glue oozes onto the paint.
Stick the tab into the dead center of the dent, lining up based on your reflection board. A gentle press is better than a forceful one; the goal is consistent contact, not flattening the glue. Set a timer—about two to five minutes should suffice, with warmth speeding things up and cold stretching them out. The glue will set; test it gently with a finger for tackiness before moving on.
Step 5: Using the Pulling Tool
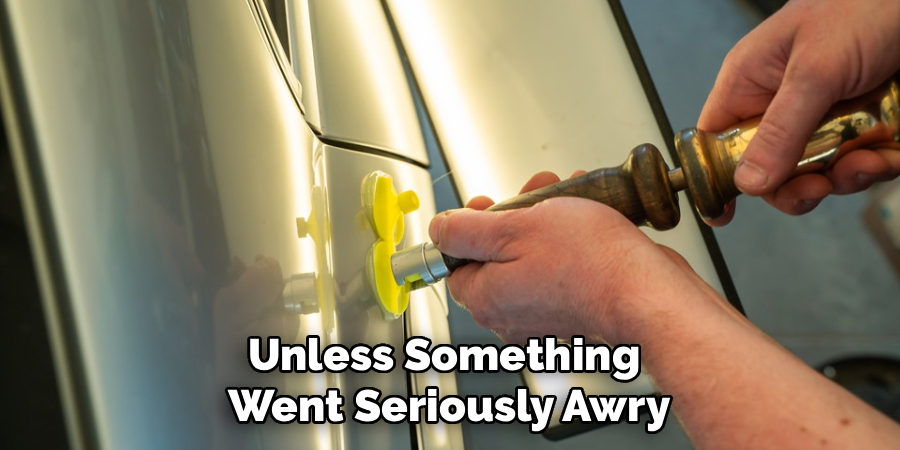
Tool selection depends on comfort and size—a mini lifter offers incremental, controlled upward pressure, while a slide hammer does the job in sharper jolts. Secure the pulling tool to your glued tab. Lift (or tap) directly perpendicular to the surface—angling sideways risks new creases or, occasionally, torn glue and frustration.
Often, you’ll hear a sudden “pop.” That’s the tab giving way as intended. Don’t be startled; unless something went seriously awry, that’s a good sign. Clean off remaining glue with a hit of isopropyl alcohol and a nudge from a plastic scraper. Now, back to the board: has the dent flattened, or just changed shape? Repeat the pulling process as needed; swap to smaller tabs if the depression shrinks. Dents almost never resolve in one shot.
Step 6: Tapping Down the High Spots
Over-pulling rarely shows itself immediately. Walk around the vehicle, or just peek at the reflection; bulges or “highs” mean you didn’t stop soon enough. Address these with the blending hammer and the knockdown tool—light, short taps are far safer than big swings. This is not the time for impatience, as pushing too hard will replace your old dent with a new one, possibly sharper.
As you tap, keep the board in your peripheral vision. The goal: coax the bulging lines back flat. Moving back and forth between glue-pulls and knockdowns, you gradually nudge the panel into something close to its original contour. It’s tedious, maybe even a little meditative, but entirely necessary for convincing results.
Step 7: Final Polishing and Cleanup
With the metal behaving, pause to inspect the finish left behind. Hot glue, repeated solvent wipes, plastic scrapers—they can leave fine haze or minute scratches. Use a clean microfiber pad and a little trusted polish. Tight, overlapping circles help the compound do its job without clouding the clear coat. Buff off the residue with a fresh towel.
Consider topping with quality carnauba wax or ceramic sealant. It’s a bonus—protection and a uniform gloss across the whole panel, so the repair doesn’t draw the eye for the wrong reasons. Take in your work from several angles, in varying light. If you can’t spot the blemish anymore, the job is done.
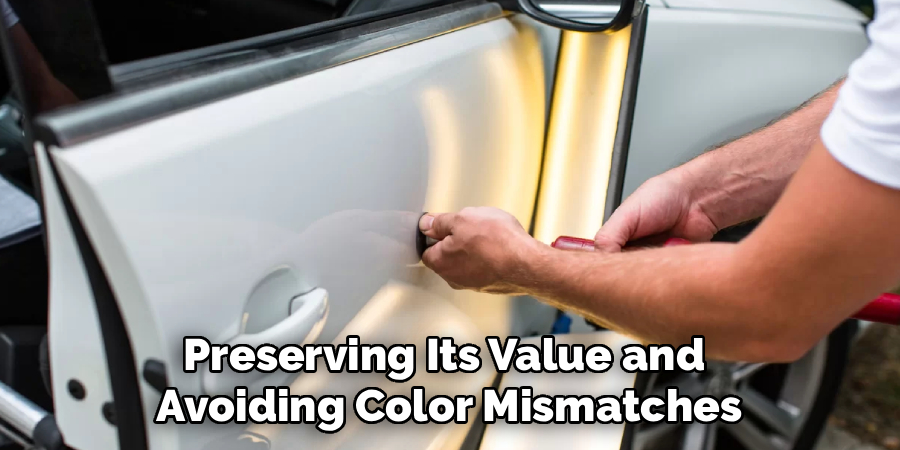
Following these steps on how to do paintless dent removal can save you time and money compared to traditional dent repair methods. It also allows you to maintain the original paint on your car, preserving its value and avoiding color mismatches that may occur with touch-up paint.
Common Mistakes to Avoid
Of course, things can go wrong. Rushing with the glue gun so the adhesive never truly sets? That leads to weak, half-hearted pulls. Swinging the sledgehammer with all your might? You can stretch the metal, producing a raised patch that refuses to lie flat. Attempting the job sans reflection board is essentially operating blind; correct tool placement becomes guesswork, and errors creep in.
Another underappreciated pitfall: not all hot glue is created equal. Bargain-bin craft glue lacks the right chemistry for clean panel separation. And, if you attack the knockdown tool too forcefully, you may chip paint or pierce it outright—ironically requiring a traditional repair in the end.
How Much Will It Cost?
Traditional repairs at body shops usually run several hundred dollars, especially if repainting or blending into adjacent panels is needed. Calling a mobile PDR tech, at least for a textbook door ding, typically costs between $75 and $150, though that fluctuates based on location and the technician’s reputation.
Buying a do-it-yourself kit feels pricey the first time—expect to spend $50 to $200 or so—but if you fix two dings, you’ve covered the initial investment. Afterward, every little dent you repair is essentially free, at least in terms of cash outlay.
Frequently Asked Questions
Q1: Can Paintless Dent Removal Fix Creases?
Technically, yes, but creases may prove far more stubborn than standard “ding”-type dents. The metal in a crease absorbs and remembers tension differently—sometimes resisting any effort to massage it out. If you try, go slowly, working from the tips inward, avoiding brute force. Most people find it better to practice on wide, shallow dents before attacking a tricky crease on a visible panel.
Q2: Will The Hot Glue Ruin My Car’s Paint?
The glue made for PDR is formulated to stick to automotive clear coats without inflicting chemical or physical harm. With the right touch—using a generous mist of 91% isopropyl alcohol for removal—you can avoid damage to the paint entirely. Issues only arise if your car’s finish is already compromised by flaking, chipping, or a past respray. If that’s the case, caution is warranted.
Q3: How Long Does The Entire Process Take?
On a simple door ding, a seasoned hand might need only fifteen or twenty minutes. For a new learner, count on up to a couple of hours, since each phase—studying reflections, adjusting pulls, correcting missteps—will tax your patience until it becomes second nature. Rushing is the real enemy; slow work, with back-and-forth between pulling and tapping, nearly always pays off with superior results.
Wrapping Up Your Repair Journey
Learning to do your own paintless dent repairs isn’t just about penny-pinching (though that part’s undeniably satisfying). There’s something oddly empowering about nudging a stubborn dent flat, restoring the car to its former self. It’s a process that demands patience, a good eye, and a willingness to turn back and redo steps when things aren’t lining up just so.
Tools cleaned and stowed, reflection board at the ready, you’ll walk away with know-how that pays for itself over time—in both dollars and quiet pride. Move gently, work thoughtfully, and the panel will usually reward you. Thanks for reading this guide on how to do paintless dent removal.

About
Ora Hayes is a distinguished figure in the world of DIY Thecarfixes, with over a decade of expertise in automotive diagnostics and high-performance maintenance. Her professional focus lies in merging mechanical precision with modern digital tools, fostering repair solutions that are both cost-effective and highly reliable. As the author of Thecarfixes, Ora Hayes delves into the art and science of automotive restoration, inspiring car owners and hobbyist mechanics alike.
Education
RMIT University (Melbourne, Australia) Associate Degree in Automotive Engineering — Focus on vehicle dynamics, industry-driven repair protocols, and advanced diagnostics. Gained hands-on experience with traditional mechanical tools and modern ECU remapping software.
Nottingham Trent University (United Kingdom) Bachelor’s in Mechanical Design and Automotive Engineering (Honors) — Specialized in automotive systems with a focus on blending technical engineering with everyday usability. Participated in industry projects, working with leading automotive manufacturers to gain real-world insights into vehicle longevity.
Publications and Impact
In Thecarfixes, Ora Hayes shares her insights on troubleshooting complex engine issues, material durability, and strategies for efficient garage setups. Her writing bridges the gap between professional mechanic knowledge and the home enthusiast’s needs, making it a must-read for both everyday drivers and seasoned gearheads.




