

Knowing how to do car inspection is one of the most valuable skills any driver can have. Whether you’ve just bought a used vehicle or want to stay ahead of costly repairs, a thorough inspection keeps you safe and saves you money.
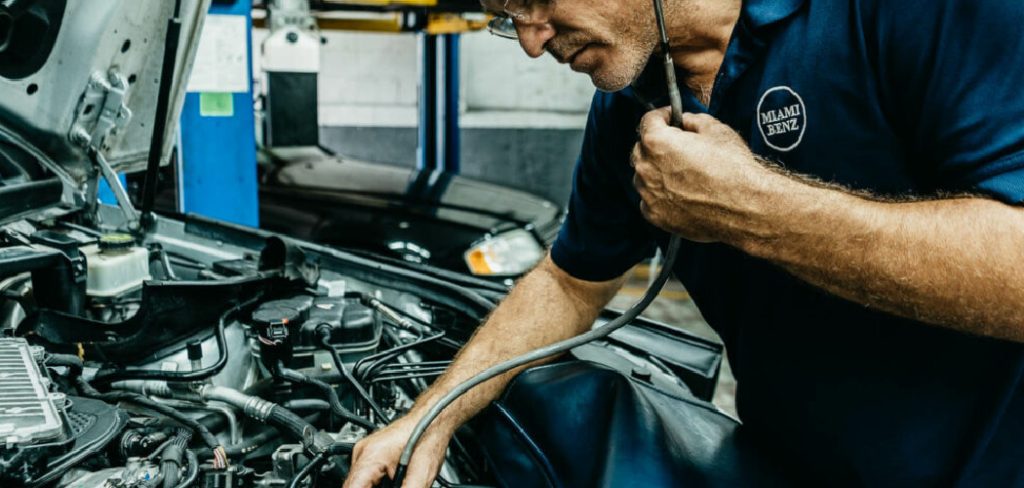
Many drivers skip this step entirely — until something goes wrong. A basic check takes less than an hour and can catch problems before they become emergencies This guide walks you through every stage of the process in plain, simple language. No mechanical background required.
Regular car inspections are essential for maintaining your vehicle’s performance and reliability. By dedicating a small amount of time to examining key components, you can prevent unexpected breakdowns, improve safety, and extend the lifespan of your car. This proactive approach helps you address minor issues before they evolve into costly repairs, ensuring peace of mind every time you’re behind the wheel.
Why Car Inspection Matters
Skipping regular checks is one of the most common — and expensive — mistakes car owners make. A small issue ignored today can become a major repair bill tomorrow.
Regular inspections protect your safety on the road by catching brake wear, tire problems, and fluid leaks early. They also help maintain your vehicle’s resale value, since a well-documented, well-maintained car is worth significantly more than a neglected one.
Beyond cost savings, inspections give you peace of mind. You drive with confidence when you know your vehicle is in good shape. For new car owners especially, building this habit early creates a foundation for reliable, long-term ownership.
Step-by-Step Guide To Car Inspection
Before you begin, park on a flat surface in good lighting. You’ll need a flashlight, a tire pressure gauge, and a clean rag. Understanding how to do car inspection properly starts with being prepared — don’t rush, and work through each area systematically.
Step 1: Check The Exterior
Walk slowly around the entire vehicle and look for dents, scratches, rust spots, or paint damage. Pay close attention to the wheel wells, door edges, and the underside of the bumpers — these areas collect moisture and rust faster than other parts.
Also check that all lights are intact and uncracked. Damaged headlight or taillight covers let water in, which burns out the bulbs faster and can become a safety hazard on the road.
Step 2: Inspect The Tires
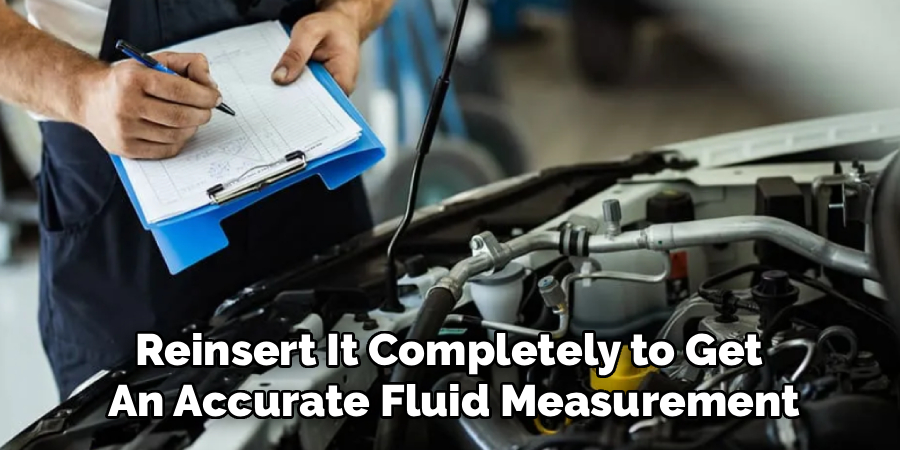
Check each tire for visible damage like cracks, bulges, or embedded nails. Then use your pressure gauge to verify that each tire matches the recommended PSI listed in your owner’s manual or on the sticker inside the driver’s door.
Don’t forget the spare. It’s easy to overlook, but a flat spare is useless when you actually need it. While you’re at it, check tread depth by inserting a coin into the groove — if you can see the top of the coin, the tires need replacing.
Step 3: Examine The Brakes
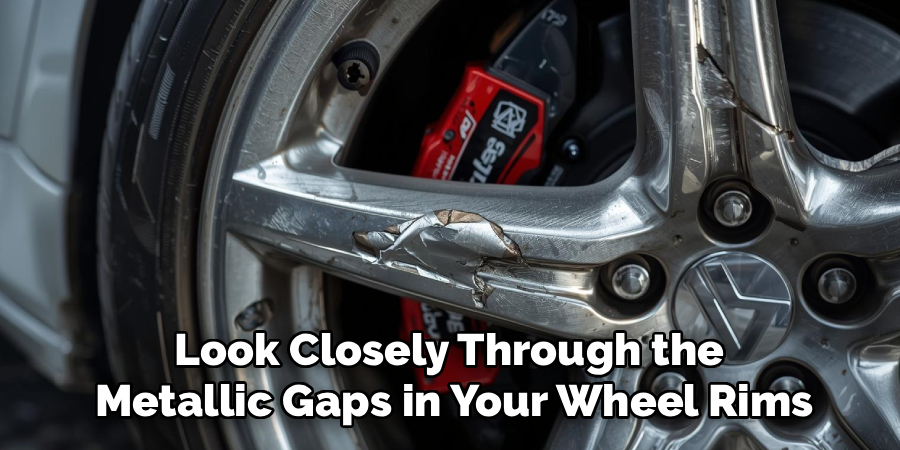
You don’t need to remove the wheels to get a basic read on your brakes. Look through the spokes of each wheel to see the brake rotor and caliper. The brake pads should be at least a quarter inch thick. If they look thin or you notice grooves scored into the rotor surface, that’s a sign they need attention soon.
Also listen for squealing or grinding sounds when you press the brakes during a test drive. Those noises are often the first warning.
Step 4: Check All Fluid Levels
Open the hood and locate the reservoirs for engine oil, coolant, brake fluid, power steering fluid, and windshield washer fluid. Each reservoir has a minimum and maximum line — the fluid should sit between them.
Use the dipstick to check oil level and condition. Fresh oil is amber-colored and clear. Dark, gritty oil means it’s overdue for a change. Low coolant or brake fluid can indicate a leak, which needs professional attention before driving long distances.
Step 5: Inspect The Battery
Look at the battery terminals for white or bluish buildup, which is corrosion. Corrosion interferes with the electrical connection and can leave you stranded. A wire brush clears it up quickly.
Check that the battery is firmly mounted and that the cables are tightly connected. If your car has been slow to start, or if the battery is more than three years old, consider having its charge tested at an auto parts store — most do it free.
Step 6: Test All Lights And Electronics
Turn on the ignition and walk around the car to check every light: headlights, taillights, brake lights, reverse lights, and turn signals. Ask a friend to help, or use a wall to reflect the brake and reverse lights back to you.
Inside the car, check that your dashboard warning lights turn off after startup. A light that stays on — especially the check engine or oil pressure light — needs to be diagnosed before you drive any significant distance.
Step 7: Review The Undercarriage
Crouch down or use a flashlight to scan the underside of the vehicle. Look for any fluid drips on the ground beneath the car, which can indicate oil, coolant, or transmission fluid leaks. Also check for sagging exhaust components, loose heat shields, or visible rust on the frame.
This step often gets skipped, but it gives you a clear picture of your vehicle’s overall health. A quick look underneath is especially important after purchasing a used car or after driving on rough terrain. Knowing how to do car inspection at this level helps you catch hidden problems early.
Benefits of Professional Maintenance
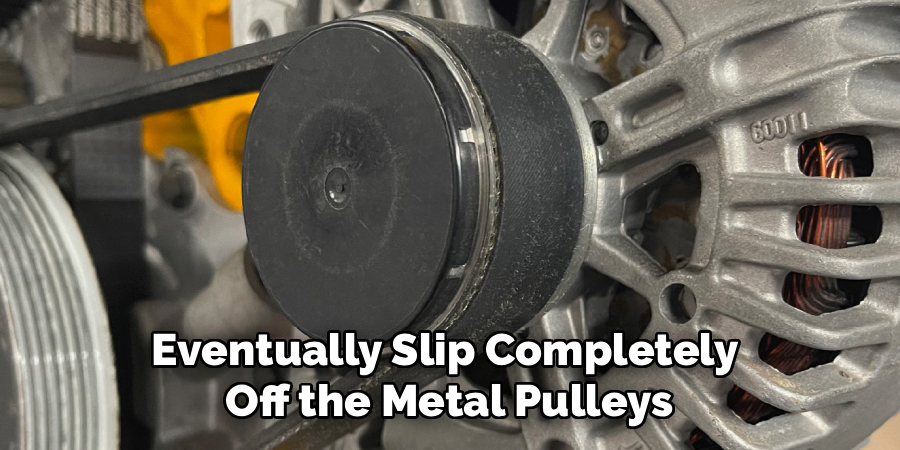
While performing your own car inspections is invaluable, there are significant benefits to incorporating professional maintenance into your routine. Certified mechanics have the expertise and specialized tools necessary to detect and address issues that may not be visible during a casual inspection. They can perform precise diagnostics, ensuring complex systems, such as the engine, transmission, and suspension, are operating optimally. Additionally, regular professional maintenance helps prolong the lifespan of your vehicle, maintain its resale value, and improve safety by preventing major breakdowns. Combining personal inspections with professional check-ups ensures your car remains in peak condition.
Frequently Asked Questions
How Often Should I Inspect My Car?
A basic inspection should be done at least once a month and before any long road trip. A quick walk-around and fluid check takes fewer than 15 minutes once you get used to it. More thorough checks — including brakes and undercarriage — should happen every three to six months depending on how much you drive and road conditions in your area.
Do I Need Special Tools To Inspect My Car?
Not for a basic inspection. A tire pressure gauge, a flashlight, and a clean rag cover most of what you need. For checking brake pad thickness, a small ruler or coin works fine. More advanced checks like reading diagnostic codes do require a tool, but those are inexpensive and available at most auto parts stores for under thirty dollars.
What Should I Do If I Find A Problem?
Document what you found — take a photo if possible — and assess the severity. Minor issues like low windshield washer fluid can be handled immediately. Anything involving brakes, steering, or leaking fluids should be addressed by a qualified mechanic before driving. Don’t delay on safety-critical issues; driving with a known brake or steering problem puts both you and others at risk.
Can I Inspect A Used Car Before Buying It?
Absolutely, and you should always do so. Walk through each step in this guide before committing to a purchase. Pay special attention to rust, tire wear, fluid condition, and any warning lights on the dashboard. If you’re not confident in your assessment, hiring a pre-purchase inspection from a trusted mechanic typically costs between $100 and $150 and can save you thousands.
Is A DIY Inspection Good Enough Or Do I Need A Mechanic?
A DIY inspection is a great starting point and helps you catch obvious issues early. However, it doesn’t replace a professional service. Mechanics use diagnostic equipment, lifts, and trained judgment that go well beyond what you can check visually. Aim to do your own checks monthly and schedule a professional inspection at least once a year or with every oil change.
Conclusion
Keeping your vehicle safe and reliable doesn’t require a degree in engineering. The steps covered here — from tires and brakes to fluids and lights — give you a solid framework you can use every month.
The key takeaways are simple: be consistent, be thorough, and don’t ignore warning signs. Small problems caught early almost always cost less to fix than problems that were left alone.
Start this weekend. Set a reminder on your phone for next month. Once you make knowing how to do car inspection a regular habit, you’ll drive with far more confidence — and a lot fewer surprises on the road.

About
Ora Hayes is a distinguished figure in the world of DIY Thecarfixes, with over a decade of expertise in automotive diagnostics and high-performance maintenance. Her professional focus lies in merging mechanical precision with modern digital tools, fostering repair solutions that are both cost-effective and highly reliable. As the author of Thecarfixes, Ora Hayes delves into the art and science of automotive restoration, inspiring car owners and hobbyist mechanics alike.
Education
RMIT University (Melbourne, Australia) Associate Degree in Automotive Engineering — Focus on vehicle dynamics, industry-driven repair protocols, and advanced diagnostics. Gained hands-on experience with traditional mechanical tools and modern ECU remapping software.
Nottingham Trent University (United Kingdom) Bachelor’s in Mechanical Design and Automotive Engineering (Honors) — Specialized in automotive systems with a focus on blending technical engineering with everyday usability. Participated in industry projects, working with leading automotive manufacturers to gain real-world insights into vehicle longevity.
Publications and Impact
In Thecarfixes, Ora Hayes shares her insights on troubleshooting complex engine issues, material durability, and strategies for efficient garage setups. Her writing bridges the gap between professional mechanic knowledge and the home enthusiast’s needs, making it a must-read for both everyday drivers and seasoned gearheads.




