

Converting a gasoline car to an electric vehicle is an exciting, challenging, and deeply rewarding project. It transforms an aging, fossil-fuel-dependent machine into a clean, quiet, and highly efficient mode of modern transportation.
While the automotive industry is rapidly shifting toward factory-built electric vehicles, a custom EV conversion allows you to keep a car you love on the road while upgrading its powertrain for the future.
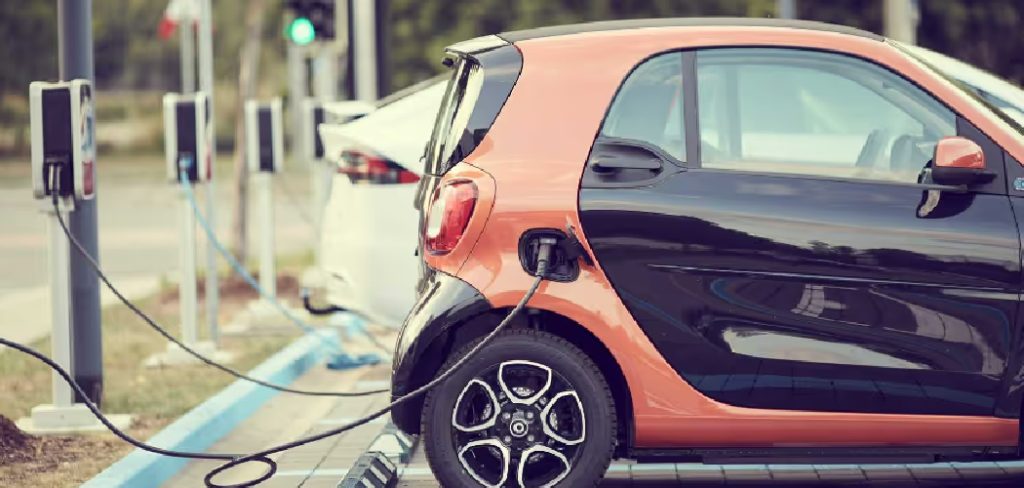
This comprehensive guide on how to convert a car to electric walks you through the entire process of swapping an internal combustion engine for an electric motor. Whether you want to resurrect a vintage classic, build a unique daily driver, or simply learn about high-voltage systems and automotive engineering, an EV conversion offers an incredible hands-on experience.
Tools and Components Needed
Before you turn a single wrench, you need to gather the right hardware. An EV conversion requires a mix of specialized electrical components and standard mechanical tools.
Essential Components
- Electric Motor: The heart of the conversion. AC induction motors and permanent magnet synchronous motors are the most popular choices for modern builds due to their efficiency and power.
- Motor Controller: The brain of the powertrain. The controller sits between the battery and the motor, regulating the flow of electricity based on input from the accelerator pedal.
- Battery Pack: The fuel tank. Most conversions use lithium-ion batteries. You can source modules from salvaged EVs or buy new lithium iron phosphate (LiFePO4) cells.
- Battery Management System (BMS): A critical safety component that monitors the voltage and temperature of every individual cell in the battery pack, preventing overcharging and deep discharging.
- DC/DC Converter: Replaces the alternator. It takes the high voltage from the main battery pack and steps it down to 12 volts to run your headlights, wipers, radio, and standard car electronics.
- On-Board Charger: Plugs into a wall outlet or charging station to recharge the main high-voltage battery pack.
- Adapter Plate and Hub: Custom-machined parts that connect the electric motor to your existing manual transmission (if you choose to retain it).
- Vacuum Pump: Electric pump to provide vacuum pressure for power brakes, since you no longer have an engine to produce a manifold vacuum.
- High-Voltage Wiring and Fuses: Thick, shielded orange cables (typically 2/0 AWG or larger), heavy-duty contactors, and proper high-voltage fuses to safely route power.
Essential Tools
You will need a comprehensive set of standard mechanic’s tools, including sockets, wrenches, pliers, and screwdrivers. You also need an engine hoist to remove the old engine and lower the heavy electric motor into place. Metal fabrication tools, such as an angle grinder, drill press, and ideally a MIG or TIG welder, are necessary for creating custom motor mounts and battery boxes. Finally, you need electrical tools: a high-quality multimeter rated for high voltage, wire crimpers, heat shrink tubing, and protective equipment like insulated high-voltage gloves.

10 Easy Steps on How to Convert a Car to Electric
Converting a car requires methodical planning and precise execution. Following a structured approach ensures safety and helps prevent costly mistakes.
Step 1: Planning and Donor Car Selection
The foundation of a successful conversion is picking the right donor car. Lightweight, manual transmission vehicles with plenty of space under the hood and in the trunk make the best candidates. You must calculate your desired range and top speed, which dictates the size of the battery pack and the power of the motor. Create a comprehensive budget, measure the physical space available in the donor car, and map out exactly where the heavy battery modules will sit to maintain proper weight distribution. Detailed planning at this stage prevents major headaches later.
Step 2: Removing the Internal Combustion Engine
This step marks the point of no return. You will drain all fluids from the vehicle, including coolant, engine oil, transmission fluid, and gasoline. Disconnect the battery, remove the radiator, exhaust system, fuel tank, and fuel lines. Carefully unbolt the engine from the transmission and use an engine hoist to lift the block out of the engine bay. Thoroughly clean and degrease the empty engine bay. You now have a blank canvas ready for your new electric powertrain.
Step 3: Creating the Adapter Plate and Motor Mounts
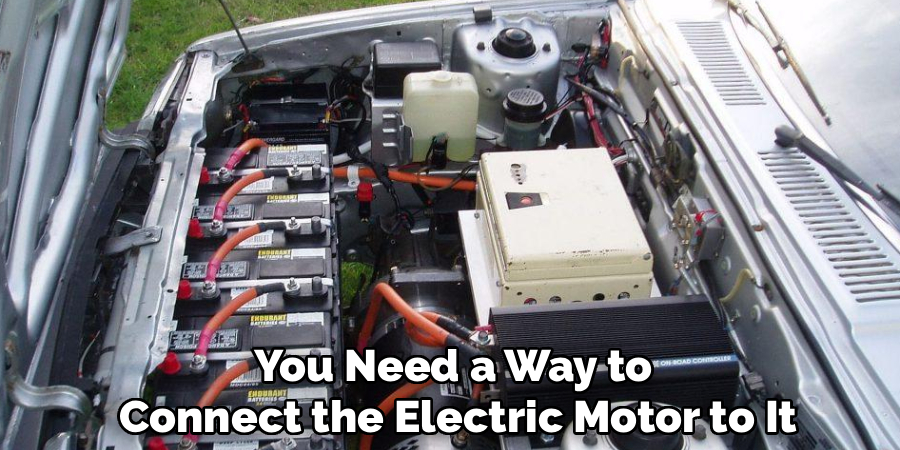
If you keep the original transmission, you need a way to connect the electric motor to it. You will measure the bolt pattern on the transmission bell housing and the bolt pattern on the face of the electric motor. Using these measurements, you or a machine shop must fabricate an aluminum adapter plate. You also need a custom hub to connect the motor shaft to the car’s original clutch or input shaft. Once the motor and transmission are bolted together, you must fabricate sturdy steel motor mounts to secure the assembly to the original chassis mounting points.
Step 4: Installing the Electric Motor
With the adapter plate and mounts finished, attach the motor to the transmission while both are out of the car, or hoist the motor into the engine bay and bolt it to the waiting transmission. Secure the custom motor mounts to the chassis using high-grade bolts. Check the alignment carefully; any misalignment between the motor and the transmission will cause severe vibration and premature bearing failure. Ensure the motor sits level and has adequate clearance around it for wiring and cooling lines.
Step 5: Planning and Fabricating Battery Boxes
Batteries are incredibly heavy and require robust mounting solutions. Measure your battery modules and fabricate custom steel or thick aluminum boxes to hold them securely. These boxes must protect the batteries from road debris, moisture, and collisions. Distribute the battery boxes strategically—often placing some in the engine bay and some in the rear where the gas tank used to be—to mimic the original weight distribution of the vehicle. Line the inside of the boxes with non-conductive material to prevent accidental short circuits.
Step 6: Installing the Battery Pack
Carefully lower your battery modules into the fabricated boxes. Secure them tightly so they cannot shift under hard acceleration or cornering. Connect the battery cells or modules using heavy-duty copper busbars. This is the most dangerous part of the build, as the battery pack will reach lethal voltage levels as you connect the modules in series. Always use insulated tools, wear high-voltage protective gloves, and double-check your wiring diagrams before making any connections.
Step 7: Mounting the Controller and Electronics
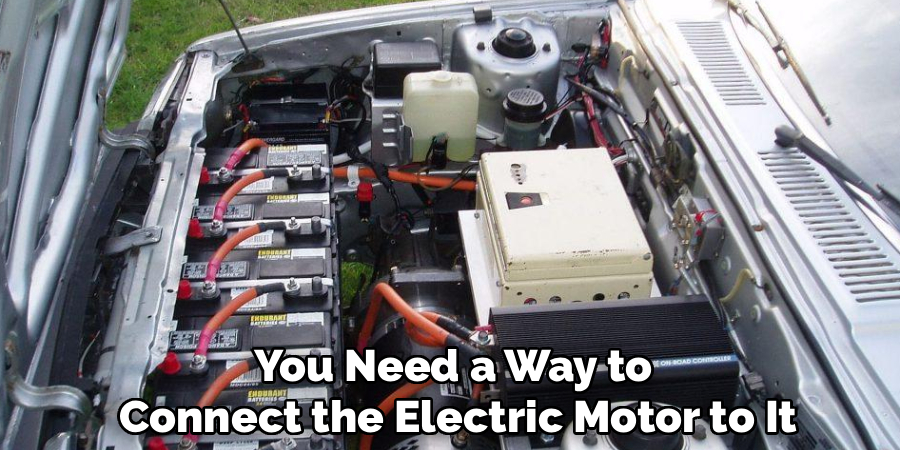
Find a secure, dry, and well-ventilated location in the engine bay to mount the motor controller, DC/DC converter, and onboard charger. Many builders fabricate a custom electronics tray that sits securely above the electric motor. The motor controller handles massive amounts of current and generates heat, so it often requires a liquid cooling loop. Mount a small electric water pump, a compact radiator, and a fan to circulate coolant through the controller and the motor.
Step 8: Wiring the High-Voltage and Low-Voltage Systems
Wiring connects everything. Start with the high-voltage system using thick, bright orange cables. Connect the battery pack to the main contactor, run cables to the motor controller, and then connect the controller to the motor. Install an inertia switch and emergency disconnects to sever high voltage instantly in a crash. Next, wire the low-voltage 12V system. Connect the BMS, the accelerator pedal position sensor, and the DC/DC converter. Wire the ignition switch to activate the main contactor, allowing the low-voltage system to turn on the high-voltage system safely.
Step 9: Integrating Auxiliary Systems
An electric car still needs working brakes, steering, and cabin heat. Install the electric vacuum pump and connect it to the brake booster to restore power braking. If your donor car had hydraulic power steering, install a standalone electric power steering pump. To replace the heater core that previously relied on hot engine coolant, install a high-voltage ceramic heating element to provide warm air to the cabin. Ensure all these systems are safely integrated and fused.
Step 10: Testing, Tuning, and Final Safety Checks
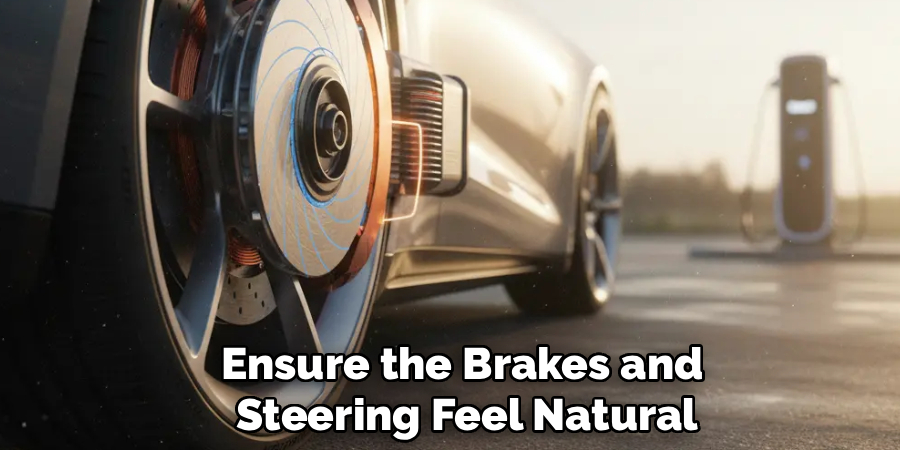
Before putting the car on the ground, keep the drive wheels raised on jack stands. Turn the key and monitor the BMS for any errors. Gently press the accelerator to verify the motor spins smoothly in the correct direction. Check the programming of the motor controller to set acceleration limits, maximum voltage, and regenerative braking strength. Once bench-tested, lower the car and perform a cautious test drive in a safe, enclosed area. Check for loose bolts, monitor component temperatures, and ensure the brakes and steering feel natural.
5 Things You Should Avoid
1. Skimping on the Battery Management System (BMS)
Never run lithium batteries without a high-quality BMS. A BMS monitors cell voltages and temperatures, balancing them and shutting down the system if anything goes out of range. Skipping a BMS guarantees battery degradation and significantly increases the risk of a catastrophic thermal runaway or fire.
2. Ignoring Weight Distribution
Batteries are incredibly heavy. If you throw all your batteries in the trunk, the front tires will lose grip, ruining steering and braking performance. Always distribute the battery weight to maintain the original front-to-rear weight ratio of the vehicle, keeping the center of gravity as low as possible.
3. Disrespecting High Voltage
An EV battery pack operates at voltages ranging from 100V to over 400V DC. This level of direct current is lethal. Never work on the battery pack without heavy rubber high-voltage gloves (Class 0), never use uninsulated metal tools near battery terminals, and never rush your electrical connections.
4. Picking a Heavy, Complex Donor Car
Modern luxury SUVs or heavy trucks are terrible candidates for a first-time conversion. They require massive motors and enormous battery packs just to move, drastically inflating your budget. They also have complex computer systems that are difficult to bypass. Stick to lightweight, simple, older vehicles with manual transmissions.
5. Under-sizing the Wiring and Fuses
Using wires that are too thin for the current they carry will cause them to overheat, melt, and start a fire. Always use properly rated copper cabling (like 2/0 or 4/0 for main traction wiring) and ensure every high-voltage circuit has a suitably rated high-voltage DC fuse.
Conclusion
How to convert a car to electric is a massive undertaking, but the final result is truly spectacular. You get the incredible satisfaction of driving a clean, silent, and highly responsive vehicle that you built with your own hands. By carefully planning your build, respecting the dangers of high voltage, and methodically tackling each step, you can successfully breathe new life into an old chassis.
Take your time researching components, leverage the vast online community of EV converters for advice, and never compromise on safety. The transition to electric mobility does not mean we have to abandon the classic cars and unique vehicles we love; we simply have to upgrade them.
Grab your tools, start planning your build, and enjoy the journey of creating your very own electric vehicle.

About
Ora Hayes is a distinguished figure in the world of DIY Thecarfixes, with over a decade of expertise in automotive diagnostics and high-performance maintenance. Her professional focus lies in merging mechanical precision with modern digital tools, fostering repair solutions that are both cost-effective and highly reliable. As the author of Thecarfixes, Ora Hayes delves into the art and science of automotive restoration, inspiring car owners and hobbyist mechanics alike.
Education
RMIT University (Melbourne, Australia) Associate Degree in Automotive Engineering — Focus on vehicle dynamics, industry-driven repair protocols, and advanced diagnostics. Gained hands-on experience with traditional mechanical tools and modern ECU remapping software.
Nottingham Trent University (United Kingdom) Bachelor’s in Mechanical Design and Automotive Engineering (Honors) — Specialized in automotive systems with a focus on blending technical engineering with everyday usability. Participated in industry projects, working with leading automotive manufacturers to gain real-world insights into vehicle longevity.
Publications and Impact
In Thecarfixes, Ora Hayes shares her insights on troubleshooting complex engine issues, material durability, and strategies for efficient garage setups. Her writing bridges the gap between professional mechanic knowledge and the home enthusiast’s needs, making it a must-read for both everyday drivers and seasoned gearheads.




