

There’s something quietly satisfying about reviving your car’s shine—sometimes, it doesn’t feel like you’re just working on metal and paint, but restoring a little dignity that’s been chipped away by the seasons. When people talk about clear coating, they tend to conjure images of sterile body shops and technicians in coveralls, but holding a spray gun isn’t exactly alchemy. Do it right, and there’s every chance you’ll end up with results that, while perhaps not museum-grade, are impressive for a home project.
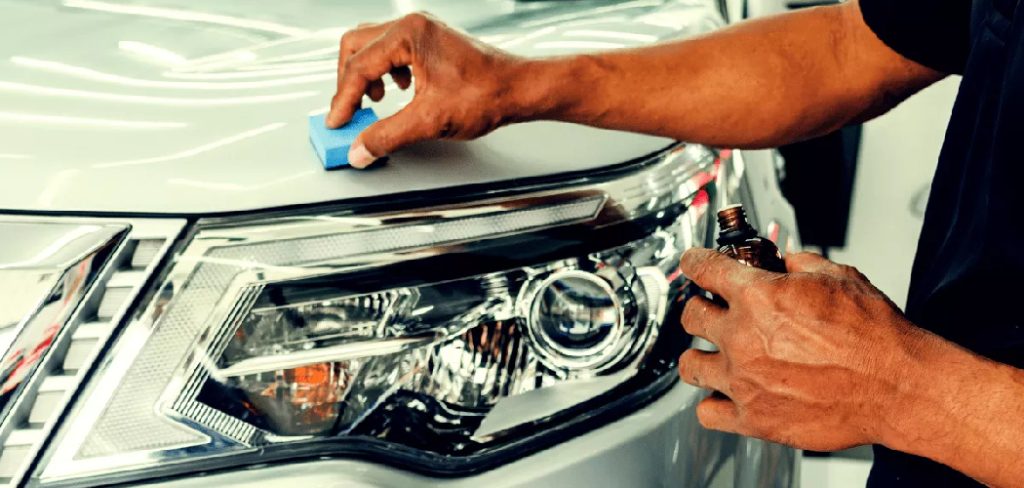
Of course, certain “how-to” guides gloss over the preparatory work, but as anyone who’s ever botched a paint job will tell you, the best intentions mean little without a degree of patience—and the right materials. So, before you tip paint into a cup, let’s consider what you’ll actually need and what sort of hazards you might encounter along the way. In this guide on how to clear coat a car, we’ll cover the essential steps and materials needed for a successful project.
What Is Automotive Clear Coat?
On a technical note, the clear coat is the transparent top layer sprayed over a car’s color base. It contains no pigments—none—so you won’t be brightening up faded blue paint just by piling this on. Its real job isn’t about color but about shine and, more importantly, protection.
This layer absorbs the brunt of everyday life: UV rays, acid rain, tree sap stubbornly glued to your hood, bird droppings, and the occasional stray branch. Most modern vehicles use a system that sandwiches the paint under this clear, sturdy seal. The alternative—painting in a single stage—tends to age far less gracefully; think chalky reds and faded greens you see in parking lots. Sun and time are not kind to naked paint.
Safety Precautions Before Starting
Let’s not kid ourselves—automotive chemicals aren’t to be taken lightly. The stuff inside a can of clear coat can give you respiratory trouble or worse if you’re careless. VOCs and isocyanate hardeners, in particular, aren’t “maybe bad for you”—they’re proven hazards. Work in a space with real airflow; opening a single garage door isn’t enough unless you’ve also got fans and cross-breezes.
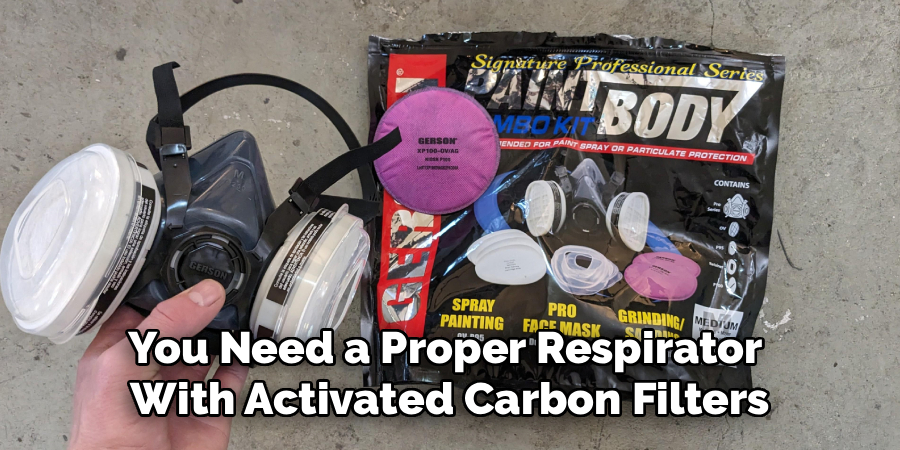
Standard dust masks won’t cut it. You need a proper respirator with activated carbon filters, something designed for organic vapors. Eye protection is non-negotiable—the sting of solvents isn’t easily forgotten. Gloves, painter’s overalls, and common sense (no smoking, avoid sparks) complete the look, but really, safety should come before any thoughts of a glossy finish.
Materials Needed
- Automotive-grade clear coat
- Paint primer
- Masking tape
- Sandpaper (various grits)
- Wax and grease remover
- Microfiber cloth
- Spray gun (or airbrush)
- Protective gear (gloves, goggles, mask)
7 Simple Step-By-Step Guidelines on How to Clear Coat a Car
Step 1: Wash and Prep the Vehicle
If you rush this first step, everything else is basically wasted effort. Starting with a proper wash—car shampoo, warm water, and determined elbow grease—removes the grit and accidental abrasives that ruin new coatings. Once the surface is dry, use a genuine wax and grease remover; a half-hearted wipe just means you’ll be seeing bubbles or blotches later when it’s too late to fix.
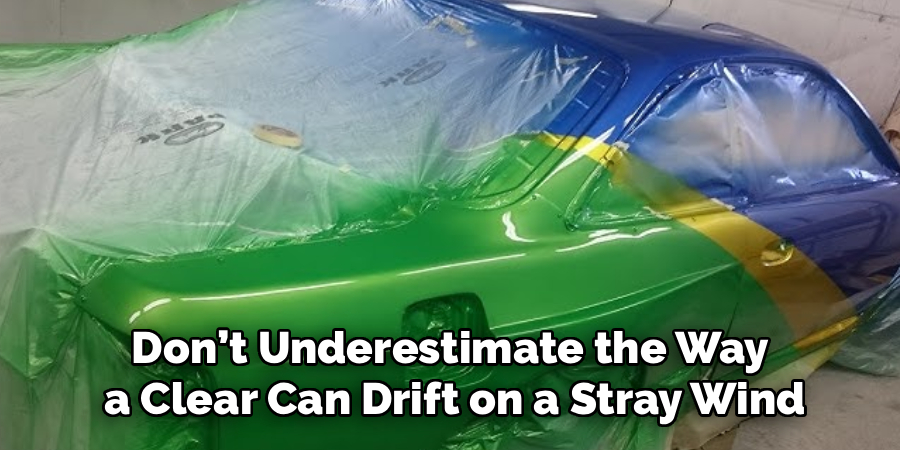
After you’ve cleaned it, take a good look under real light for scratches or old scuffs. Anything you miss now will only become more obvious. Then mask properly. Don’t underestimate the way a clear can drift on a stray wind. Cover all those plastic trims, glass, rubber, and even badges. Fixing overspray from glass isn’t just unpleasant; it’s tedious.
Step 2: Sand the Existing Surface
Here’s where many give in to impatience. Sanding isn’t glamorous, and it’s easy to quit too early. But getting a truly dead-matte finish is what unlocks adhesion. Use 800-grit wet sandpaper, keeping the surface and paper rinsed with soapy water—dry-sanding leaves scratches that polish won’t hide. The goal here isn’t to sand through the color but simply eliminate the shiny spots.
Once it looks dull across the panel, rinse until every trace of chalky residue disappears. Then, dry with care using clean microfiber towels, or try a blast of compressed air (if you’re lucky enough to have an oil-free compressor). Missed a glossy island? Go back. Leaving it risks peeling within months, if not weeks.
Step 3: Clean with a Tack Cloth
It’s almost funny how persistent dust can be. Even after a careful wash and dry, particles drift down from nowhere. A tack cloth—slightly sticky, oddly satisfying—is where persistence pays off. Glide it gently over the car, letting gravity and surface tension do the job. Don’t press. The moment you grind that stickiness in, you’re setting yourself up for trouble: fisheyes, a type of paint defect, are difficult and time-consuming to sand out later.
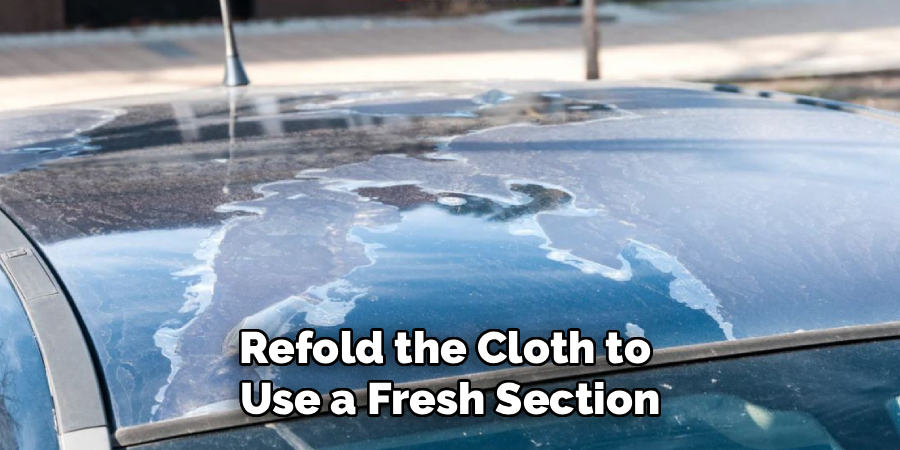
As you go, refold the cloth to use a fresh section. This last-minute dust-off is surprisingly effective; don’t underestimate it.
Step 4: Mix the Clear Coat
Here’s a detail that seems easy but goes sideways fast. Clear coats are almost always a two-part system: resin and hardener. The mixing ratio isn’t a rough guess—it’s specific, and the margin for error is slim. 2:1, 3:1, whatever the instructions say, you must follow. Eyeballing it could leave you with brittle or sticky results. Stir thoroughly; lazy mixing undercuts everything.
Temperature and humidity demand your attention here. Sometimes a reducer is necessary for the right flow. Pour the mixed product through a paper strainer to catch any lint or blobs, and remember that your window of use—called “pot life”—starts ticking the moment chemicals meet.
Step 5: Adjust Your Spray Gun
A spray gun, poorly set, will ruin hours of prep in a few seconds. Before the real thing, connect it to your compressor and test on scrap. You want a fan pattern that’s wide and flat without thick, drippy patches or dry spatter. Play with the air pressure (25–30 psi is usually right), fluid control, and fan width. If you don’t get it right now, you’ll be trying to fix runs and orange peel for ages.
Fine-tuning pays off. Different panels may need different settings and techniques. Don’t assume you can “feel it out” mid-job—practice in advance.
Step 6: Apply the First Coat
The first coat is a “tack” layer. That’s not a marketing term; it’s reality. Keep your spray gun perpendicular, steady, about six to eight inches from the panel. Start your stroke just before the edge and finish off the other side, releasing the trigger off-panel to avoid uneven buildup.
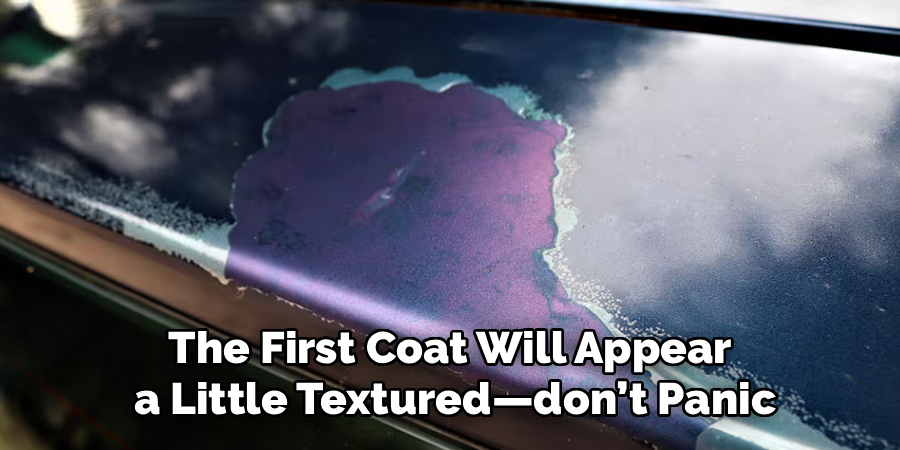
Overlap your passes by about half. The first coat will appear a little textured—don’t panic, that’s expected. A perfect glassy look on coat one nearly always means you went too heavy, which leads to sags. Step back, let this “flash off” for somewhere between ten and twenty minutes (the label will never steer you entirely wrong here, but watch the actual surface too).
Step 7: Apply Additional Coats
Watch for the “tackiness” test—if it’s sticky but nothing comes up on your finger through a glove, you’re ready for more. The second coat should go on a bit thicker. You’ll see it start to level out and become genuinely glossy. Edges and seams are at risk for runs, so tread (or rather spray) lightly there.
Most jobs do fine with two or three coats. Never rush the flash time—the waiting lets solvents escape, which is boring but prevents those annoying pinholes known as “solvent pop.” Once you’re done, let it cure in a quiet, dust-free space for the full time recommended. Anything sooner and you risk fingerprints or worse.
Following these steps on how to clear coat a car will give you a professional-looking finish that will make your vehicle shine.
Common Mistakes to Avoid
There’s a hierarchy of regrets here. Often, skipping prep means eventual peeling, sometimes within weeks. Failing to give enough flash time lets solvents bubble into pinholes you can’t sand out.
Spraying too heavily guarantees gravity will get the last word with long, globby runs or faint “curtains.” Humidity and cold? Either one will turn glossy, new, and clear into a cloudy mess. And using products from totally incompatible chemistries together is an invitation to start over from scratch.
Troubleshooting Issues
No matter how careful you are, things do go wrong. “Orange peel”—a dimpled, pebbly look—not always a sign of failure, but it’s usually an air-pressure or technique issue. Runs mean too much material in one pass or sitting too close. Fisheyes are almost always traced back to missed oil or silicone contaminants. Dry spray (that scratchy sandpaper texture) results from high pressure, excessive distance, or moving too quickly.
Thankfully, sanding and polishing can often fix these. It’s rarely perfect, but sometimes “good enough” really is. The mark of someone with experience is less about what goes right and more about calmly fixing what went wrong.
Maintenance After Clear Coating
If you’re impatient, this part will test you. For the first month (or two), keep waxes, sealants, and certainly anything ceramic far away—the new finish needs time to fully cure, or “outgas.” Stick with gentle hand washes. Use microfiber mitts and automotive shampoo, skipping all those harsh automatic machines.
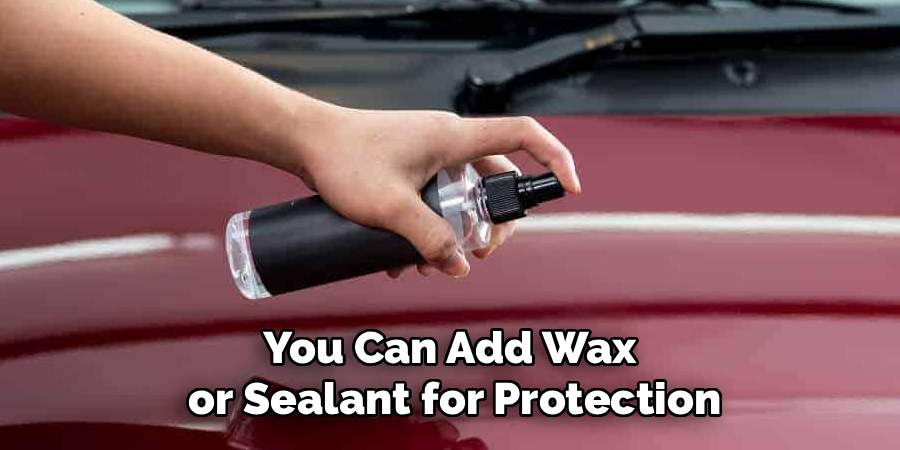
Once fully cured (patience, now), you can add wax or sealant for protection. Don’t skip this down the line; sun and birds have zero mercy.
When to Seek Professional Help?
For all the pride in do-it-yourself jobs, there are limits. Severe dents, structural issues, or required welding? Get a pro. Working in a cramped shed with no real airflow is also a recipe for disaster.
Full-scale collision shops have temperature-controlled booths and equipment you can’t replicate at home, and sometimes that’s exactly what’s needed. Luxury cars or old classics may justify the expense; minor blemishes on your old runabout, maybe not.
Frequently Asked Questions
Q1: How Long Does Clear Coat Take To Dry?
Dry-to-the-touch varies—a few hours on average, depending on product and weather. Gentle handling requires at least 24 to 48 hours, but full chemical cure sometimes takes a month or even longer. At least for a while, avoid wax and anything else that could seal in solvents.
Q2: Can I Apply Clear Coat Without Sanding?
Tempting as it is, that shortcut almost never turns out well. Without sanding, the new clear can’t bind to the old. Expect peeling and disappointment. Preparing the surface is the highest-leverage time you’ll spend.
Q3: What Is the Best Temperature for Spraying Clear Coat?
Generally, you’re looking for a “room temperature” feel—70 to 80°F (21–27°C). Go outside that range and you’ll chase new problems: slow curing in the cold, fast-drying (and thus rough) clear in the heat. Always trust the datasheet, but adjust it to your real workspace.
Enjoying Your Flawless Finish
Taking on clear coat as a do-it-yourselfer is not a fast process, but the results are often worth the learning curve. It isn’t about blindly following steps—it’s about knowing when to adapt, how to fix things that go wrong, and taking satisfaction in work done with your own hands.
Surface prep isn’t just a chore—it’s the keystone for what comes after. If you spot imperfections after finishing, don’t panic. Wet sanding and careful polishing can recover the surface surprisingly often. Maintain the gloss with hand washes and occasional wax once cured, and the shine should stay with you for the long haul.
Armed with a little patience and a clear-eyed view of the process, you can breathe new life into that tired old exterior—one coat at a time. Thanks for reading this guide on how to clear coat a car.

About
Ora Hayes is a distinguished figure in the world of DIY Thecarfixes, with over a decade of expertise in automotive diagnostics and high-performance maintenance. Her professional focus lies in merging mechanical precision with modern digital tools, fostering repair solutions that are both cost-effective and highly reliable. As the author of Thecarfixes, Ora Hayes delves into the art and science of automotive restoration, inspiring car owners and hobbyist mechanics alike.
Education
RMIT University (Melbourne, Australia) Associate Degree in Automotive Engineering — Focus on vehicle dynamics, industry-driven repair protocols, and advanced diagnostics. Gained hands-on experience with traditional mechanical tools and modern ECU remapping software.
Nottingham Trent University (United Kingdom) Bachelor’s in Mechanical Design and Automotive Engineering (Honors) — Specialized in automotive systems with a focus on blending technical engineering with everyday usability. Participated in industry projects, working with leading automotive manufacturers to gain real-world insights into vehicle longevity.
Publications and Impact
In Thecarfixes, Ora Hayes shares her insights on troubleshooting complex engine issues, material durability, and strategies for efficient garage setups. Her writing bridges the gap between professional mechanic knowledge and the home enthusiast’s needs, making it a must-read for both everyday drivers and seasoned gearheads.




