

Clear visibility saves lives on the road. When heavy rain falls or snow flurries blur your windshield, your wiper blades become your most crucial safety feature. Unfortunately, many drivers neglect these essential components until they start squeaking, streaking, or failing during a storm.
This guide on how to clean wiper blades will walk you through the exact process of cleaning your wiper blades to ensure a crystal-clear windshield every time you drive. You will learn the best techniques for removing grime, protecting the rubber, and extending the lifespan of your blades.
By following these practical maintenance steps, you can save money on frequent replacements and feel much safer behind the wheel.
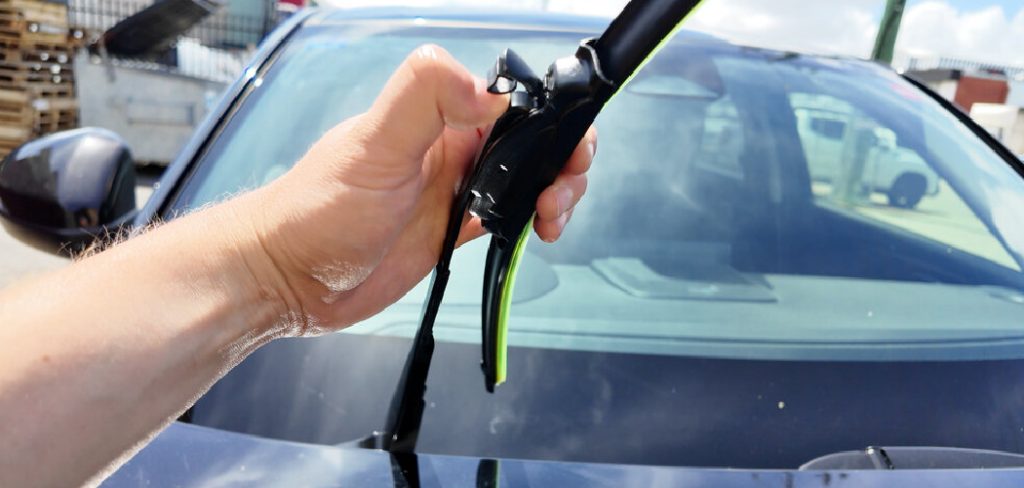
What Will You Need?
Before you begin the cleaning process, gather a few basic supplies. You likely already have most of these items in your home or garage.
- Microfiber towels or clean cotton rags
- Warm soapy water
- Rubbing alcohol (isopropyl alcohol)
- Automotive glass cleaner
- A soft-bristled brush or an old toothbrush
10 Easy Steps on How to Clean Wiper Blades
Follow this step-by-step process to thoroughly clean your blades. Performing this routine takes only a few minutes but delivers lasting results.
Step 1: Lift the Wiper Arms Carefully
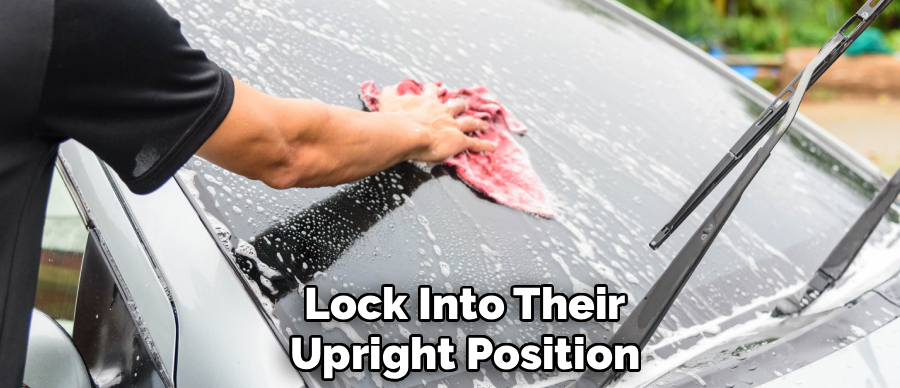
Begin by gently pulling the wiper arms away from your windshield until they lock into their upright position. If your car has concealed wipers that hide beneath the hood, turn your ignition on, activate the wipers, and turn the ignition off when they reach the middle of the windshield. Once the arms are pointing up, handle them carefully. The internal springs hold a lot of tension. If an arm snaps back against the glass without a blade attached, it can easily shatter your windshield. Keep a firm grip on the arm while making adjustments.
Step 2: Prepare Your Cleaning Solution
Mix a few drops of liquid dish detergent into a bucket of warm water. The soap acts as a degreaser, breaking down the oily residue that kicks up from asphalt roads. You want enough soap to create mild suds, but not so much that it leaves a sticky film behind. Swirl the water around until the soap fully dissolves. Dip a clean microfiber cloth into the bucket and wring it out so it remains damp but not dripping wet. A dripping rag will just make a mess on your vehicle’s hood.
Step 3: Wipe Away Surface Debris
Wrap your damp, soapy cloth around the rubber blade. Starting at the base of the blade near the hinge, pinch the rubber gently between your thumb and index finger. Slide your hand all the way up to the tip of the blade in one smooth, continuous motion. You will immediately notice a thick black streak of dirt and oxidized rubber on your cloth. Repeat this motion three or four times, using a clean section of the rag for each pass. Continue wiping until the cloth comes away mostly clean.
Step 4: Apply Warm Soapy Water to the Frame
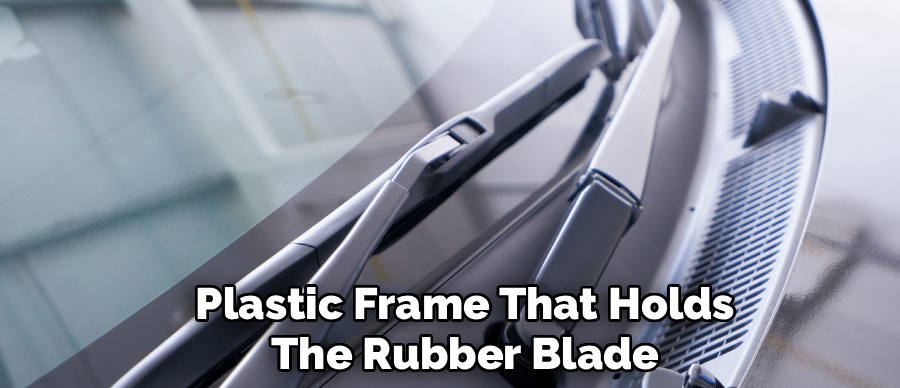
Do not ignore the metal or plastic frame that holds the rubber blade. This framework houses small hinges and pivot points that must move freely to keep the blade pressed flat against the curved glass. Use your soapy rag to wash the entire frame. Pay special attention to the underside, where leaves, pine needles, and dead bugs tend to get trapped. Removing this debris ensures the blade remains flexible and applies even pressure across your windshield during heavy downpours.
Step 5: Scrub the Rubber Blade Edge
Sometimes a simple wipe down fails to remove hardened tree sap or dried bird droppings from the delicate rubber edge. Take a soft-bristled toothbrush and dip it into your soapy water. Gently scrub the edge of the blade using small, circular motions. Do not press too hard, as aggressive scrubbing can tear the thin rubber or alter the precise angle of the wiping edge. The goal is to dislodge stubborn contaminants without damaging the structural integrity of the wiper blade.
Step 6: Rinse with Clean Water
Once you remove all the dirt, grease, and debris, you must rinse away the soap residue. If you leave dish soap on the rubber, it will create a terrible smear across your windshield the next time it rains. Take a fresh microfiber cloth and soak it in plain, clean water. Wipe down the rubber blade and the entire frame assembly multiple times. Ensure you remove all traces of soap. Alternatively, you can gently pour a small cup of clean water over the blade to flush away the suds completely.
Step 7: Apply Rubbing Alcohol to the Edge
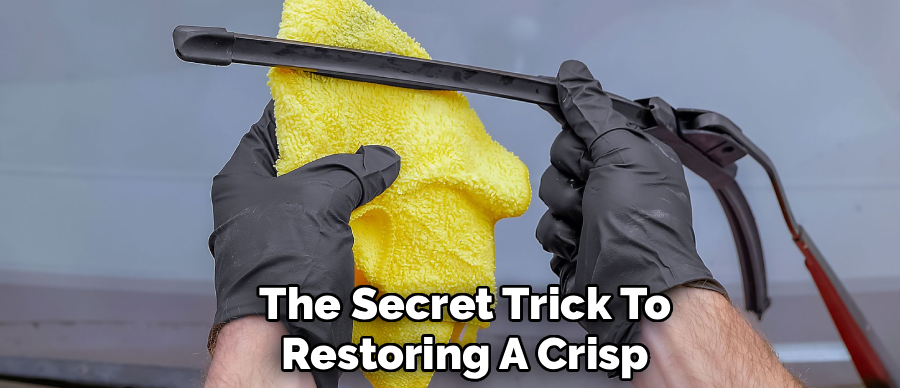
This step serves as the secret trick to restoring a crisp, effective wiping edge. Pour a small amount of isopropyl rubbing alcohol onto a clean corner of a microfiber cloth. Pinch the edge of the rubber blade and run the alcohol-soaked cloth along its entire length. The alcohol cuts through any remaining microscopic road films and cleans the rubber deeply. More importantly, it helps restore a sharp edge to the material, which reduces annoying squeaking sounds and eliminates water streaking.
Step 8: Clean the Hinge Areas Thoroughly
The joints and hinges on your wiper frame dictate how well the blade contours to your windshield. If dirt clogs these joints, the blade will lift off the glass in certain spots, leaving large unwiped patches. Take your soft brush and inspect every pivot point on the assembly. Brush away any grit or sand lodged in the mechanisms. You want these hinges to flex easily. Keeping them clean prevents rust on metal frames and prevents plastic frames from binding up during cold weather.
Step 9: Clean Your Windshield
Cleaning your wipers serves no purpose if you place them back onto a filthy windshield. The clean rubber will instantly pick up dirt from the glass, ruining your hard work. Spray a generous amount of automotive glass cleaner directly onto your windshield. Use a fresh microfiber towel to wipe the glass in vertical and horizontal overlapping patterns. Remove all bug splatters, road grime, and oily films. A perfectly clean windshield reduces friction, allowing your freshly cleaned blades to glide silently and efficiently.
Step 10: Lower the Wiper Arms Safely
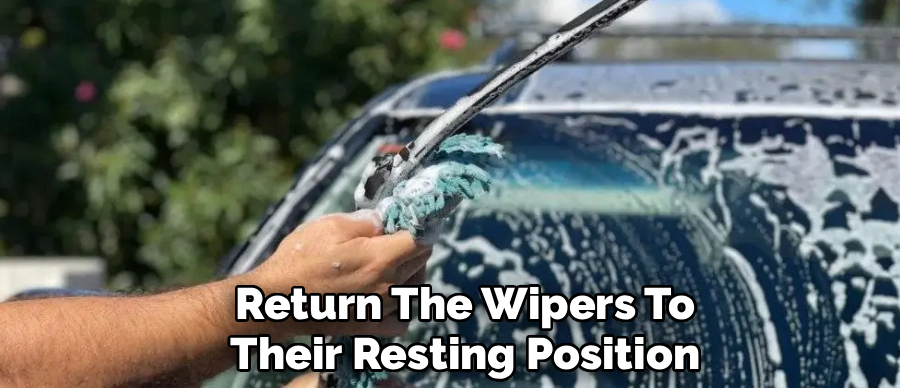
With both the blades and the glass fully clean, you can return the wipers to their resting position. Do not simply push them and let them slap against the glass. Hold the wiper arm firmly, gently guide it back toward the windshield, and lay the rubber flat against the glass. If you moved the wipers to the center of the windshield in Step 1, turn your vehicle back on and cycle the wiper switch to park them neatly at the base of the windshield.
5 Things You Should Avoid
Protecting your wipers requires knowing what not to do. Avoid these common mistakes to prevent accidental damage.
- Avoid using harsh household chemicals. Bleach, ammonia, and heavy-duty degreasers like WD-40 quickly destroy natural rubber and silicone. These chemicals cause the material to dry rot, crack, and snap off during operation.
- Avoid scraping ice with your wipers. Running wipers over a frosted or icy windshield shreds the delicate wiping edge instantly. Always use a proper plastic ice scraper to clear the glass before engaging the wiper motor.
- Avoid pulling the arms too far back. Wiper arms have a specific stopping point when lifted. Forcing them past this natural resistance bends the metal arm, destroying the tension needed to hold the blade flat against the glass.
- Avoid running wipers on a dry windshield. Operating wipers without moisture creates massive friction between the rubber and the glass. This friction rounds off the sharp wiping edge and can burn out your electric wiper motor.
- Avoid neglecting your windshield washer fluid. Using plain water in your reservoir leads to bacterial growth and freezing lines in winter. Always use a dedicated washer fluid formulated to break down bugs and prevent freezing.
Frequently Asked Questions
- How Long Do Windshield Wiper Blades Typically Last?
Most standard windshield wiper blades last between six and twelve months before requiring replacement. The actual lifespan depends heavily on your local climate and how frequently you use them. Extreme sunlight, heavy snow, and freezing temperatures degrade the rubber materials much faster. Regularly cleaning your blades extends their useful life significantly. You should replace them immediately if you notice physical tears or missing chunks of rubber. - Can I Use Vinegar to Clean My Wiper Blades?
You can use a diluted white vinegar solution to clean your blades safely. Vinegar serves as a great natural cleaner that cuts through hard water stains and mineral deposits on the rubber. Mix equal parts white vinegar and water, apply it to a cloth, and gently wipe the blade edge. You must rinse the blade thoroughly with clean water afterward to prevent the acidic vinegar from sitting on the rubber. Avoid using undiluted vinegar as it may be too harsh. - Why Do My Wiper Blades Squeak Even After I Clean Them?
Squeaking usually indicates a lack of moisture or a problem with the blade’s angle against the glass. If the wiper arm gets bent slightly out of shape, the blade drags awkwardly across the windshield instead of smoothly flipping back and forth. You might also have a permanent curve or stiffness in the rubber due to age and sun exposure. Sometimes applying a specialized rubber conditioner restores enough flexibility to stop the noise. If the squeaking persists after cleaning and conditioning, you need to install new blades.
Conclusion
Maintaining clear visibility forms the foundation of safe driving. By taking a few minutes each month to properly clean your wiper blades, you remove dangerous road grime, extend the life of the rubber, and protect your windshield from deep scratches.
Hopefully, the article on how to clean wiper blades gives you proper information.
Gather your soapy water, microfiber towels, and rubbing alcohol, and add this simple process to your regular car care routine today. Your future self will thank you the next time you drive through a heavy rainstorm.

About
Ora Hayes is a distinguished figure in the world of DIY Thecarfixes, with over a decade of expertise in automotive diagnostics and high-performance maintenance. Her professional focus lies in merging mechanical precision with modern digital tools, fostering repair solutions that are both cost-effective and highly reliable. As the author of Thecarfixes, Ora Hayes delves into the art and science of automotive restoration, inspiring car owners and hobbyist mechanics alike.
Education
RMIT University (Melbourne, Australia) Associate Degree in Automotive Engineering — Focus on vehicle dynamics, industry-driven repair protocols, and advanced diagnostics. Gained hands-on experience with traditional mechanical tools and modern ECU remapping software.
Nottingham Trent University (United Kingdom) Bachelor’s in Mechanical Design and Automotive Engineering (Honors) — Specialized in automotive systems with a focus on blending technical engineering with everyday usability. Participated in industry projects, working with leading automotive manufacturers to gain real-world insights into vehicle longevity.
Publications and Impact
In Thecarfixes, Ora Hayes shares her insights on troubleshooting complex engine issues, material durability, and strategies for efficient garage setups. Her writing bridges the gap between professional mechanic knowledge and the home enthusiast’s needs, making it a must-read for both everyday drivers and seasoned gearheads.




