

You might not notice the buildup right away. Pop your car’s hood, though, and the evidence is unmistakable: streaks of oil, patches of sticky grime, maybe a faint whiff of burnt rubber drifting upward. Most drivers know that a clean engine bay can make leaks and maintenance issues easier to spot. And yet, neglect is common. Oil, road grit, and dust will slowly pile up, forming a kind of industrial sediment—one that can trap unwanted heat, disguise mechanical problems, and, over time, eat away at rubber hoses or brittle plastic connectors if ignored too long.
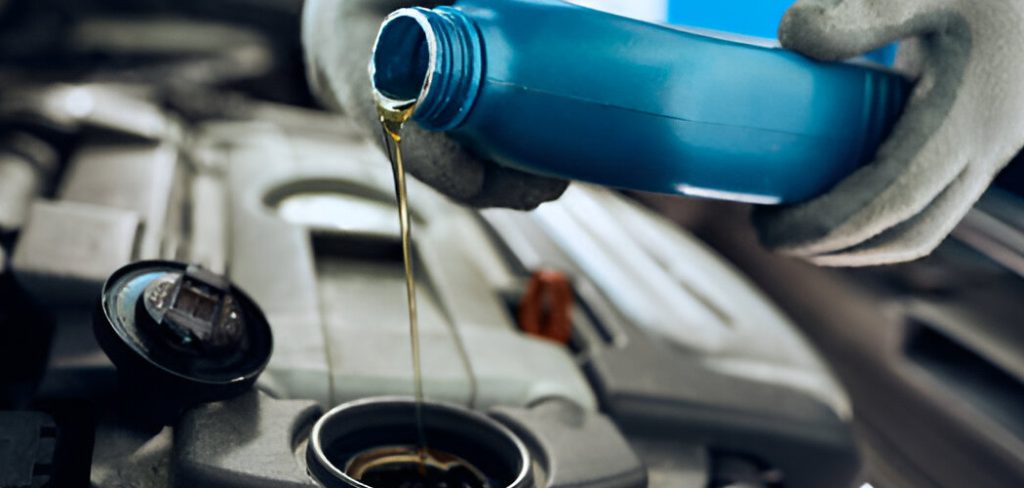
Now, the idea of tackling this mess yourself might sound daunting. Fair enough. Engine bays aren’t exactly inviting, and there’s always a nagging fear of damaging something expensive. But, truthfully, the process is more approachable than it appears—provided you’re methodical, prepared, and perhaps a bit patient. The right supplies and a logical approach go a long way. Below, you’ll find an honest walk-through—not just the “how,” but also the “why,” with a dash of hard-earned caution thrown in. In this guide on how to clean oil off an engine, you’ll learn the basics of how to safely get rid of all that gunk.
Tools and Materials You’ll Need
Before anything else, get your stuff together so you’re not running for a roll of tape or a brush with dripping hands. Here’s a straightforward list of what typically works:
- A well-reviewed engine degreaser (no sense in skimping here)
- A few plastic bags (grocery bags or cling wrap both work in a pinch)
- Masking or painter’s tape
- Wire brush for metal and a soft detailing brush for plastic and painted parts
- Clean microfiber towels (or shop rags if you’re feeling thrifty)
- Garden hose and spray nozzle—alternatively, a pressure washer set to low
- Protective gear: chemical-resistant gloves, safety goggles
- A big sheet of cardboard or an old drip pan (the garage floor will thank you)
7 Simple Steps Guide on How to Clean Oil Off an Engine
Step 1: Prepare the Area and Cool the Engine
Start with patience—rushing is never wise. Find a spot with decent ventilation, open space, and, crucially, not over a storm drain. (Used oil and degreaser do no favors for waterways or wildlife.) Lay down the cardboard or pan to catch the gunk.
Check that the engine is cool. There’s no point in risking cracked metal and spraying cold water on a hot engine. A recipe for disaster, not to mention a warping or hairline fractures you may not spot until much later.
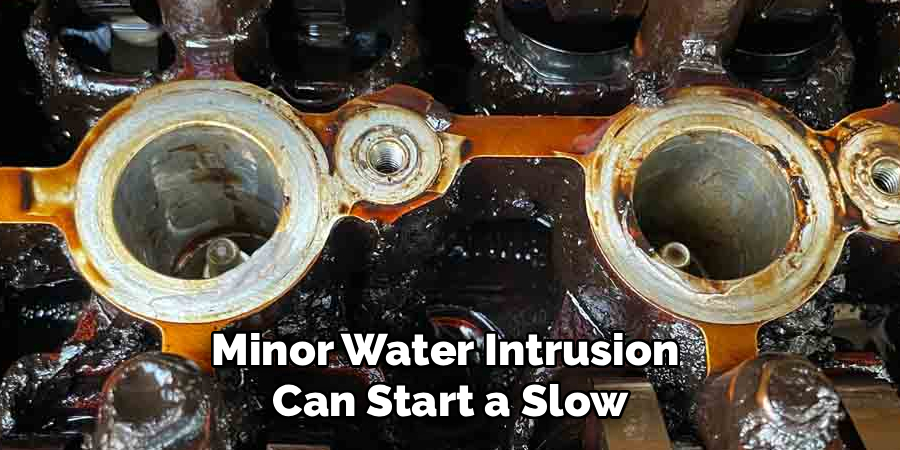
Next, pop the hood. Disconnect the negative battery terminal—if you’ve never done this, a quick glance at your vehicle’s manual will guide you. Now, shield anything electrical with plastic bags and secure with tape: alternator, air intake, connectors, distributor cap. It’s tempting to skip this, but even minor water intrusion can start a slow, expensive cascade of issues.
Step 2: Remove Loose Debris
Any leaves, twigs, or matted dirt clusters around? It happens. Sweep the area with a dry brush or blast it (carefully) using a leaf blower or hand vacuum if you have one handy. Engine bays draw in all sorts of roadside flotsam—bits tend to lodge under wiper arms and in odd engine block corners. Brushing off this upper layer isn’t just aesthetic; it allows the degreaser to actually reach the greasy surfaces instead of dissolving year-old leaves.
While you’re at it, take a look around. You might notice spots where the grime is especially thick. Note them. You’ll need to pay more attention there later. If something won’t budge, try a stiffer brush, but avoid gouging plastics or painted sections. At this stage, treat your engine more like a fragile historical artifact than a dirty lawn mower.
Step 3: Apply the Degreaser
Once your electricals are secure and obvious debris is gone, get the degreaser. Start at the lowest point and spray upward—a bit counterintuitive, but if you work downward, the fresh cleaner will just drag grimy streaks over spots you’ve already coated. Aim for the greasiest patches. Some brands require more wait time than others, but generally, you’ll want to let the spray sit for around 5–15 minutes. (Consult the label; some formulas dry fast, while others stay wet longer.) If you see areas drying out or developing a hazy film, give a quick mist to keep things active.
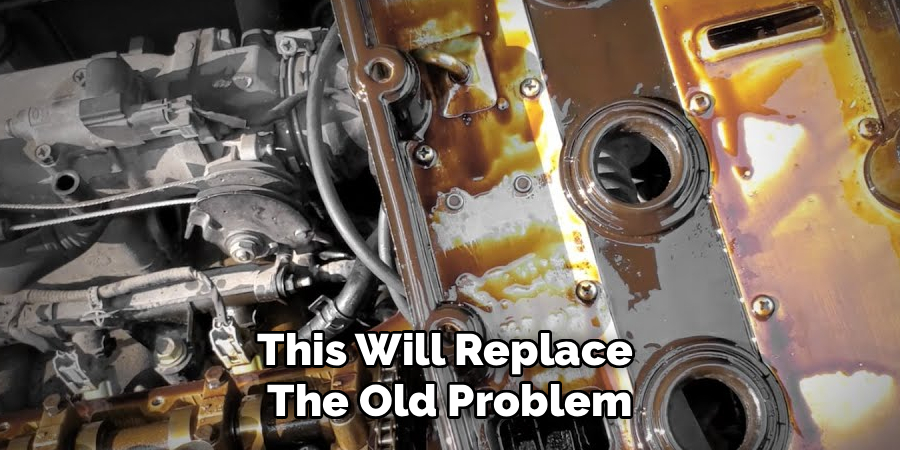
Beware letting the degreaser set until it hardens; this will replace the old problem with a new, stubborn mess that’s even harder to remove. If that happens, expect to do extra rinsing.
Step 4: Scrub Stubborn Spots
Here’s where effort pays off. Begin gently agitating the degreased spots with your detailing brush. Switch to the wire brush for thick, baked-on patches on bare metal surfaces only. Painted and plastic parts? Stick with something soft, or risk a collection of scratches you’ll regret later. Scrub in small circles; linger in areas where the oil seems to have fossilized.
Expect to see the cleaner lather into a brownish foam. That’s your sludge, finally giving up the fight. For areas your current brush can’t reach, a spare toothbrush or a detailing swab does the trick—no need for anything fancy here. Layers of old, sticky residue might resist: in that case, wipe away the gunk, reapply degreaser, and repeat. Don’t expect total clarity on the first pass, especially if it’s never been cleaned before.
Step 5: Rinse (Thoughtfully)
Satisfied that you’ve dislodged the worst of it? Ready the hose—but keep the stream gentle. Too much water pressure may push moisture past your carefully applied plastic coverings, flooding electronic areas that hate surprises. Spray from top down, coaxing oily grime toward your drip pan or cardboard escape route.
If you do opt for a pressure washer, keep your distance—three feet, give or take—or else you may find yourself peeling off warning stickers or worrying about misaligned connectors. Take your time: it’s better to rinse a little longer at low pressure than blast something apart.
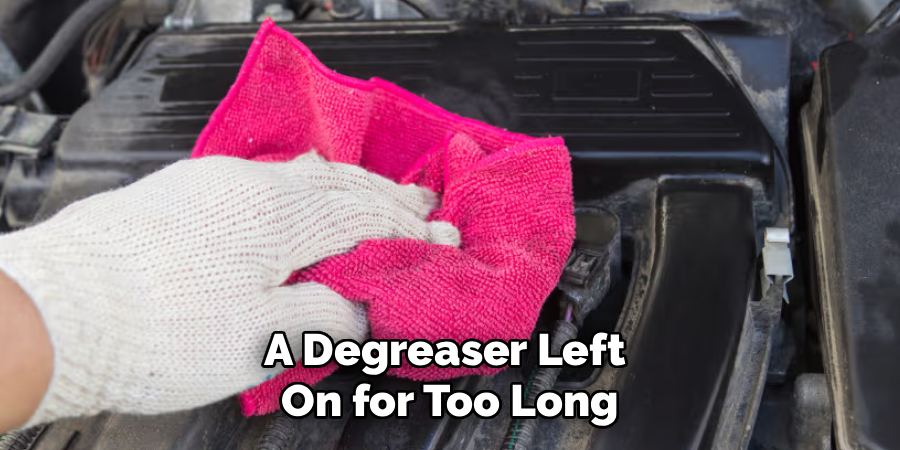
Don’t let any sticky residue dry onto rubber hoses or plastics. A degreaser left on for too long can be just as tough to get off as the original oil.
Step 6: Dry the Engine
Wipe up as much water as possible with your microfiber towels. Water loves finding unlikely hiding spots, especially along gasket lines or inside spark plug wells. Follow up with a leaf blower or a shot or two of compressed air—useful, if not strictly required. Peel away the protective plastic and tape, making sure you don’t leave any behind.
If the weather is on your side, leave the hood propped for an hour or more to let the sun’s heat finish drying any stray moisture. Consider this insurance: better to wait out another cup of coffee than risk a short-circuit or unpredictable rust blooming months down the road.
Step 7: Add a Protective Finish
There’s no law saying you have to dress your engine after a cleaning, but it’s more than vanity. A quality engine dressing—a cream or spray designed for rubber and plastic parts—can restore some of the faded sheen to your hoses and wire looms. Just be frugal with it, wiping with a clean cloth rather than over-saturating or spraying indiscriminately. Avoid getting protectant on the belts. Slippery belts are a headache.
When done, reconnect the negative battery terminal, double-check that you haven’t missed anything or left any covers inside the bay, and fire up the engine. A short idle (with the hood up) lets residual dampness evaporate and reassures you that all is well.
Following these steps on how to clean oil off an engine will not only improve the aesthetics of your vehicle but also help maintain its functionality and prolong its lifespan. Regular engine cleanings can prevent buildup and corrosion, keeping your engine running smoothly and promoting better fuel efficiency. Additionally, a clean engine bay makes it easier to spot any potential issues or leaks that may require attention.
Additional (Non-Obvious) Tips
Wear proper gloves and goggles. Degreasers can be harsh, and eyes are especially vulnerable. Shaded workspaces help cleaning chemicals stay effective longer. Direct sun can bake on residues, creating ghostly streaks that haunt future efforts.
If you have a little extra time, a metal polish lightly buffed onto exposed aluminum can give your engine a professional gleam. Don’t forget: used rags and dirty runoff should go to hazardous waste disposal, not the trash. Small actions add up in environmental impact.
Common Mistakes to Steer Clear Of
People often underestimate the risk water poses to an uncovered alternator or air intake. Protect these, or you might wind up with painful electrical repair bills. Never hose down a hot engine—thermal shock isn’t just a theory, and sometimes the results don’t show up until weeks later. Using a coarse wire wheel on plastic or painted parts?
That’s a shortcut to lasting scratches. Finally, skipping a thorough rinse can leave caustic chemicals behind, which tend to silently eat through rubber belts, leading to premature failure.
Should You Call in a Professional?
For the determined DIY-er with a standard vehicle, cleaning up oil spills is usually a manageable undertaking. But there are caveats. If yours is a rare classic, filled with hard-to-find components or finicky aftermarket electronics, it’s wise to consult a detailer.
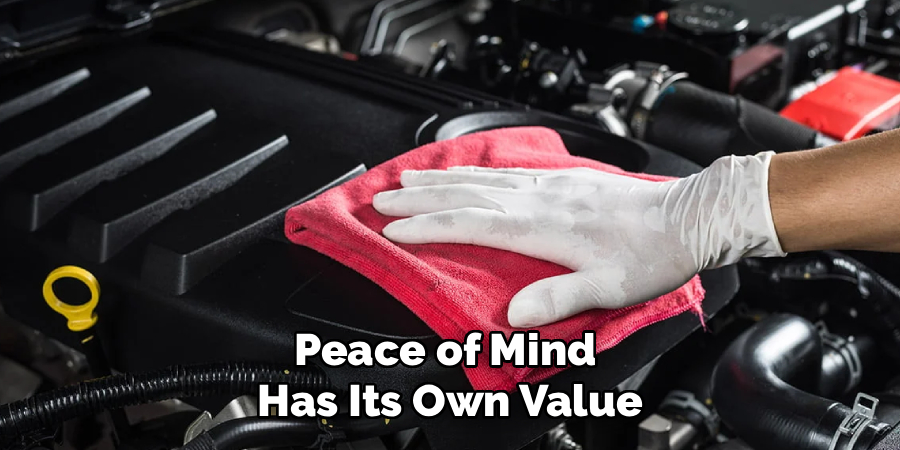
They’ll have better equipment and environmental safeguards, including water reclamation setups to stop chemical runoff. If you feel even slightly out of your depth around electronics, consider paying a pro. Peace of mind has its own value.
What’s This Actually Going to Cost?
DIY? Expect to spend $20–$40, mostly for the degreaser, brushes, and perhaps some fresh microfiber towels. Odds are you already own a hose and can scrounge up plastic bags. Professional detailing starts around $50, sometimes hitting $150 or more depending on engine size, degree of soiling, and local rates.
Serious neglect or ultra-compact, tightly packed engines tend to run higher. Weigh your comfort level and time before deciding.
Conclusion
A freshly cleaned engine bay looks sharp, but the key benefit is far more practical: early warning. Spot a drip, a crack, or a suspicious thread of oil early, and you may save yourself a headache—and real money—down the line.
There’s satisfaction in the work, too. In the end, regular cleaning isn’t just about resale value or pride of ownership; it’s a gentle nudge toward staying involved with your machine. Thanks for reading this guide on how to clean oil off an engine.

About
Ora Hayes is a distinguished figure in the world of DIY Thecarfixes, with over a decade of expertise in automotive diagnostics and high-performance maintenance. Her professional focus lies in merging mechanical precision with modern digital tools, fostering repair solutions that are both cost-effective and highly reliable. As the author of Thecarfixes, Ora Hayes delves into the art and science of automotive restoration, inspiring car owners and hobbyist mechanics alike.
Education
RMIT University (Melbourne, Australia) Associate Degree in Automotive Engineering — Focus on vehicle dynamics, industry-driven repair protocols, and advanced diagnostics. Gained hands-on experience with traditional mechanical tools and modern ECU remapping software.
Nottingham Trent University (United Kingdom) Bachelor’s in Mechanical Design and Automotive Engineering (Honors) — Specialized in automotive systems with a focus on blending technical engineering with everyday usability. Participated in industry projects, working with leading automotive manufacturers to gain real-world insights into vehicle longevity.
Publications and Impact
In Thecarfixes, Ora Hayes shares her insights on troubleshooting complex engine issues, material durability, and strategies for efficient garage setups. Her writing bridges the gap between professional mechanic knowledge and the home enthusiast’s needs, making it a must-read for both everyday drivers and seasoned gearheads.




