

Brake fluid is the lifeblood of your vehicle’s braking system. Without it, the simple act of pressing your foot against the brake pedal would do absolutely nothing. Many drivers overlook this vital fluid, assuming that if the car stops, everything is fine.
This guide on how to check the brake fluid level provides everything you need to know to perform a successful brake fluid inspection right in your own driveway. We will cover why this maintenance task is so important, the simple tools you need to get the job done, and a detailed step-by-step walkthrough to ensure you do it safely and correctly.
Let us dive into the mechanics of keeping your vehicle stopping smoothly.
What Are the Benefits of Checking Brake Fluid?
Taking a few minutes to inspect your brake fluid offers immense benefits for both your wallet and your safety. First and foremost, it guarantees reliable stopping power. Brake fluid operates under immense pressure and high temperatures. Over time, it can absorb moisture from the air, which lowers its boiling point and reduces braking efficiency. Regular checks help you spot degraded fluid before it causes your brakes to feel spongy or unresponsive.
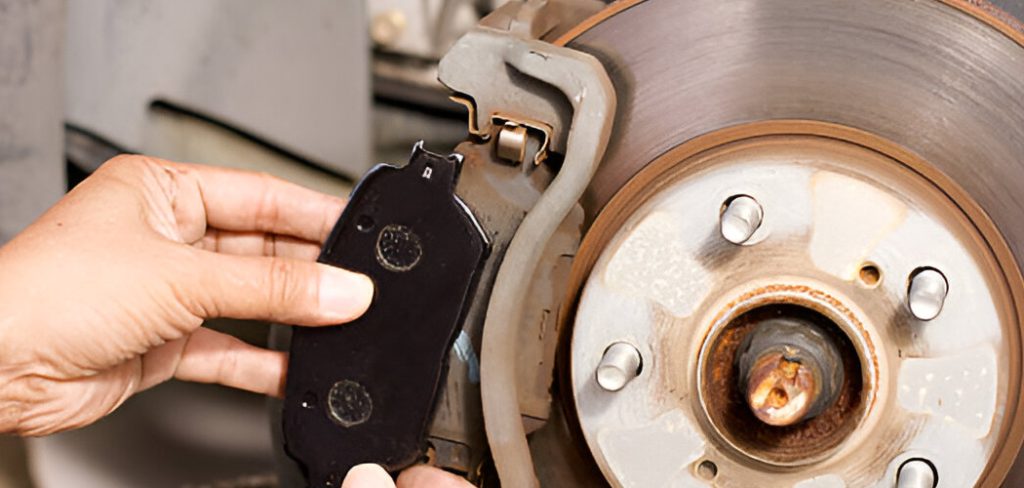
Secondly, monitoring the fluid level acts as an early warning system for your brake pads. As your brake pads wear down, the brake calipers must extend further to press them against the rotors. This action draws more fluid out of the reservoir. A slowly dropping fluid level is a natural indicator that you might need new brake pads soon.
Finally, frequent checks help you identify dangerous leaks. If your fluid drops suddenly, you likely leak the brake lines, master cylinder, or calipers. Catching this early prevents total brake failure, keeping you and your passengers safe on the road.
What Will You Need?
Checking your brake fluid is a simple task that requires minimal equipment. Gather the following items before you begin:
- A clean, lint-free rag or paper towels
- A flashlight
- Your vehicle owner’s manual
- Safety glasses and nitrile gloves
- The correct brake fluid (optional)
10 Easy Steps on How to Check the Brake Fluid Level
Performing this check requires attention to detail. Follow these ten steps to ensure a safe and accurate inspection of your brake system’s lifeblood.
Step 1: Park Your Vehicle on a Level Surface
Before you even think about opening the hood, you must ensure your car is parked on completely flat ground. If your vehicle sits on an incline or decline, the fluid inside the reservoir will tilt. This tilt gives you a false reading, making the fluid look either artificially high or dangerously low. Find a flat driveway, a level garage floor, or a quiet street. Engage your parking brake to ensure the vehicle does not roll while you are working under the hood. Safety always begins with a stable, secure vehicle.
Step 2: Allow the Engine to Cool Down Completely
Your engine bay becomes incredibly hot during operation. Components like the exhaust manifold, radiator hoses, and the engine block itself can cause severe burns if touched. Furthermore, brake fluid expands slightly when it is hot. To get the most accurate reading and protect yourself from injury, let the car sit for at least an hour after driving. Pop the hood release lever inside the cabin to let some heat escape, but wait until the engine is cool to the touch before proceeding with your inspection.
Step 3: Open and Secure the Hood
Walk to the front of the vehicle and locate the secondary hood latch. Slide your fingers under the partially open hood, press the release lever, and lift the hood upward. If your car uses a manual prop rod, insert it securely into the designated slot on the hood. If your vehicle features hydraulic hood struts, ensure they hold the hood up firmly without sagging. A falling hood can cause serious head or hand injuries, so double-check that it is completely secure before leaning over the engine bay.
Step 4: Locate the Brake Fluid Reservoir
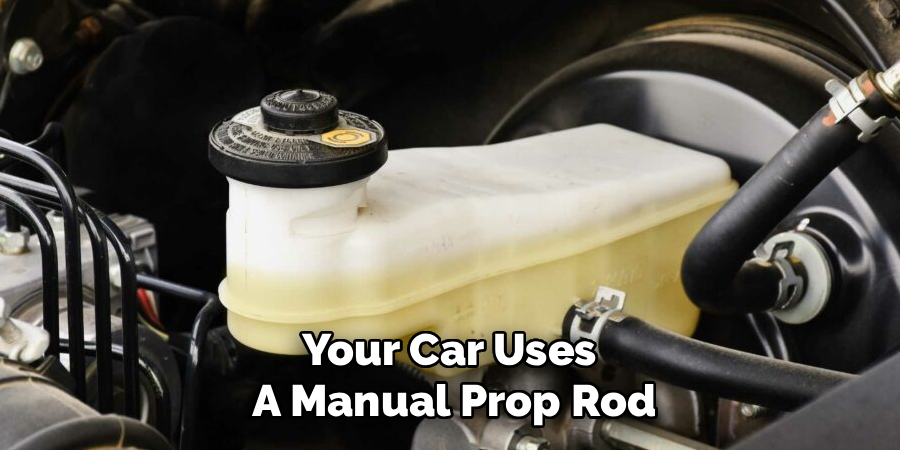
With the hood secured, grab your owner’s manual and look for the brake fluid reservoir. In most modern vehicles, you will find it mounted on or near the firewall on the driver’s side of the engine bay. It sits directly above the brake master cylinder. Look for a small, slightly translucent plastic canister with a black or yellow cap. The cap usually has a warning printed on it about using only specific types of brake fluid from a sealed container. If you have trouble finding it, your manual will provide a clear diagram.
Step 5: Clean the Exterior of the Reservoir
Brake systems are highly sensitive to contamination. Even a single grain of dirt or a tiny drop of water falling into the reservoir can severely damage the master cylinder’s internal seals or boil under heavy braking. Before you do anything else, take your clean, lint-free rag and wipe down the outside of the reservoir. Pay special attention to the area around the cap. You want the plastic clean enough so that you can easily read the fluid level markings and ensure no debris falls in if you need to open it later.
Step 6: Identify the Maximum and Minimum Lines
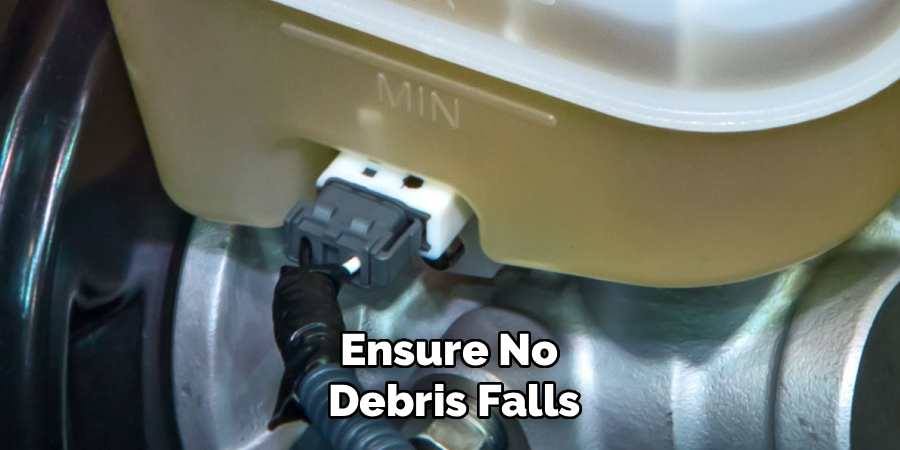
Look closely at the side of the plastic reservoir. You will see two distinct lines molded into the plastic, usually labeled as “MAX” (Maximum) and “MIN” (Minimum). Sometimes these are marked as “FULL” and “ADD.” These lines are your reference points for the entire inspection. Depending on the age of the vehicle and the cleanliness of the plastic, you might need to use your rag to wipe away grime just to see these indicator lines clearly.
Step 7: Check the Fluid Level Against the Marks
Now, shine your flashlight against the side of the reservoir or gently rock the car slightly to make the fluid move. Observe where the fluid level sits in relation to the MAX and MIN lines. Ideally, the fluid should rest right at or slightly below the MAX line. If the fluid sits halfway between MIN and MAX, your brake pads are likely worn, but the system is safe. If the fluid is at or below the MIN line, you must take immediate action, as driving with low fluid compromises your ability to stop safely.
Step 8: Inspect the Fluid Color and Condition
While you are looking at the level, pay close attention to the fluid’s color. Fresh, healthy brake fluid is typically clear with a slight yellow or golden tint. As it ages and absorbs moisture from the atmosphere and degrades from high heat, it turns brown or even black. If your fluid looks like dark iced tea or black coffee, it has degraded past its useful life. Dark fluid means it is time for a complete brake system flush, regardless of whether the level is perfectly full.
Step 9: Carefully Top Off the Fluid (If Necessary)
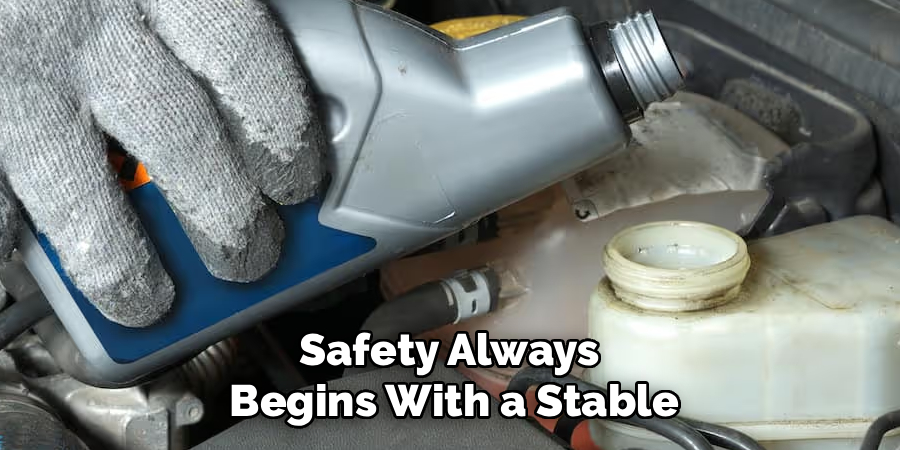
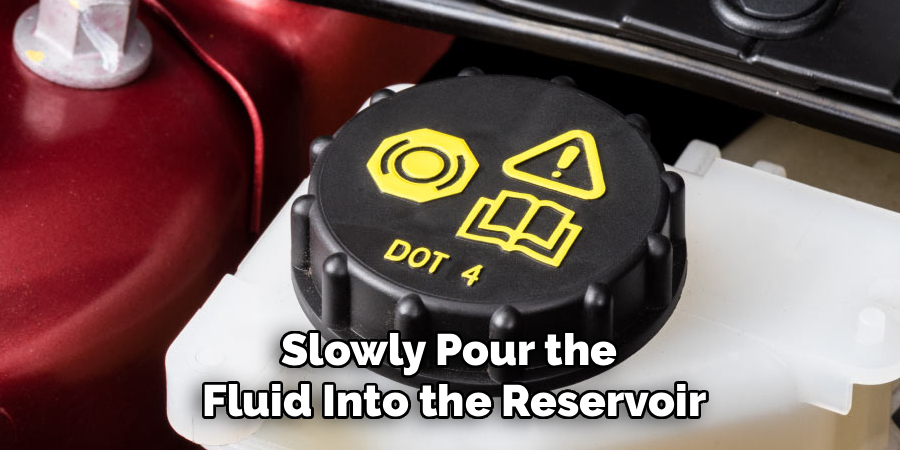
If your fluid is slightly low and you have verified your brake pads are still in good condition, you may top it off. Put on your safety gloves and glasses. Unscrew the cap carefully, ensuring no dirt falls inside. Open a brand-new, sealed bottle of the correct DOT-rated brake fluid (as specified on the cap). Slowly pour the fluid into the reservoir until it reaches the MAX line. Do not overfill it, as the fluid needs room to expand when it gets hot.
Step 10: Secure the Cap and Close the Hood
Once you finish your inspection or top-off, immediately replace the reservoir cap. Turn it clockwise until it is completely tight. Leaving the cap loose allows moisture from the air to seep into the fluid, ruining it rapidly. Wipe up any accidental spills immediately with your rag, as brake fluid eats through car paint very quickly. Finally, remove your hood prop rod, lower the hood, and press down firmly to engage the latch. You have successfully and safely checked your brake fluid.
Frequently Asked Questions
1. How Often Should I Check My Brake Fluid?
You should inspect your brake fluid level at least once every few months. Many experts recommend checking it during every routine oil change interval. If you notice any changes in braking performance, check it immediately. Regular inspections help catch slow leaks before they become major safety hazards. Always consult your owner’s manual for specific maintenance schedules for your vehicle.
2. Can I Just Top Off My Brake Fluid if It is Low?
Topping off brake fluid is possible, but a low level often indicates a problem. As brake pads wear down, the fluid level naturally drops a small amount. However, a sudden or significant drop usually points to a dangerous leak. Adding fluid without inspecting the brake pads might mask a serious mechanical issue. Have a professional inspect your system if you find yourself constantly adding fluid.
3. What Happens if I Use the Wrong Brake Fluid?
Using the wrong brake fluid can completely ruin your vehicle’s braking system. Different fluid types like DOT 3, DOT 4, and DOT 5 have different chemical bases. Mixing glycol-based and silicone-based fluids will destroy seals and cause brake failure. This mistake requires a complete, expensive flush of the entire brake hydraulic system. Always verify the correct fluid type printed on your reservoir cap before adding any.
Conclusion
Your braking system is the single most critical safety component on your vehicle, and brake fluid is what makes it function. By taking a few minutes to check the fluid level and condition, you protect yourself, your passengers, and your investment. Remember to park on a level surface, keep everything spotlessly clean, and never ignore a sudden drop in fluid levels.
Make checking your brake fluid a standard part of your DIY vehicle maintenance routine. With the right tools and attention to detail, you can easily monitor your braking system’s health.
Hopefully, this guide on how to check the brake fluid level has taught you the importance of brake fluid and how to properly check it.

About
Ora Hayes is a distinguished figure in the world of DIY Thecarfixes, with over a decade of expertise in automotive diagnostics and high-performance maintenance. Her professional focus lies in merging mechanical precision with modern digital tools, fostering repair solutions that are both cost-effective and highly reliable. As the author of Thecarfixes, Ora Hayes delves into the art and science of automotive restoration, inspiring car owners and hobbyist mechanics alike.
Education
RMIT University (Melbourne, Australia) Associate Degree in Automotive Engineering — Focus on vehicle dynamics, industry-driven repair protocols, and advanced diagnostics. Gained hands-on experience with traditional mechanical tools and modern ECU remapping software.
Nottingham Trent University (United Kingdom) Bachelor’s in Mechanical Design and Automotive Engineering (Honors) — Specialized in automotive systems with a focus on blending technical engineering with everyday usability. Participated in industry projects, working with leading automotive manufacturers to gain real-world insights into vehicle longevity.
Publications and Impact
In Thecarfixes, Ora Hayes shares her insights on troubleshooting complex engine issues, material durability, and strategies for efficient garage setups. Her writing bridges the gap between professional mechanic knowledge and the home enthusiast’s needs, making it a must-read for both everyday drivers and seasoned gearheads.




