

Driving a vehicle that blows lukewarm air from the vents during the summer months often initiates a highly frustrating experience. You turn the dial expecting a blast of frost, but instead receive a humid breeze that seems to mock your discomfort. This scenario might suggest your cabin cooling system lacks the proper internal pressure to function.
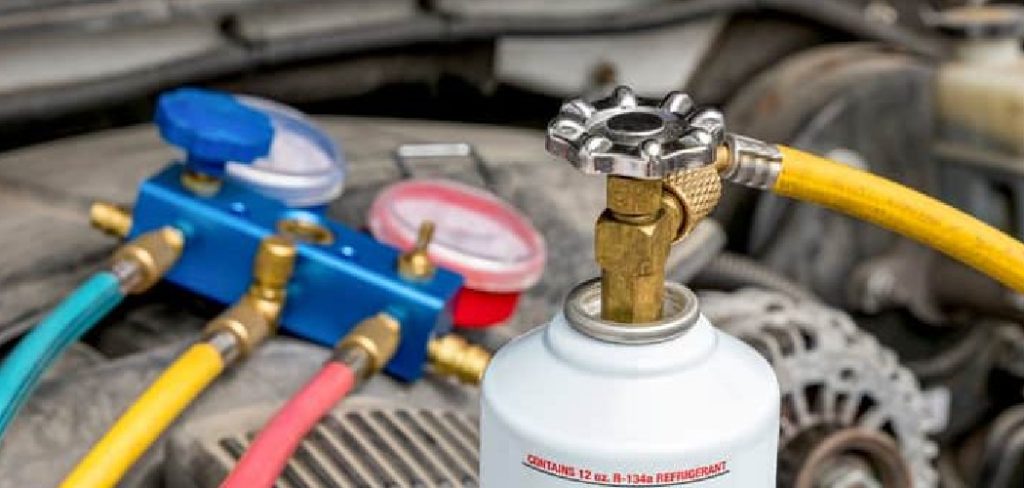
Keeping the passenger compartment comfortable relies almost entirely on maintaining specific refrigerant thresholds. Understanding how to check freon level in car with gauges remains a highly practical skill for vehicle owners willing to perform their own diagnostics. We will explore the mechanical principles behind automotive air conditioning, the equipment required, and the exact steps to evaluate your system safely.
Approaching this task requires a methodical mindset rather than brute force. You do not need to pay an expensive mechanic simply to tell you your system is empty. By following this guide, you might quickly determine whether you need a minor top-off or a major mechanical repair.
Understanding Your Vehicle’s AC System
Automotive air conditioning operates on a surprisingly closed, pressurized loop. The system relies on a compressor to move chemical refrigerant through a series of heat exchangers. This continuous movement allows the chemical to absorb the ambient thermal energy inside your cabin and violently expel it into the outside atmosphere.

Temperature and internal pressure maintain a direct, almost inseparable relationship within this mechanical loop. When the physical volume of refrigerant drops due to a microscopic leak, the pressure falls correspondingly. This pressure drop appears to indicate why the compressor struggles to phase-change the gas into a cooling liquid.
Modern vehicles utilize R-134a or R-1234yf refrigerants, though the colloquial term “Freon” still dominates everyday garage conversations. Knowing how these chemicals behave under mechanical stress provides a theoretical foundation for your physical testing.
High-Pressure vs. Low-Pressure Ports
Navigating the engine bay requires you to correctly identify the two distinct sides of the air conditioning cycle. Engineers separate the system into a high-pressure discharge side and a low-pressure suction side. These two halves operate at vastly different thresholds, meaning confusing them could potentially lead to equipment damage.
The low-pressure port typically sits directly on the larger-diameter metal tube. This thicker line carries the cold, low-pressure gas back toward the compressor to begin the cycle anew. You will usually find a plastic cap covering the valve, sometimes marked with a subtle “L”.
Conversely, the high-pressure port resides on the noticeably thinner metal tube. This narrow line transports highly pressurized, incredibly hot liquid away from the compressor. Hooking testing equipment to the wrong port might suggest a catastrophic failure to the untrained eye, making proper identification necessary.
Manifold Gauge Set Basics
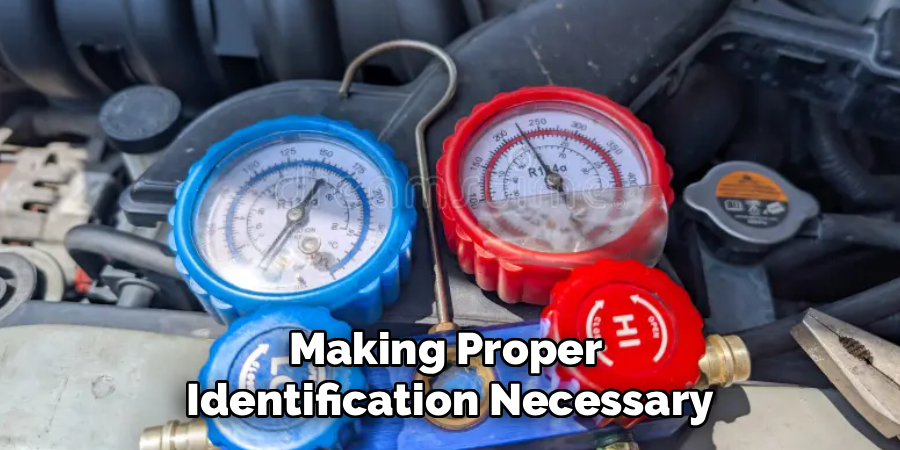
Professional diagnostics require a specialized instrument known as a manifold gauge set. This apparatus consists of two analog dials mounted to a central brass or aluminum block, accompanied by three heavy-duty rubber hoses. Learning to read this instrument forms the core of our entire diagnostic process.
The industry standardizes these tools using a strict color-coding system. The blue gauge and its corresponding blue hose always represent the low-pressure side of the vehicle. The red gauge and red hose strictly monitor the volatile high-pressure side.
A yellow hose usually drops from the center of the manifold block, serving as a utility line for adding new refrigerant or pulling a vacuum. You must understand that the dials display pounds per square inch (PSI) alongside specific temperature scales. Reading these two metrics together often reveals the true structural health of the cooling cycle.
How to Check Freon Level in Car With Gauges: Step-by-Step Guide
We now transition from theoretical mechanics to physical application. Working with pressurized automotive refrigerants remains highly manageable if you adhere to strict safety protocols. Rushing the connection process often results in sudden gas discharges.
You should always wear wraparound safety glasses and thick leather gloves before unscrewing any valve caps. Escaping liquid refrigerant drops below freezing instantly upon hitting the atmosphere. This rapid expansion could cause severe frostbite if it touches bare skin.
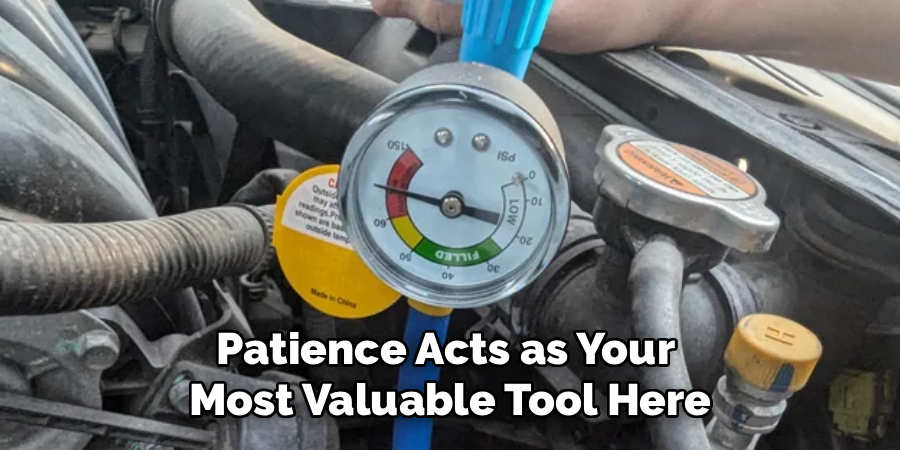
By following this exact primary guide on how to check freon level in car with gauges, you might safely extract the data your system is trying to communicate. Patience acts as your most valuable tool here.
Step 1: Prepare the Vehicle and Locate Ports
Begin by parking your car on a completely flat surface in a well-ventilated driveway or open garage. You must allow any lingering engine heat to dissipate slightly before reaching your hands near the exhaust headers. Pop the hood and prop it securely.
Consult your vehicle owner’s manual if you struggle to locate the aluminum AC lines visually. Once you find the thick low-side tube and the thin high-side tube, inspect the plastic service caps covering the valves. You should wipe away any accumulated road grime or oil from these caps using a dry shop towel.
Unscrew the plastic caps carefully and set them somewhere safe, like the wiper cowl. Debris falling into these delicate Schrader valves could permanently compromise the seal. A clean workspace usually prevents secondary mechanical failures.
Step 2: Connect the Manifold Gauges
You must prepare your testing instrument before making the physical connection to the car. Ensure the twist valves located on the front of the manifold block are completely closed by turning them clockwise. Open valves will vent your car’s remaining refrigerant directly into the atmosphere, which violates environmental regulations and empties your system.
Take the blue hose quick-coupler and pull its outer metallic ring upward. Push the fitting firmly down onto the low-pressure service port until you feel a distinct mechanical click. Release the ring to lock it in place, then turn the knob on top of the coupler clockwise to depress the internal vehicle valve.
Repeat this exact fastening procedure using the red hose on the smaller high-pressure port. You should hear a tiny hiss of gas entering the hoses, and the needles on your dials will jump upward immediately. This initial static reading merely shows the resting pressure, which offers very little diagnostic value.
Step 3: Run the Engine and Read the Pressures
Your system only reveals its true operational health while under mechanical load. Instruct an assistant to start the vehicle engine while you stand safely away from the spinning serpentine belts. Have them turn the cabin air conditioning controls to the absolute coldest temperature setting.
They must also engage the recirculation button and set the blower fan to its maximum speed. You should hear the metallic “clack” of the compressor clutch engaging near the bottom of the engine bay. Wait approximately three to five minutes for the chemical cycle to stabilize completely.
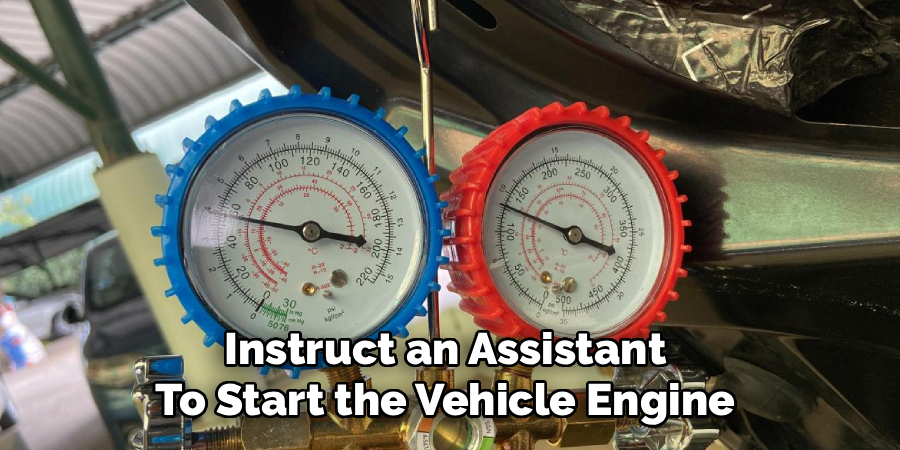
Observe the fluctuating needles on both the blue and red dials. Record the exact PSI numbers displayed while the compressor actively spins. These specific active readings contain the diagnostic answers you seek.
Interpreting Your Diagnostic Results
Gathering the numerical data represents only half the battle. You must now translate those arbitrary PSI readings into a practical understanding of your system’s efficiency. Ambient weather conditions profoundly influence internal refrigerant pressures.
A closed loop behaves differently on a mild spring morning than it does during a blistering August heatwave. Therefore, you must consult an ambient temperature pressure chart specific to your refrigerant type. Comparing your recorded numbers to the baseline chart may suggest exactly where the mechanical fault lies.
Normal Operating Pressures
A fully functioning system displays a recognizable rhythm on the manifold dials. On a typical eighty-degree summer day, the blue low-side gauge should generally read between 30 and 40 PSI. This relatively low number indicates the compressor is successfully pulling vapor out of the cabin evaporator.
Simultaneously, the red high-side gauge should hover somewhere between 150 and 225 PSI. Seeing these specific numbers on the dials appears to indicate your system holds the correct volume of refrigerant. If your gauges display these healthy metrics but the cabin still feels warm, the issue likely stems from a broken blend door underneath the dashboard rather than a chemical leak.
Sometimes, the compressor will cycle on and off rhythmically. If the pressures remain within these acceptable bands while it spins, the chemical charge is likely adequate.
Signs of a System Leak or Blockage
Trouble announces itself clearly through erratic gauge behavior. If both the blue and red needles sit incredibly low—perhaps 10 PSI on the low side and 50 PSI on the high side—your system is virtually empty. This severe lack of pressure strongly suggests a physical leak in a hose, O-ring, or the condenser itself.
Conversely, you might observe the blue gauge pulling down into a negative vacuum while the red gauge spikes aggressively toward 350 PSI. This extreme polarization often points toward a severe physical blockage within the lines. A stuck expansion valve or a clogged receiver dryer typically causes this dangerous pressure bottleneck.
Identifying these extreme readings warns you to stop the compressor immediately to prevent catastrophic internal damage.
Frequently Asked Questions
What Are Common Causes Of A/C System Leaks?
Leaks in an A/C system often occur due to worn-out hoses, degraded O-rings, or damage to the condenser. Routine inspections can help detect these issues early.
How Can I Recognize A Blockage In The A/C System?
A blockage is typically indicated by extreme gauge readings, such as a negative vacuum on the blue gauge and a spike above 350 PSI on the red gauge. This suggests issues like a stuck expansion valve or a clogged receiver dryer.
What Should I Do If I Detect Extreme Pressure Readings?
If extreme pressure readings occur, stop the compressor immediately to prevent internal damage. Diagnosing and addressing the cause of the problem is crucial before continuing operation.
How Often Should I Inspect My A/C System?
It is recommended to check your A/C system at least once a year or any time you notice performance issues like reduced cooling efficiency. Regular maintenance can help prevent major failures.
Conclusion
Diagnosing a weak climate control system does not require you to possess an advanced engineering degree. We have examined the critical differences between the high and low-pressure sides, the precise method for attaching manifold hoses, and the ambient variables that affect your final readings. Taking the time to evaluate these mechanical symptoms protects your wallet from blind parts replacement.
Knowing exactly how to check freon level in car with gauges grants you significant authority over your own vehicle maintenance. This diagnostic process separates minor chemical top-offs from extensive mechanical overhauls. Procure a quality manifold set, wear your protective gear, and confidently decipher the pressurized secrets hidden beneath your hood.

About
Ora Hayes is a distinguished figure in the world of DIY Thecarfixes, with over a decade of expertise in automotive diagnostics and high-performance maintenance. Her professional focus lies in merging mechanical precision with modern digital tools, fostering repair solutions that are both cost-effective and highly reliable. As the author of Thecarfixes, Ora Hayes delves into the art and science of automotive restoration, inspiring car owners and hobbyist mechanics alike.
Education
RMIT University (Melbourne, Australia) Associate Degree in Automotive Engineering — Focus on vehicle dynamics, industry-driven repair protocols, and advanced diagnostics. Gained hands-on experience with traditional mechanical tools and modern ECU remapping software.
Nottingham Trent University (United Kingdom) Bachelor’s in Mechanical Design and Automotive Engineering (Honors) — Specialized in automotive systems with a focus on blending technical engineering with everyday usability. Participated in industry projects, working with leading automotive manufacturers to gain real-world insights into vehicle longevity.
Publications and Impact
In Thecarfixes, Ora Hayes shares her insights on troubleshooting complex engine issues, material durability, and strategies for efficient garage setups. Her writing bridges the gap between professional mechanic knowledge and the home enthusiast’s needs, making it a must-read for both everyday drivers and seasoned gearheads.




