

Understanding and checking your engine timing is one of the most critical maintenance tasks you can perform as a DIY mechanic. Engine timing refers to the precise synchronization of your vehicle’s internal components, specifically the rotation of the crankshaft in relation to the camshafts.
This synchronization ensures that the engine’s valves open and close at the exact right moment during the combustion cycle. When the spark plug fires precisely as the piston reaches the top of its compression stroke, your engine operates at peak efficiency.
This guide on how to check engine timing breaks down exactly how you can check and adjust your ignition timing safely and accurately in your own garage, ensuring your vehicle runs smoothly for years to come.

What Will You Need?
Before diving into the process, gather the following tools and safety equipment:
- An inductive timing light (the most critical tool for this job)
- A set of wrenches and sockets (specifically distributor wrenches if needed)
- White chalk, a paint pen, or highly visible correction fluid
- Your vehicle’s specific factory service manual
- Clean shop rags or a wire brush
- Safety glasses and heavy-duty mechanic gloves
- A tachometer (if your vehicle or timing light does not have one built-in)
- Golf tees or small rubber caps (for plugging vacuum lines)
10 Easy Steps on How to Check Engine Timing
Step 1: Park and Prepare the Vehicle
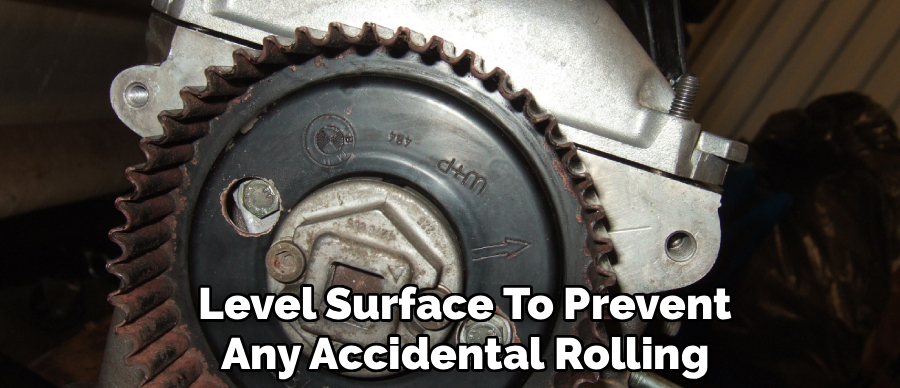
Safety and preparation are the foundational elements of any successful automotive maintenance task. Begin by parking your vehicle on a completely flat, level surface to prevent any accidental rolling. Engage the parking brake firmly and place wheel chocks behind the rear tires for added security. Open the hood and locate the engine’s moving parts so you know exactly where the hazard zones are. For most vehicles, ignition timing needs to be checked while the engine is at normal operating temperature.
Start the engine and let it idle until the temperature gauge reaches the middle of the dial. Once the engine is properly warmed up, turn it off before proceeding to hook up any of your diagnostic tools. Ensuring the engine is warm guarantees that the metal components have expanded to their normal operating tolerances and the idle speed has settled down to its base level.
Step 2: Consult Your Vehicle’s Service Manual
Never attempt to check or adjust your engine timing without consulting your vehicle’s specific factory service manual. Every engine has unique timing specifications, usually measured in degrees Before Top Dead Center (BTDC) or After Top Dead Center (ATDC). The manual will tell you the exact degree setting required for your specific make, model, and year. Additionally, the manual outlines vital prerequisites for checking the timing.
For example, some vehicles require you to disconnect a specific computer sensor, while older carbureted engines require you to disconnect and plug the vacuum advance hose on the distributor. The manual will also tell you the correct idle RPM required to get an accurate timing reading. Memorize these numbers or write them down on a piece of masking tape placed near the engine bay. Guessing your timing specifications is a surefire way to cause severe internal engine damage.
Step 3: Locate the Timing Marks
The timing marks are your visual reference points for this entire procedure. On most traditional engines, these marks are located at the front of the engine on the harmonic balancer (the large, heavy pulley attached to the bottom of the crankshaft) and on a fixed metal tab attached to the timing cover. Sometimes, they are located on the flywheel at the back of the engine, viewable through a small inspection plate. Grab a flashlight and carefully inspect the harmonic balancer. You will typically see a series of deeply engraved lines with numbers corresponding to degrees.
The fixed tab on the engine block will usually have a notch or a pointer. Because engines accumulate massive amounts of road grime, oil, and grease over their lifespans, these marks are almost always obscured. Take a clean shop rag, some mild degreaser, and a small wire brush to carefully scrub the surface of the harmonic balancer and the timing tab until the engraved numbers and lines become clearly visible.
Step 4: Highlight the Marks for Visibility
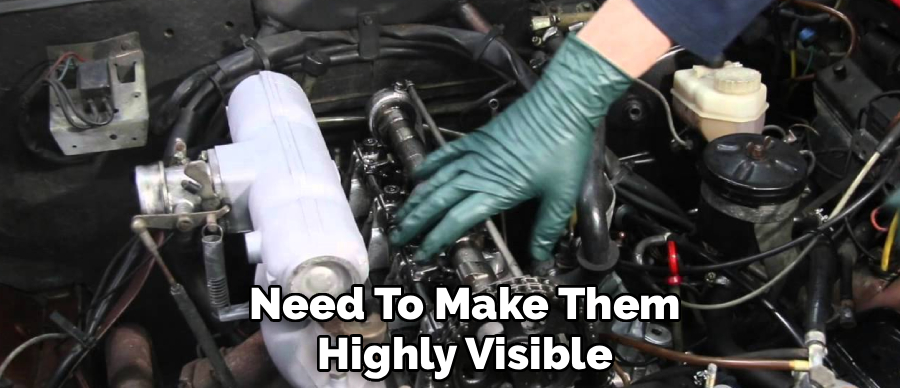
Once you have located and cleaned the timing marks, you need to make them highly visible. When the engine is running, the harmonic balancer spins at hundreds of revolutions per minute, making small, dark engravings completely impossible to read. Take your white chalk, paint pen, or correction fluid and carefully fill in the specific timing mark on the harmonic balancer that corresponds to the target degrees specified in your service manual.
For instance, if your manual calls for 10 degrees BTDC, put a bright white line directly on the 10-degree mark. Next, place a small dot or line of white paint on the fixed pointer or zero mark on the stationary timing tab. This stark white-on-black contrast will act like a beacon when the bright flash of the timing light hits it, allowing you to easily see the alignment of the marks even while the engine is spinning rapidly.
Step 5: Set Up the Timing Light
Setting up the timing light correctly is crucial for an accurate reading. An inductive timing light typically has three main connections. First, route the power cables away from any moving pulleys or fan blades. Connect the red alligator clip to the positive terminal of your vehicle’s battery. Connect the black alligator clip to the negative terminal of the battery or a solid, bare metal ground on the engine block.
Finally, locate the inductive pickup clamp—this is the thick wire with a plastic clamp at the end. Open the clamp and clip it directly onto the spark plug wire for cylinder number one. The clamp senses the electrical pulse traveling through the wire every time spark plug number one fires. Make sure the clamp is securely closed around the wire, but do not crush the wire. Ensure all cords are draped safely over the fender and are completely clear of the serpentine belt and cooling fan.
Step 6: Disconnect and Plug the Vacuum Advance
If you are working on an older vehicle equipped with a traditional distributor, you will almost certainly need to address the vacuum advance mechanism. The vacuum advance automatically changes the ignition timing based on engine load by utilizing engine vacuum. If you leave it connected while trying to check the base timing, your reading will be completely inaccurate because the engine vacuum will artificially advance the timing mark.
Locate the small rubber vacuum hose attached to the metal canister on the side of the distributor. Carefully twist and pull the hose off the canister. To prevent a massive vacuum leak that would cause the engine to idle poorly or stall, plug the end of the open rubber hose. You can use a dedicated rubber vacuum cap, a golf tee, or even a smooth, clean bolt that fits snugly into the hose.
Step 7: Start the Engine and Check the Idle Speed
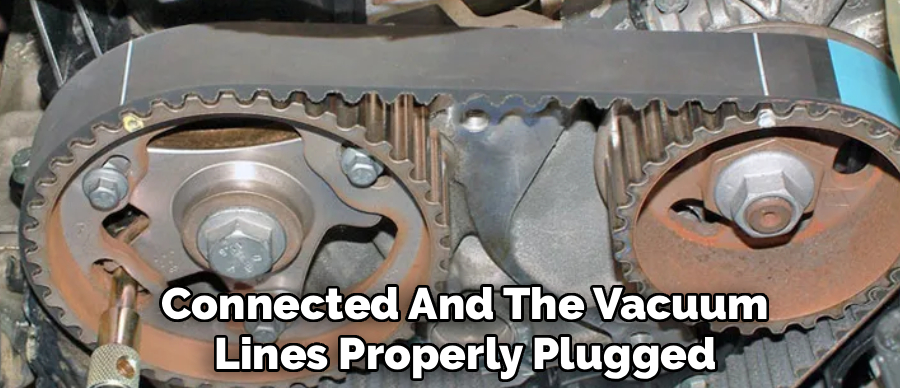
With your timing light safely connected and the vacuum lines properly plugged, start the engine. Be extremely mindful of where you place your hands, as the cooling fan, belts, and pulleys are now moving at high speeds. Before you even pull the trigger on the timing light, check the engine’s idle speed. Base timing specifications are dependent on a specific engine RPM. If your engine is idling too fast, the mechanical advance inside the distributor might activate, throwing off your reading.
Check your dashboard tachometer or the digital readout on your timing light if it features one. Compare the current idle speed to the specification listed in your service manual. If the idle is too high or too low, adjust the carburetor’s idle speed screw or the throttle body’s idle air control valve until the RPM precisely matches the manual’s requirements.
Step 8: Aim the Timing Light and Take the Reading
Now comes the moment of truth. Grip the timing light securely, stand at a safe angle away from the spinning fan, and aim the light directly down at the harmonic balancer and the timing tab. Squeeze the trigger on the timing light. The light works as a strobe, flashing brilliantly for a fraction of a millisecond exactly when spark plug number one fires. Because the flash syncs perfectly with the rotation of the engine, the harmonic balancer will appear to be frozen in place.
Look at the bright white marks you painted earlier. Observe where the mark on the spinning harmonic balancer aligns with the stationary pointer on the timing tab. If your target was 10 degrees BTDC, and your white mark on the balancer is perfectly lined up with the pointer, your timing is dead-on. If the mark is floating above or below the pointer, your engine timing requires adjustment.
Step 9: Adjust the Timing if Necessary
If the timing marks do not align properly, you must manually adjust the distributor to correct the synchronization. Turn the engine off before putting your hands near the distributor to avoid a severe high-voltage shock. Locate the distributor hold-down bolt positioned at the base of the distributor where it meets the engine block. Using a specially curved distributor wrench or a standard socket, loosen this bolt just enough so that you can twist the distributor housing with firm pressure by hand.
Do not remove the bolt entirely. Restart the engine. Carefully grab the distributor cap (wearing heavy rubber gloves can prevent shocks if you have bad spark plug wires) and rotate it very slightly. Turning it one direction advances the timing, while the opposite direction retards it. While turning it, keep the timing light aimed at the marks. Watch as the marks physically move into alignment. Once the white mark perfectly hits the stationary pointer, hold the distributor still.
Step 10: Lock Everything Down and Re-Test
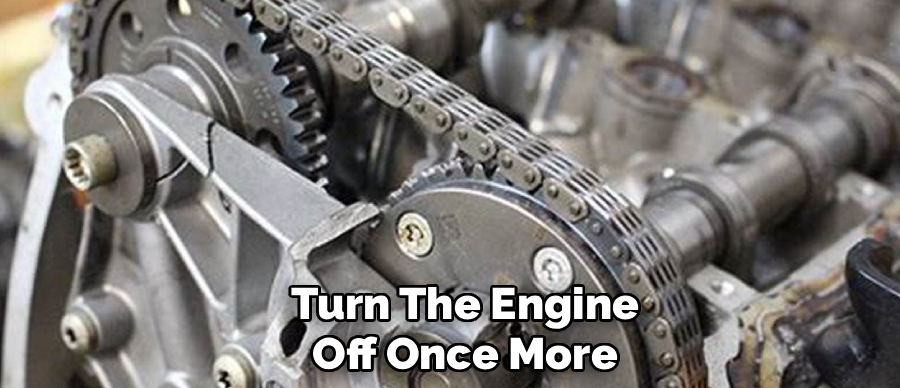
Once the timing marks are perfectly aligned according to the strobe light, turn the engine off once more. Very carefully tighten the distributor hold-down bolt back down to secure the distributor housing. Be exceptionally gentle while tightening the bolt; if you apply torque unevenly, the distributor housing can twist slightly, completely throwing off the perfect timing adjustment you just made.
After the bolt is completely tight, start the engine one more time and shine the timing light back down on the marks to verify that nothing shifted during the tightening process. If the marks are still perfectly aligned, your base timing is officially set. Turn the engine off, unhook the inductive clamp from the spark plug wire, disconnect the power leads from the battery, remove the plug from your vacuum hose, and reconnect the vacuum hose to the distributor canister. Close the hood, clear your tools, and take the vehicle for a test drive.
Conclusion
Checking your engine timing is a deeply rewarding process that connects you directly to the mechanical heartbeat of your vehicle.
By understanding the importance of timing, gathering the right tools, and carefully following the manufacturer’s specifications, you take control of your engine’s performance and longevity. While the spinning belts and high-voltage wires can seem intimidating at first, taking the procedure step-by-step makes it completely manageable for any home mechanic.
Hopefully, this guide on how to check engine timing has provided you with the necessary information and confidence to tackle your engine timing with ease.

About
Ora Hayes is a distinguished figure in the world of DIY Thecarfixes, with over a decade of expertise in automotive diagnostics and high-performance maintenance. Her professional focus lies in merging mechanical precision with modern digital tools, fostering repair solutions that are both cost-effective and highly reliable. As the author of Thecarfixes, Ora Hayes delves into the art and science of automotive restoration, inspiring car owners and hobbyist mechanics alike.
Education
RMIT University (Melbourne, Australia) Associate Degree in Automotive Engineering — Focus on vehicle dynamics, industry-driven repair protocols, and advanced diagnostics. Gained hands-on experience with traditional mechanical tools and modern ECU remapping software.
Nottingham Trent University (United Kingdom) Bachelor’s in Mechanical Design and Automotive Engineering (Honors) — Specialized in automotive systems with a focus on blending technical engineering with everyday usability. Participated in industry projects, working with leading automotive manufacturers to gain real-world insights into vehicle longevity.
Publications and Impact
In Thecarfixes, Ora Hayes shares her insights on troubleshooting complex engine issues, material durability, and strategies for efficient garage setups. Her writing bridges the gap between professional mechanic knowledge and the home enthusiast’s needs, making it a must-read for both everyday drivers and seasoned gearheads.




