

Let’s be frank: the anti-lock braking system (ABS) in your car isn’t just a fancy acronym on the dashboard. It’s a preventive layer, a kind of insurance, working away in the background to keep your wheels from seizing up during abrupt stops. Yet, the thought of inspecting this labyrinth of electronics and sensors can make even seasoned DIYers uneasy. But, as it turns out, getting a handle on the basics—enough to spot issues before they spiral into a mechanic’s bill with too many zeroes—doesn’t require advanced know-how. You don’t need an engineering degree. Patience and a bit of attention to detail will do.
Routine checks of sensors and cables aren’t glamorous. Most of us find them dull, even tedious. Still, there’s a practical payoff: tiny faults caught early don’t blossom into wallet-gouging repairs. What follows isn’t some sweeping overview, but a stepwise, hands-on approach. No sugarcoating, just candid explanations, with some nods to typical snags and, occasionally, why those “simple repairs” may not be so simple. In this guide on how to check abs brake system in your car, we will learn everything there is to know about ABS (Anti-Lock Braking System) in your car.
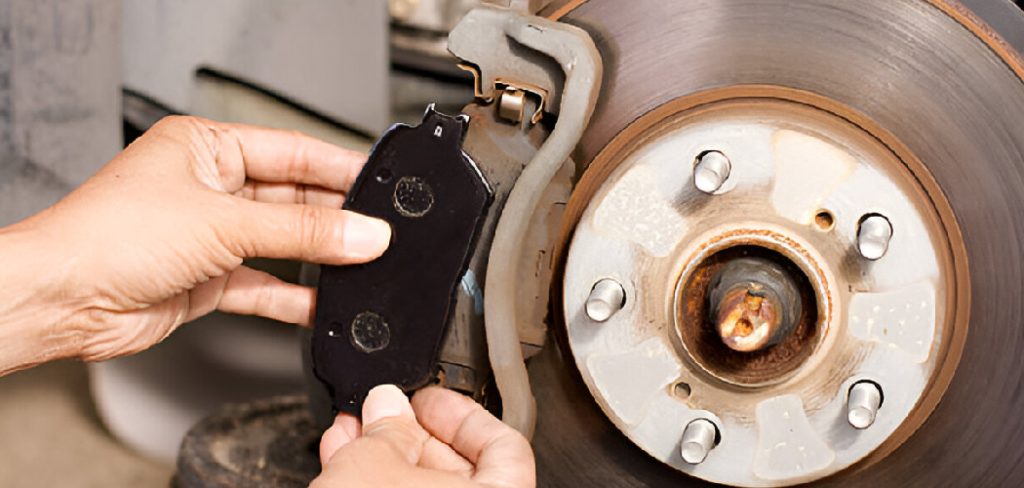
Symptoms of ABS Problems
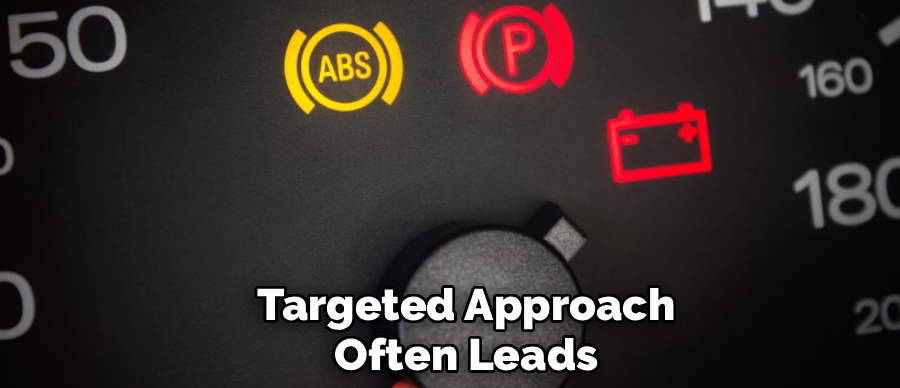
Pinpointing an ABS fault before things go sideways is preferable to spinning out in the rain. One warning sign often trumps all others: the ABS indicator on your dash. When it lights up, the system’s internal code-reader has caught something it doesn’t like—a nudge for you to investigate.
But not every issue shouts so clearly. You might sense your brake pedal acting “off”—maybe it’s squishier, maybe it bucks unexpectedly, or perhaps it requires so much force that you wonder if you’re imagining it. In some cases, your wheels could go rigid (especially on wet asphalt), which, if you’re unlucky, happens just when you need control the most. If braking brings odd noises—think scraping or metallic grinding—that could betray a sensor on its last legs or a damaged reluctor/“tone” ring. Noises often get ignored. They shouldn’t.
Tools & Equipment Needed
Let’s not get lost in a hardware store vortex. You don’t need an arsenal:
- An OBD-II scanner with ABS-read capability (most cheap models fall short here—check before you buy or borrow)
- Digital multimeter for basic resistance checks
- A jack and a jack stand rated for your car
- Lug wrench (no need for a pneumatic gun)
- Wire brush, a handful of cheap microfiber rags
- Eye protection (something beats nothing), durable gloves
It’s tempting to start quickly, but the right gear keeps you from making mistakes that are harder to undo
7 Simple Step-by-step Guidelines on How to Check ABS Brake System
Step 1: Scan the Diagnostic Trouble Codes
The earliest step is digital, not mechanical. Somewhere beneath the dash, usually by your left shin, sits the OBD-II port. Plug your ABS-compatible scanner in, turn the ignition (but don’t start the engine), and let the scanner do its thing. Within moments, it should spit out a string of codes. These aren’t random. Each point to a precise area—left rear wheel, faulty sensor, damaged wire, etc.
Jot these codes on paper (do yourself a favor and don’t trust your memory here), then cross-check with your owner’s or service manual. There’s no reason to crawl under the car blindly if the computer has already hinted where to look. Skipping this targeted approach often leads to missed problems or wasted effort.
Step 2: Securely Elevate the Vehicle
So, let’s assume the codes fingered your front left wheel. Before grabbing tools, prep the space: park on flat, hard ground. Pull the handbrake up. Feeling extra cautious? Wedge blocks behind other tires. Now, position the jack at a manufacturer-approved spot (it really doesn’t matter), and lift. Here’s where impatience causes grief—never trust a hydraulic jack to support the car alone.
Always use jack stands, placed under the frame. Only after lowering the car onto these stands (gently nudge the car—if it wobbles, start over), should you go for the lug nuts and remove the wheel. Accidental falls are rarer with care, but all it takes is one for a lifetime’s regret.
Step 3: Locate and Inspect the ABS Sensor
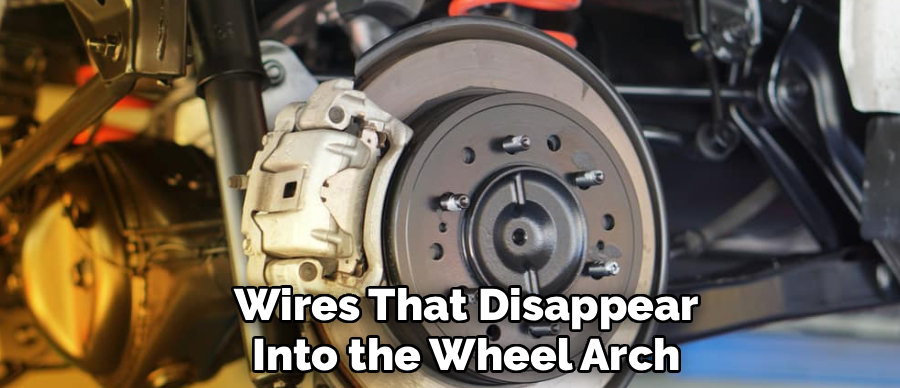
Wheel off, now things get interesting. Focus your flashlight behind the brake disc. The ABS sensor’s a squat, black module with a wire trailing from it—easily mistaken for something else if it’s filthy. Hovering opposite the sensor is a metal ring with little ridges: the tone ring.
Closely scan the sensor casing and the wires that disappear into the wheel arch. If there’s a gash, brittle insulation, or a sensor tip that’s clearly bashed, odds are high you’ve found your likely culprit. It doesn’t take much—a wire with the sheath missing can short out the system. Some people keep driving, hoping it heals itself. It won’t.
Step 4: Clean the Sensor and Tone Ring
Dirt is absolutely unforgiving in this context. Your ABS sensor and tone ring live where grime, rust, and oily sludge collect. Start by cleaning the sensor face—wipe gently with a microfiber cloth. No need to polish it; just get the gunk off. Now, roll the hub slowly by hand and focus on the tone ring.
Crusted dirt, missing segments, or corrosion are stumbling blocks for the sensor. Use a wire brush to clean the ring teeth, but don’t go overboard—aggressive scrubbing can cause its own damage. Clean components mean accurate sensor readings, a non-negotiable detail for the electronics downstream.
Step 5: Test the Sensor Resistance
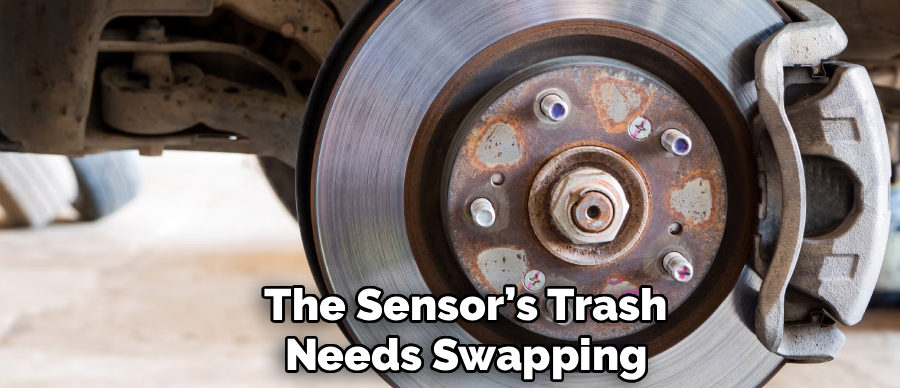
The visual check’s done, but outward appearance can mislead. Detach the electrical connector (usually tucked up in the wheel well). Turn your multimeter to ohms, then touch the leads to the two pins inside the connector. “Normal” can mean something different model-to-model, but you’re generally looking for a figure between 800 and 2000 ohms.
If the screen flashes infinity (or “OL”), the wire’s severed internally. Get a reading of zero? That means a short. Either way, the sensor’s trash needs swapping. If you don’t have the range for your car, consult the manual—wild guesses lead nowhere useful.
Step 6: Measure the AC Voltage Output
So, the resistance checks out. Still, there’s another critical step—verifying the sensor can actually send a signal back to the computer. Leave your multimeter’s leads on but switch to AC voltage mode. Now, mimic a rolling wheel by spinning the hub. A functioning sensor should generate a flickering AC voltage (somewhere between 50 and 250 millivolts, typically). No movement in the readout? Either a dud sensor or a magnetic core on life support. But if you see a little, erratic signal, congratulations—the device is alive and sending data, at least at a basic level.
Step 7: Reassemble and Clear the Codes
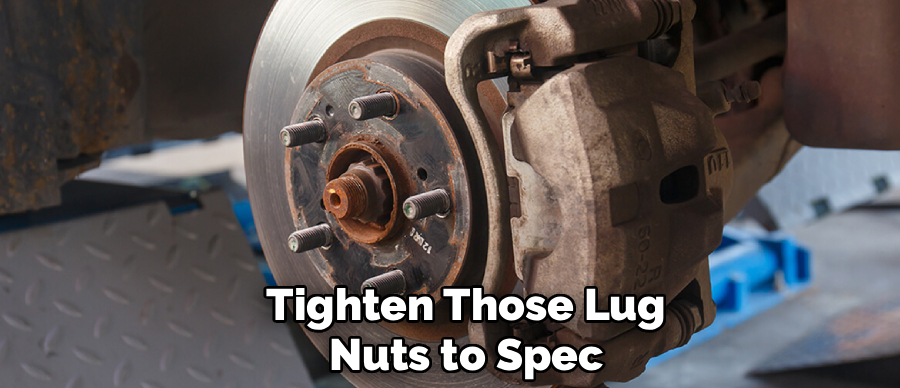
All checked, or maybe you’ve replaced a part. Time to reassemble. Plug the sensor harness back in until you hear or feel a “click”—water infiltration later on is never fun. Wheel back on, nuts hand-tight to begin, then car up a hair so you can fetch the jack stands. Lower the car gently. Grab a torque wrench and tighten those lug nuts to spec (it matters—a lot).
Almost at the finish line: plug your scanner back in one more time and clear the error codes. Light off? That’s the idea. Take the car for a cautious spin somewhere empty. If the warning stays dormant and the brakes feel stable, you did it. If not, the car may be trying to tell you something wasn’t solved.
Following these steps on how to check ABS brake system is crucial for ensuring the safety and reliability of your vehicle’s braking system. Regularly performing these checks can help prevent potential accidents caused by brake failure.
Common Mistakes to Avoid
Classic errors? There are a few. Swapping out sensors willy-nilly, without even checking with a multimeter, usually solves nothing. Ignoring a cracked or rusty tone ring? Same problem—new sensor, old trouble. If the wiring isn’t anchored tightly, it’ll rub itself raw against moving parts.
Forcing a jammed sensor out with a screwdriver may break it off deep inside the hub, leaving you cursing. And above all, forgetting to clear the computer codes after repairs means staring at an unchanged warning light, no matter what you fixed.
When to Seek Professional Help?
Most weekend mechanics can handle sensors and visual inspections without drama. However, if your scanner reports a fault in the hydraulic pump or brain of the ABS, that’s specialized territory. Swapping these units can require bleeding the brakes with manufacturer-only tools.
And crawling under a heavy car isn’t for everyone—if you can’t shake the queasy feeling, or if you lack proper stands, call a professional. The braking system isn’t a place for half-measures. Some risks just aren’t worth taking.
Cost of Repair vs DIY Check
Let’s talk numbers. If you’ve got a jack and a multimeter gathering dust, checking a wheel sensor costs you nothing but time. Need a replacement? Wheel sensors for most vehicles cost somewhere around $20–$60. Bring your car to a dealership or shop just for a scan, though, and you’re out at least $150 (before the repair even starts).
Have them install a new sensor? The total often climbs to $200–$350 with labor. A bit of your own time really can save you a hefty sum—and you just might learn something useful along the way.
Preventive Maintenance Tips
- Replace the brake fluid completely every couple of years (or as the manual dictates).
- Rinse off road salt and grime from your car’s undercarriage during winter and early spring.
- Don’t forget to eyeball pads and rotors—inconsistent thickness breeds sensor problems.
- Double-check that your tires are evenly matched and inflated; mismatches throw off speed readings.
- Never yank on electrical connectors; gentle hands prevent broken tabs and future headaches.
Frequently Asked Questions
Q1: Can I Drive My Car With The ABS Light On?
A1: You can, technically, but shouldn’t make a habit of it. With the ABS disabled, your normal brakes still function, but your margins disappear—if you panic-stop, those wheels could freeze. Fix the issue sooner rather than later.
Q2: How Do I Reset The ABS Light Without A Scanner?
A2: If you lack a scanner, you can sometimes reset the ABS by disconnecting the negative battery terminal for 10–15 minutes. This drains power from the electronics and forces a reset—but if an actual fault is present, the warning light will return quickly after you start driving.
Q3: Why Does My Brake Pedal Pulsate Even On Dry Pavement?
A3: Most often, a grimy or malfunctioning sensor or a tone ring that’s cracked or dirty is to blame. The ABS “thinks” a wheel is skidding, so it pumps the brakes unnecessarily. Cleaning sensors and checking the rings usually eliminates this.
Keep Your Braking System Running Smoothly
Learning to check the ABS system is one of those small victories of car ownership. It’s less about mastering machinery and more about catching small, creeping issues before they put you or your wallet in a tough spot.
Listen to your dashboard, respect the steps on how to check ABS brake system, and take your time. Your brakes may never thank you—but the next panic stop just might.

About
Ora Hayes is a distinguished figure in the world of DIY Thecarfixes, with over a decade of expertise in automotive diagnostics and high-performance maintenance. Her professional focus lies in merging mechanical precision with modern digital tools, fostering repair solutions that are both cost-effective and highly reliable. As the author of Thecarfixes, Ora Hayes delves into the art and science of automotive restoration, inspiring car owners and hobbyist mechanics alike.
Education
RMIT University (Melbourne, Australia) Associate Degree in Automotive Engineering — Focus on vehicle dynamics, industry-driven repair protocols, and advanced diagnostics. Gained hands-on experience with traditional mechanical tools and modern ECU remapping software.
Nottingham Trent University (United Kingdom) Bachelor’s in Mechanical Design and Automotive Engineering (Honors) — Specialized in automotive systems with a focus on blending technical engineering with everyday usability. Participated in industry projects, working with leading automotive manufacturers to gain real-world insights into vehicle longevity.
Publications and Impact
In Thecarfixes, Ora Hayes shares her insights on troubleshooting complex engine issues, material durability, and strategies for efficient garage setups. Her writing bridges the gap between professional mechanic knowledge and the home enthusiast’s needs, making it a must-read for both everyday drivers and seasoned gearheads.




