

Keeping an accurate dashboard clock ensures your daily commute remains on a predictable schedule. Punctuality dictates much of our modern routine. A blinking or incorrect time display often creates a profound psychological distraction for the driver.
You might find your eyes darting toward the center console rather than scanning the highway ahead. This loss of visual focus introduces unnecessary physical risk to your morning drive. Dead batteries, recent mechanical repairs, or the bi-annual shift to Daylight Saving Time usually cause these temporal discrepancies.
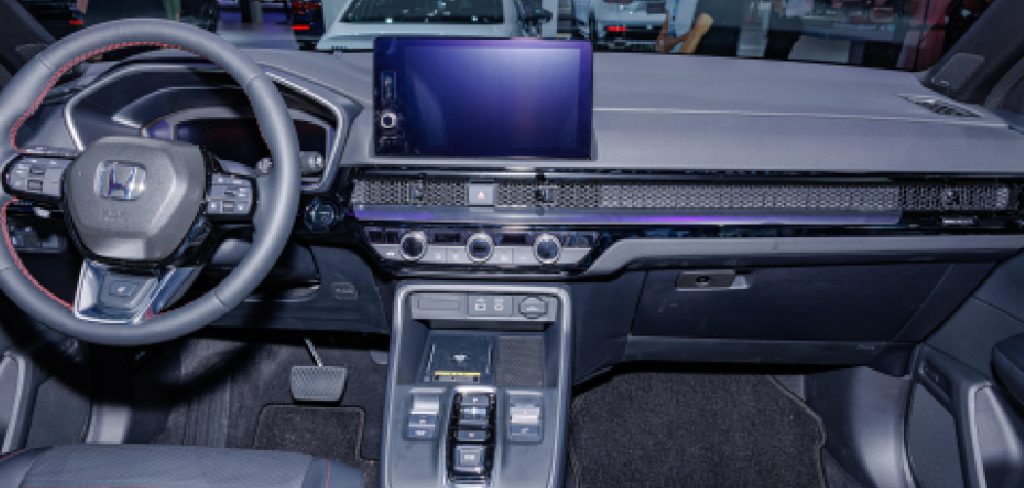
Knowing exactly how to change clock in Honda CRV models represents a highly practical maintenance skill. It prevents you from driving distracted while fumbling with unfamiliar digital menus. We will cover how to identify your specific infotainment generation and provide exact instructions for your interior layout.
The process takes only a few moments once you understand the underlying interface. Taking charge of your cabin electronics restores a sense of calm predictability to your vehicle. You can eliminate this minor annoyance safely in your own driveway.
Identifying Your Honda CR-V Generation
Honda significantly updated its interior technology over the past decade. The clock adjustment process varies entirely depending on your specific model year. Assuming a universal fix across all generations frequently leads to severe owner frustration.
You must first analyze the physical architecture of your dashboard. The manufacturer shifted away from analog logic toward digital applications as consumer demands evolved. Identifying the correct hardware prevents you from wasting time searching for nonexistent buttons.
Model Years 2012-2016 Non-Touchscreen Systems
Older iterations of this popular crossover utilize a highly tactile physical interface. These models typically feature plastic buttons flanking a smaller, deeply recessed digital display. This layout may suggest an engineering philosophy focused entirely on driver muscle memory.
You can often navigate these older systems without taking your eyes off the road. Many of these base units include a dedicated clock adjustment button. Others require the driver to press and hold the main volume or selector knob to access the internal time settings.
The physical feedback of a turning dial provides a reassuring mechanical click. Understanding this analog setup prevents you from touching the plastic screen expecting a capacitive response. This rudimentary design actually makes the adjustment process remarkably straightforward once you locate the correct starting point.
Modern Touchscreen Display Audio (2017 and Newer)
The transition to the fifth and sixth generations brought massive ergonomic changes to the vehicle interior. Honda introduced the Display Audio touchscreen systems to replace the aging analog dials entirely. These newer models abandon physical clock buttons in favor of flat glass panels.
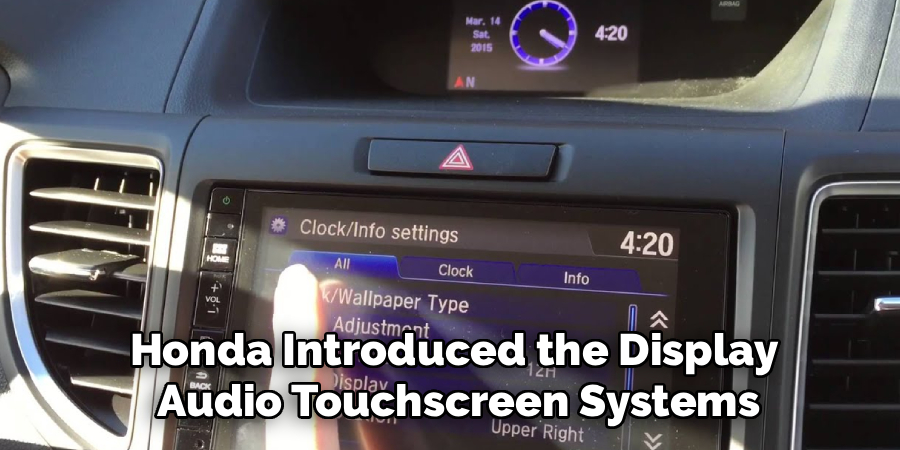
This shift forces the driver to navigate through a digital application on a tablet-like display. The glowing screen heavily mimics the interface of a modern smartphone. Such a design could indicate an industry-wide push toward entirely digitized vehicle controls.
You must interact with a glossy screen to adjust the time. Finding the correct sub-menu requires a bit of concentrated visual attention. We highly recommend parking the vehicle in a safe location before attempting to navigate this software hierarchy.
Step-by-Step Instructions: How To Change Clock In Honda CRV
Physical buttons make this a highly tactile and predictable task. You do not need to worry about software lag or unresponsive glass screens. The mechanical logic remains completely consistent every single time you attempt the adjustment sequence.
Step 1: Entering Clock Adjustment Mode
Begin by turning the vehicle ignition to the “On” position. You do not necessarily need to start the internal combustion engine. The radio display should illuminate brightly against the dark dashboard plastics.
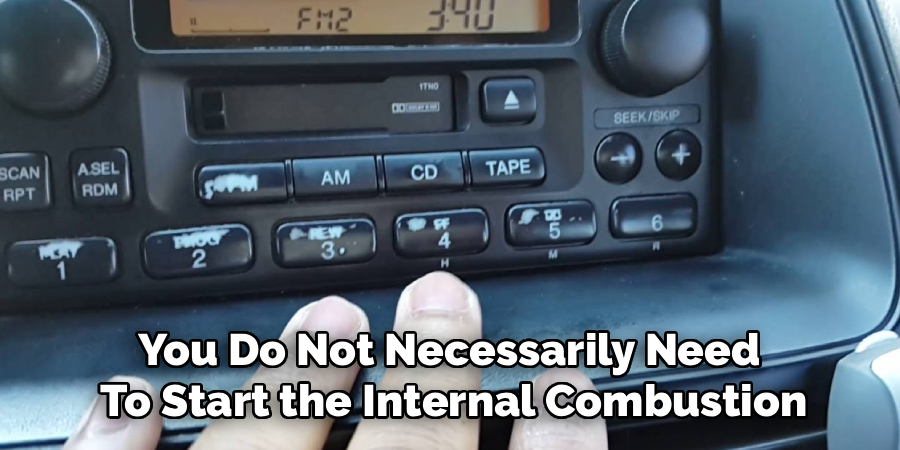
Locate the specific “Clock” button on your center console. Honda sometimes shares this specific physical key with the “Menu” or “Setup” function. You must press and hold this plastic button firmly.
Wait until the digital time display begins to blink rapidly. This visual pulsing indicates the internal system has successfully unlocked the time editing protocol. You are now fully ready to manipulate the hours and minutes manually.
Step 2: Using the Selector Knob for Hours and Minutes
The physical manipulation of the numbers requires interacting with the largest dial on the radio face. Turn the large center selector knob slightly to the left or the right. You will see the blinking hour digits increase or decrease accordingly.
Spinning the dial quickly allows you to cycle through the twelve-hour format. Stop turning the plastic ring when the correct hour appears on the LCD screen. You must now tell the internal computer to accept this specific numerical value.
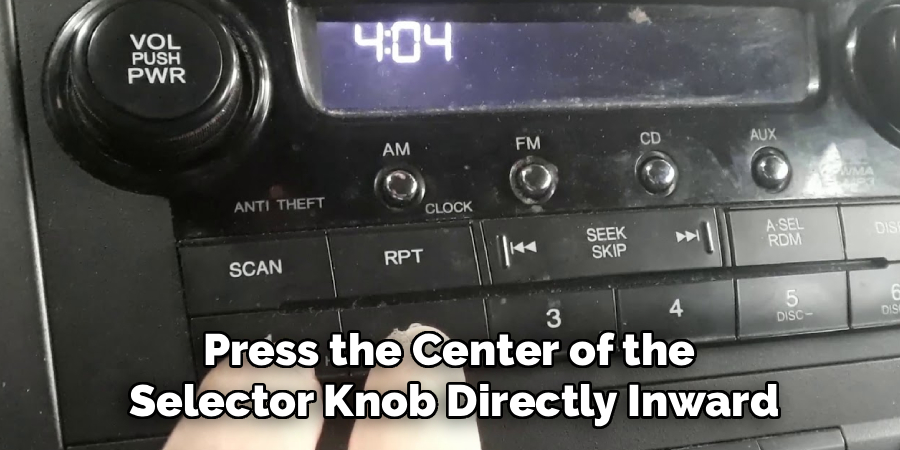
Press the center of the selector knob directly inward until it clicks loudly. This action locks in the hour parameter permanently. It automatically switches the blinking selection over to the adjacent minute digits.
Adjust the minutes using the exact same turning motion. The tactile bumps on the outer dial help you count the numbers without staring intensely at the screen. Stop turning when the exact current time reflects accurately on the dashboard.
Step 3: Confirming and Saving the Time
Leaving the display blinking means the system has not yet saved your manual inputs. You must finalize the sequence so the vehicle remembers the new parameters after you remove the physical key. This requires one final mechanical input from the driver.
Press the selector knob inward one last time. Alternatively, you can press the physical “Clock” button again to achieve the same operational result. The numerical display will immediately stop its rapid blinking.
A solid, non-pulsing digital font confirms your absolute success. The internal memory module now retains the new time accurately. You can safely turn the vehicle off without losing your careful temporal adjustments.
How To Change Clock In Honda CRV: Touchscreen Models
Transitioning to the digital interface requires a slightly different cognitive approach. You must navigate through a software tree rather than turning a physical plastic gear. The programming logic remains highly intuitive once you understand the basic menu structure.
Step 1: Accessing the Main Settings Menu
Start the engine and wait for the central touchscreen to boot up entirely. The internal computer sometimes requires twenty seconds to load its underlying operating system. Tapping the glass prematurely might cause the application to ignore your physical inputs.
Press the physical “Home” button located just outside the edge of the glowing screen. This action brings you directly to the primary application drawer. Look for the “Settings” icon, which Honda typically represents with a gray mechanical gear symbol.
Tap this gear icon lightly with your bare finger. The display will transition to a text-heavy list of deep vehicle preferences. You are now standing inside the primary configuration hub of your modern crossover.
Step 2: Finding the Clock Adjustment Screen
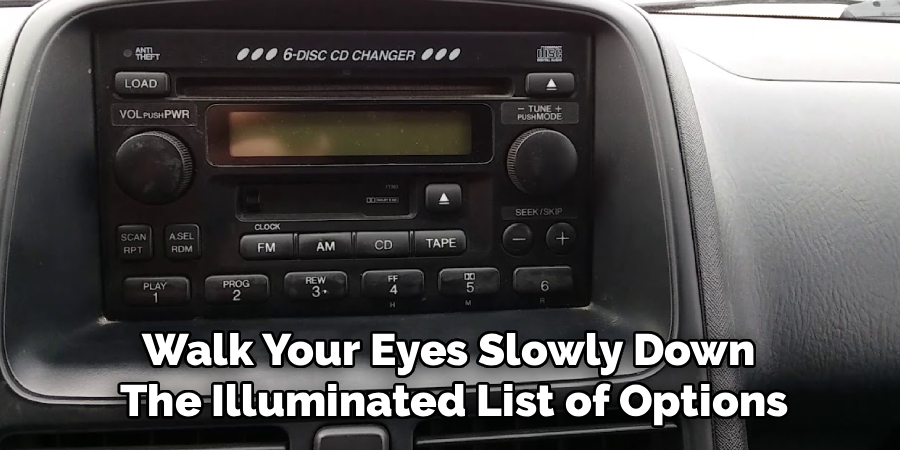
Walk your eyes slowly down the illuminated list of options. You must tap the tab labeled “System” or occasionally “Clock/Info,” depending on your specific software version. This opens a much deeper layer of system configuration settings.
Select the specific row reading “Clock Adjustment” from this secondary digital menu. The software will instantly transition to a dedicated user interface. You will see large up and down arrows situated directly above and below the current hours and minutes.
This screen intentionally isolates the time settings from other potential software distractions. It provides a massive, high-contrast visual space for your fingertip inputs. Such design clarity may suggest the manufacturer anticipated older drivers needing to make these changes quickly.
Step 3: Manually Changing the Hours and Minutes
Touch interactions completely replace the turning of a physical mechanical dial. Tap the on-screen arrows to increase or decrease the individual digital numbers. The capacitive glass registers your body heat to trigger the immediate software response.
Continue tapping the glass until the exact local time displays across the center graphic. Pay close attention to the AM and PM indicators if your vehicle utilizes a standard twelve-hour format. Reversing those specific parameters will, unfortunately, cause your date calendar to roll over at noon rather than midnight.
Instruct the computer to finalize the changes by pressing the “OK” or “Save” button at the absolute bottom of the screen. The software will lock the temporal adjustments deep into the flash memory. It will subsequently return you to the main home interface entirely automatically.
Troubleshooting Automatic GPS Syncing Issues
High-trim models often incorporate seemingly intelligent features that occasionally fail under certain environmental conditions. Touring and EX-L variants equipped with built-in navigation rely heavily on distant orbital satellites. When this invisible communication bridge falters, your smart dashboard might display the wrong time entirely.
Understanding the Automatic GPS Time Feature
Your vehicle attempts to pull the exact time directly from global positioning satellite radio signals. This background feature usually adjusts for Daylight Saving Time completely automatically. It effectively removes the heavy burden of manual adjustments from the vehicle owner.
The system can occasionally glitch if the car sits parked inside a thick concrete parking garage. Heavy storm cloud cover or dense urban skyscrapers could also block the satellite line of sight for an extended duration. Without a clear orbital signal, the internal clock relies entirely on its own degrading internal rhythm.
When the vehicle eventually regains its invisible connection, the sudden software synchronization might calculate the local hour incorrectly. This specific error results in a clock that reads perfectly on the minutes but fails on the hour. You must intervene manually to correct this temporary software blindness.
Correcting Wrong Time Zones
A dashboard clock that remains consistently off by exactly one hour usually points to a severe geographical miscalculation. The internal computer might mistakenly believe you drove across a time zone border while the system was offline. Correcting this frustrating error requires returning directly to the software configuration menus.
Navigate back to the “Clock/Info” settings on your main central touchscreen. Look carefully for the specific “Time Zone” configuration tab located near the bottom. You will likely see the “Auto Time Zone” feature currently activated and highlighted in blue.
Disable this automatic tracking function by toggling the digital switch off. Manually select your actual current geographical region from the newly provided drop-down list. This specific manual override forces the GPS clock to display the correct local time almost immediately.
Conclusion
Modern automotive infotainment systems often appear incredibly intimidating to the casual commuter. An entire landscape of glowing glass and buried menus creates unnecessary anxiety during basic maintenance tasks. However, learning exactly how to change clock in Honda CRV models takes only a few measured button presses.
Older iterations of this crossover rely heavily on the reassuring tactile feedback of a physical selector knob. Modern versions require you to navigate the digital settings menu with a careful, deliberate fingertip. Both structural methods remain highly logical once you understand the underlying engineering philosophy.
We strongly encourage you to verify your automatic GPS syncing settings if your high-trim model continually displays the incorrect hour. Taking a quick moment to reset the dashboard clock safely in your driveway ensures your future morning commutes remain perfectly punctual. A perfectly calibrated cabin environment allows you to focus your attention entirely on the asphalt ahead.

About
Ora Hayes is a distinguished figure in the world of DIY Thecarfixes, with over a decade of expertise in automotive diagnostics and high-performance maintenance. Her professional focus lies in merging mechanical precision with modern digital tools, fostering repair solutions that are both cost-effective and highly reliable. As the author of Thecarfixes, Ora Hayes delves into the art and science of automotive restoration, inspiring car owners and hobbyist mechanics alike.
Education
RMIT University (Melbourne, Australia) Associate Degree in Automotive Engineering — Focus on vehicle dynamics, industry-driven repair protocols, and advanced diagnostics. Gained hands-on experience with traditional mechanical tools and modern ECU remapping software.
Nottingham Trent University (United Kingdom) Bachelor’s in Mechanical Design and Automotive Engineering (Honors) — Specialized in automotive systems with a focus on blending technical engineering with everyday usability. Participated in industry projects, working with leading automotive manufacturers to gain real-world insights into vehicle longevity.
Publications and Impact
In Thecarfixes, Ora Hayes shares her insights on troubleshooting complex engine issues, material durability, and strategies for efficient garage setups. Her writing bridges the gap between professional mechanic knowledge and the home enthusiast’s needs, making it a must-read for both everyday drivers and seasoned gearheads.




