

Turning the ignition key only to hear a hollow, clicking sound frequently inspires a sudden wave of panic. Drivers often jump to the conclusion that their starter motor has died or their alternator has completely failed. Yet, the root cause of this frustration might simply be a degraded electrical connection resting under the hood.
Learning how to change battery terminals offers a highly practical solution to this common automotive headache. We often ignore these small metal clamps until they are entirely choked by powdery acid buildup. It appears that replacing heavily corroded connections is an entirely manageable task that yields immediate reliability improvements.
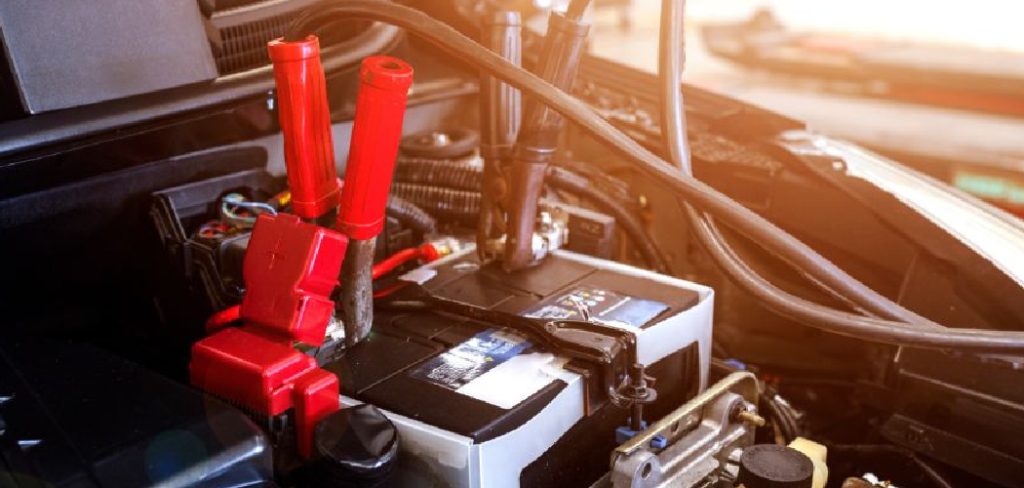
This guide outlines the precise mechanical steps required to safely cut away damaged connectors and install fresh hardware. Taking control of this minor electrical repair could save you a surprising amount of money in diagnostic fees. You simply need a bit of patience and an understanding of basic automotive safety protocols.
Identifying Failing Battery Terminals
Before you decide to cut the main electrical cables of your vehicle, you should probably confirm that the terminals are actually to blame. Misdiagnosing a dead battery as a terminal issue happens quite frequently in home garages. Examining the physical condition of the metal clamps usually provides all the evidence you need.
A healthy electrical connection relies entirely on clean metal-to-metal contact. When that contact is interrupted by chemical degradation, the flow of electricity slows to a crawl. You might want to pop the hood and look for these specific visual and electrical symptoms.
Visible Corrosion and Build-Up
Battery acid inevitably off-gasses as the fluid inside the plastic casing heats up and cools down. These acidic fumes react violently with the lead and copper components resting above the battery. This chemical reaction typically produces a thick, crusty buildup that looks remarkably like blue, white, or green cauliflower.
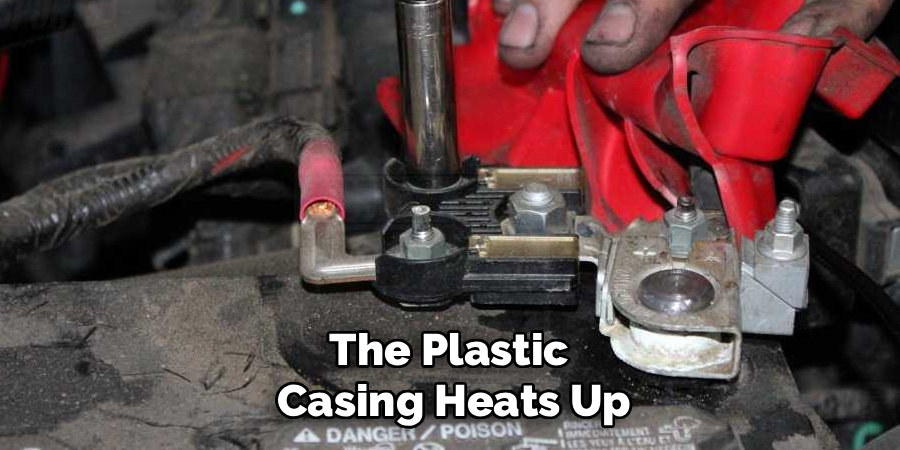
This powdery substance acts as an incredibly effective electrical insulator. It physically pushes the metal clamp away from the battery post, effectively choking the electrical current. If the clamp feels somewhat spongy or looks entirely buried in this white powder, it might suggest the connection is compromised.
Starting Issues and Flickering Lights
The starter motor requires a massive, uninterrupted surge of amperage to turn the heavy engine block. A degraded terminal simply cannot facilitate that kind of power transfer. You might hear a rapid clicking noise when you turn the key, which indicates the starter is trying to engage but lacks the necessary voltage.
Dashboard electronics also suffer when the primary electrical gateway fails. Your headlights might dim unexpectedly when you press the brake pedal or turn on the radio. Such erratic electrical behavior often points directly to a loose or rotting connection at the battery.
Essential Tools and Materials for the Job
Preparing your workspace before disconnecting the power supply prevents highly frustrating interruptions later on. You do not need an entire mechanic’s cart to complete this job successfully. However, gathering a few specific tools will make the process significantly safer and far more efficient.
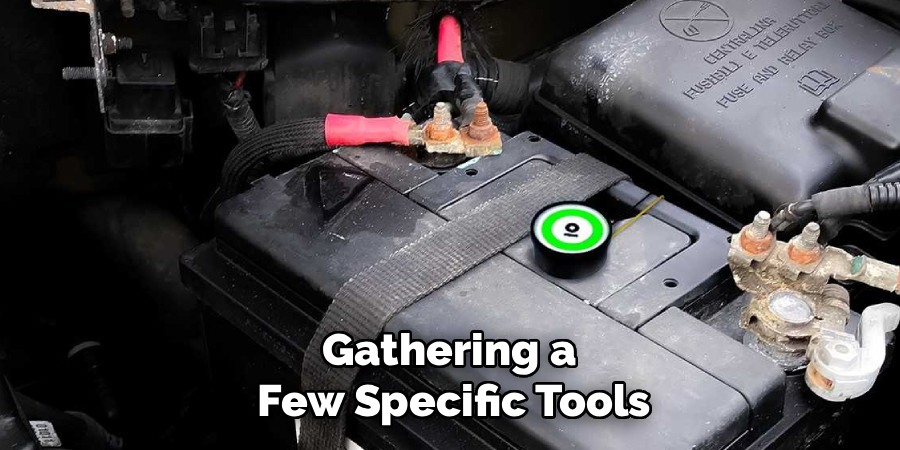
Using the correct implements prevents accidental damage to the delicate copper wiring hidden beneath the rubber insulation. Improvised tools like kitchen scissors rarely cut through thick automotive gauge wire cleanly. You should take a moment to assemble the following items.
Required Hand Tools
A standard metric and standard socket set will allow you to loosen the original clamping nuts. You might also want to grab a small adjustable wrench for holding the opposite side of the bolt. Heavy-duty wire cutters, sometimes called linesman snips, are necessary for cleanly severing the old terminal from the cable.
Once the old clamp is removed, you must expose fresh wire to make the new connection. A pair of dedicated automotive wire strippers performs this task perfectly. If you lack strippers, a sharp utility knife could work, provided you have a very steady hand.
Cleaning Supplies and Protectants
Installing brand new hardware onto dirty battery posts defeats the entire purpose of the repair. You should pick up an inexpensive wire brush tool specifically designed for scouring lead battery posts. A simple homemade mixture of warm water and baking soda also does wonders for neutralizing the remaining acid.
Consider purchasing a can of dedicated terminal protector spray from your local auto parts store. This sealant acts as a chemical barrier against future off-gassing. Having a few shop towels on hand to wipe away the dissolved acid sludge is also highly recommended.
Crucial Safety Precautions Before You Begin
Automotive batteries store an astonishing amount of electrical energy and contain highly corrosive sulfuric acid. Treating this component with a casual disregard for safety usually leads to painful consequences. You must respect the chemical and electrical risks inherent to this environment.
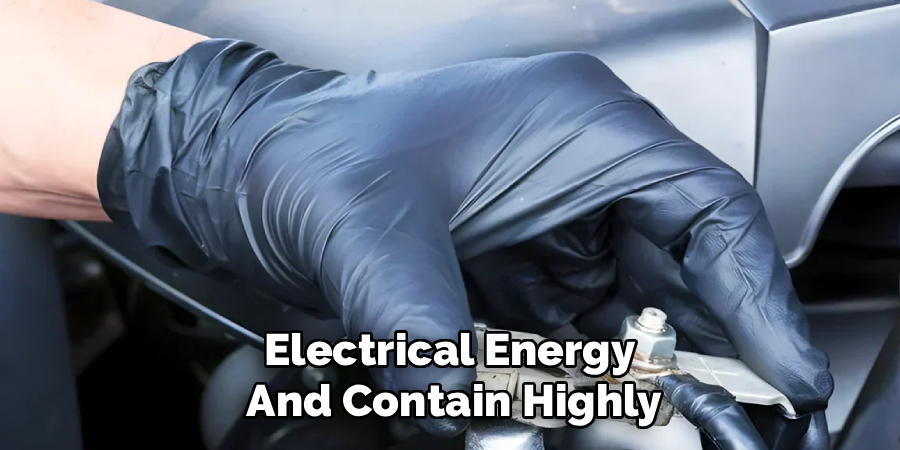
A minor mistake with a metal wrench could easily cause a violent spark or, in extreme cases, a small explosion. Taking a few seconds to protect yourself physically is never a wasted effort.
Protecting Your Eyes and Hands
The powdery corrosion resting on the terminals is effectively crystallized acid. When you brush or cut it, fine particles will inevitably become airborne. Wearing tight-fitting safety glasses shields your eyes from this highly irritating chemical dust.
Heavy-duty nitrile or leather work gloves are equally important. They protect your skin from acid burns while you handle the sharp strands of freshly cut copper wire. Acid trapped under a fingernail burns rather intensely, which could easily distract you while holding heavy tools.
Avoiding Accidental Shorts
Dropping a steel wrench directly across the positive and negative battery posts creates a direct short circuit. The wrench will instantly heat up, potentially melting into the lead posts or causing the battery casing to rupture. You must remain entirely mindful of where your tools are resting at all times.
Removing metal rings, watches, and bracelets before reaching into the engine bay is a wise habit to adopt. If a gold ring accidentally bridges a live connection, it will cause severe, immediate burns to your hand.
Step-by-Step on How to Change Battery Terminals
We have arrived at the core mechanical sequence. Executing this repair requires a methodical approach to ensure the electrical system powers down safely. Rushing through these steps might cause sparks that damage the sensitive computers managing your engine.
Follow this chronological path carefully. It provides a clear roadmap for cutting away the old damage and securing a permanent, reliable connection.
Step 1: Disconnect the Negative Cable First
You must always loosen and remove the negative cable before touching the positive side. This black cable grounds the entire vehicle chassis to the battery. If your wrench slips while unbolting the negative clamp and touches the metal car body, absolutely nothing happens.
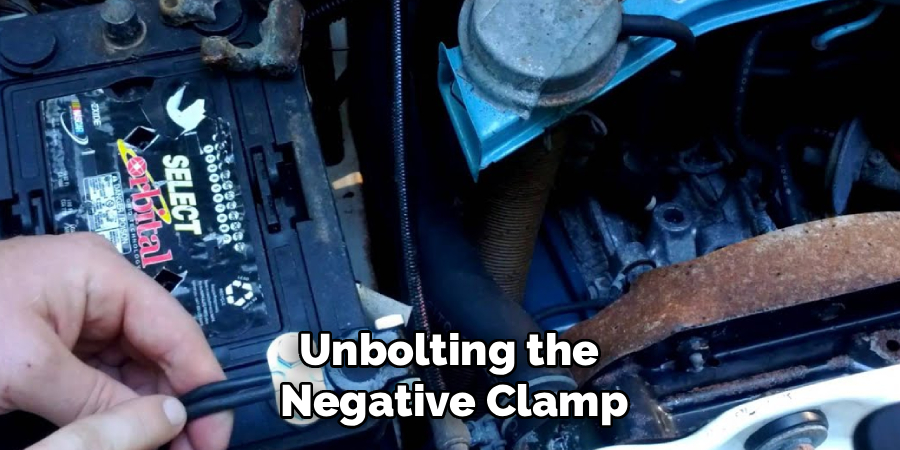
However, if you were to loosen the positive side first and your wrench touched the fender, a massive spark would erupt. Once the negative clamp is loose, pull it off the post entirely. Tuck it securely down the side of the battery box so it cannot spring back into place.
Step 2: Disconnect the Positive Cable
With the ground circuit broken, the electrical system is now functionally dead. You can safely place your wrench on the positive clamp, which is usually marked with a red cover or a plus sign. Loosen the retaining nut and wiggle the clamp off the lead post.
Corrosion often glues the clamp to the post quite stubbornly. You might need to gently pry it open with a flathead screwdriver to break the chemical bond. Lay the positive cable safely off to the side, completely clear of the battery top.
Step 3: Remove the Old Terminal Ends
Take your heavy-duty wire snips and position them right where the bare copper enters the old, corroded clamp. You want to cut as close to the terminal as possible. Preserving the length of the thick rubber cable is critical, as factory wiring harnesses rarely offer much excess slack.
Squeeze the handles firmly to shear through the thick bundle of copper strands. If your snips are too small, you could carefully use a fine-toothed hacksaw blade. Discard the old, ruined terminals immediately so the acid does not contaminate your clean workbench.
Step 4: Clean and Strip the Copper Wiring
You must expose about three-quarters of an inch of fresh copper to secure the new clamp. Use your wire strippers or a utility knife to carefully score the thick rubber insulation. Pull the rubber casing off, revealing the shiny wire strands beneath.
If the exposed copper looks black or green, the corrosion has worked its way down the cable. You might need to dip the bare wire into your baking soda solution and scrub it gently with a wire brush. The copper must be bright and completely clean to conduct electricity efficiently.
Step 5: Install the New Battery Terminals
Modern aftermarket terminals usually feature a clamping plate held down by two small bolts. Loosen these bolts to open the plate, and slide your freshly stripped copper wire directly into the gap. Ensure that all the tiny copper strands are captured beneath the metal plate, leaving none poking out the sides.
Tighten the two bolts down very firmly with a socket wrench. You want the metal plate to crush the copper wire slightly, creating a mechanical bond that cannot be pulled apart by hand. A loose wire here will cause the same starting issues you are trying to fix.
Step 6: Reconnect the Positive Terminal First
Installation requires reversing the removal logic to maintain electrical safety. Grab your newly assembled positive cable and press the clamp down onto the positive battery post. Ensure it sits flush against the bottom of the post for maximum surface contact.
Tighten the main clamping nut until the terminal feels entirely rigid. You should not be able to twist the clamp left or right with your bare hands. A tight connection prevents micro-arcing, which often accelerates the buildup of new acid corrosion.
Step 7: Reconnect the Negative Terminal and Test
Finally, retrieve the negative cable and slide its new clamp over the negative battery post. You might see a tiny, harmless spark as the metal touches, which simply indicates the vehicle’s computers are drawing standby power. Tighten this nut down securely as well.
With both cables installed, gather your tools and step away from the engine bay. Sit in the driver’s seat and turn the ignition key. The engine should crank over with renewed vigor, confirming that your electrical repair was entirely successful.
Choosing the Right Replacement Terminals
Walking into an auto parts store presents you with an overwhelming wall of hardware options. Not all metal clamps perform the same under high heat. Choosing the appropriate material might depend heavily on your vehicle’s specific electrical demands.
Some materials resist corrosion naturally, while others prioritize absolute conductivity. You should consider how you use the vehicle before making a final purchase.
Lead and Zinc Terminals
Standard lead and zinc replacement options represent the most common and affordable choice. They look somewhat dull and heavy, closely mimicking the factory equipment found on older vehicles. Lead is wonderfully malleable, allowing the clamp to stretch and conform perfectly to the shape of the battery post.
These materials also resist sulfuric acid corrosion exceptionally well. For a standard daily commuter car, a basic lead terminal provides years of reliable service without requiring constant maintenance.
Copper and Brass Options
If you have installed a massive aftermarket stereo system or heavy-duty off-road winches, you might require superior conductivity. Solid copper or gold-plated brass terminals offer significantly less electrical resistance than lead. They allow massive surges of amperage to pass through the connection effortlessly.
However, pure copper tarnishes and corrodes rather quickly when exposed to battery acid fumes. If you opt for these high-performance materials, you must be diligent about applying chemical protectant sprays to keep them looking and functioning well.
Cleaning vs. Replacing: Making the Right Call
Not every battery connection needs to be severed with heavy wire cutters. Sometimes, a thorough scrub is all that the vehicle actually requires. Discerning when to clean and when to cut could save you unnecessary labor.
You must look closely at the physical integrity of the metal clamp itself. If the structure is sound, a bit of baking soda might solve the problem entirely.
When a Wire Brush is Enough
Surface-level corrosion often looks much worse than it actually is. If you unbolt the terminal and find that the copper wire beneath the clamp is still shiny and intact, do not cut it. Simply drop the metal clamp into a cup of baking soda and warm water.
Let the solution bubble and neutralize the acid for a few minutes. Take a stiff wire brush and scrub the remaining residue away. If the clamp bolts back onto the post tightly and the engine starts normally, your maintenance task is already finished.
When Replacement is Mandatory
A metal clamp has a finite lifespan, especially if it has been over-tightened repeatedly over the years. Lead stretches under pressure. If you tighten the nut completely but the clamp still spins loosely around the battery post, the metal has stretched beyond its usable limit.
Furthermore, if the corrosion has literally eaten through the copper wiring, causing the strands to snap and fray, cleaning will not help. A compromised wire simply cannot carry the necessary voltage, making a complete replacement the only logical path forward.
Preventing Future Corrosion and Build-Up
Once you have successfully restored the electrical pathway, you should probably take steps to protect your hard work. Acid off-gassing will inevitably continue as long as the battery operates. You can deploy a few simple chemical countermeasures to delay the return of that powdery white crust.
Preventative maintenance demands far less effort than cutting and stripping heavy-duty cables. A few dollars spent on protective supplies will keep your new hardware looking pristine.
Applying Anti-Corrosion Sprays
Automotive chemical companies produce specialized sealant sprays specifically designed for battery posts. Once your new terminals are bolted down tightly, spray a generous coating of this thick, usually brightly colored grease over the entire connection. It forms an airtight barrier that physically prevents acidic fumes from reaching the metal.
If you do not have access to a dedicated terminal spray, a heavy smear of dielectric grease or even standard petroleum jelly works reasonably well. The goal is simply to smother the exposed metal in a moisture-resistant blanket.
Using Terminal Protector Washers
You might have noticed small, chemically treated felt rings sitting on the shelves near the automotive batteries. These inexpensive little washers slide over the lead posts before you attach the metal clamps. They seem incredibly basic, yet they perform a very specific chemical function.
The felt is saturated with a mild alkaline solution that actively neutralizes acidic fumes as they escape from the battery casing. They intercept the corrosive gas before it ever reaches your shiny new copper wiring. Adding these washers provides an excellent secondary layer of defense.
Conclusion
A vehicle simply cannot function without a solid, uninterrupted flow of electricity originating from the battery. When that vital connection decays, the entire automotive system grinds to a highly frustrating halt. It appears that knowing exactly how to change battery terminals empowers you to resolve this mechanical roadblock independently.
By prioritizing safety, severing the ground wire first, and making clean mechanical splices, you can easily restore your engine’s cranking power. It requires very few tools and minimal mechanical experience to execute this swap correctly. Pop your hood, inspect those crucial metal clamps, and take proactive control of your vehicle’s long-term reliability.

About
Ora Hayes is a distinguished figure in the world of DIY Thecarfixes, with over a decade of expertise in automotive diagnostics and high-performance maintenance. Her professional focus lies in merging mechanical precision with modern digital tools, fostering repair solutions that are both cost-effective and highly reliable. As the author of Thecarfixes, Ora Hayes delves into the art and science of automotive restoration, inspiring car owners and hobbyist mechanics alike.
Education
RMIT University (Melbourne, Australia) Associate Degree in Automotive Engineering — Focus on vehicle dynamics, industry-driven repair protocols, and advanced diagnostics. Gained hands-on experience with traditional mechanical tools and modern ECU remapping software.
Nottingham Trent University (United Kingdom) Bachelor’s in Mechanical Design and Automotive Engineering (Honors) — Specialized in automotive systems with a focus on blending technical engineering with everyday usability. Participated in industry projects, working with leading automotive manufacturers to gain real-world insights into vehicle longevity.
Publications and Impact
In Thecarfixes, Ora Hayes shares her insights on troubleshooting complex engine issues, material durability, and strategies for efficient garage setups. Her writing bridges the gap between professional mechanic knowledge and the home enthusiast’s needs, making it a must-read for both everyday drivers and seasoned gearheads.




