

A check engine light can be frustrating, especially when you are new to car repairs and not sure what the dashboard is trying to tell you. Some owners search for how to remove check engine light bulb because the warning indicator is stuck on, the instrument cluster needs repair, or the bulb itself must be replaced. Before you touch the dashboard panel, it is important to understand what the light does and why removing it should never be used to hide an engine problem.
This guide explains the safe, practical process for beginners. You will learn how to prepare the vehicle, access the instrument cluster, remove the bulb correctly, and avoid common mistakes.
Why Removing A Check Engine Light Bulb Matters
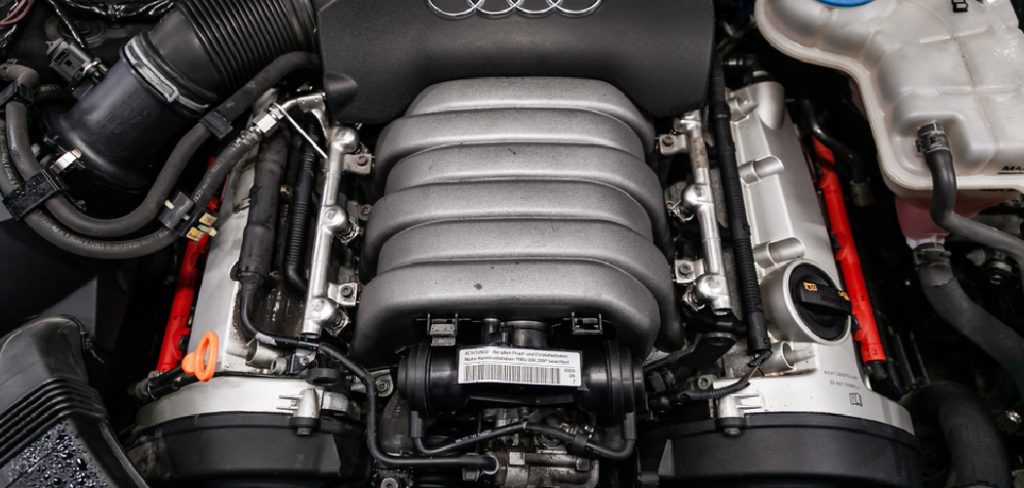
Removing a check engine light bulb matters because that small dashboard warning light is tied to your vehicle’s onboard diagnostic system. When the engine computer detects a fault, it turns on the warning indicator to alert you. That issue could involve emissions, ignition, fuel control, sensors, or vehicle wiring.
Taking out the bulb does not repair the underlying problem. It only prevents you from seeing the warning. In many areas, disabling the light can also cause inspection or legal problems, especially if it hides an emissions-related fault. Still, there are valid reasons to access the bulb, such as replacing a burned-out light, repairing the instrument cluster, or diagnosing a dashboard issue. The key is to work carefully and responsibly.
Step-By-Step Guide To How To Remove Check Engine Light Bulb
Step 1: Confirm Why You Need To Remove The Bulb
Before removing anything, be clear about your reason for accessing the check engine light bulb. If the goal is to hide a dashboard warning light, stop and diagnose the trouble code first with an OBD2 scanner. If the bulb is burned out, flickering, stuck due to an instrument cluster issue, or being replaced during a cluster repair, the job makes more sense. A beginner should always separate bulb service from engine diagnosis. The warning indicator exists to protect the vehicle, so make sure the engine issue has been checked before you start removing dashboard parts.
Step 2: Read The Owner’s Manual First
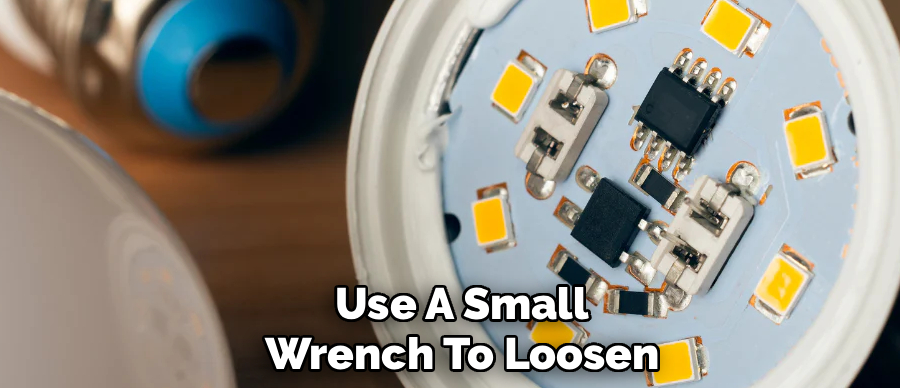
Your owner’s manual is the best starting point because dashboard designs vary widely between vehicles. Some cars use replaceable bulbs in the instrument cluster, while others use soldered LED lights that cannot be removed like a normal bulb. The manual may also show fuse locations, trim panel instructions, and warnings about airbags near the dashboard panel. If the manual does not provide enough detail, use a repair manual for your exact year, make, and model. Guessing can lead to broken clips, damaged trim, or accidental electrical connector problems.
Step 3: Turn The Ignition Off And Prepare The Vehicle
Park the vehicle on a flat surface, shift into park, and set the parking brake. Make sure the ignition off position is selected and remove the key if your vehicle uses one. Give the dashboard electronics a few minutes to power down before touching any wiring. This helps lower the chance of short circuits or accidental warning lights after reassembly. Good lighting is also important because many retaining screws and trim clips are small. Keep a clean container nearby for screws so nothing rolls under the seat or disappears during the job.
Step 4: Remove The Dashboard Trim Carefully
Start by removing the trim around the instrument cluster. A trim removal tool is safer than a screwdriver because it reduces the chance of scratching plastic panels. Work slowly around the edges and listen for clips releasing. Some vehicles also use hidden retaining screws behind small covers, vents, or lower panels, so do not force anything if the trim feels stuck. Pulling too hard can crack the dashboard panel or break mounting tabs. Once the trim is loose, place it somewhere safe where it will not get stepped on or bent.
Step 5: Unscrew And Loosen The Instrument Cluster
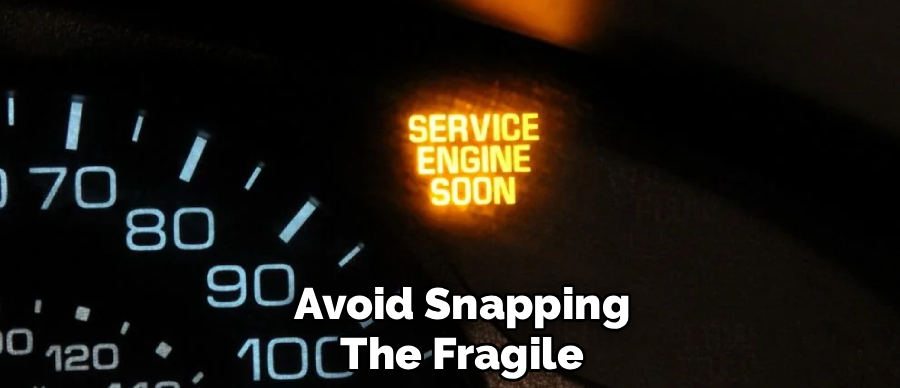
After the trim is out of the way, you should see the instrument cluster mounting points. Remove the retaining screws with the correct screwdriver or socket, then gently slide the cluster forward. Do not yank it out because the back side is usually attached to at least one electrical connector. Some clusters have limited wire length, so you may only be able to pull it forward a few inches at first. Move slowly and pay attention to how it sits in the opening. This makes reinstallation much easier later.
Step 6: Disconnect The Electrical Connector Safely
Look behind the instrument cluster and locate the electrical connector. Most connectors have a locking tab that must be pressed or lifted before the plug will release. Avoid pulling on the wires themselves because that can damage vehicle wiring and create new dashboard problems. Hold the connector body firmly and release it with steady pressure. If it does not move, inspect the locking tab again instead of forcing it. Once disconnected, place the cluster on a soft towel to protect the clear lens and plastic housing from scratches.
Step 7: Locate And Remove The Bulb Socket
On older vehicles, the check engine light often uses a small twist-lock bulb socket on the back of the cluster. Look for labels, symbols, or a diagram that identifies each warning indicator. Turn the bulb socket gently counterclockwise and lift it out. If the bulb is separate from the socket, pull it straight out with light pressure. Some bulbs may be tight from age, so avoid crushing the glass. If your vehicle uses LEDs soldered to a circuit board, do not cut, pry, or break them. That repair requires different skills.
Step 8: Confirm Light Bulb Was The Right Job
Once the bulb is out, inspect it and the socket closely. A dark, broken, or loose bulb may explain why the warning indicator was not working correctly. If you are replacing it, match the new bulb by size, type, and wattage. Installing the wrong bulb can cause poor lighting, heat damage, or an uneven dashboard display. If the bulb was removed for testing, reinstall it before normal driving. A working check engine light is part of the vehicle’s safety and emissions monitoring system, and you should not leave it disabled.
Important Safety And Legal Considerations
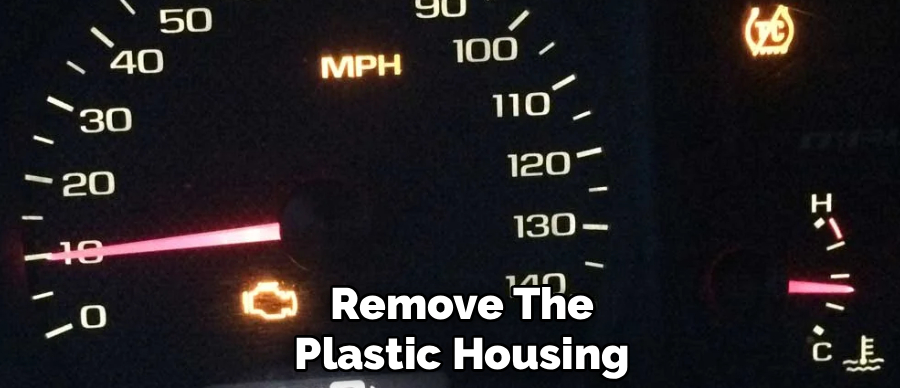
Removing a check engine light bulb should be handled as a repair task, not a way to avoid fixing a vehicle problem. The light is part of the onboard diagnostic system, and it warns you when the engine control system sees a fault. If you remove the bulb while the fault remains, you may miss early signs of damage, poor fuel economy, emissions failure, or drivability issues.
Legal rules vary by location, but many inspections require the check engine light to turn on briefly when the key is switched on and then turn off if no active faults are present. If the bulb is missing or disabled, the vehicle may fail inspection even if it seems to run normally.
You should also be careful around the dashboard because some areas are close to airbag wiring and sensitive electronics. Never probe random wires, cut connectors, or force trim panels. If your vehicle uses a modern digital cluster or soldered LEDs, a professional repair shop may be the safer option.
The best approach is simple: diagnose the engine issue first, service the bulb or cluster only when needed, and make sure the warning system works when the job is complete.
Frequently Asked Question
Is Removing The Check Engine Light Bulb Legal?
It depends on where you live and why the bulb is being removed. In many areas, disabling the warning light to hide an emissions or engine fault can cause inspection failure and may violate local rules. The light usually must illuminate during the key-on self-test. Replacing a failed bulb or repairing the instrument cluster is different, as long as the warning system works properly afterward.
Does Removing The Bulb Fix The Underlying Engine Issue?
No, removing the bulb does not fix the engine problem. It only stops the dashboard warning from being visible. The vehicle’s computer may still store diagnostic trouble codes, and the original fault may continue affecting fuel economy, emissions, performance, or reliability. Always scan and repair the cause first. The bulb should only be serviced as part of a proper dashboard or instrument cluster repair.
What Tools Are Needed For This Job?

Most beginners need a trim removal tool, a screwdriver set, a small socket set, and a clean container for retaining screws. Depending on the vehicle, you may also need a repair manual, flashlight, gloves, and the correct replacement bulb. An OBD2 scanner is strongly recommended before dashboard work because it helps confirm whether the warning light is connected to an active engine fault.
Is Disconnecting The Battery Necessary Before Removing The Cluster?
Disconnecting the battery is often recommended when working around dashboard electronics, but the exact need depends on the vehicle. At minimum, the ignition should be off before removing trim or unplugging the instrument cluster. If you disconnect the battery, use the correct procedure from the owner’s manual. Some vehicles may lose clock settings, radio presets, idle memory, or require a reset process afterward.
Can The Check Engine Light Come Back After Reinstalling The Bulb?
Yes, the light can come back after the bulb is reinstalled if the engine computer still detects a problem. That is actually how the system is supposed to work. If the warning appears again, scan the vehicle for stored codes and diagnose the cause. Reinstalling the bulb restores visibility, but it does not erase faults or repair sensors, wiring, emissions parts, or engine performance problems.
Conclusion
Removing a check engine light bulb is not just a simple dashboard task. You need to understand why the light is on, check the owner’s manual, work carefully around the instrument cluster, and avoid damaging trim, wiring, or connectors.
For beginners, the safest path is to diagnose the warning first, then access the bulb only for a valid repair reason. If you decide to try how to remove check engine light bulb, do it responsibly, reinstall a working bulb when needed, and make sure the warning system can still alert you to real engine problems.

About
Ora Hayes is a distinguished figure in the world of DIY Thecarfixes, with over a decade of expertise in automotive diagnostics and high-performance maintenance. Her professional focus lies in merging mechanical precision with modern digital tools, fostering repair solutions that are both cost-effective and highly reliable. As the author of Thecarfixes, Ora Hayes delves into the art and science of automotive restoration, inspiring car owners and hobbyist mechanics alike.
Education
RMIT University (Melbourne, Australia) Associate Degree in Automotive Engineering — Focus on vehicle dynamics, industry-driven repair protocols, and advanced diagnostics. Gained hands-on experience with traditional mechanical tools and modern ECU remapping software.
Nottingham Trent University (United Kingdom) Bachelor’s in Mechanical Design and Automotive Engineering (Honors) — Specialized in automotive systems with a focus on blending technical engineering with everyday usability. Participated in industry projects, working with leading automotive manufacturers to gain real-world insights into vehicle longevity.
Publications and Impact
In Thecarfixes, Ora Hayes shares her insights on troubleshooting complex engine issues, material durability, and strategies for efficient garage setups. Her writing bridges the gap between professional mechanic knowledge and the home enthusiast’s needs, making it a must-read for both everyday drivers and seasoned gearheads.




