

A small coolant puddle under your vehicle can turn into a major engine problem if you ignore it. Antifreeze, also called coolant, helps control engine temperature, protect metal parts from corrosion, and keep your car running safely in hot or cold weather. When it leaks, the engine can overheat, hoses can fail, and repairs can become expensive fast.
This beginner-friendly guide explains How to Fix an Antifreeze Leak in a practical way, even if you do not have much mechanical experience. You will learn how to spot warning signs, find the leak source, choose the right repair method, refill the cooling system, and test your work.
The goal is not to turn you into a professional mechanic overnight. It is to help you understand the problem clearly, handle simple leaks with confidence, and know when a repair needs expert attention.
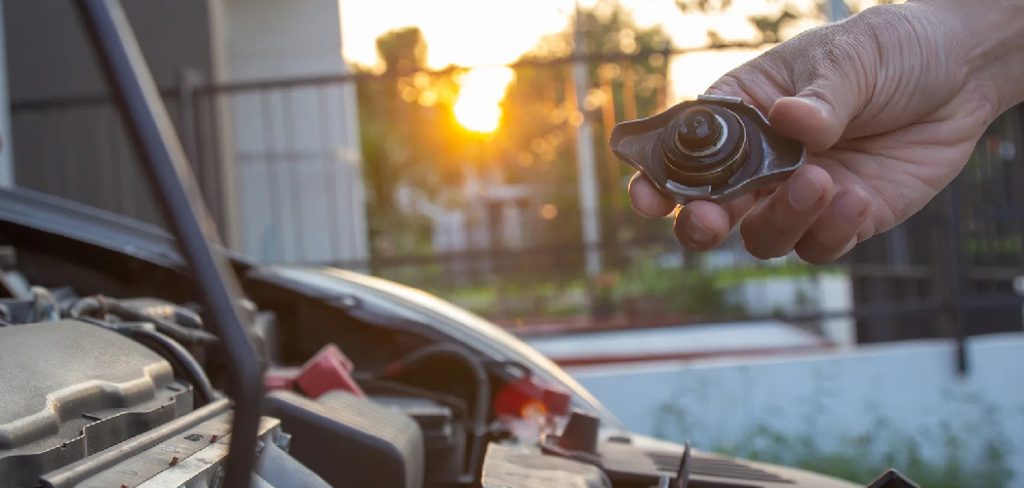
Why Fixing An Antifreeze Leak Matters
Fixing a coolant leak quickly protects your engine from overheating, which is one of the most serious and costly car problems. Coolant moves heat away from the engine and through the radiator. When the level drops, that system cannot do its job well.
A leak can also damage belts, electrical parts, and nearby rubber components if coolant sprays or drips while you drive. It may also leave toxic fluid where pets or children can reach it.
Repairing the leak early helps you avoid breakdowns, reduce repair costs, and keep your vehicle dependable. Even a small drip matters because coolant loss usually gets worse over time, especially under pressure when the engine is hot.
Step-By-Step Guide To How To Fix An Antifreeze Leak
Step 1: Identify The Problem
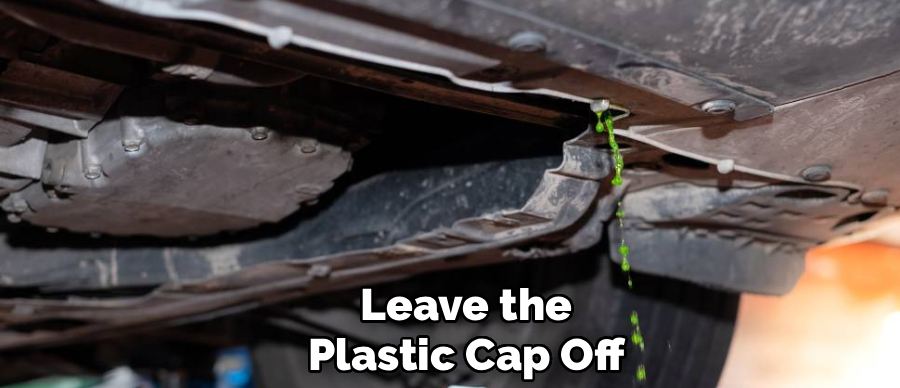
Start by confirming that the fluid is actually coolant. Antifreeze is often green, orange, pink, yellow, or blue, depending on the type used in your vehicle. It usually feels slightly slippery and has a sweet smell, though you should never taste it because it is toxic.
Look under the front half of the vehicle after it has been parked for a while. A small puddle near the radiator, front bumper, or passenger side may point to a cooling system leak. Before you learn How to Fix an Antifreeze Leak, make sure the fluid is not oil, water from the air conditioner, or transmission fluid.
Step 2: Let The Engine Cool Completely
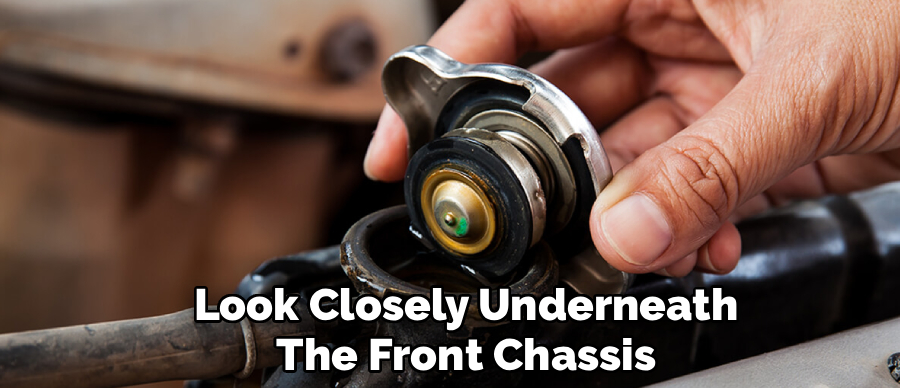
Never open the radiator cap or coolant reservoir while the engine is hot. The cooling system builds pressure as the engine runs, and hot coolant can spray out with enough force to cause severe burns.
Park the vehicle on level ground, turn off the engine, and let it cool for at least 30 to 60 minutes. If the temperature gauge was high or steam came from under the hood, wait longer. Safety comes first because even a simple inspection can become dangerous when hot coolant is trapped under pressure.
Once the engine is cool, put on gloves and use a flashlight for a careful inspection.
Step 3: Check The Coolant Level
Open the hood and find the coolant reservoir. Most reservoirs are clear plastic with “min” and “max” markings on the side. If the coolant level is below the minimum line, the system may be losing fluid.
Do not add coolant yet unless the level is dangerously low and you need to move the vehicle a short distance. Adding fluid before inspecting the system can wash away clues that help you find the leak.
Also check the radiator if your vehicle has a removable radiator cap. Only do this when the engine is fully cool. A low radiator level often means the leak has been active for some time.
Step 4: Inspect Hoses And Clamps
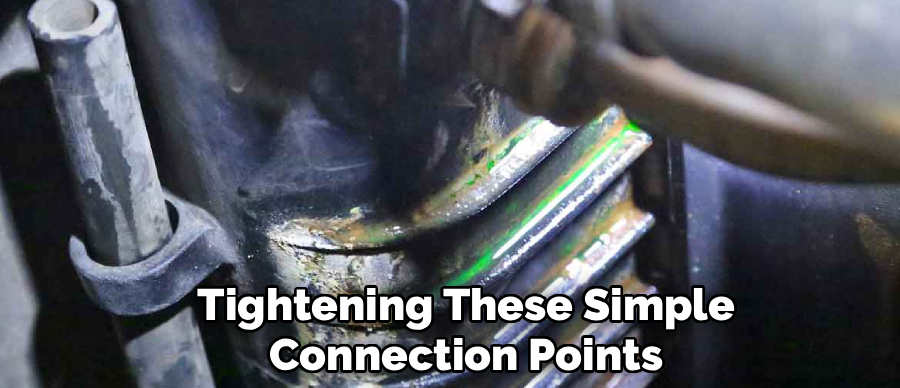
Radiator hoses are common leak points because they deal with heat, pressure, and vibration every time you drive. Look for cracks, swollen sections, soft spots, or wet areas around the hose ends.
Pay close attention to clamps. A loose or rusty clamp may allow coolant to seep out where the hose connects to the radiator, thermostat housing, or engine. Sometimes the leak only appears as a crusty white, green, or orange residue after the coolant dries.
If a hose is damaged, replacement is usually better than trying to patch it. A weak hose can burst later, especially during highway driving.
Step 5: Examine The Radiator And Reservoir
The radiator sits at the front of the vehicle and can leak from the core, plastic side tanks, drain plug, or cap area. Use a flashlight to inspect the fins and seams. Look for wet streaks, stains, or dried coolant marks.
The coolant reservoir can also crack, especially on older vehicles where plastic becomes brittle. Check the bottom and sides of the tank, as small cracks may only leak when the coolant expands.
A damaged radiator cap can cause pressure problems too. If the cap seal is cracked, worn, or loose, coolant may escape or boil over even when the rest of the system is fine.
Step 6: Locate Hidden Leaks
Some leaks are easy to see, but others only show up while the system is pressurized. If you cannot find the source, a cooling system pressure tester can help. Many auto parts stores rent or loan this tool.
The tester attaches where the radiator cap or reservoir cap normally goes. It pumps pressure into the system without running the engine. As pressure builds, coolant may begin dripping from the leak point.
A big part of How to Fix an Antifreeze Leak is finding the true source instead of replacing random parts. If the pressure drops but you see no external leak, the issue may be internal and should be checked by a professional.
Step 7: Repair Or Replace The Faulty Part
Once you find the leak, choose the proper repair. A loose clamp can often be tightened, but do not overtighten it because that can damage the hose or fitting. A cracked hose, leaking reservoir, damaged radiator cap, or broken plastic connector should usually be replaced.
For a small radiator leak, some drivers use stop-leak products as a temporary measure. Use caution with these products because they can sometimes clog narrow coolant passages. They are not a long-term repair for major leaks.
If the water pump, heater core, head gasket, or radiator core is leaking, the repair may require more tools and experience.
Step 8: Refill And Test The System
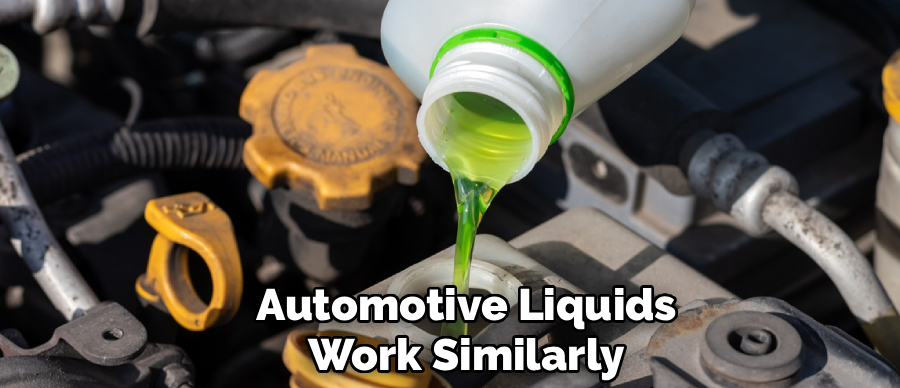
After the repair, refill the system with the correct coolant type for your vehicle. Check the owner’s manual or the label on the coolant reservoir. Mixing the wrong coolant types can reduce protection and may cause sludge.
Fill the reservoir to the correct level, then start the engine with the heater set to warm. Watch the temperature gauge and look for leaks as the engine reaches normal operating temperature.
Some vehicles need air bleeding after coolant service. Trapped air can cause overheating, poor heater performance, or false low-coolant warnings. After a short drive, let the engine cool and recheck the level.
Frequently Asked Questions
Can I Drive With A Small Coolant Leak?
Driving with a small coolant leak is risky because the leak can worsen without warning. If the coolant level drops too low, the engine may overheat and suffer serious damage. If you must drive, keep the trip short, monitor the temperature gauge closely, and carry the correct coolant. Repair the leak as soon as possible instead of treating it as a minor issue.
What Are The Most Common Causes Of Coolant Leaks?
Common causes include cracked hoses, loose clamps, a damaged radiator, a worn radiator cap, a leaking water pump, or a cracked coolant reservoir. Older vehicles are more likely to develop leaks because rubber and plastic parts become brittle over time. Road debris, corrosion, and poor previous repairs can also create weak spots in the cooling system.
How Do I Know If The Leak Is Internal?
An internal coolant leak may not leave a puddle under the car. Warning signs include white exhaust smoke, a sweet smell from the exhaust, milky oil, frequent coolant loss, or engine overheating with no visible leak. These symptoms can point to a head gasket or internal engine problem. If you notice them, stop driving and have the vehicle inspected.
Is Stop-Leak Safe For My Cooling System?
Stop-leak can help in some minor emergency situations, but it should not be your first choice for a lasting repair. These products may seal tiny openings, yet they can also clog small passages in the radiator or heater core. If you use one, follow the label carefully and plan a proper repair soon after.
What Type Of Coolant Should I Use?
Use the coolant type recommended by your vehicle manufacturer. Coolants vary by formula, color, and additive package, so color alone is not always enough to choose correctly. Check your owner’s manual, coolant cap, or parts database. If the system is very low, use a compatible premixed coolant unless the manual says otherwise.
Conclusion
A coolant leak is not something to ignore, even if it starts as a slow drip. The key steps are simple: let the engine cool, confirm the fluid, inspect hoses and clamps, check the radiator and reservoir, pressure-test hidden leaks when needed, make the correct repair, and refill the system with the right coolant.
Now that you understand How to Fix an Antifreeze Leak, take action before the problem leads to overheating or engine damage. Start with a careful inspection, repair what you can safely handle, and call a mechanic if the leak is internal, hard to reach, or tied to a major component. Early attention can save money and keep your vehicle reliable.

About
Ora Hayes is a distinguished figure in the world of DIY Thecarfixes, with over a decade of expertise in automotive diagnostics and high-performance maintenance. Her professional focus lies in merging mechanical precision with modern digital tools, fostering repair solutions that are both cost-effective and highly reliable. As the author of Thecarfixes, Ora Hayes delves into the art and science of automotive restoration, inspiring car owners and hobbyist mechanics alike.
Education
RMIT University (Melbourne, Australia) Associate Degree in Automotive Engineering — Focus on vehicle dynamics, industry-driven repair protocols, and advanced diagnostics. Gained hands-on experience with traditional mechanical tools and modern ECU remapping software.
Nottingham Trent University (United Kingdom) Bachelor’s in Mechanical Design and Automotive Engineering (Honors) — Specialized in automotive systems with a focus on blending technical engineering with everyday usability. Participated in industry projects, working with leading automotive manufacturers to gain real-world insights into vehicle longevity.
Publications and Impact
In Thecarfixes, Ora Hayes shares her insights on troubleshooting complex engine issues, material durability, and strategies for efficient garage setups. Her writing bridges the gap between professional mechanic knowledge and the home enthusiast’s needs, making it a must-read for both everyday drivers and seasoned gearheads.




