

Weak, crackling, or silent car audio can make every drive feel frustrating. The good news is that many speaker problems are easy to diagnose before you spend money on new parts. Learning how to fix car speakers helps you find the real issue, whether it is a simple audio setting, a loose wire, a damaged speaker, or a failing head unit.
This guide walks you through a clear, beginner-friendly process. You will learn how to check settings, test sound sources, inspect wiring, remove panels safely, identify blown speakers, and decide when repair or replacement makes the most sense.
Car audio issues can be frustrating, especially when you’re unsure where to start troubleshooting. Fortunately, many common problems can be resolved with simple steps and tools you might already have at hand. Whether you’re dealing with distorted sound, intermittent audio, or complete silence, identifying the source of the problem is key to restoring your system’s performance. With the right guidance, you can save time and money by addressing the issue yourself.
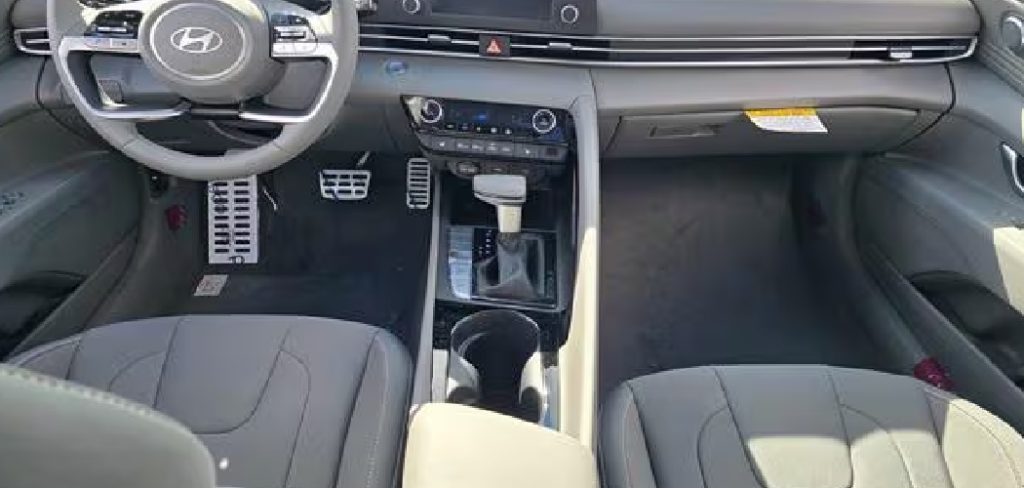
Why Fixing Car Speakers Matters
Fixing car speakers improves sound quality, driving comfort, and the value of your vehicle. A speaker problem can start small, such as light buzzing or uneven volume, but it may point to wiring damage, moisture exposure, or an overloaded audio system.
Repairing the issue early can prevent extra damage to the head unit, amplifier, or other speakers. It also helps you avoid replacing parts that still work. With a careful troubleshooting process, you can separate simple fixes from serious failures and make a smart repair choice.
Step-By-Step Guide To How to Fix Car Speakers
Before you remove panels or buy replacement parts, follow a clear order. The best way to approach how to fix car speakers is to test the easiest causes first, then move toward wiring, speaker damage, and component replacement. This saves time and lowers the chance of damaging trim pieces or electrical connections.
Step 1: Check The Audio Settings
Start with the stereo settings because they are the fastest and safest thing to check. Open the audio menu and look at balance, fade, equalizer, and volume limits. If the sound is missing from one door or one side of the car, balance or fade may be shifted away from that speaker.
Return the settings to the center or default position. Then play audio at a moderate volume and listen from each seat. Many “dead speaker” problems are only setting issues, especially after someone else has used the car or the battery has been disconnected.
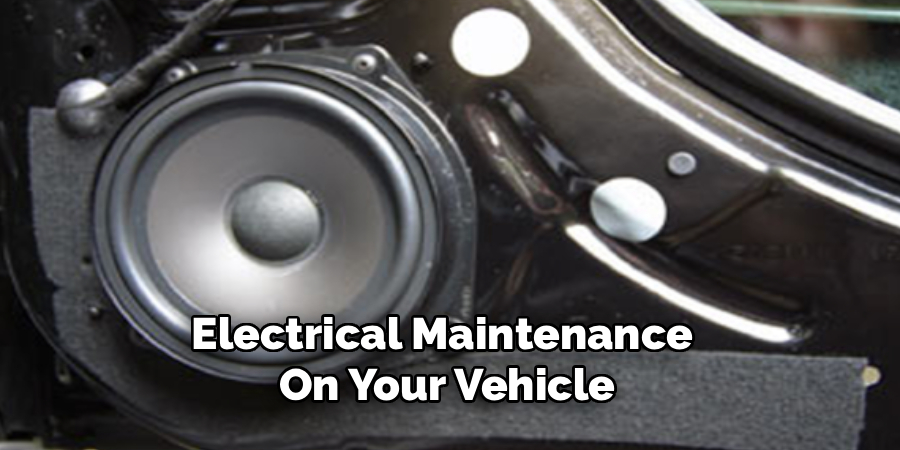
Step 2: Test Different Audio Sources
A bad sound source can make good speakers seem damaged. Test the radio, Bluetooth, USB, auxiliary input, and any connected phone or music app. If the speaker only crackles with one source, the problem may come from the device, cable, file quality, or wireless connection.
Try a different phone or a known good cable if your system allows it. Also test both low and moderate volume levels. If distortion appears only on one source, focus there first. If every source sounds bad, the issue is more likely inside the vehicle’s audio system.
Step 3: Inspect The Head Unit
The head unit controls the audio signal before it reaches the speakers. If several speakers fail at once, the stereo may have a loose connector, blown internal channel, damaged setting, or power issue. Look for warning signs such as random shutdowns, screen flickering, no sound after startup, or sound cutting in and out.
If the head unit is aftermarket, check whether the wiring harness is secure behind the dash. Do not pull hard on the unit or wires. If you are not comfortable removing it, a car audio technician can inspect it quickly without risking dashboard damage.
Step 4: Examine The Speaker Wiring
Loose or damaged wiring often causes popping, cutting out, or no sound at all. Start by checking the visible wiring near the head unit, amplifier, and speaker locations if you can access them safely. Look for broken insulation, corrosion, pinched wires, loose connectors, or signs of water damage.
Door speakers are especially vulnerable because wires pass through the door hinge area. Over time, repeated opening and closing can stress the wiring. If the sound changes when you move the door, wiring inside the door boot may be damaged and should be inspected carefully.
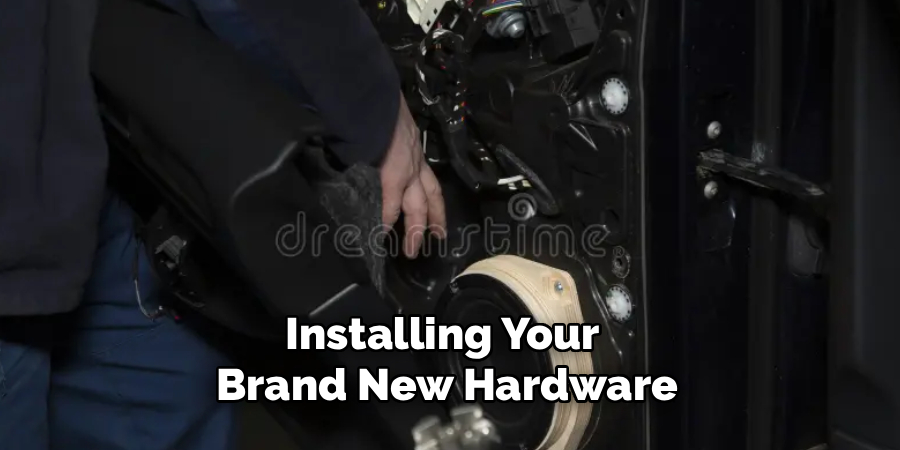
Step 5: Remove The Door Panel Carefully
If the problem points to a door speaker, you may need to remove the door panel. Work slowly and use plastic trim tools when possible. Screws may hide behind small covers, inside the door handle, or near the armrest. Pulling too hard can break clips, wiring plugs, or trim pieces.
Once the panel is loose, disconnect any window, lock, or light connectors before setting it aside. Keep screws and clips organized so reassembly is easy. This step gives you access to the speaker, wiring connector, mounting screws, and any signs of moisture or physical damage.
Step 6: Check For Blown Speakers
A blown speaker often sounds distorted, rattly, fuzzy, or weak even when wiring and settings are correct. Look at the speaker cone and rubber surround. Tears, cracks, separation, or rubbing marks can all affect sound. Gently press the cone evenly with your fingertips. It should move smoothly without scraping.
At this stage, how to fix car speakers depends on the damage. A loose mounting screw or vibrating trim may be repairable. A torn cone, burnt voice coil, or scraping speaker usually needs replacement. Do not keep playing a badly distorted speaker at high volume.
Step 7: Test With A Multimeter

A multimeter helps confirm whether a speaker has an electrical fault. Turn off the car and disconnect the speaker from the wiring. Set the multimeter to measure resistance in ohms, then place the probes on the speaker terminals. A typical car speaker may read near 2, 4, or 8 ohms, depending on its design.
A reading of zero may suggest a short, while no reading may suggest an open voice coil. Compare the result with the speaker’s rated impedance if available. This test does not catch every sound problem, but it helps confirm serious internal failure.
Step 8: Decide Whether To Repair Or Replace
After testing, decide if repair is worth it. Tightening a speaker, cleaning a connector, repairing a wire, or adjusting settings can be inexpensive and effective. But if the cone is torn, the voice coil is damaged, or the speaker has water damage, replacement is usually the better choice.
Match replacement speakers to your car’s size, impedance, mounting depth, and power needs. Avoid choosing speakers only by price or brand. A properly matched speaker will sound better, last longer, and work safely with your factory or aftermarket stereo system.
Frequently Asked Questions
Why Do My Car Speakers Crackle At High Volume?
Crackling at high volume often means the speaker is being pushed beyond its limits, but it can also come from a weak amplifier, poor wiring, or a distorted audio source. Lower the volume and test another source first. If the crackling stays in the same speaker, inspect the cone, connector, and wiring before replacing parts.
Can A Blown Car Speaker Be Repaired?
Some minor speaker problems can be repaired, such as loose mounting screws, weak connectors, or small surround issues. However, a burned voice coil, torn cone, or scraping movement usually means replacement is the smarter option. Repairs can cost more than a basic replacement speaker, especially if the speaker is factory-installed and easy to swap.
Why Is Only One Car Speaker Not Working?
One silent speaker often points to a balance setting, loose connector, damaged wire, or failed speaker. Start by centering the balance and fade controls. Then test different audio sources. If the same speaker stays silent, inspect the wiring and test the speaker with a multimeter to confirm whether it has failed electrically.
Do I Need To Disconnect The Battery Before Working On Speakers?
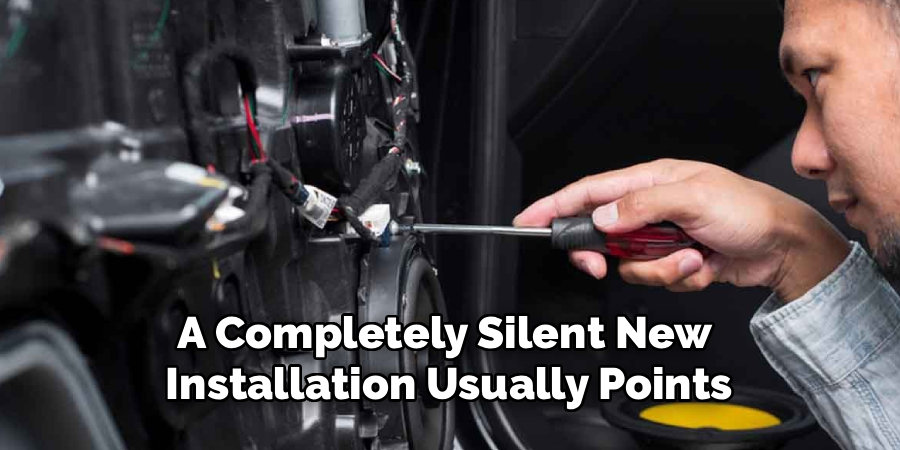
Disconnecting the battery is a smart safety step when removing door panels, unplugging wiring, or working near airbags and electrical connectors. It lowers the risk of short circuits and accidental electrical issues. Before disconnecting it, make sure you know whether your stereo needs a security code after power is restored.
Should I Replace All Car Speakers At Once?
You do not always need to replace every speaker. If only one speaker failed and the others sound good, replacing the damaged one may be enough. However, replacing speakers in pairs can keep sound balanced between the left and right sides. If your system is old, a full upgrade may give better overall results.
Conclusion
Car speaker problems are easier to solve when you follow a simple process. Start with audio settings and sources, then check the head unit, wiring, speaker condition, and electrical readings. This order helps you avoid guessing and prevents unnecessary part replacements.
If the issue is a setting, loose wire, or bad connector, you may fix it quickly. If the speaker is blown or damaged by moisture, replacement is often the safest choice. By learning how to fix car speakers, you can restore clear sound and make better repair decisions with confidence.

About
Ora Hayes is a distinguished figure in the world of DIY Thecarfixes, with over a decade of expertise in automotive diagnostics and high-performance maintenance. Her professional focus lies in merging mechanical precision with modern digital tools, fostering repair solutions that are both cost-effective and highly reliable. As the author of Thecarfixes, Ora Hayes delves into the art and science of automotive restoration, inspiring car owners and hobbyist mechanics alike.
Education
RMIT University (Melbourne, Australia) Associate Degree in Automotive Engineering — Focus on vehicle dynamics, industry-driven repair protocols, and advanced diagnostics. Gained hands-on experience with traditional mechanical tools and modern ECU remapping software.
Nottingham Trent University (United Kingdom) Bachelor’s in Mechanical Design and Automotive Engineering (Honors) — Specialized in automotive systems with a focus on blending technical engineering with everyday usability. Participated in industry projects, working with leading automotive manufacturers to gain real-world insights into vehicle longevity.
Publications and Impact
In Thecarfixes, Ora Hayes shares her insights on troubleshooting complex engine issues, material durability, and strategies for efficient garage setups. Her writing bridges the gap between professional mechanic knowledge and the home enthusiast’s needs, making it a must-read for both everyday drivers and seasoned gearheads.




