

A radiator hose may look simple, but a poor cut can lead to leaks, loose fittings, coolant loss, and engine overheating. That is why learning how to cut radiator hose correctly matters for anyone replacing or trimming a hose in the engine cooling system.
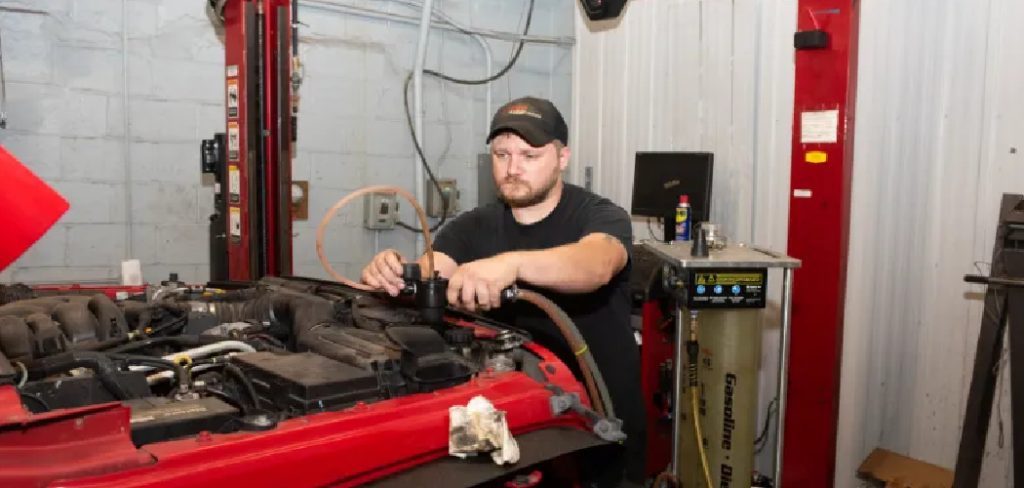
Radiator hoses carry hot coolant between the engine, radiator, thermostat housing, and other cooling parts. If the hose is too long, uneven, crushed, or cut at the wrong angle, it may not seal well under the hose clamp. A clean cut helps the replacement hose sit fully on the fitting and reduces the risk of future leaks.
This guide explains the process in a beginner-friendly way. You will learn how to choose the right tool, measure the hose, mark the cut, protect your hands, trim the hose cleanly, and check the final fit before adding coolant and testing the system.
Why Cutting A Radiator Hose Matters
Cutting a radiator hose matters because the engine cooling system depends on tight, reliable connections. A rough or crooked hose end can leave gaps under the hose clamp, which may allow coolant to seep out once the engine warms up and pressure builds.
A clean cut also helps the hose slide evenly over the fitting without bunching, folding, or splitting. This improves leak prevention and makes installation easier, especially in tight engine bays.
Taking a few extra minutes to measure, mark, and cut the hose correctly can save you from overheating problems, repeated repairs, and wasted coolant. It also helps protect expensive engine parts from heat damage caused by low coolant levels or poor circulation.
Step-By-Step Guide To How To Cut Radiator Hose
Step 1: Prepare The Work Area
Start by parking the vehicle on a flat surface and letting the engine cool completely. Radiator hoses can hold hot coolant, and opening the cooling system too soon can cause serious burns. Wait until the radiator, hose, and surrounding parts feel cool to the touch.
Put on safety gloves and eye protection before working. Coolant can irritate skin, and older hoses may contain dirt, rust, or brittle rubber.
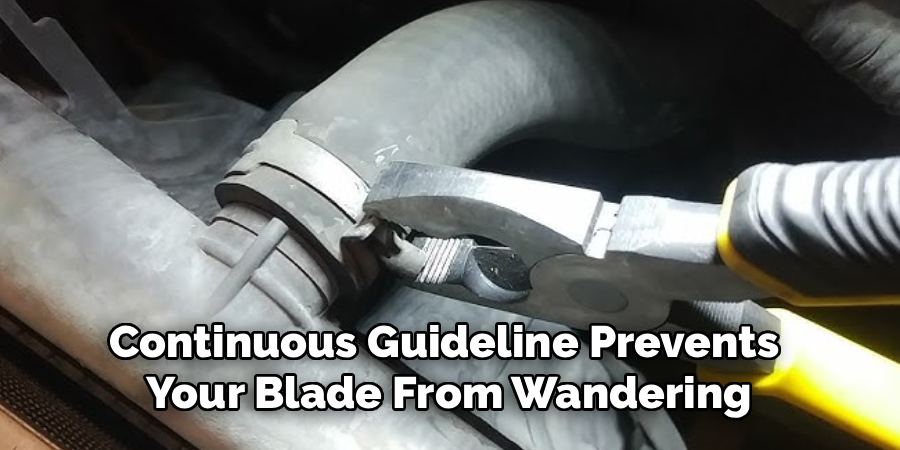
If you are learning how to cut radiator hose for the first time, give yourself enough room and light. A clean work area helps you measure better and avoid accidental cuts.
Step 2: Choose The Right Cutting Tool
The best tool for the job is usually a hose cutter because it supports the rubber and makes a smooth, straight cut. A sharp utility knife can also work well if you use care and cut on a stable surface. Avoid dull blades because they can tear the hose instead of slicing it cleanly.
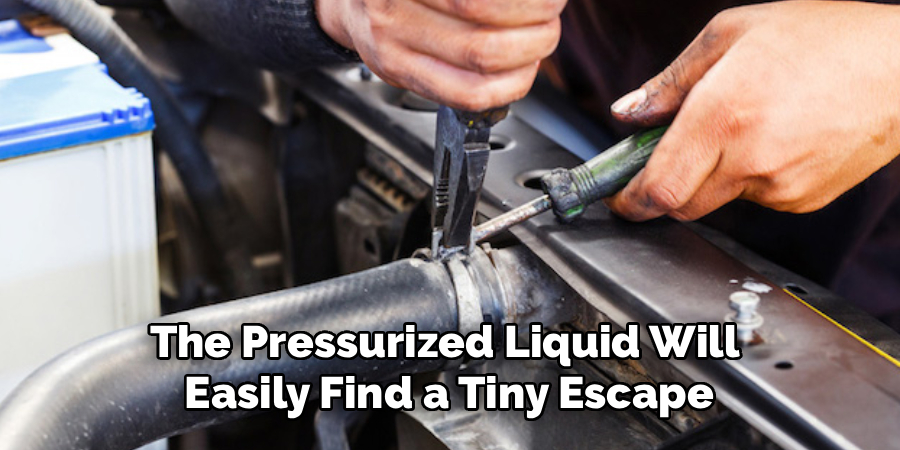
Do not use tools that crush the hose, such as pliers, side cutters, or old scissors. These can deform the end and make sealing harder.
Before cutting, inspect the tool blade. A sharp, clean blade gives you better control and reduces the chance of slipping.
Step 3: Remove And Inspect The Old Hose
If you are replacing an existing hose, loosen the hose clamp with the correct screwdriver, socket, or pliers. Slide the clamp back from the fitting, then gently twist the hose to break it free. If the hose is stuck, work slowly so you do not damage the radiator neck or metal fitting.
Once removed, compare the old hose with the replacement hose. Check the bends, diameter, and length. The old hose can help guide your measurement, but do not copy damaged or swollen ends.
Look for cracks, soft spots, bulges, or oil contamination. These signs confirm that replacement is the right choice.
Step 4: Measure The Correct Hose Length
Place the replacement hose near the original path in the engine bay. Make sure it reaches both fittings without stretching, kinking, or pressing against sharp edges. The hose should follow a natural curve and leave enough room for engine movement.
If you are using the old hose as a guide, line up one end carefully before marking the other end. If the old hose was stretched or poorly cut, use the fitting locations instead of relying only on the old length.
Good measurement is one of the most important parts of how to cut radiator hose because a hose that is too short may pull loose under pressure.
Step 5: Mark The Cutting Line
Use a paint marker, silver marker, or a small piece of tape to mark the cutting line. Place the mark all the way around the hose if possible. This gives you a visual guide and helps keep the cut even from every angle.
Hold the hose in its installed position before making the final mark. Some molded hoses have bends that must face a certain direction, so a small mistake can affect fitment.
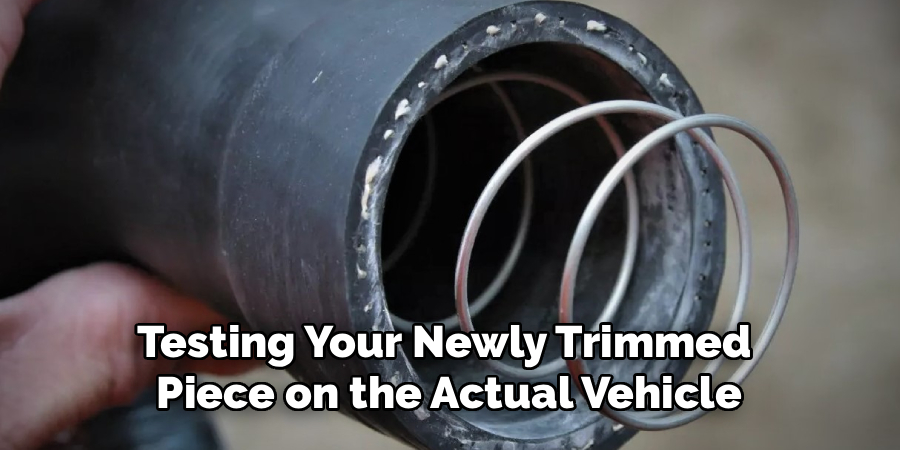
Make sure the marked line is square unless the fitting requires a slight angle. Most radiator hose ends seal best when cut straight and even.
Step 6: Make A Clean Cut
Set the hose on a stable surface, away from painted body panels and wiring. If you are using a hose cutter, place the blade directly on the marked line and apply steady pressure until the cut is complete. Keep the hose from twisting as the blade moves through the rubber.
If you are using a utility knife, cut slowly around the marked line instead of trying to force through the hose in one hard stroke. Rotate the hose as needed and keep your fingers away from the blade path.
The goal of how to cut radiator hose is a smooth edge that sits flat against the fitting shoulder.
Step 7: Check The Edge And Test The Fit
After cutting, inspect the hose end closely. The edge should be smooth, round, and free of loose rubber pieces. If the cut is jagged, carefully trim the high spots with the utility knife. Do not remove too much material, because shortening the hose can affect the fit.
Slide the hose onto the fitting without the clamp first. It should move on firmly but not fold, wrinkle, or stop halfway. If it feels too tight, check for burrs, rust, or old rubber stuck to the fitting.
A proper test fit helps prevent leaks before coolant goes back into the system.
Step 8: Install The Hose And Check For Leaks
Position the hose clamp behind the raised lip or bead on the fitting, not at the very edge of the hose. Tighten it enough to seal, but do not overtighten. Too much force can damage the rubber or distort plastic radiator fittings.
Reconnect both ends of the hose, then refill the cooling system with the correct coolant mixture. Follow the vehicle’s recommended bleeding process if air may be trapped in the system.
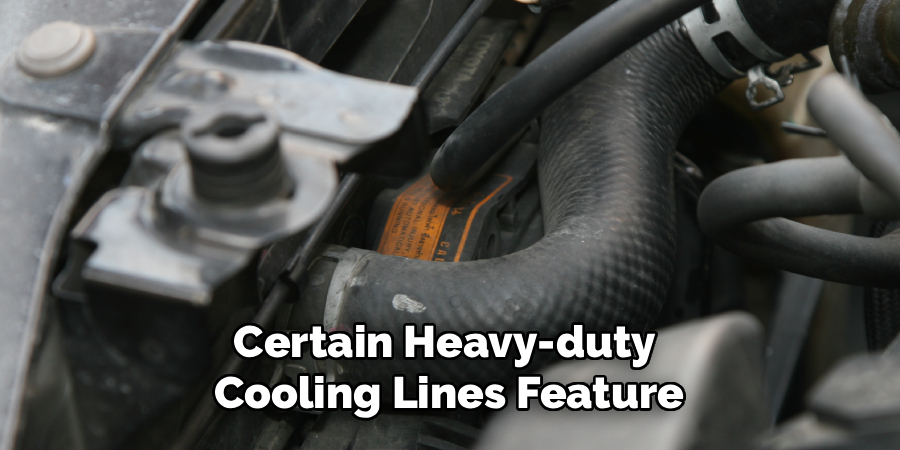
Start the engine and watch the connection areas as the engine warms up. Look for drips, swelling, or movement. A dry connection and stable temperature gauge are good signs.
Frequently Asked Questions
Can I Cut A Radiator Hose With A Utility Knife?
Yes, you can cut a radiator hose with a sharp utility knife if you work carefully. Place the hose on a stable surface, mark the line clearly, and make slow, controlled cuts around the hose. A hose cutter is usually easier and safer, but a fresh utility knife blade can still create a clean cut when used with patience.
Should A Radiator Hose Be Cut Straight Or Angled?
Most radiator hoses should be cut straight so the end sits evenly on the fitting. A square cut helps the hose clamp apply even pressure around the connection. An angled cut may be needed only in special fitment situations. If you are unsure, match the original hose end or follow the shape required by the fitting.
What Happens If The Hose Is Cut Too Short?
A hose cut too short may pull against the fitting, kink during engine movement, or fail to seat fully under the clamp. This can cause coolant leaks and overheating. If the hose does not reach comfortably without stretching, it is safer to replace it with a longer section or a correctly molded replacement hose.
Do I Need To Drain Coolant Before Cutting The Hose?
In most cases, yes, you should drain enough coolant to bring the level below the hose you are removing. This reduces spills and makes the job cleaner. Always wait until the engine is cool before opening the cooling system. Catch used coolant in a drain pan and dispose of it properly, since it is harmful to people, pets, and the environment.
How Tight Should The Hose Clamp Be?
A hose clamp should be tight enough to seal the hose securely on the fitting without cutting into the rubber. If the clamp leaves deep grooves or causes the hose to bulge, it may be too tight. After the engine warms up and pressure builds, recheck the area for leaks and tighten slightly only if needed.
Conclusion
Cutting a radiator hose correctly is a small job with a big impact on cooling system reliability. The main goal is to create a clean cut that fits fully over the fitting, seals well under the hose clamp, and supports long-term leak prevention.
Start with a cool engine, safety gloves, the right tool, and a clear measurement. Mark the hose carefully, cut with steady control, inspect the edge, and test the fit before adding coolant. Once everything is installed, run the engine and watch closely for leaks or unusual hose movement.
Now that you know how to cut radiator hose, you can handle trimming or replacement with more confidence. Take your time, use sharp tools, and check your work before driving. A careful cut helps protect your engine from coolant loss and overheating.

About
Ora Hayes is a distinguished figure in the world of DIY Thecarfixes, with over a decade of expertise in automotive diagnostics and high-performance maintenance. Her professional focus lies in merging mechanical precision with modern digital tools, fostering repair solutions that are both cost-effective and highly reliable. As the author of Thecarfixes, Ora Hayes delves into the art and science of automotive restoration, inspiring car owners and hobbyist mechanics alike.
Education
RMIT University (Melbourne, Australia) Associate Degree in Automotive Engineering — Focus on vehicle dynamics, industry-driven repair protocols, and advanced diagnostics. Gained hands-on experience with traditional mechanical tools and modern ECU remapping software.
Nottingham Trent University (United Kingdom) Bachelor’s in Mechanical Design and Automotive Engineering (Honors) — Specialized in automotive systems with a focus on blending technical engineering with everyday usability. Participated in industry projects, working with leading automotive manufacturers to gain real-world insights into vehicle longevity.
Publications and Impact
In Thecarfixes, Ora Hayes shares her insights on troubleshooting complex engine issues, material durability, and strategies for efficient garage setups. Her writing bridges the gap between professional mechanic knowledge and the home enthusiast’s needs, making it a must-read for both everyday drivers and seasoned gearheads.




