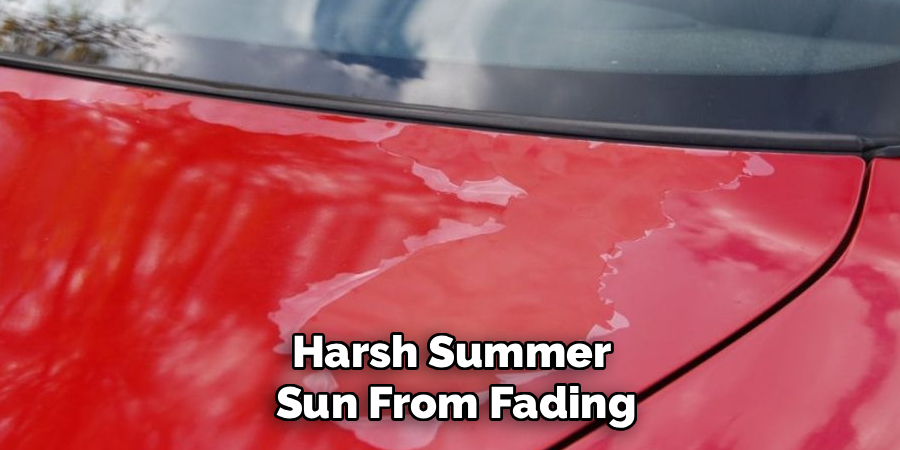
Clear coat is the transparent protective layer that sits above your car’s color coat. It adds gloss, shields the paint from sun and road grime, and helps the finish look deep and smooth. Over time, though, clear coat can peel, oxidize, turn cloudy, or fail in patches. When that happens, many drivers want to fix the surface without sanding too far or exposing the color underneath.
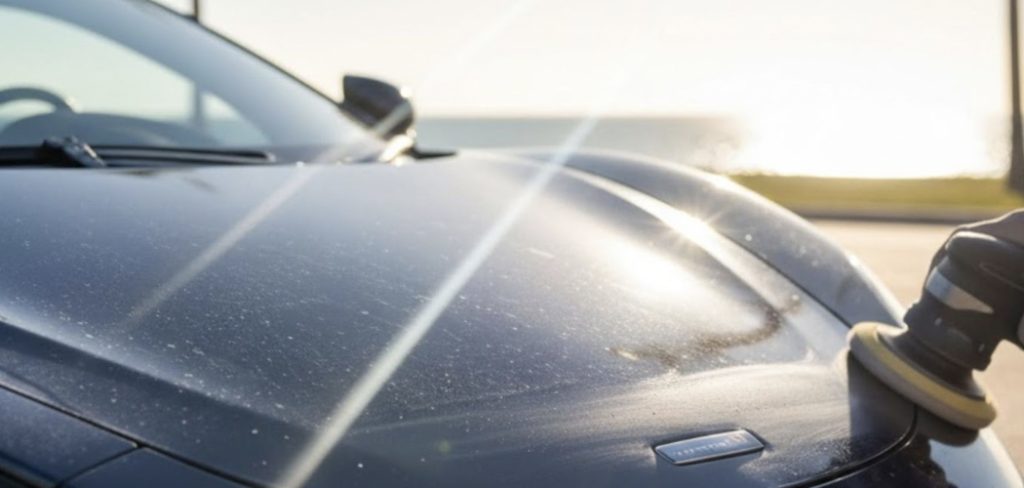
Learning how to remove clear coat without damaging paint matters because the wrong method can leave scratches, dull spots, or uneven color. The safest approach is slow, controlled, and based on the condition of the finish.
In this guide, you’ll learn why clear coat removal requires care, what tools help reduce risk, and how to work through the process step by step with a beginner-friendly method.
Why Removing Clear Coat Matters
Clear coat is more than shine. It protects the color coat from ultraviolet rays, rain, dirt, bird droppings, tree sap, and minor surface wear. When it starts to fail, it can make a vehicle look older than it is. Peeling, hazy, or rough clear coat can also trap dirt and make washing or polishing less effective.
Removing damaged clear coat can improve the surface before refinishing, repainting, or blending a repair area. If the color coat is still healthy, careful removal may help prepare the panel for fresh clear coat instead of a full repaint. That can save time and money, especially on small areas like a hood edge, roof section, mirror cap, or bumper corner.
The main risk is going too deep. Automotive paint is layered, and the clear coat is often thinner than people expect. Once you cut through the clear and into the base color, the repair becomes more difficult. You may see dull patches, uneven pigment, or sanding marks that cannot be polished out.
Step-By-Step Guide To How To Remove Clear Coat Without Damaging Paint
Step 1: Inspect The Paint Condition
Start by looking closely at the affected area in bright natural light or under a strong shop light. Check for peeling, cracking, chalkiness, deep scratches, or exposed color coat. If the paint already looks thin, faded, or patchy, removal becomes riskier.
Run your clean hand lightly over the surface. A rough texture may mean oxidation or failing clear coat. A sharp edge where clear coat is peeling can catch sandpaper and lift more material than expected. If you see primer, bare metal, or heavy cracking, do not treat it as a simple clear coat removal job. That area likely needs refinishing.
Step 2: Wash And Decontaminate The Surface
Clean paint is safer to work on because dirt can act like sand and create scratches. Wash the panel with automotive soap and water, then rinse well. Dry it with a clean microfiber towel to avoid dragging grit across the finish.
If the surface still feels gritty, use a clay bar or synthetic clay mitt with proper lubricant. This removes bonded contaminants such as overspray, tar mist, and road film. Do not skip this step if the car has not been detailed in a while. Sanding over contamination can leave deep marks that take more polishing to remove later.
Step 3: Mask Nearby Trim And Edges
Use automotive masking tape to protect rubber seals, plastic trim, panel edges, emblems, and body lines. These areas are easy to damage because clear coat is often thinner near edges and raised curves. Tape also helps you stay focused on the repair area instead of spreading the work too far.
Do not use household tape that may leave residue or pull weak paint. A quality painter’s tape or automotive tape is safer. Press it down firmly but gently. If you are working near a sharp crease or panel gap, leave a small buffer so your sanding or polishing pad does not catch the edge.
Step 4: Soften The Defect With Wet Sanding
Wet sanding is one of the most controlled ways to level damaged clear coat. For beginners, start with very fine grit, such as 2000 or 3000, rather than anything aggressive. Soak the sandpaper in clean water, then keep the surface wet while working.
Use light pressure and short, even strokes. Stop often to wipe the area and inspect your progress. When people search for how to remove clear coat without damaging paint, this is the step where patience matters most. You want to reduce the failed clear gradually, not cut through the finish in one pass.
Step 5: Blend The Repair Area Slowly
After the damaged clear coat starts to level out, feather the surrounding area so there is no hard edge. This helps the surface look smoother and prepares it for polishing or refinishing. Keep the sandpaper flat and avoid focusing too long on one spot.
A common mistake is trying to make the area perfect while sanding. That can remove too much material. Instead, aim for an even, dull finish with no loose clear coat flakes or rough ridges. If the color begins to transfer onto your towel or sandpaper, stop immediately. That means you have reached the base coat.
Step 6: Wipe Away the Milky Slurry
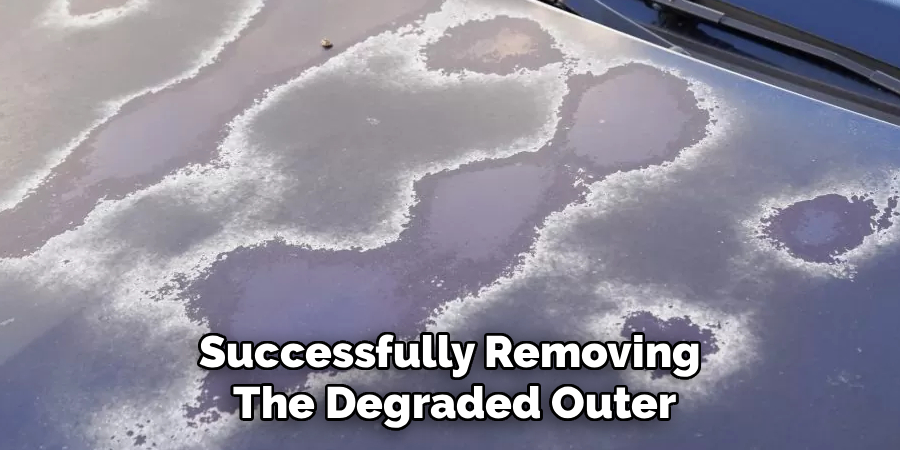
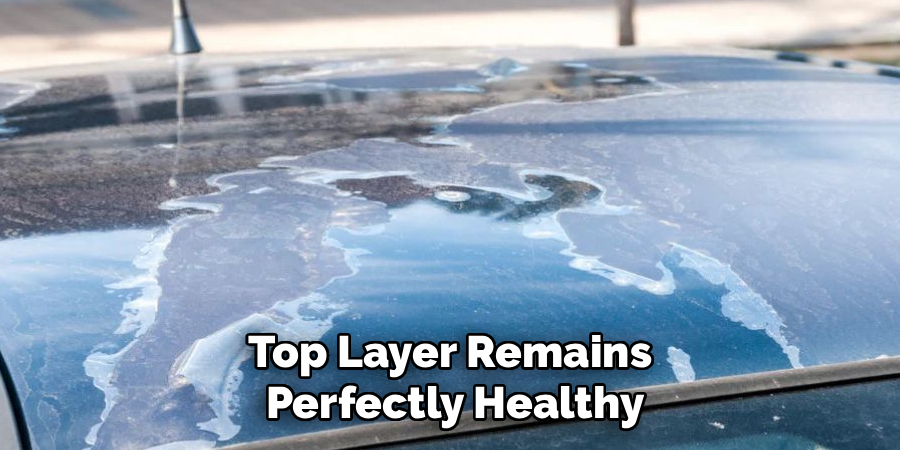
As you gently sand the failing top layer, you will notice a milky, white liquid slurry developing on the metal surface. This cloudy liquid confirms that you are successfully removing the degraded outer shell without touching the colored base underneath. Take a completely clean, plush microfiber towel and wipe the localized area frequently to inspect your physical progress. You must continuously flip the soft towel to a completely clean side to prevent dragging gritty, abrasive particles across the surrounding pristine areas. This gentle wiping action cleans the spot perfectly, revealing the smooth, healthy color hiding just beneath the surface.
Step 7: Protect Or Refinish The Surface
After the surface is smooth and polished, decide whether it needs new clear coat. If you removed failed clear from a visible repair area, polishing alone may not provide long-term protection. The color coat needs a protective layer to resist sun, moisture, and wear.
For a temporary improvement, apply a quality wax, sealant, or ceramic spray. For a lasting repair, the area should be properly recleared with automotive clear coat. If the repair covers a large panel or has uneven color, consider a professional refinishing service. A good final step protects your work and helps the paint stay stable.
Frequently Asked Questions
Can You Remove Only The Clear Coat From A Car?
Yes, but it must be done carefully because clear coat sits directly over the color coat. The safest method is controlled wet sanding with fine grit, followed by polishing. The challenge is that the layers are thin, so removing too much material can expose or damage the base paint. If the clear coat is deeply cracked or the color coat is already faded, professional refinishing may be safer.
What Grit Sandpaper Should I Use For Clear Coat Removal?
For most beginner-friendly clear coat correction, fine grits such as 2000 or 3000 are safer than coarse sandpaper. They remove material more slowly, which gives you better control. Coarser grits can cut fast and may leave scratches that are hard to polish out. Always use wet sanding, keep the surface clean, and inspect often. If you are unsure, start with the least aggressive option.
Can Clear Coat Be Removed With Chemicals?
Some chemical strippers can remove clear coat, but they are risky on automotive finishes. Many are too aggressive and can damage the color coat, plastic trim, rubber seals, or nearby panels. Chemical removal is usually not the best choice for a beginner trying to preserve paint. Mechanical methods, such as fine wet sanding and polishing, give more control when the goal is careful surface correction.
How Do I Know If I Sanded Too Far?
A major warning sign is color transfer on your sandpaper, towel, or polishing pad. Clear coat is transparent, so residue should usually look milky or white, not the color of your car. You may also notice a dull patch that does not polish back to gloss. If this happens, stop sanding right away. The area may need new base coat, clear coat, or professional repair.
Should I Reapply Clear Coat After Removing It?
In many cases, yes. Clear coat protects the color layer from sunlight, moisture, dirt, and oxidation. If you remove a damaged section and leave the base coat exposed, the finish may fade or fail faster. Wax or sealant can offer short-term protection, but it does not replace true clear coat. For the best long-term result, a properly prepared and sprayed clear coat is usually needed.
Conclusion
Clear coat removal is a careful repair, not a race. The safest process starts with inspection, cleaning, masking, fine wet sanding, slow blending, polishing, and proper protection. Each step helps reduce the risk of cutting into the color coat or leaving visible sanding damage.
If you want to learn how to remove clear coat without damaging paint, remember the key rule: use the least aggressive method that works. Start small, inspect often, and stop if you see color transfer or uneven paint. For large, peeling, or high-value finishes, contact a professional before the damage becomes more expensive to fix.

About
Ora Hayes is a distinguished figure in the world of DIY Thecarfixes, with over a decade of expertise in automotive diagnostics and high-performance maintenance. Her professional focus lies in merging mechanical precision with modern digital tools, fostering repair solutions that are both cost-effective and highly reliable. As the author of Thecarfixes, Ora Hayes delves into the art and science of automotive restoration, inspiring car owners and hobbyist mechanics alike.
Education
RMIT University (Melbourne, Australia) Associate Degree in Automotive Engineering — Focus on vehicle dynamics, industry-driven repair protocols, and advanced diagnostics. Gained hands-on experience with traditional mechanical tools and modern ECU remapping software.
Nottingham Trent University (United Kingdom) Bachelor’s in Mechanical Design and Automotive Engineering (Honors) — Specialized in automotive systems with a focus on blending technical engineering with everyday usability. Participated in industry projects, working with leading automotive manufacturers to gain real-world insights into vehicle longevity.
Publications and Impact
In Thecarfixes, Ora Hayes shares her insights on troubleshooting complex engine issues, material durability, and strategies for efficient garage setups. Her writing bridges the gap between professional mechanic knowledge and the home enthusiast’s needs, making it a must-read for both everyday drivers and seasoned gearheads.